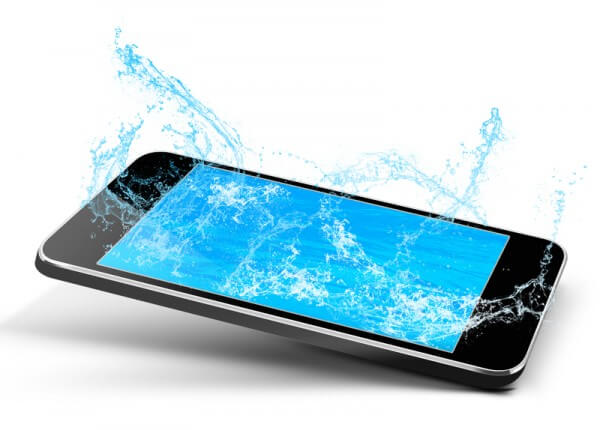

There might be countless waterproof iPhone cases available on the market (one of the best was detailed in the first of our “iOS SOS” articles), however the typically large, bulky form factor of these cases means most of us will likely avoid the likes of Incipio’s and Lifeproof’s various offerings and opt to use our handset case-free. The problem, of course, comes when our caseless iPhone is accidentally submerged in water; worry not, however, because even if this nightmare situation occurs, all is not lost.
Initial measures
It might sound obvious, but if your iPhone has been submerged underwater, you’ll need to remove as much water by hand from your iPhone as possible: this can be done by shaking the handset in order to allow droplets to drain from the device’s various ports. Do not attempt to turn the iPhone on: if you do, charge passing through the iPhone’s damp internals could result in permanent damage being inflicted to the device. You’ll of course be tempted to check if the smartphone still powers on, but before doing so you need to ensure that the iPhone has been dried out as thoroughly as possible.
Rice
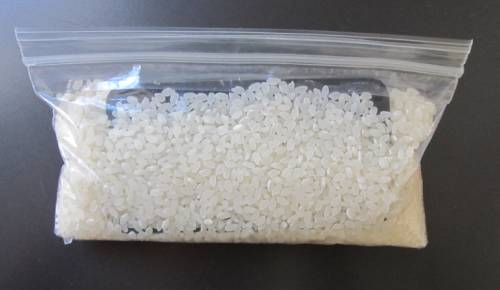
Submerge and seal your iPhone in a bag of rice to extract water from the handset.
The oldest trick in the book when it comes extracting water from the inside of a mobile phone is to place the handset in a sealed container of rice. Basmati or wholegrain, it makes little difference: for best results, fill the container halfway and place your iPhone on top of the grains before covering the handset fully. After doing this, seal the container, place it out of the way, and leave it for around three days before attempting to switch the handset on for its first post-submersion power-up.
During this time, the rice in the container will extract moisture from the inside of the iPhone. This trick has worked several times in our experience, although you may find that your smartphone looks fairly dusty once it’s been removed from its ricey tomb. If, after this time, your iPhone doesn’t switch on, submerge it in a fresh batch of rice for another day or two and try again.
Silica gel

Silica gel might be harder to come by, but it works a lot better than rice does.
A better means of extracting water from the inside of your iPhone is to use packets of silica gel, rather than rice, inside a sealed plastic container. Silica gel is more effective at extracting water from damp devices, and packets of the stuff can be found in the packaging for most electronics items. The next time you purchase a new TV, a speaker, or any other new gadget, put your silica gel packets in a safe, memorable place and be sure to turn to them if your iPhone takes an accidental plunge.
Checking for permanent damage
Once the water extraction process outlined above has been completed, it should be safe to attempt to switch your iPhone on. If it powers up, great news: the chances are your handset should be good to use for the foreseeable future (or, that is, at least until you drop it in the bath again!). Though for some, even a living, breathing iPhone doesn’t mark the end of their water damage nightmare.
At times, the underwater plunge might not prevent the handset from powering on, but under-the-hood damage to the smartphone may rear its ugly head further down the line. We’ve heard stories of iPhones spontaniously melting years after suffering water damage – even after the aforementioned extraction process has taken place.
The downside for users is that at present, iPhones (and iPods) which have suffered water damage aren’t covered by the devices’ one-year limited warranty or even by an AppleCare Protection Plan (APP). Moreover, Liquid Contact Indicators (LCIs) built into the devices can inform Apple Store workers of whether the handset or iPod has ever been submerged in water.

Older iPhones feature LCIs in the 30-pin port and inside the headphone socket.
LCIs are placed in different locations depending on the model of your iPhone handset. For the iPhone 5s, iPhone 5c, and iPhone 5, the LCIs can be found in the SIM card tray; for earlier iPhones, LCIs are visible from inside the headphone socket. If your device’s LCI is fully red, then it’s an indication that the iPhone has come into contact with water; if it’s white or silver, then the handset has remained splash-free.
Follow the above steps carefully and, provided your reactions were fast and luck is on your side, you should hopefully recover your iPhone handset from the lasting perils of water damage.