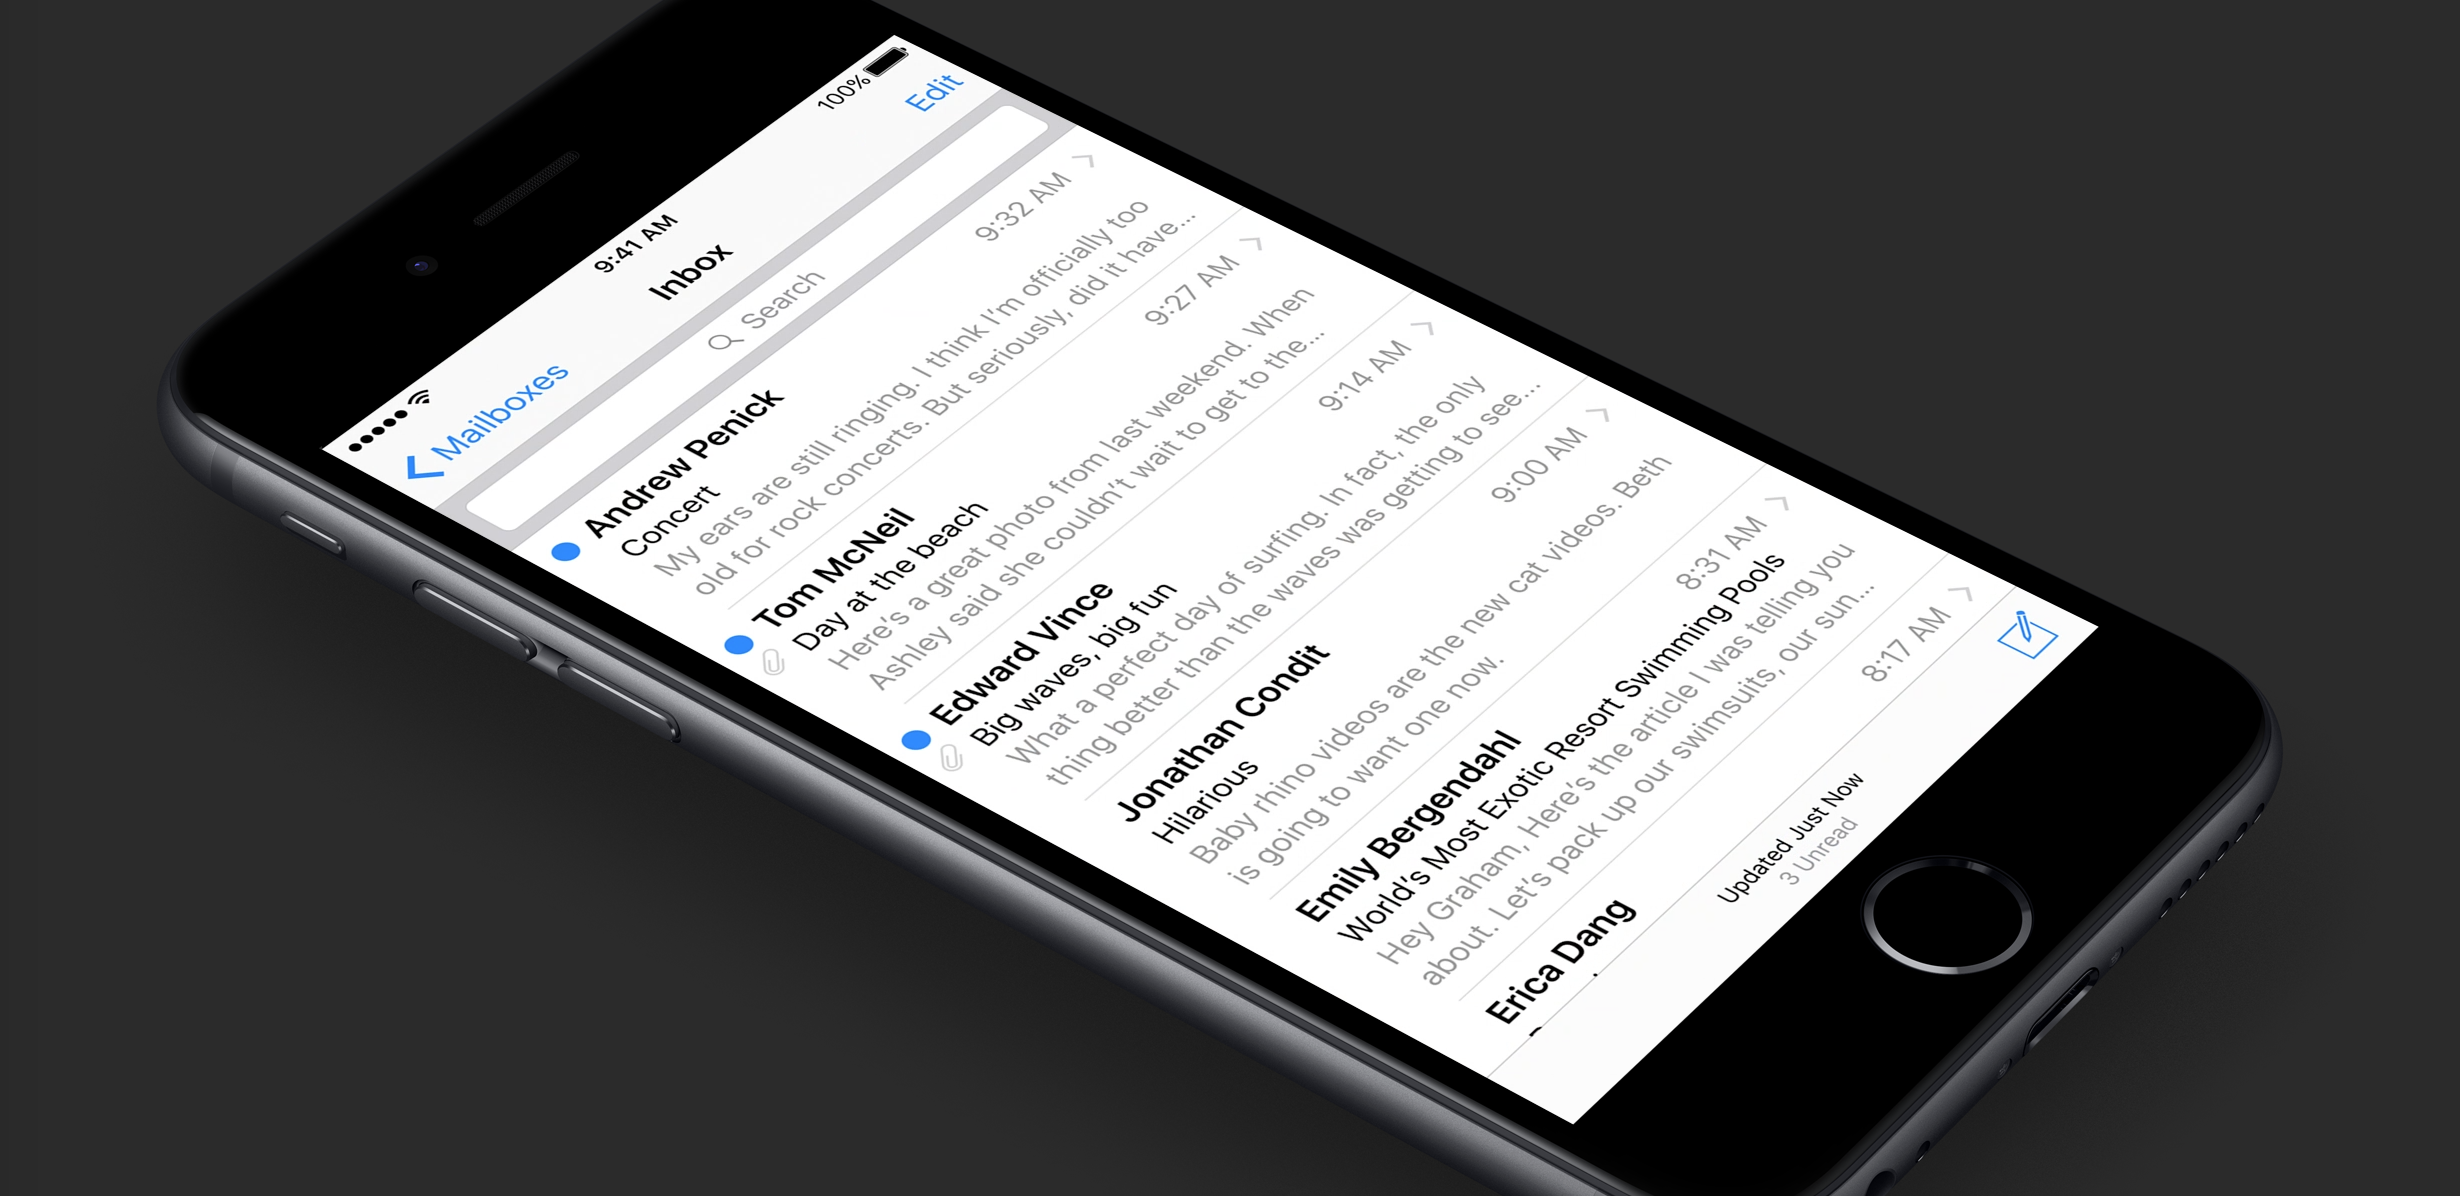

Apple’s built-in Mail app might not be the most comprehensive email client for iPhone, but it’s nevertheless a powerful piece of software – if you know the right tricks. And if you do, it’s possible to become a Mail app power-user in no time at all. Here’s 10 of our top tips for the iOS Mail app to send you on your way.
1. Swipe to flag, trash, and more
Let’s start with the basics. In your inbox, it’s possible to easily select multiple messages using the Edit button in the top-right corner of the screen and batch process them – perhaps to delete, or archive them. You can also archive or delete individual messages after reading them, of course, but it’s also possible to swipe from left to right on an email to flag it, trash it, or access a number of additional options. These include reply, forward, mark, notify me, and move. As such, this simple gesture makes it easier than ever to take control of your incoming email in a number of different ways.
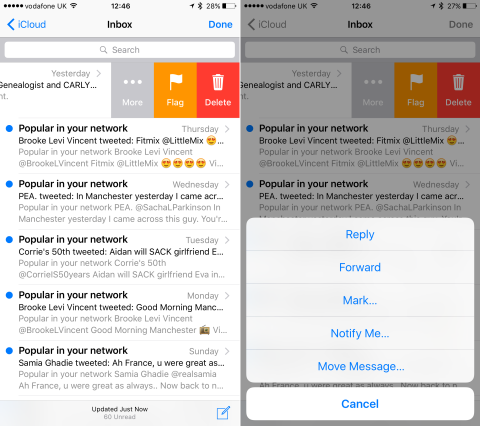
You can process individual messages faster than ever with just a swipe of your finger
2. Mark as unread
At the same time, swiping in the opposite direction (from right to left) displays a blue button in order to mark unread messages as read, and vice versa. This is useful for marking email without having to open and load up an individual message.
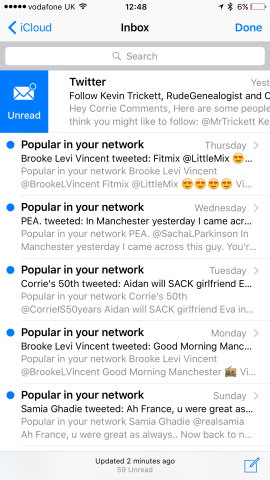
If you often accidentally open email you’d rather have left unread for later, this gesture will be useful
3. Swipe between screens
This gesture will be particularly useful to those with Apple’s larger handsets, like the iPhone 6 and 6 Plus and later where it might be trickier to reach your thumb up and tap the back button in the top left corner to return from an email to your inbox, or from your inbox back to the folder list. However, now you can swipe anywhere on the interface to cycle back through screens, saving you from having to stretch that digit all the way to the top of the screen.
Swiping left to right on the screen in the Mail app allows you to quickly move back through screens in you inbox. Here’s one mid-swipe
4. Add attachments into messages
When composing an email message in the Mail app, it’s possible to add attachments from a number of locations. To do so, tap the email’s text field in the composition interface to reveal Select, Select All, Paste, and Quote Level. Then hit the arrow on the right-hand side and choose Add Attachment. You’ll then be able to attach a file from iCloud Drive, or a third-party service like Dropbox, Google Drive, or One Drive into your outgoing message.
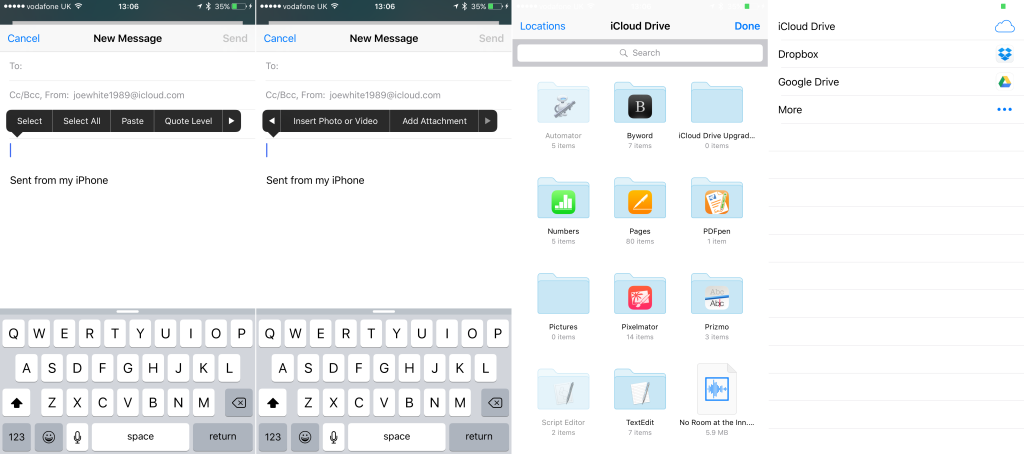
Support for attachments means your iPhone can become even more of a personal computer
5. Use Mail Drop for larger attachments
What if you want to send a file that’s much larger? Don’t worry, the iOS Mail app also lets users do this thanks to an iCloud-powered feature called Mail Drop.
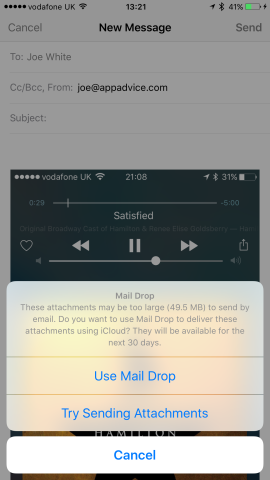
Mail Drop will revolutionize the way you send large files on your iPhone
When sending a larger file, the Mail app (in iOS 9) will ask users if they’d like to use Mail Drop to send the message. Your files will be uploaded to iCloud and a link will be sent to your recipient, who’ll then have 30 days to download the files. This is particularly useful for sending large batches of images or videos from the Photos app, and in our experience the feature generally works well.
6. Pull to refresh your inbox
Refreshing your inbox is simple in the Mail app. Simply pull down on your list of messages in order to initiate a refresh: it couldn’t be easier.
7. Pull to search your inbox
You can also use the same pull gesture in order to reveal a search bar in the Mail app. As we’ve explained before, there’s a comprehensive search bar inside the Mail application which allows users to easily pin-point the email they’re looking for.

All you need to do is tap the search term to reveal the Mail app’s tabs and its enhanced search interface
After typing a term into this bar and hitting Search, iPhone owners are offered a slew of emails which match this keyword. However, tapping again on the search bar allows users to refine the current search. You can opt to search based on the names of senders and recipients (through tapping the search term itself), or on the subject of email messages (as well as performing a full inbox-wide, more general search). Better yet, provided your Internet connection is solid, the search is fast and efficient.
8: Get straight to drafts
Here’s a useful feature for those of you who carefully draft up emails before sending them in the iOS Mail app: if you hold the compose icon (which appears in the bottom left-hand corner throughout the Mail application), you’ll be taken to a dedicated drafts interface. Here, a list of your drafts will be available to launch, edit, and send, and you can get straight to the interface from anywhere inside the Mail app itself.
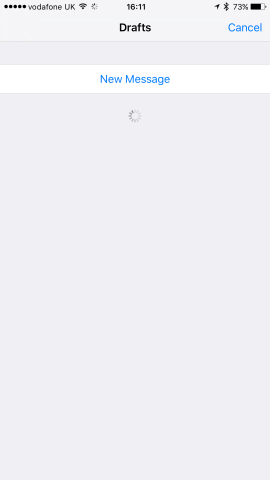
It’s easy to get straight to all your pre-saved drafts using this simple gesture
9. Stack your drafts up
When composing an email in the iOS Mail app, you can also swipe down on the message from the application’s title bar in order to store it as a temporary draft at the bottom of the screen. You can do this multiple times, and your drafts will stack up like toast in a rack, ready to be called on when you’re ready to finish your message. Drafts can then be dismissed like tabs in Safari for iOS, using a “x” button in the corner.
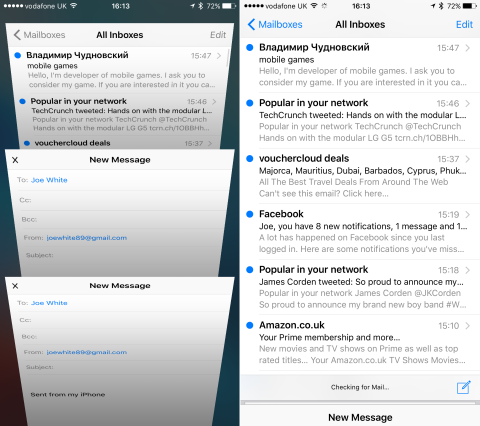
You can easily switch between multiple drafts using this trick
10. Move addresses to different fields
Finally, when addresses have been put into a field in the Mail app’s compose interface, it’s possible to easily move them around to either the Cc or Bcc fields (and vice versa). To do this, simply tap and hold on an address in one of those bars, and drag it to the field you’d like to move it to. As if by magic, the email address will move and stick to the new address field.
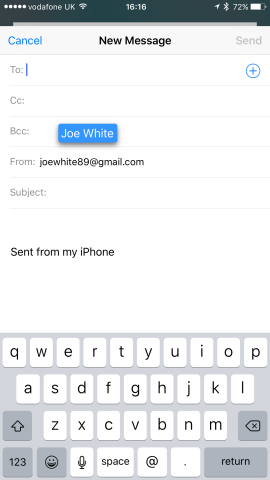
Dragging an email address between different fields in the compose interface is as easy as grabbing and dragging
There you have it
Follow the above tips and you’ll be power-using Mail for iPhone in no time at all. And of course, if you have an iPad, our advice applies to the Mail application on Apple’s tablet, too. So what are you waiting for? Start processing email like a pro!