
As everyday tech users store more and more of their lives digitally – text messages, photo albums, credit card details, health information, and much more besides – it’s increasingly important to understand the basics of digital security. Luckily the iPhone is a pretty secure piece of kit if you know how to use it properly, and Apple’s stance on customer privacy is one to be applauded.
In this feature we’ll run through some basic steps to keep your data safe from fraudsters, hackers and even the prying eyes of strangers. We’ll show you how to set up oft-overlooked standard features of iOS as well as best practices for creating and keeping track of passwords. Let’s get started!
Update Your Device
First up: if you want to stay secure, always update to the latest version of iOS as soon as its available. Every so often, small security flaws are found in the operating system and Apple’s regular updates plug those holes. If you have an older device that doesn’t support iOS 10, at least ensure you’re running iOS 9.3.5 as this version patches a vulnerability that could potentially be used to access your data.
To check that you’re running the latest version of iOS, go to Settings > General > Software Update.
Lock Screen Privacy
By default there are a handful of personal details accessible from an iPhone’s lock screen, which are viewable by anyone without having to enter a passcode. Today widgets show your upcoming events from your calendar, notifications show incoming messages right there on the lock screen, and Siri has access to basic functions without any user verification.

Do you really want just anyone to be able to see into your life?
All these things will ask for your passcode to make major adjustments, but they nevertheless provide a window into your personal life that you might prefer to close. Though most will be comfortable with this level of lock screen access, if any of the above concerns you make sure to lock down your lock screen. Here’s how:
To customize the widgets visible from the lock screen, tap the Edit button at the bottom of the view and then tap the red ‘–‘ button next to any widgets you wish to remove.
To disable message previews, go to Settings > Notifications > Messages and turn off Show Previews. Most third-party messaging apps including WhatsApp and Facebook Messenger have this same feature within the settings menu of the app itself.
To only allow Siri access once logged into the device, go to Settings > Siri and turn off ‘Access on lock screen.’
Touch ID
Touch ID is the fingerprint scanner built into the home button of every iPhone since the 5S. It’s a quick, secure way to unlock your device without typing anything, and many of you probably use it already. Simply placing your finger (or thumb) on the sensor authenticates that you are you, and can be used to log into your device, verify Apple Pay purchases, and grant access to high security software such as banking apps. You can register as many fingerprints as you like, including those of trusted friends or significant others.
To set up Touch ID, go to Settings > Touch ID & Passcode > Add a Fingerprint. Follow the instructions to register your print, and repeat for additional fingers.
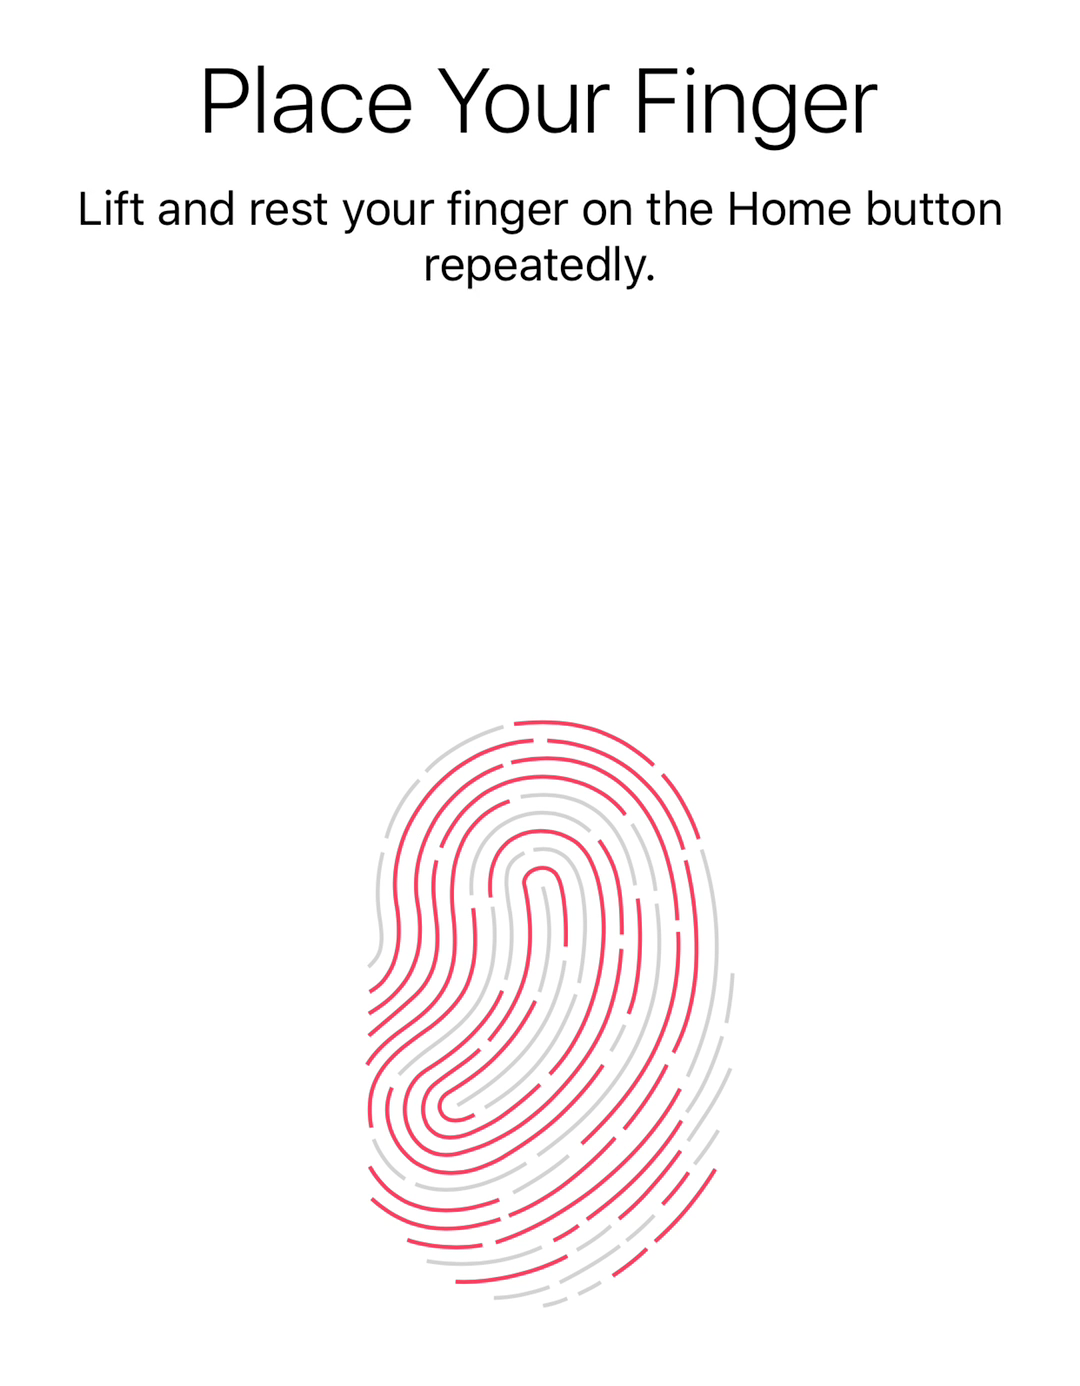
Teaching the device your prints takes just seconds
Your biometric data is stored on what’s known as a “secure enclave” chip inside the iPhone. For security reasons it’s never sent to Apple, and it’s never backed up to iCloud. Only your device itself knows how to check your prints. If you’ve restarted your device, or not scanned your finger in a couple of days, you’ll have to enter a passcode instead. Some would argue that a long alphanumeric password is stronger security than Touch ID – perhaps true, but the differences aren’t large enough for the average person to care. Touch ID is very secure and much more convenient than typing a long password.
Change your passcode
Make sure you’re using a strong passcode on your lock screen. Four-digit codes used to be the norm, and they’re fairly secure: if somebody tried to guess your combination at random they’d have a 1 in 10,000 chance of getting it right. That sounds like a lot, but we can do much better. Simply adding two extra digits lowers that rate to 1 in a million, and a strong alphanumeric code (i.e. letters and numbers) can be many times stronger still. In the rare event somebody tries to ‘brute force’ your device – that is, try every possible combination until one works – a strong passcode can make a huge difference to their chances of success.
To change your passcode, go to Settings > Touch ID & Passcode > Change Passcode. Press Passcode Options to swap between 4-digit, 6-digit, and alphanumeric codes.
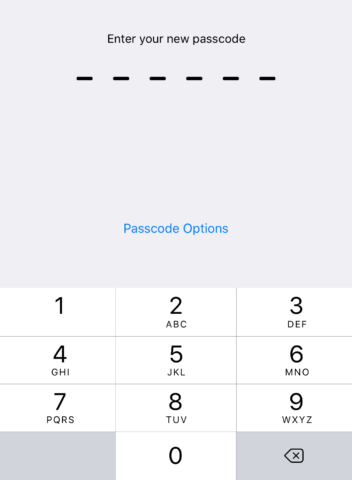
If you’re using a 4-digit code, we recommend you change it
You can set your device to automatically erase all content after ten failed attempts, to block these type of attacks almost completely. While its feasible that a world class hacker could bypass this system, it’s probably not something you need to worry about unless you’re on the run from the feds or harboring state secrets. Recently the FBI were forced to shell out a reported million dollars to break into an iPhone in this way, and security improvements since then lower the chances of this happening again. Just make sure you don’t accidentally mis-type your password too much if you have this feature enabled!
To activate auto-erase, go to Settings > Touch ID & Passcode > Erase Data.
Two-factor authentication
Two-factor authentication – or 2FA – helps safeguard your Apple ID against unauthorized access. This is really important as your Apple ID stores information including your name, address, purchase history and of course your payment details for use on iTunes and the App Store. It also grants access to anything stored in iCloud, like your photo library. Using 2FA means that even if someone somehow finds out your email address and password, they can’t get into your account without also having physical access to your iPhone and its passcode.
(2FA is a relatively new addition to iOS; older devices can use a similar process called two-step verification – or 2SV – instead.)
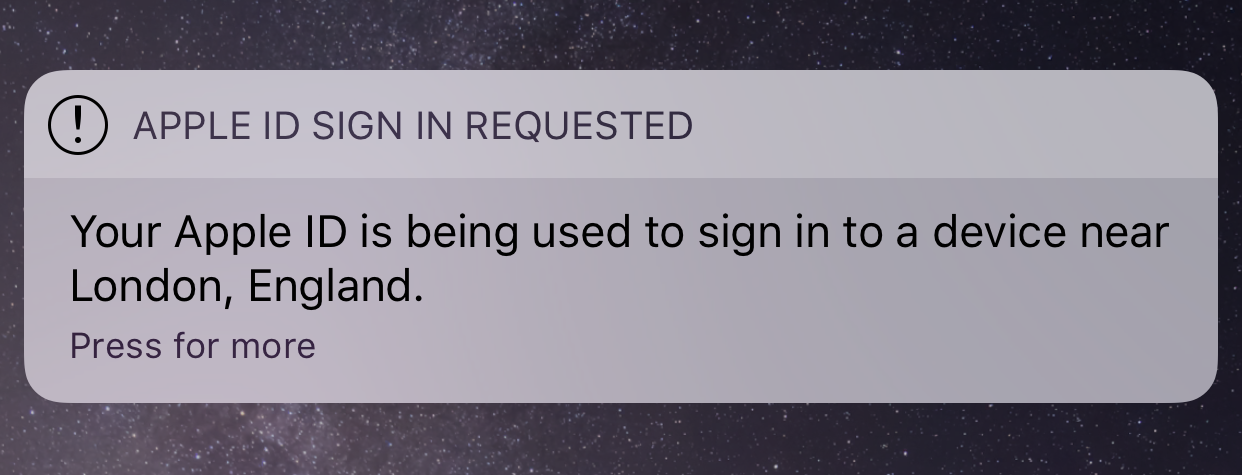
You’ll get an alert when signing in on a new device
In a nutshell, these systems work by requiring a verification code from one of your registered devices in order to log into your Apple ID on a new device. So if somebody tries to get into your account on a computer that’s never been associated with you before, it will send an alert to your iPhone. You’ll need to confirm your identity by typing the verification code from one device into the other. Otherwise, access will be denied!
For iOS 9 and above: to set up 2FA, go to Settings > iCloud and tap your account at the top. Then press Password & Security > Setup Two-Factor Authentication, and follow the instructions.
Or, if 2FA isn’t available on your device: to set up 2SV, sign into the Apple ID website. Find the Two-Step Verification section, press Get Started, and follow the instructions.
Find my iPhone
Apple prompts users to set this up when they get a new device, but if you skipped that step it’s worth taking the time to set this up and understand how it works. Not only can Find my iPhone help track down your device if you lose it, it also allows you to remotely delete all your data if it’s stolen. It does this by tracking the location of your device and communicating with it via iCloud.
To register your device for Find my iPhone, go to Settings > iCloud > Find my iPhone and turn the function on.
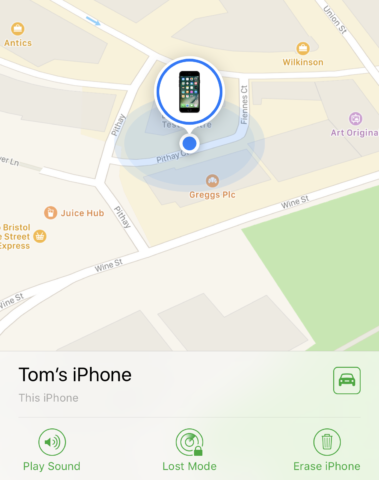
Find my iPhone in action
Despite the name, it’s not just for iPhones – any Apple device logged into iCloud can be similarly tracked. To see the whereabouts of your devices, you’ll need to open the Find iPhone app or log onto the iCloud website and press Find my iPhone. This will show you a map with all your devices pictured on it. Tapping any of them will reveal three actions: Play Sound, which is handy to help find an iPhone you’ve simply lost around the house; Lost Mode, which locks the screen and displays a custom message, so you can ask anybody who finds the device to contact you; and Erase iPhone, to be used if you suspect your device has fallen into the wrong hands and you want to protect your data.
iCloud Keychain
One huge security concern we haven’t touched on yet is online passwords. Most people are signed up to dozens, if not hundreds of apps and web services, and many use a single password (or variations on a theme) for all of them. Using the same password in multiple places is risky, because if somebody is able to hack into just one of those systems, they’ll know your email and password combination which could be used to access many of your other accounts. If you register for just one website with poor security, it massively lowers the effectiveness of your password across all other services. But memorizing a unique password for every different account is a big ask, and writing them down on paper has its own problems. So what’s the solution? Get iCloud Keychain to remember all your login details for you!
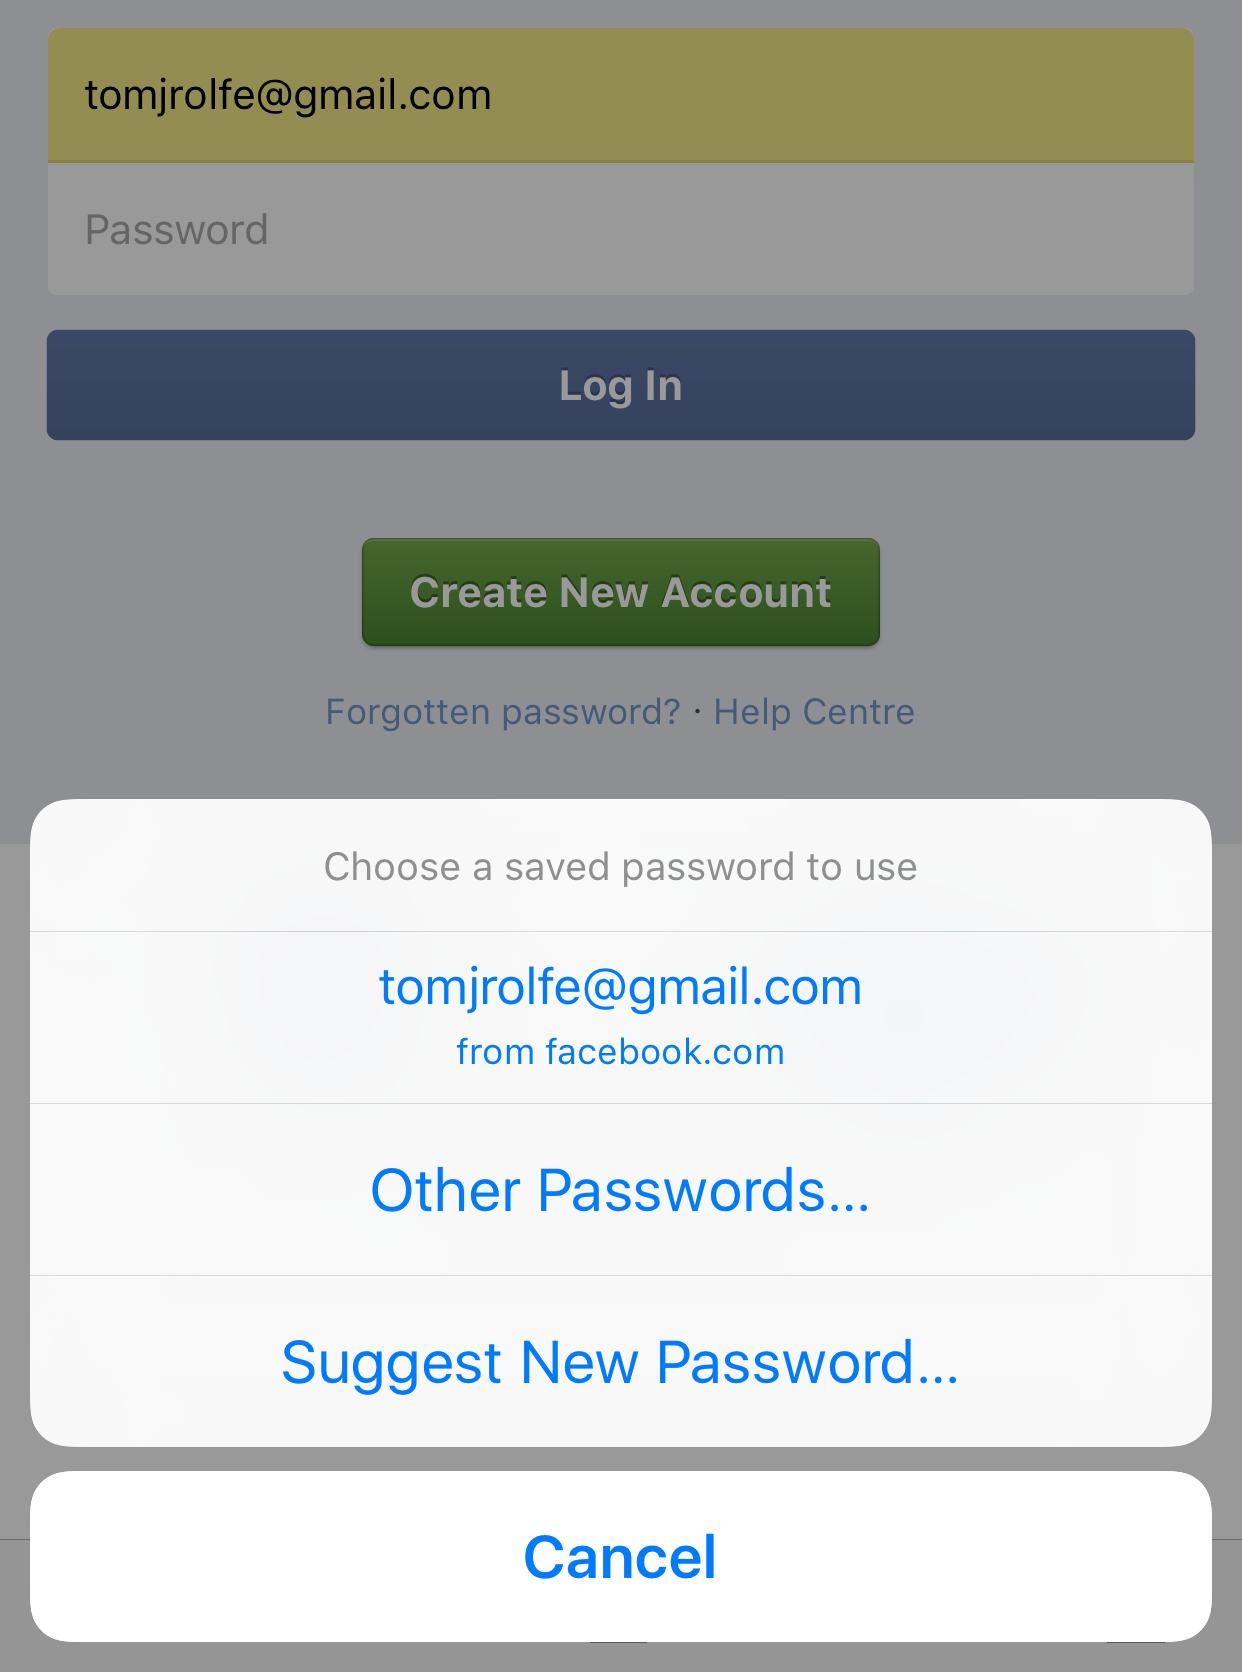
Saved passwords make the login experience so much easier
Often when browsing the web in Safari, you’ll notice a prompt to save a password when logging into a website for the first time. Tapping Save Password stores your login details – username and password – in iCloud keychain. Next time you need to log in to the website, you’ll be able to use the Passwords button on the QuickType bar to automatically enter the password. This means less typing, but more importantly much less memorization. If you’re the sort of person who uses the “forgot your password?” button on the regular, iCloud Keychain could be a godsend.
To see a list of the stored Passwords, go to Settings > Safari > Passwords. You can delete them from memory by tapping Edit, selecting one or more accounts, and pressing Delete.
Bonus: 1Password
Every feature we’ve mentioned so far is made by Apple and included in iOS by default. But to go a step further with the password management business, you need a pro tool from a third-party: 1Password. It’s essentially a souped-up version of iCloud Keychain, and makes it much easier to manage a series of completely unique, random passwords. You can make super secure codes with the app’s built-in password generator, and as a bonus you don’t need to remember them, write them down or even type them in!
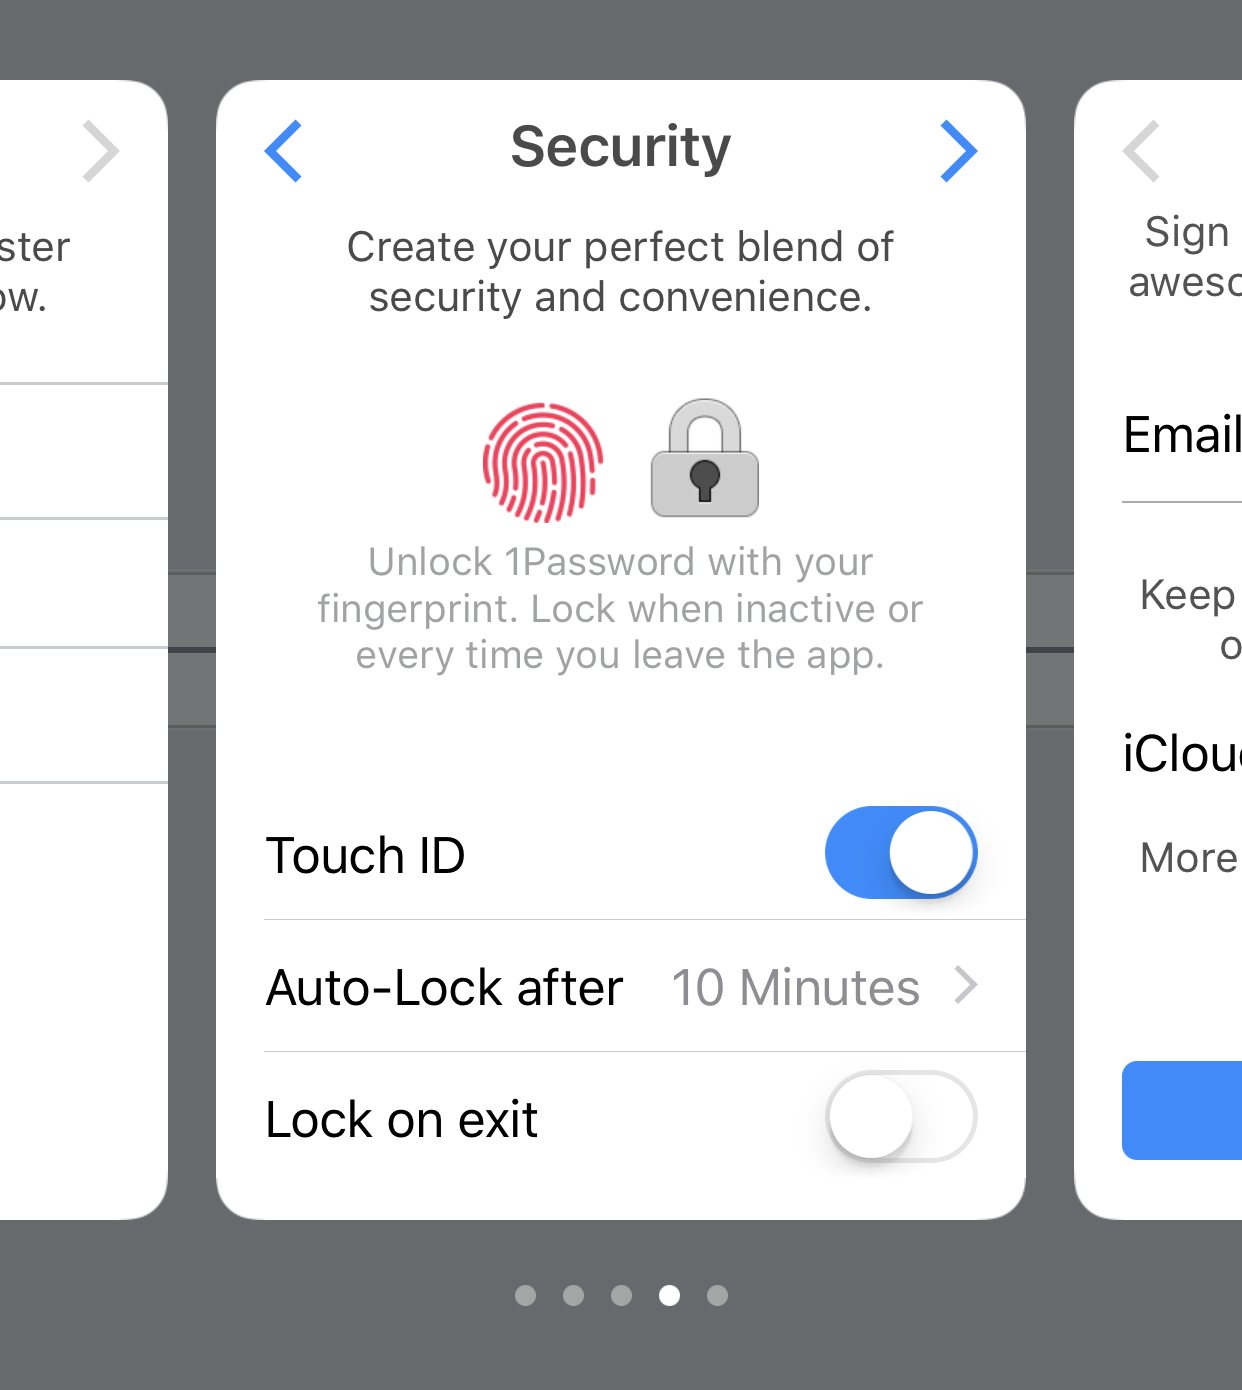
Choose how long you want the app to remain unlocked after each use
It’s best to think of 1Password as a digital vault. When first opening the app you’ll be prompted to create a new vault and secure it with a master password. Obviously, this should be something you’ve not used before – and make sure you don’t forget it! This master password is the one way to access all your other information: logins, credit cards and identities. Once you’re in, you can tap the ‘+‘ button to manually add login credentials for a whole host of predefined apps, websites and services. Like iCloud Keychain, it makes logging into services and filling out forms much easier.
One thing to bear in mind is that although the core functionality of 1Password is free, you’ll need to part with a one-off IAP ($9.99/£7.99) to unlock extra “Pro” features like additional categories and Apple Watch support. It works on the Mac, too, but its not cheap ($64.99/£49.99). Still, it’s a good option if you want the best password management around!