
If editing video seems like too much effort, Clips makes it fun – and fast!
Full-fledged video editor iMovie is free for iPhone, but can intimidate and be overkill when you just want to slam a few recordings together and hurl them at social media. Apple’s Clips (also free) is often a better bet.
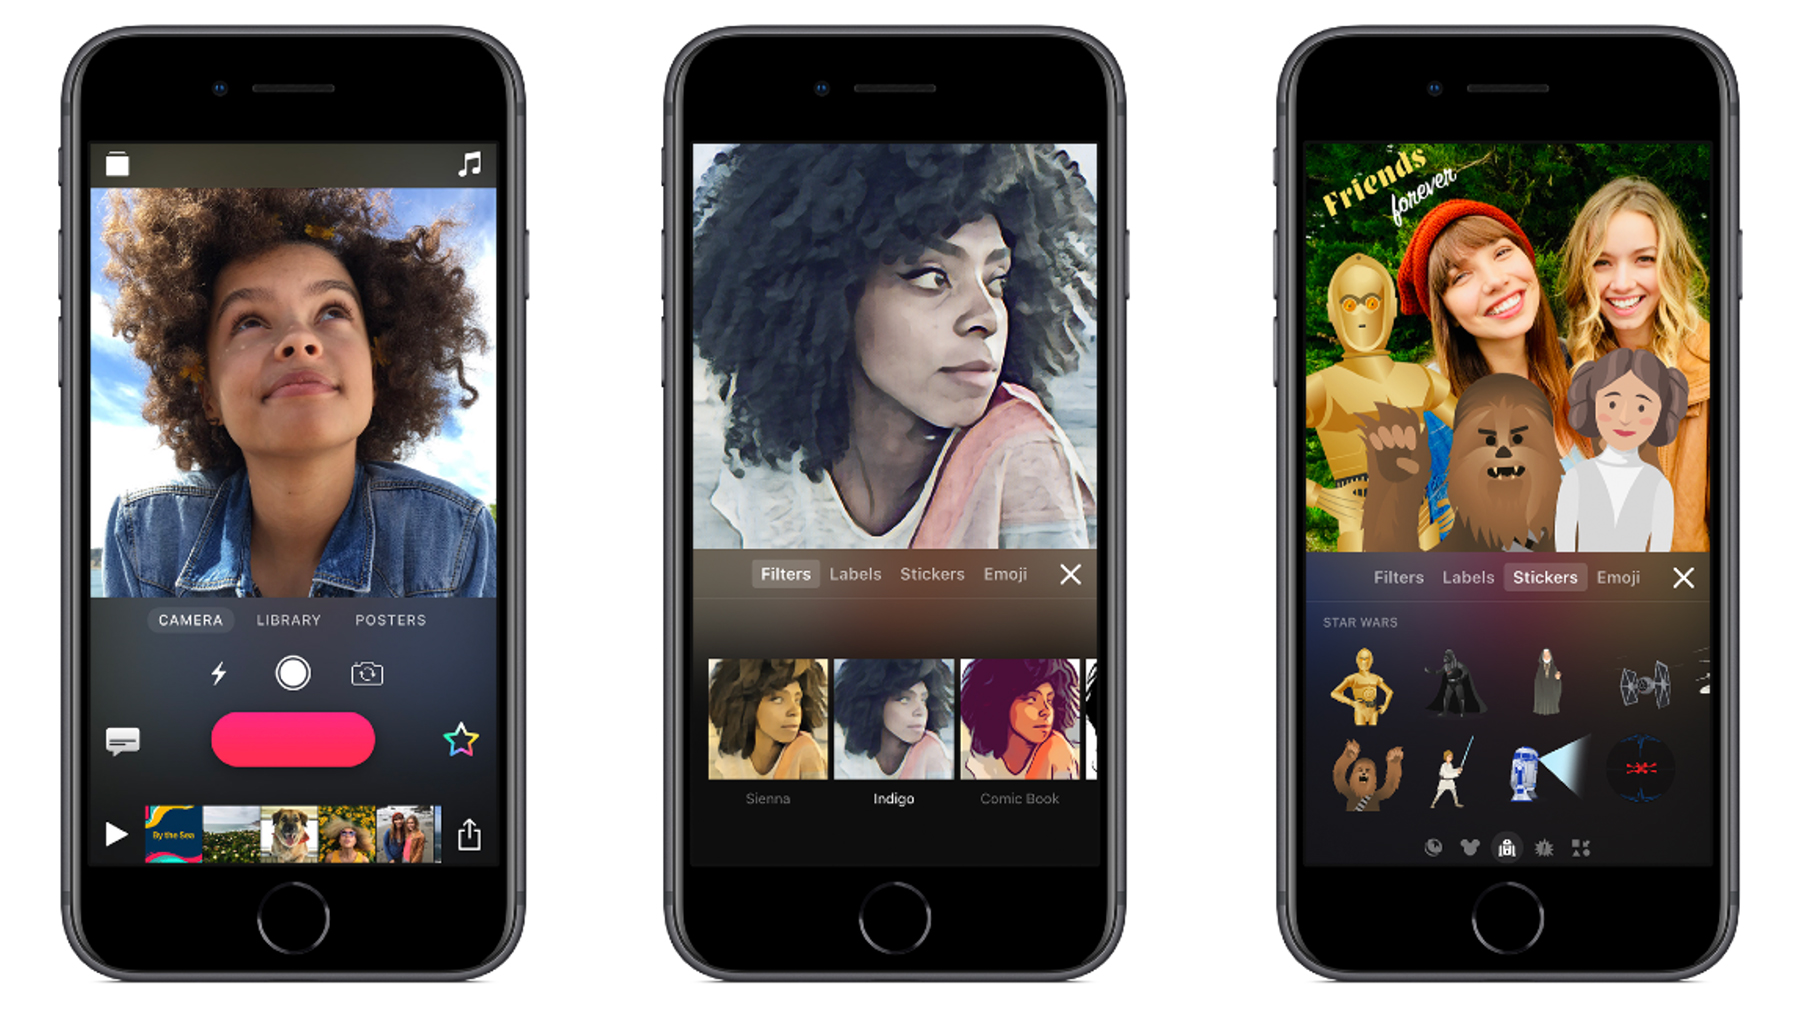
Get started by tapping the projects button at the top-left of the screen and then +. You can return to the projects screen at any time to access, preview, delete or share existing projects. But for now, let’s start recording…
Record footage using Clips
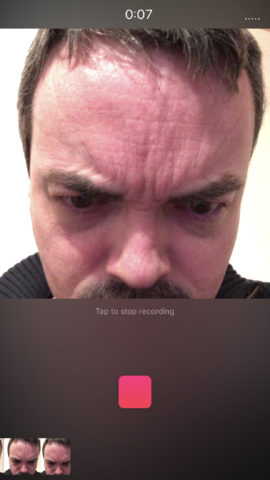
When Camera is highlighted, record by holding the big, red button. Lift your finger to stop.

Alternatively, press-hold the button and flick upwards for continuous recording. The red button will change shape to look like a stop button. Tap it to end recording.
Note also the buttons to toggle the flash, shoot a still, and switch between the rear and front camera.
Use existing movies in Clips
Tap Library, then Albums, and choose Videos. Tap a clip to load it.
You can drag the timeline to scrub through the video, but also drag/pinch the video preview itself. This moves and zooms the footage – useful to ensure the subject of a video originally shot in widescreen is visible within the square frame Clips uses.
To import a section of the video, use the record button, just like in the previous step.

Arrange and trim your clips
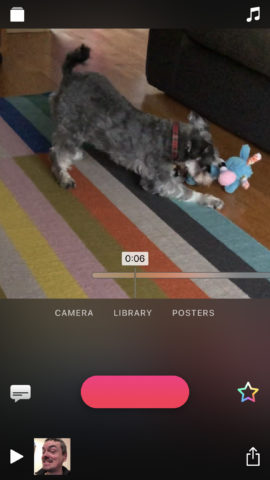
As you record/add clips, they are added as thumbnails at the bottom of the screen. Tap-hold and drag to rearrange them. To trim a clip, tap it, tap the Trim button, and adjust the position of the two drag handles.
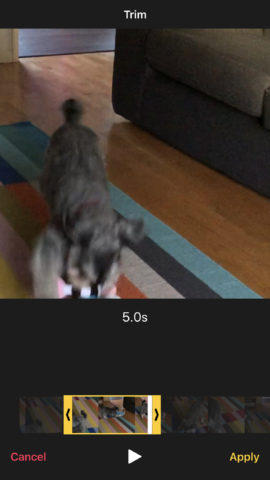
Press the play button to preview your trimmed edit, and then Apply to confirm. If you change your mind, you can later reinstate removed footage by using Trim again and adjusting the drag handles accordingly.