
Apple Pay is Apple’s new contactless payment service available to iPhone 6 and 6 Plus users. It let’s you associate your credit or debit cards with your device. You can then use your iPhone at NFC-enabled registers inside stores to quickly complete transactions.
To start using Apple Pay you need to be running iOS 8.1. To check what operating system you’re currently on, open the Settings app, select General, then Software Update. It will state if you need to update or if you’re already using iOS 8.1
Now, you need to register your card. To do so, open the Passbook app. If you have no passes, tap the Set Up Apple Pay option, or if you do have passes tap the ‘+’ icon then Set Up Apple Pay.
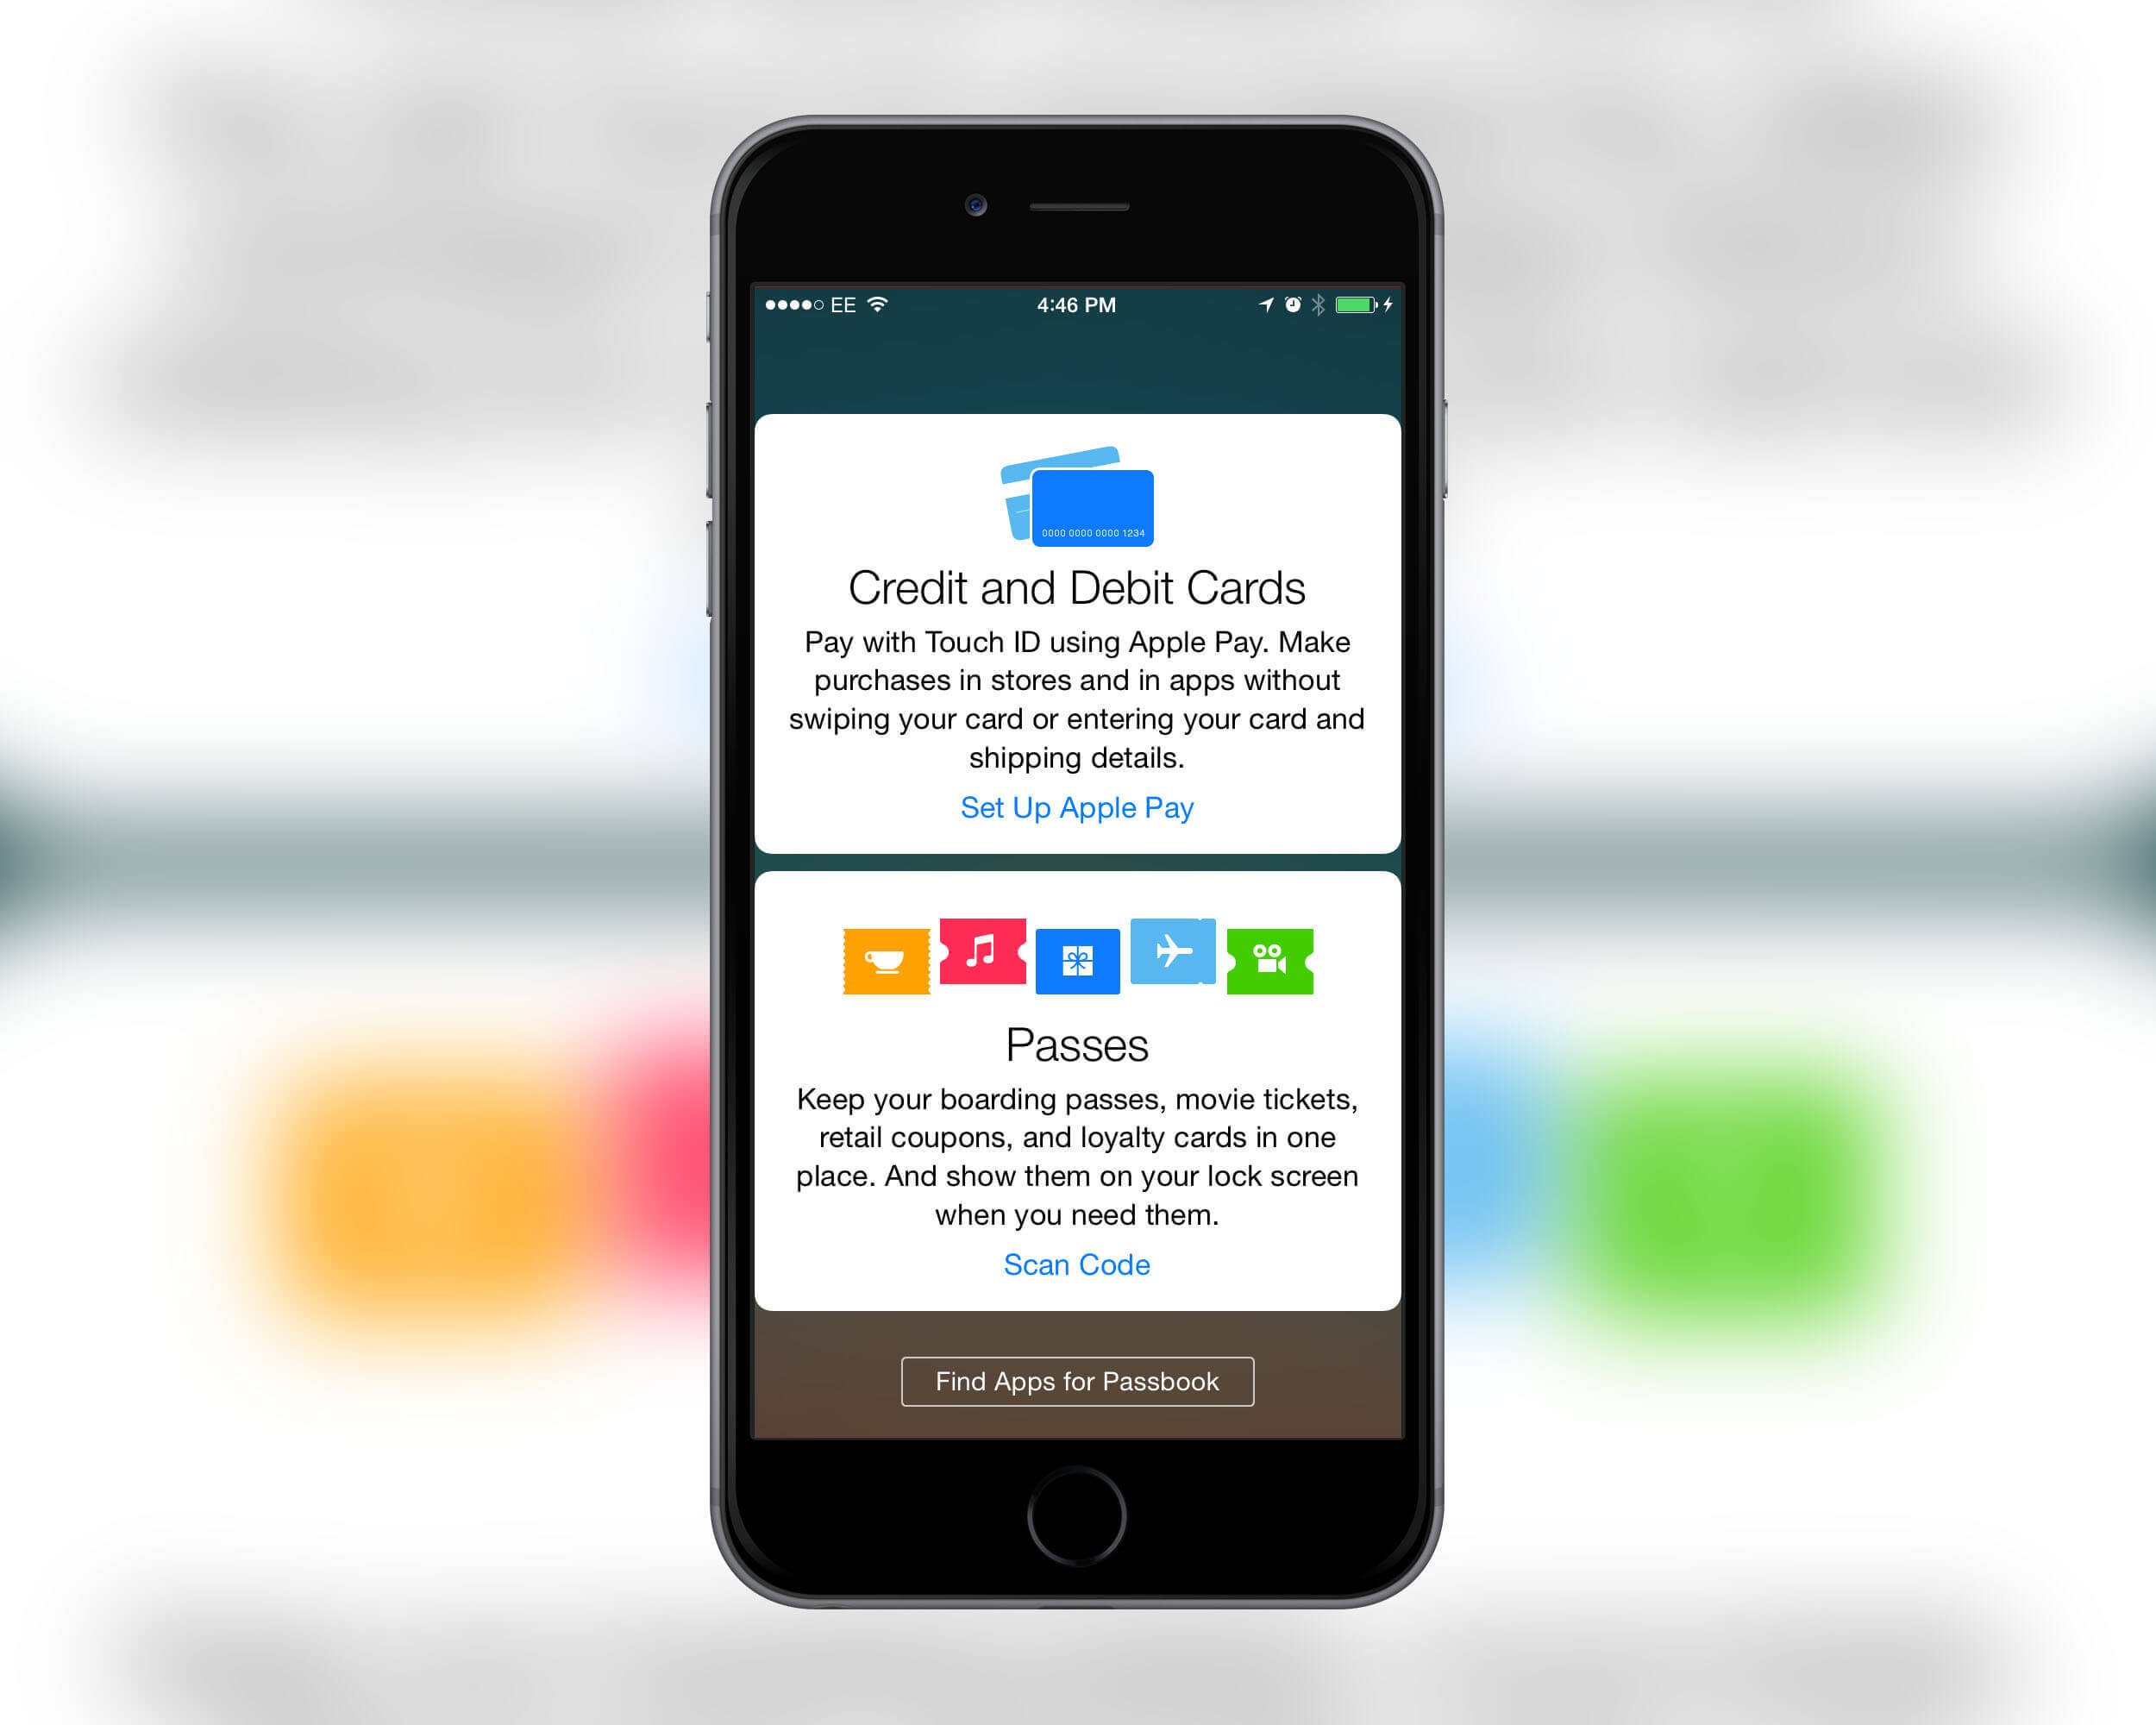
Add your credit card within the Passbook app
You can either use the card already registered with your Apple ID or add a new credit card. If you do add a new one you’ll be taken through to a page to enter your details. To quickly enter the long card number, tap the Camera icon and place the card within the box shown onscreen. The number will then be automatically entered and you can enter your expiry date and security code.
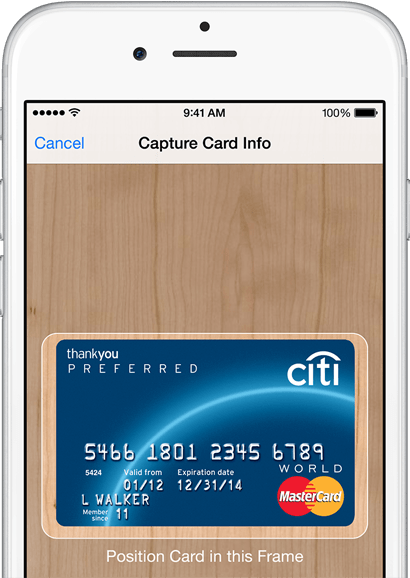
Use the camera to add a new card
After inserting the information, tap Done and Apple Pay will verify your card. For this, you need to have a compatible card registered with a partner bank. You can find the full list of these over at Apple’s website. Once verified you can use Apple Pay.
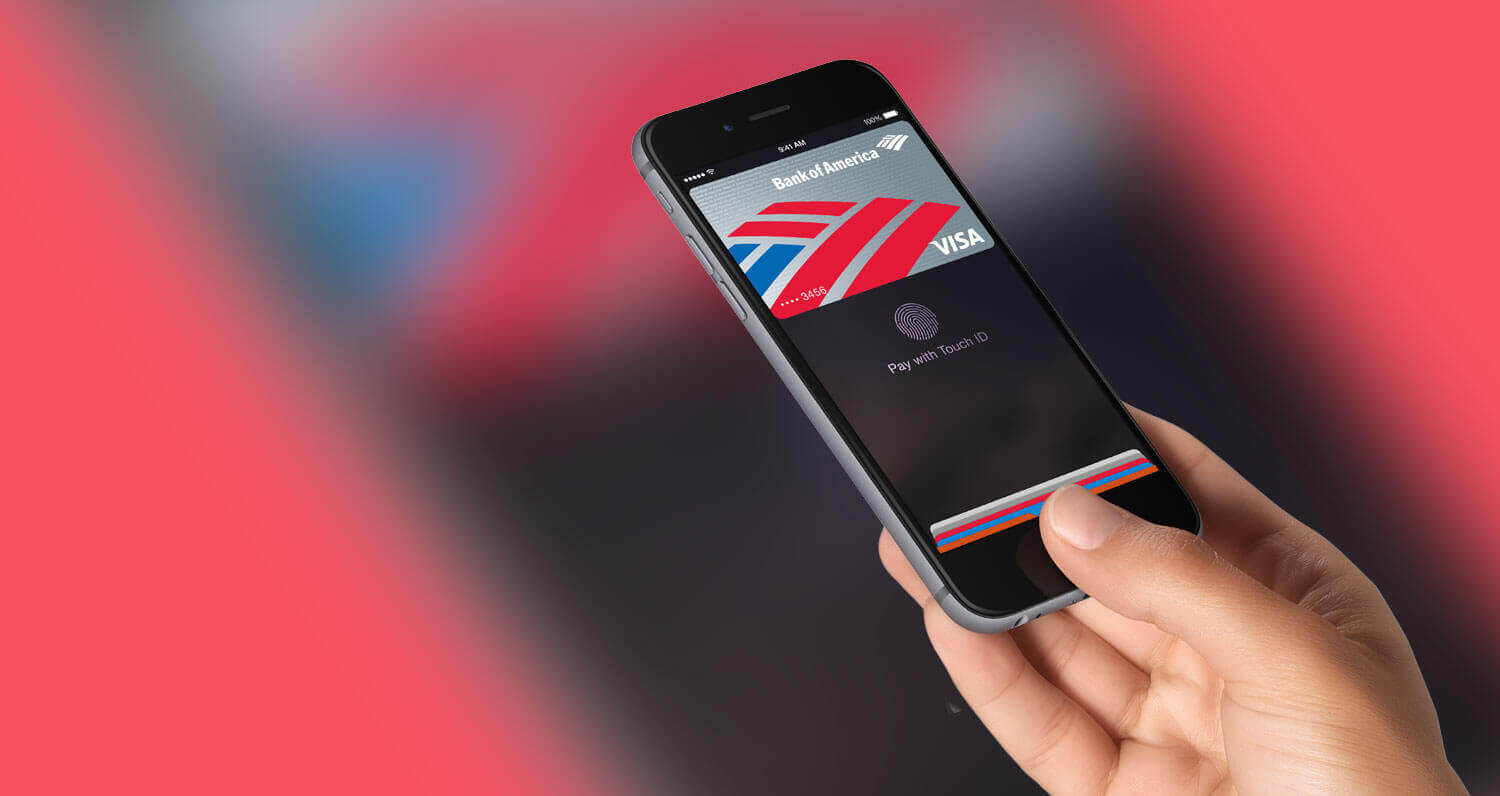
This is as simple as holding your iPhone over an NFC-enabled card reader and pressing your thumb or finger to the Home button to verify with your Touch ID.
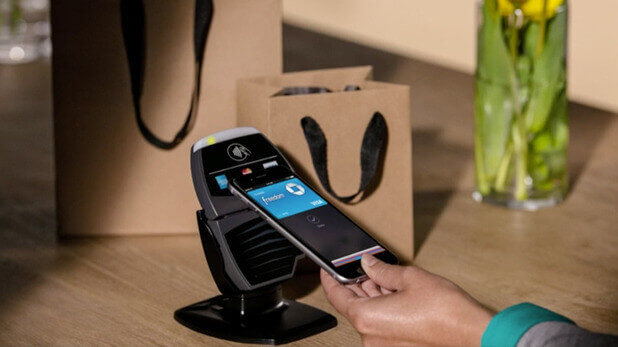
Hold the phone by a terminal and rest your thumb on the Home button