
Learn how to create images and work with tools in the iPhone’s best image-editing app
The majority of iPhone photo editors are relatively simple. Many are essentially libraries of single-click filters, occasionally offering a few extra tools for doing the odd crop or level adjustment. Pixelmator is different, offering desktop-style image editing capabilities on your iPhone. Here’s how to get started with it…
[Read our Pixelmator review here]
Create and edit documents
On launching Pixelmator, you’ll get the option to sync your creations across devices, by using iCloud. Should you choose to do so, previous work you’ve created will be accessible on the document picker screen. The screen has three buttons: Create image (+), Share (the standard iOS share icon) and Edit.
Edit enables you to select and then duplicate or delete an item, or rename it by tapping its filename.
The Share button provides four options: Send a Copy; Open in Another App; Save to iCloud Drive; Save to Photos. Select one of these, then choose an image, and you’re presented with relevant further options (such as the format to use for sending a copy, or an app list to open the file in).
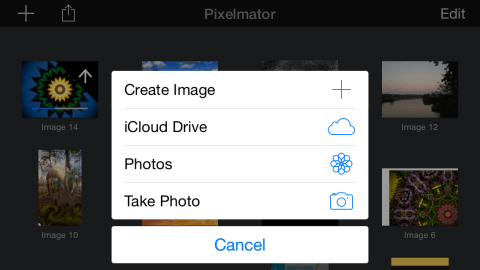
Tap + and you get several options: Create Image; iCloud Drive; Photos; Take Photo. All but the first enable you to select an existing image to work with. Create Image opens a screen for selecting templates.
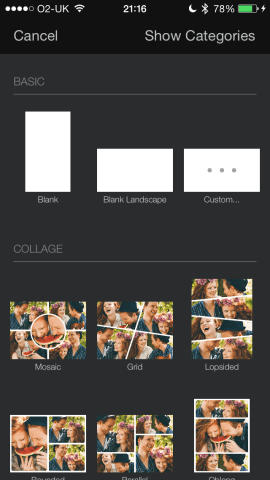
The ‘basic’ templates are blank documents. ‘Blank’ is a canvas the size of your iPhone’s display in portrait; ‘Blank Landscape’ is the same, but in landscape. (Pixelmator works in either orientation.) Tap ‘Custom…’ and you can choose specific custom dimensions. Below ‘basic’ are other categories with pre-existing content to swap out for your own, to rapidly create collages, cards, and beautiful photographic effects.
Master Pixelmator’s menus
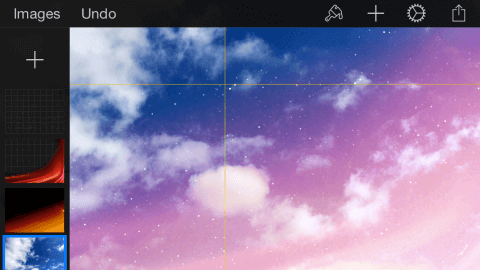
Once you’re in the main editing view, there are two buttons at the left of the toolbar: Images and Undo. The former takes you back to the document picker, and the latter undoes the previous action. (Tap multiple times to undo more actions; tap-hold to ‘redo’.)
To the right are four icon-based menus: Tools (a paintbrush); Insert (+); Settings (a cog); and Share (the standard share icon).
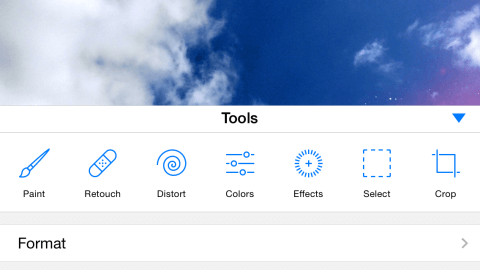
In Tools, you’ll find Paint/erase, Retouch, Distort, Colors, Effects, Select and Crop tools. Tapping a tool will often provide options (such as a brush type), and you then make your edits and tap Done to finish. Tools also houses the Format menu, for adjusting the style and arrangement of the current layer. Styles include opacity, blend modes and drop shadows; Arrange provides a means to change the layer’s position in the layer stack, its size and rotation, and whether it’s locked from editing.
The + menu has four tabs, enabling you to insert a photo, a new layer (blank, from the clipboard, or with a colored/patterned background), text, and vector shapes.
The Settings menu provides the means to adjust your canvas size and rotation, toggle the intelligent guides that appear when dragging items around the canvas, and also houses Pixelmator’s Help guide.
The Share menu is identical to the aforementioned one in the document picker.
Manipulate the canvas and objects
We’ll explore some Pixelmator tools in our walkthroughs, but there are some more global controls and methods that are useful to know first. Most tools work by dragging a finger on the canvas. Other standard iOS actions generally work as you’d expect: tap to select an object (and bring up a menu for cut/copy/paste/delete/duplicate); drag to move a selection (which will provide alignment guides as appropriate); two-finger rotate to rotate something.
Pixelmator has a layers system, meaning you can create items on each layer and edit them independently from the rest of the document. This can be useful for adding effects without affecting an underlying photograph. You can also use it for building up photos or art with separate objects that can be individually adjusted within the composition at any point.
To access the layers pane, drag from the left of the screen. Drag it down to access the new layer button (another +). Tap-hold and drag layers to move them up or down the stack. (Those at the top are ‘closer’ to your eyes.) Tap a layer to access its menu. If the layer’s locked, the only option will be Unlock. Otherwise, you can cut/copy/paste/delete/duplicate; a second menu is accessed using the right-facing arrow, and this enables you to hide the layer or go to the Style tab from the aforementioned Tools menu.
Three super-quick tutorials with Pixelmator
Now you’ve wrapped your head around where things live in Pixelmator, let’s get creative, with a few speedy walkthroughs.
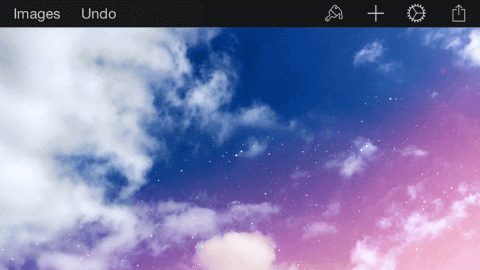
Create a custom-drawn kaleidoscope
Here, we’re going to use Pixelmator’s drawing tools and filters to create a kaleidoscope.
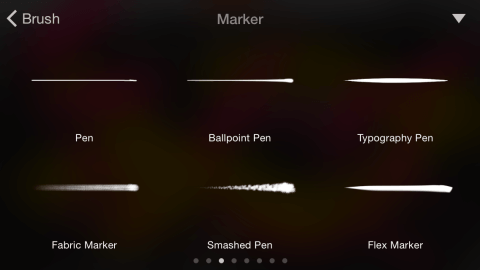
1. Create a new landscape document. Go to Tools > Paint and tap the tool type in the menu bar. In the Paint tab, tap the brush and select a brush type.
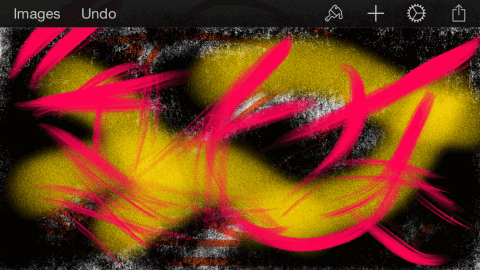
2. Scribble on the canvas, and don’t think too much about what you’re doing. Repeat this a few times with brush and colour variations. Tap Done.
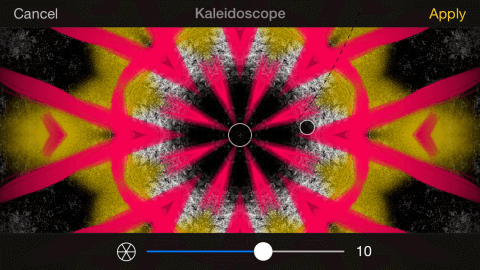
3. Go to Tools > Effects. Scroll the effects pane right and tap Kaleidoscope. Drag up/down to adjust the effect and use the slider at the bottom to change the reflections count. Tap Apply when done.
Make a lightning-fast collage
In this walkthrough, we’re going to use a built-in template to quickly work up a collage of photos.

1. Select a collage template from the Pixelmator document picker. We’ve gone for Rounded. Note, it’ll have to download if you’ve not used it before.
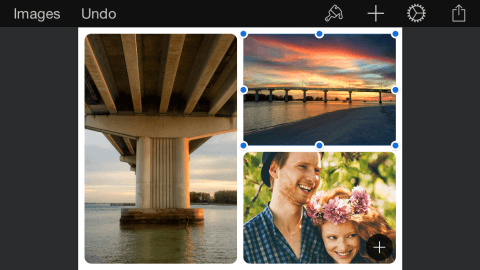
2. The template includes default images. For each, tap the add button (+ in a circle) and choose an alternate image from your photos.
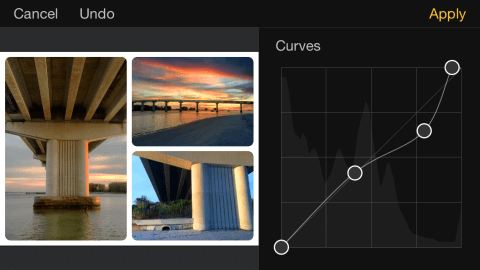
3. Resizing an image messes up the collage, but you can make other adjustments — tap an image, then go to Tools > Colors. The panel at the right will enable you to play with presets, levels, sliders and curves.
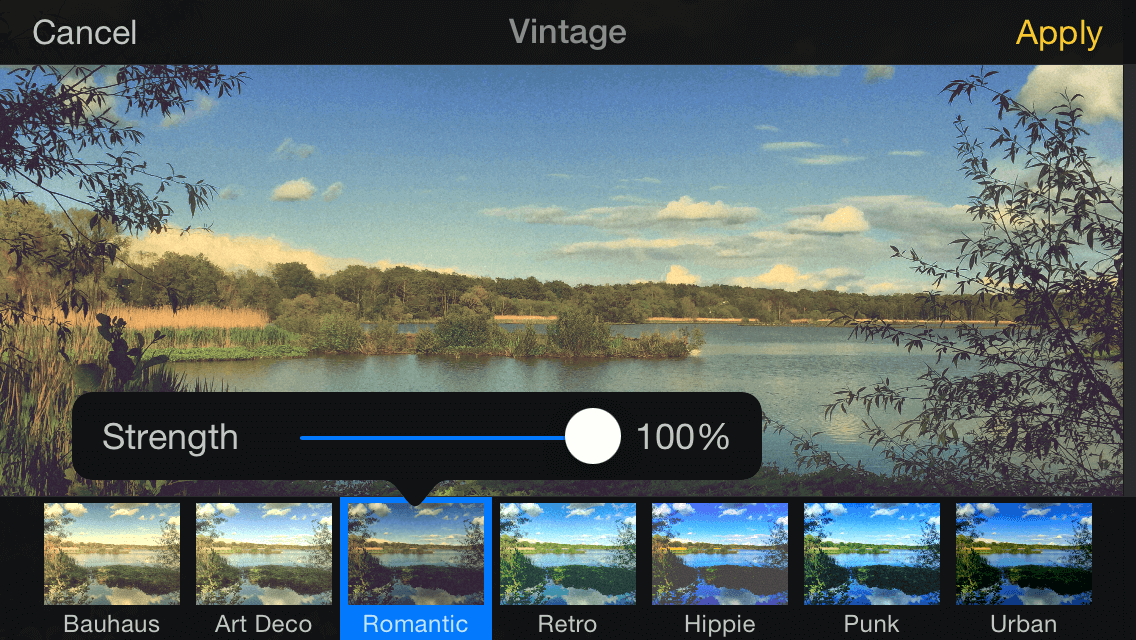
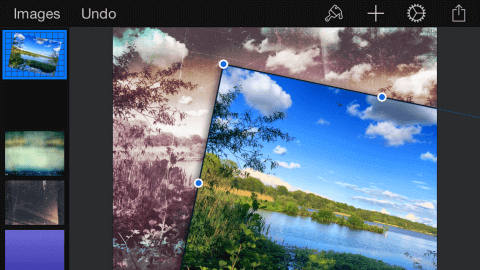
Experiment with photo effects
We’re going to create a split canvas, with a vintage effect on the left. On the right will be a colour image on a separate layer, with a border and shadow.
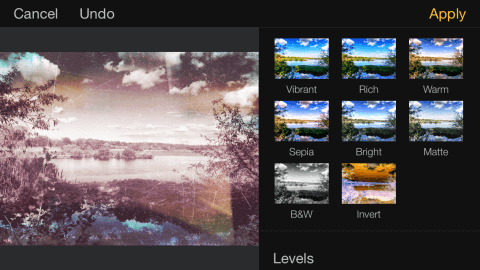
1. Create a new document, using the Aged Photo preset from the Vintage category. Add your own photo, and then go to Tools > Colors, select B&W and tap Apply.
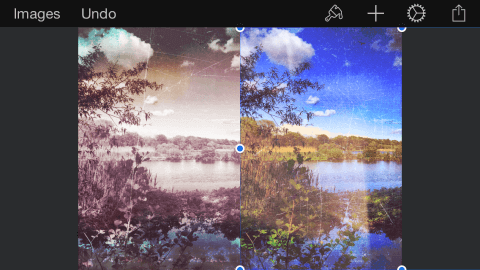
2. Press + and select the photos icon. Insert the same image as in the previous step — it’ll be placed on a new layer. Drag it rightwards until the half-way point. (An alignment guide will appear.)
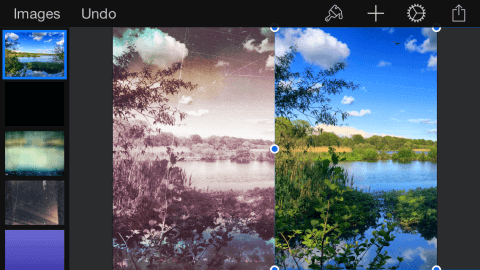
3. Drag from the left of the screen to access the layers pane. Tap-hold and drag the layer thumbnail that shows the photo added in the previous step until it’s at the top. This puts it ‘above’ all of the effects.
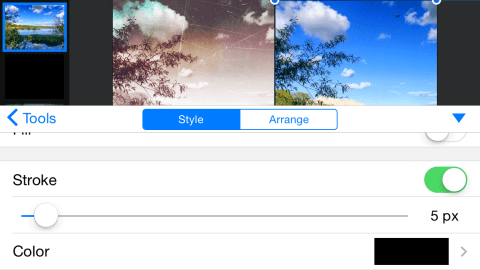
4. With the layer still selected, go to Tools > Format and select the Style tab. Turn Stroke on and set it to 5 px.
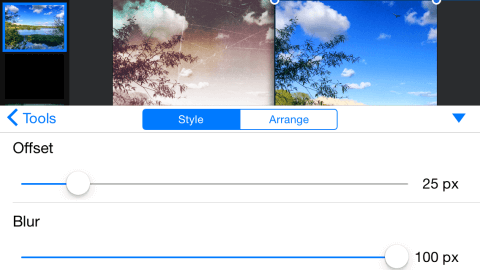
5. Still with the layer selected, scroll down and turn Shadow on. Set Offset to 25 px, Blur to maximum, and Angle to –180°.
6. Tap the down arrow to return to your image. Note that all the effects are live — try moving/rotating your colored image and you’ll see them update as you make adjustments.
That’s it for now! Have fun editing with Pixelmator.