
There’s a lot more you can do with Notes besides the basics. Here are some of the most useful features you’ll need.
Quick Notes
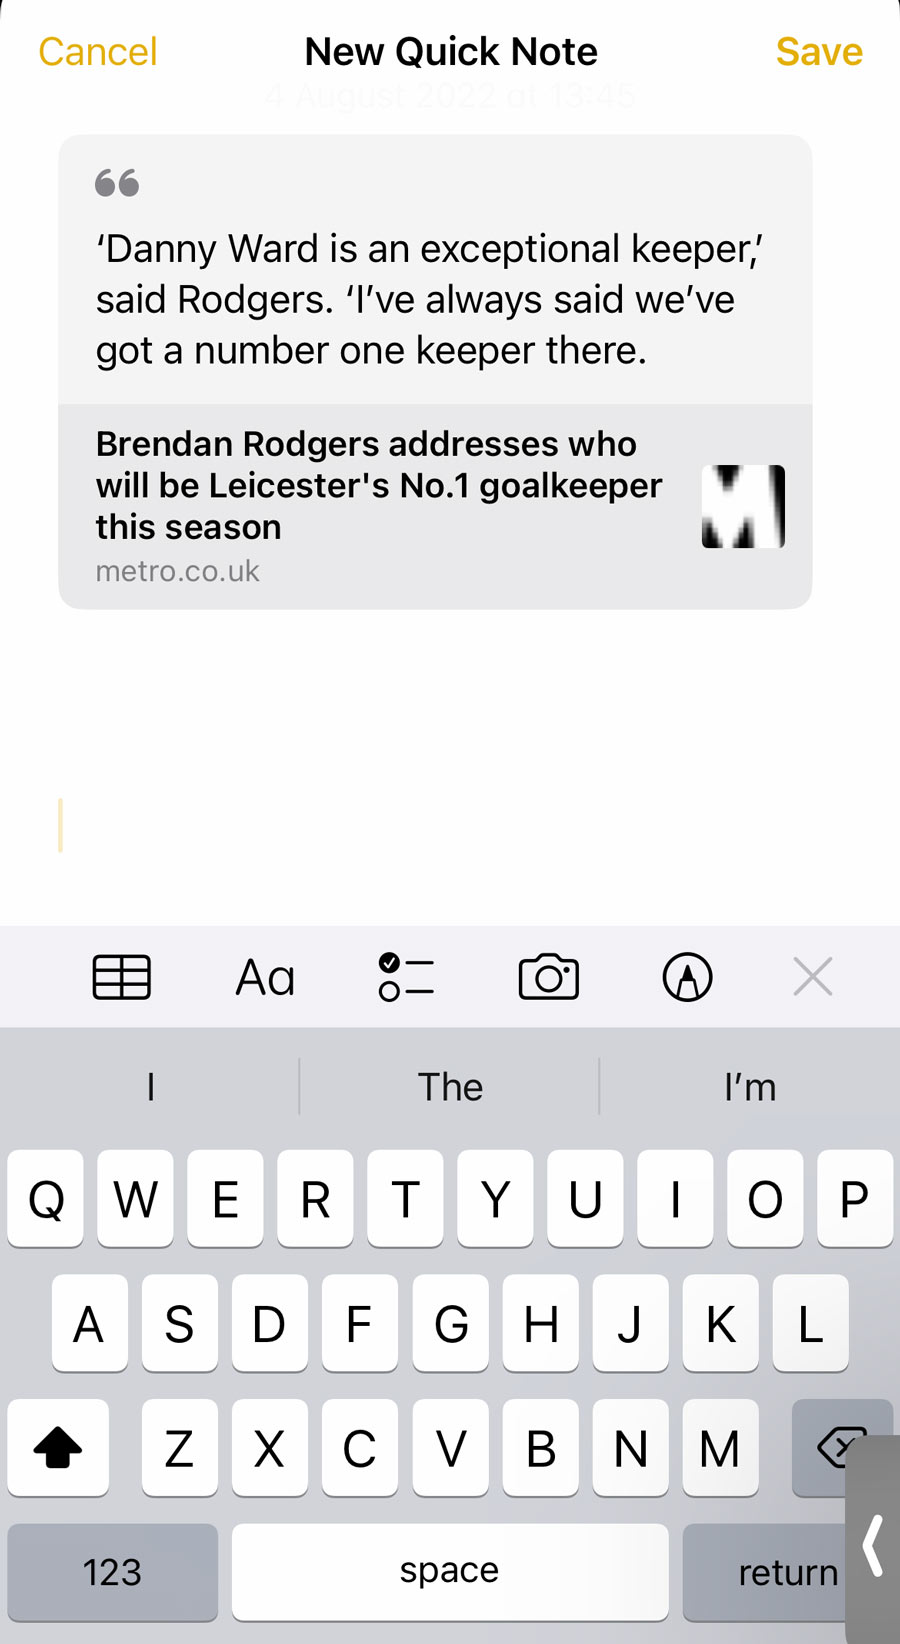
You can turn almost anything into an instant entry in Notes. There’s a button in the iOS Share menu, Add to New Quick Note, that can turn whatever you’re looking at into a note.
Once you tap it, you’ll get the chance to add any additional text before saving the note. Exactly what gets saved with vary by app, but in theory, this should work from any app that uses the iOS Share menu when you share something.
Pro tip: in Safari, sharing to a quick note will simply add a link to the webpage you’re viewing. If you want to highlight some specific information, too, you can select a bunch of text before tapping Add to New Quick Note. That way, your note will feature both the webpage link and the except you selected on the page.
Anything saved this way will appear in the standard Notes list, but there’s also a Quick Notes folder that only shows notes saved in this way.
Smart Folders
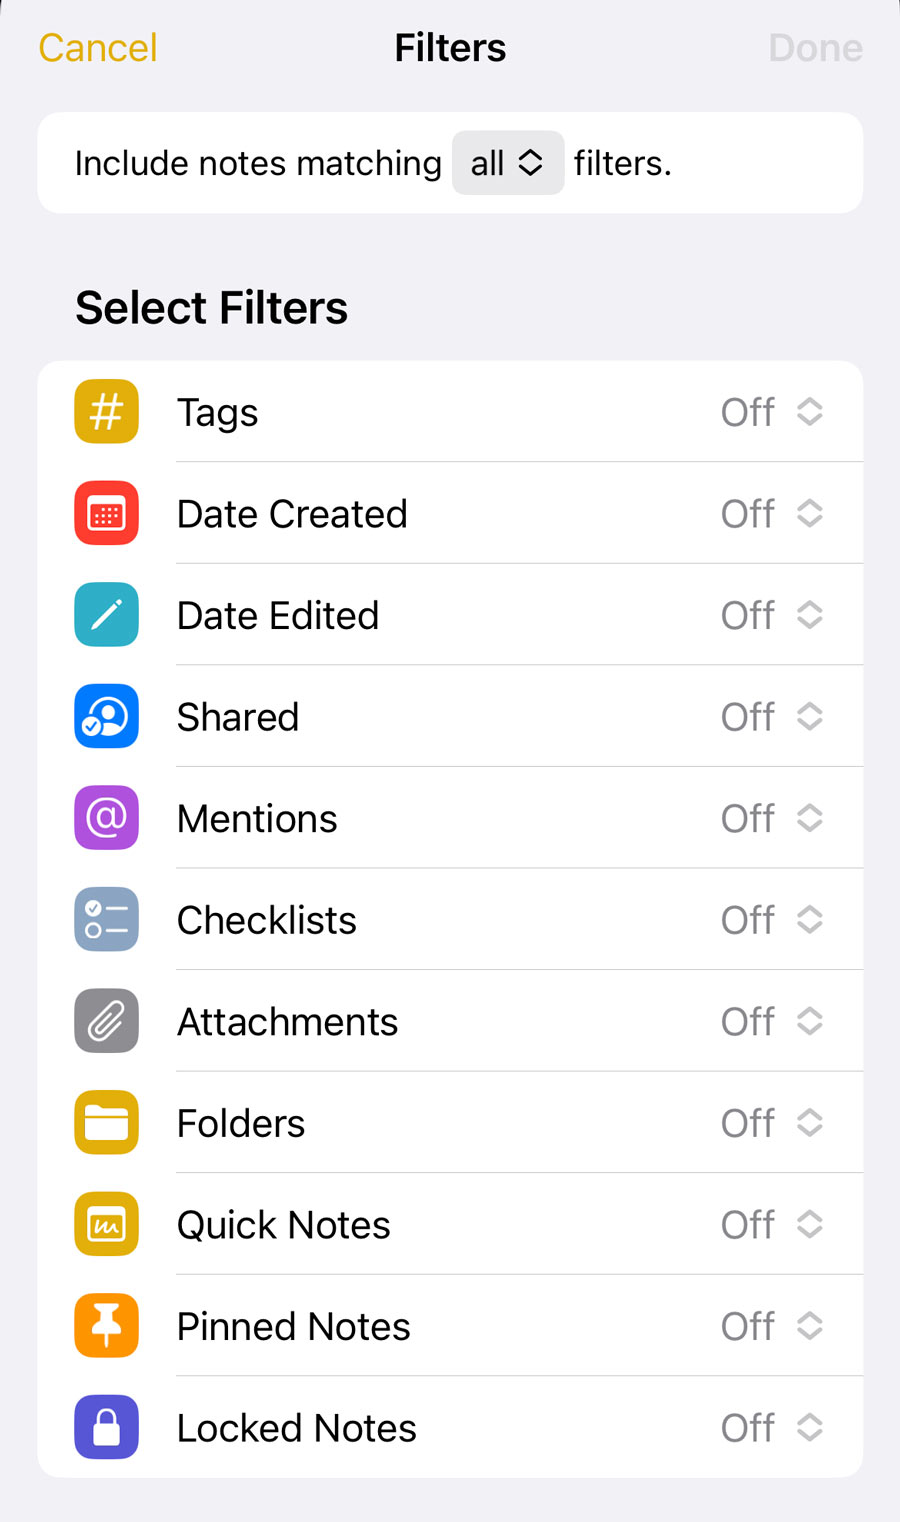
Speaking of folders, open the Notes app and tap Folders to see a list of all your folders. From here you can press the New Folder icon in the bottom left to create a new one. Choose a name and press Make Into Smart Folder.
You’ll now get the chance to filter your note by all kinds of filters, including tags; when it was created or edited; whether it’s shared with or mentions someone specific; whether or not it includes attachments, scans, or checklists; and more.
Pin your notes
It’s possible to pin important notes to the top of folders, so they’re always accessible even when you add subsequent notes.
To pin a note, long press on it and tap Pin Note. Alternatively, open the actions menu within the note itself and select Pin. The same processes will enable you to unpin a pinned note.
Collaboration
When you share a post in the Notes app, you’ll see a set of collaboration settings to choose exactly what gets shared, and how it can be interacted with.
At the top of the Share menu, first you’ll need to choose between Collaborate and Send Copy. The first creates a shared note that will update and sync with anyone you share it with, while the second creates a copy you can send like a static document, so the other person can change it without affecting your copy.
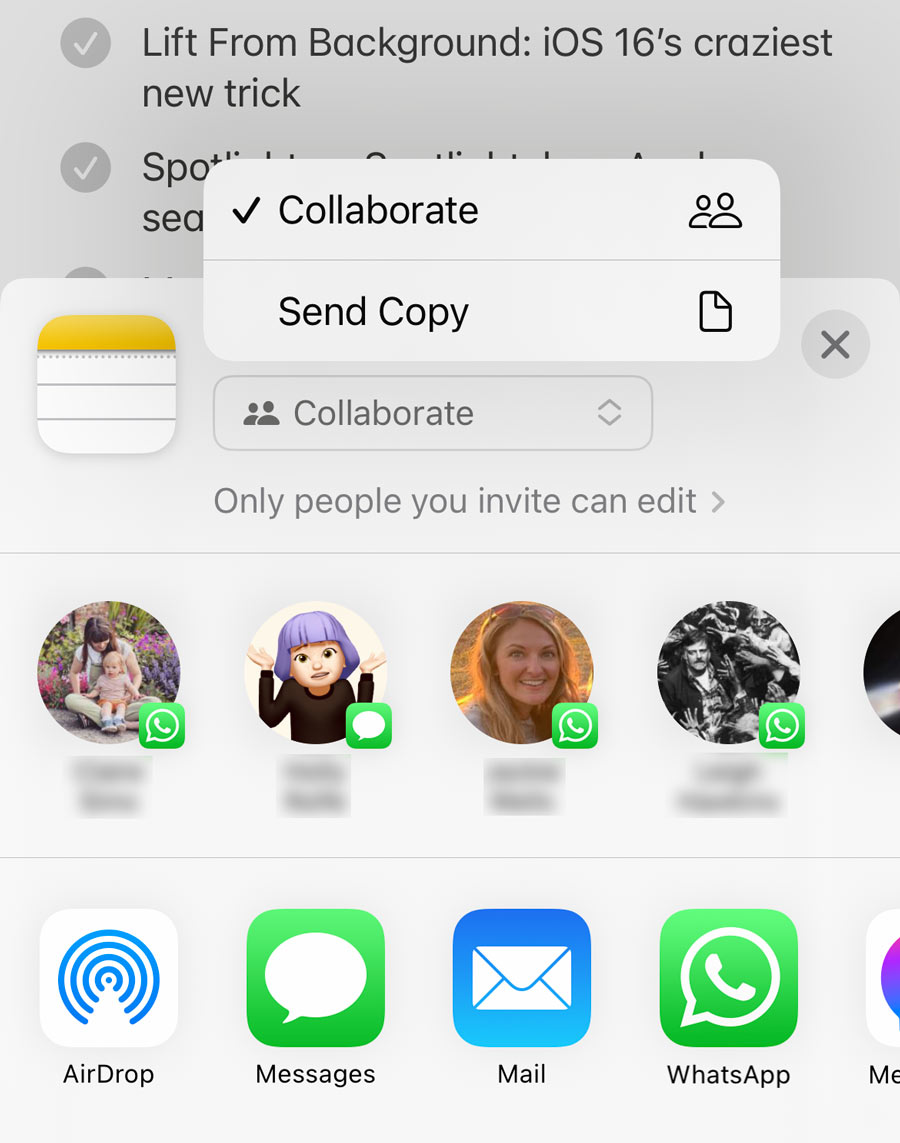
If you choose Collaborate, you’ll notice a permissions summary. By default, it says Only people you invite can edit, but you can change that by tapping it and changing the permissions. Then simply share the note as usual via the Share menu and those settings will be applied!