
Thanks to modern technology, we always have a digital photo album in our pockets – but wouldn’t it be nice to be able to see them in real life too? Whether it’s a photo you took on holiday, or just a nice picture of your dog, there are a few things you need to know to ensure high quality printing of your iPhone photos.
Print sizes
Most iPhone cameras shoot 12-megapixel images, and even the latest iPhones with 48MP cameras save 12MP images by default. This resolution is enough for very high quality photo prints up to around 14×9 inches.
Beyond that, the crispness of the print will gradually degrade as you increase the size. As big as 30×20 inches is just about passable if you wanted a large canvas print that will be viewed from a distance, but we wouldn’t recommend going bigger.
Aspect ratios
iPhone screens have an aspect ratio of 16:9 and the Camera app takes pictures to fit this ratio. Whilst this is great for on screen viewing, you’ll struggle to fit a print that long in a standard frame. That’s why one of the most important factors to consider when cropping photos for print is the aspect ratio of the images.
Open up the image you want to print in Photos, tap edit, and then select the crop icon at the bottom. Tap the aspect ratio icon in the top right (highlighted yellow in the images below) to bring up a list of ratios. Choose one to constrain your photo so it sticks to this ratio as you crop it. Remember these are ratios, not exact measurements, but can be translated to actual dimensions for common photo sizes. Here are some examples:
| 8:10 or 4:5 | 8×10 inches |
| 5:7 | 5×7 inches |
| 3:4 | 6×8 inches |
| 2:3 | 4×6 inches |
How to crop
Drag the handles at the corners of the image to crop the image. Once you’re happy with your crop hit done. You can get away with zooming in a little whilst cropping, but zoom too much and you’ll start losing valuable photo quality. Photos taken in low light tend not to print well either. Keep this in mind whilst you’re taking photos.
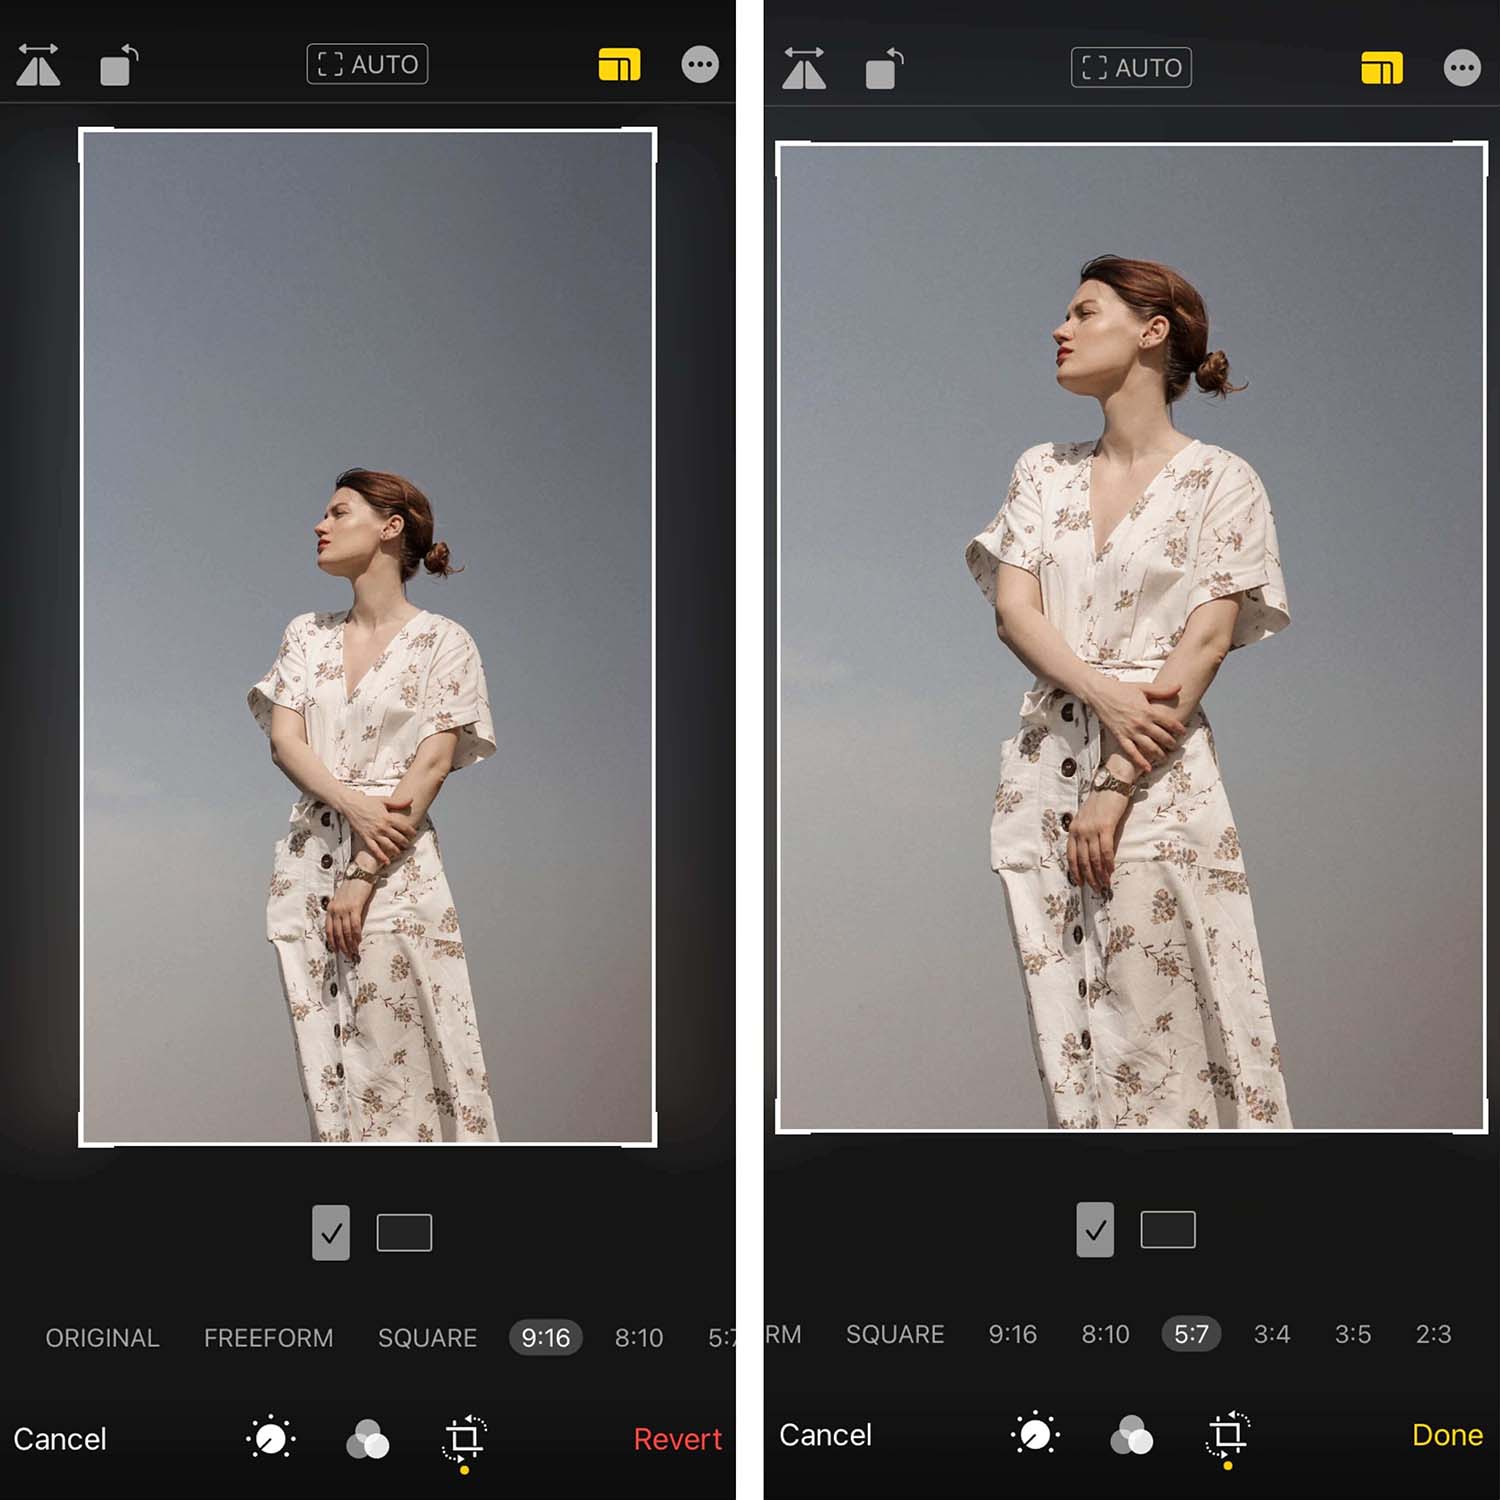
Left: original photo. Right: cropped to fit a 5×7-inch frame.
Once your images are ready, you need to decide whether you’ll print them yourself or send them off to a printing service.
Home printing
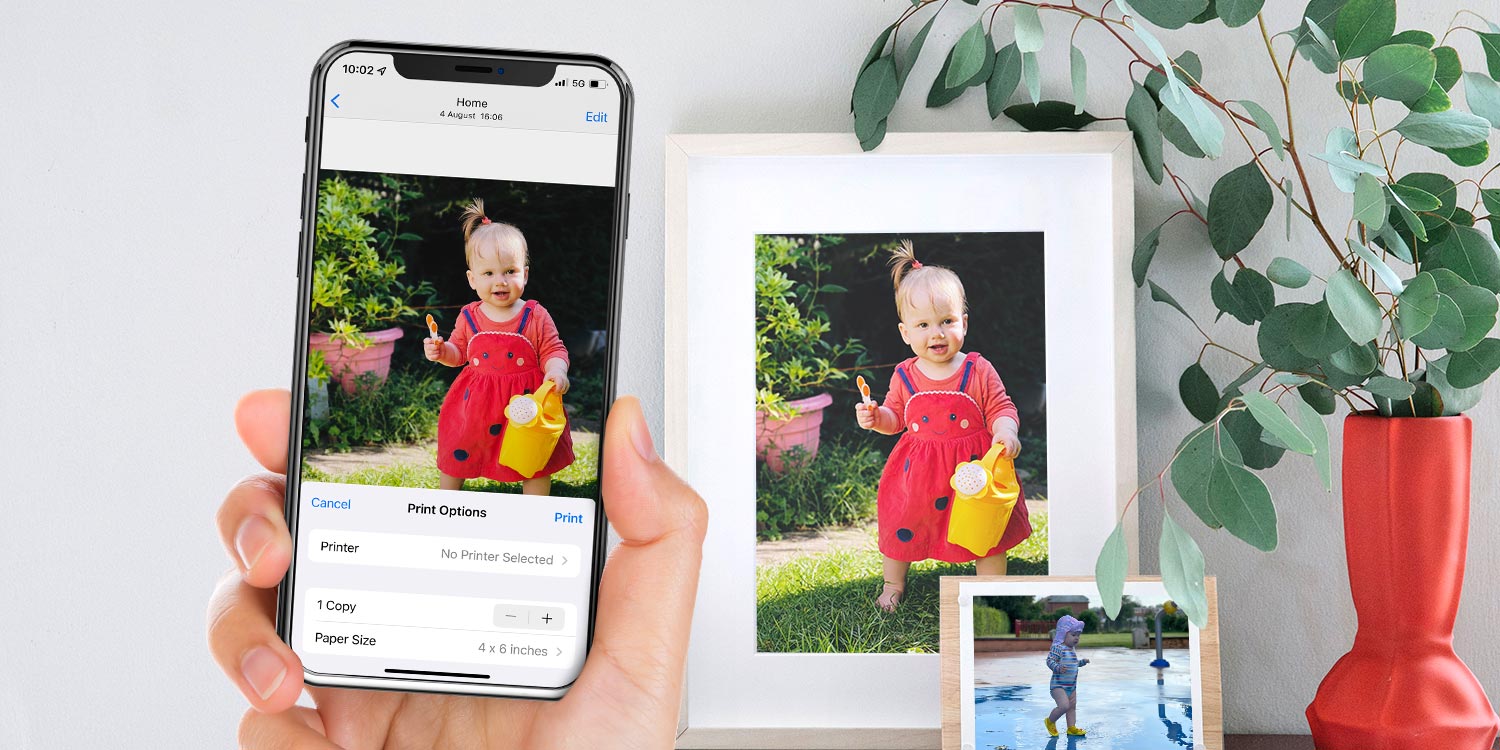
If you’ve an AirPrint-enabled printer, you’ll be able to wirelessly print from your iPhone. You can find a list of compatible printers on Apple’s website. If the printer is on the same wireless network, your iPhone will automatically detect it.
Press the share icon on your selected photo(s) and then tap Print to bring up a list of printers. Tap Print again to begin printing.
Once the document has started to print, Print Center will show up in the multitasking view. Open the App Switcher by swiping up from the bottom of the screen and you’ll see it. Tap the icon or screenshot and it will show you the print queue. From there, you can cancel any items that are about to be printed.
Once everything has finished printing, the Print Center option will disappear.
Printing online
Photo printing apps often have built in cropping tools, but planning ahead means you won’t be in for any nasty surprises that see a loved one’s face clipped out of the frame.
FreePrints offers a limited number of free photo prints per month. The catch is that they’re offered in one size only – 4×6 inches – and you’ll pay for shipping costs and any ‘upgrades’ you accept. Still, if you’re happy with the terms this can be a great deal.
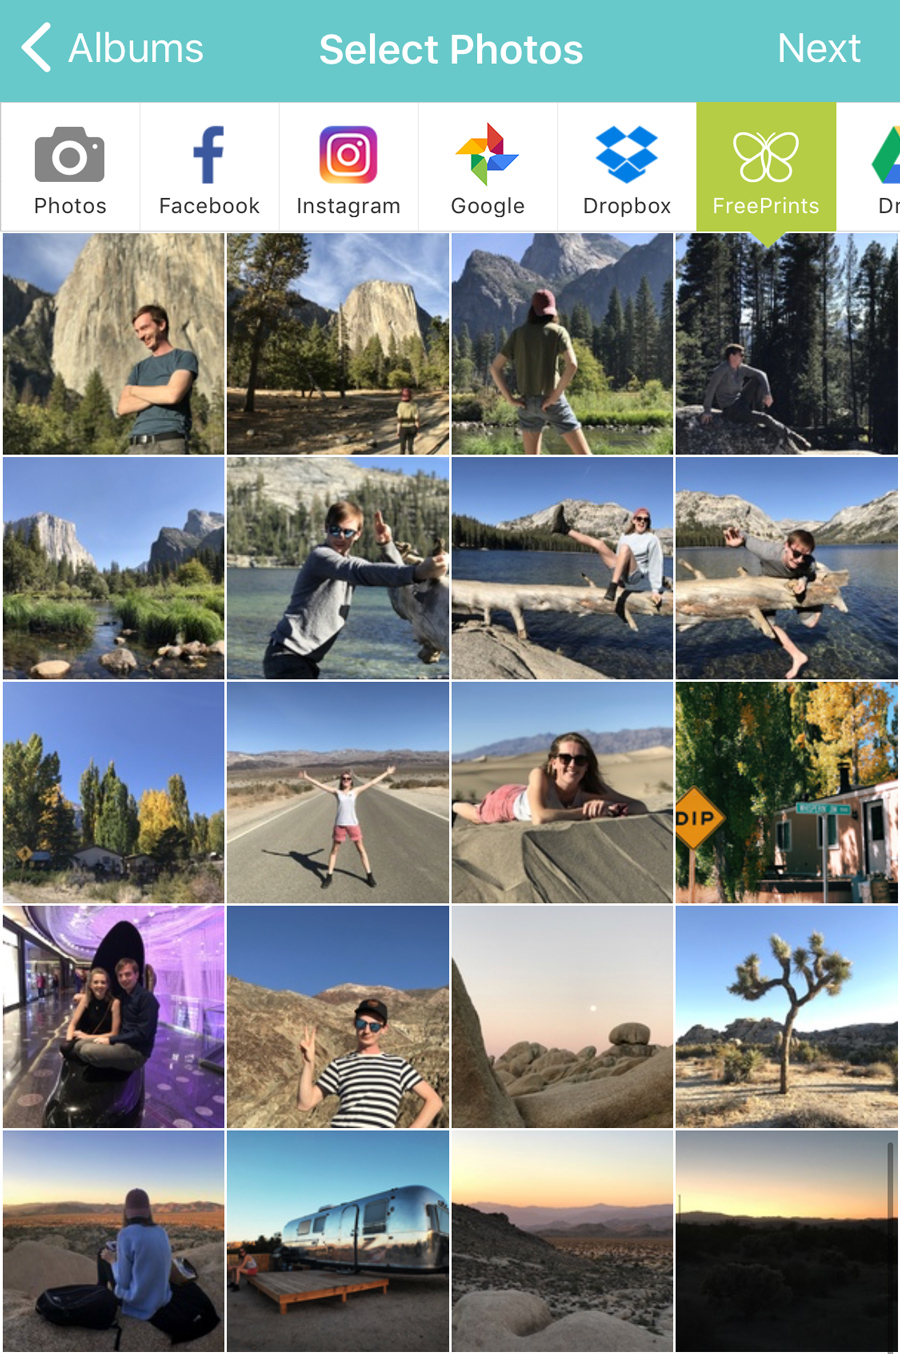
Get up to 1000 prints a year by making a FreePrints order every month.
Meanwhile, companies like Snapfish offer more flexible photo printing options – from a variety of print sizes to personalized gifts. You can order via the app and upload photos straight from your phone. Happy printing!