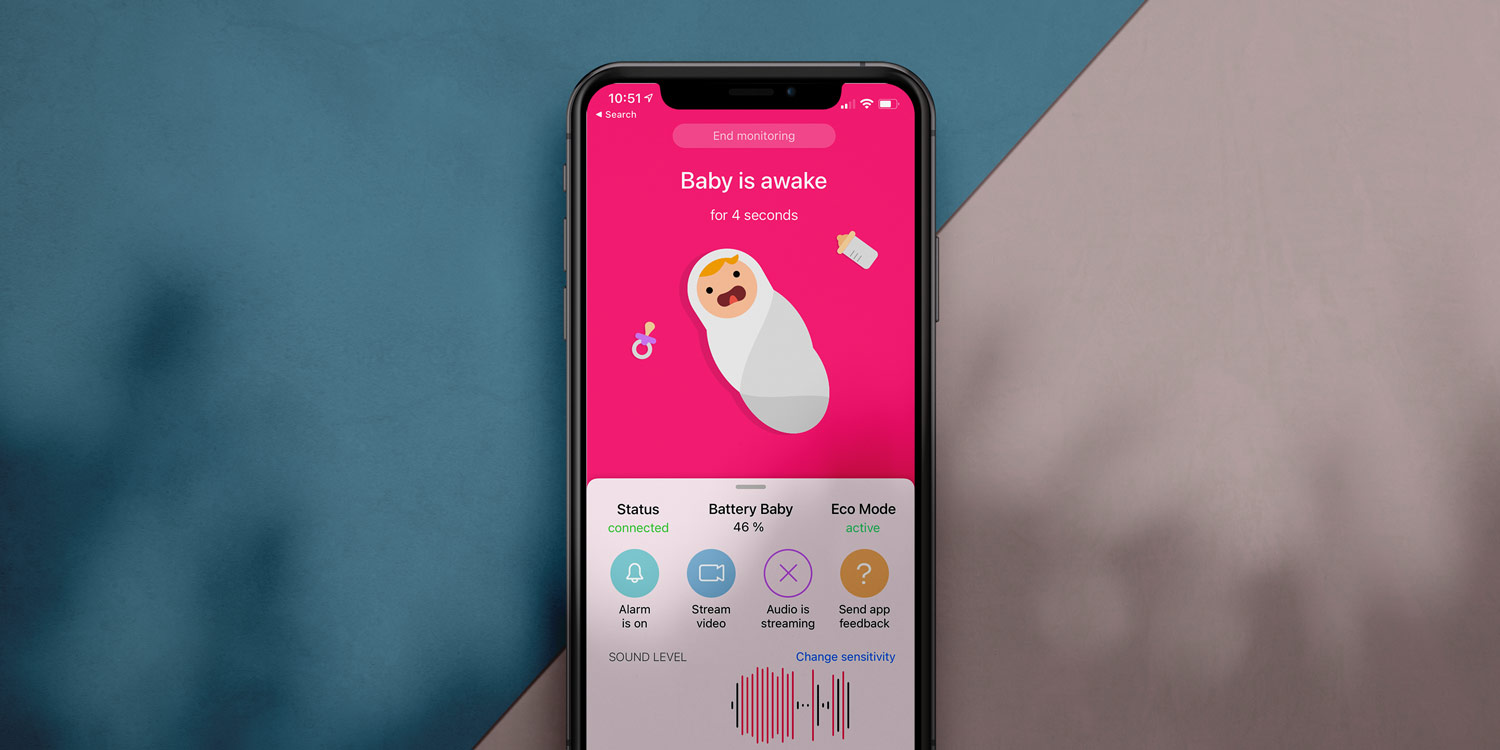

- How to set up Luna on two devices
- How to tune sensitivity to avoid false alarms
- How to add a live video feed
Baby monitors have come a long way – plenty of cheaper cameras now skip the dedicated video screen entirely and connect to an app instead. But those still tie you to buying a specific camera, which isn’t much use if you’re traveling light or trying to save money.
Luna takes a different approach. All you need are two iPhones or iPads you already own – leave one with your baby, keep the other with you, and Luna handles the rest: background listening, automatic wake-up alerts, and optional video streaming. The core features are free, with a one-off $15/£15 upgrade unlocking cellular streaming and audio playback while your screen is locked.
There are similar apps out there, but we couldn’t find anything that beats it at this price.
How to set it up
Download Luna on both devices. Open the app on the device staying with your baby and set it up as the Baby Station – it’ll confirm it’s in “detectable mode.” On your device, choose Parent Station and tap the first device when it appears, then hit Start to connect.
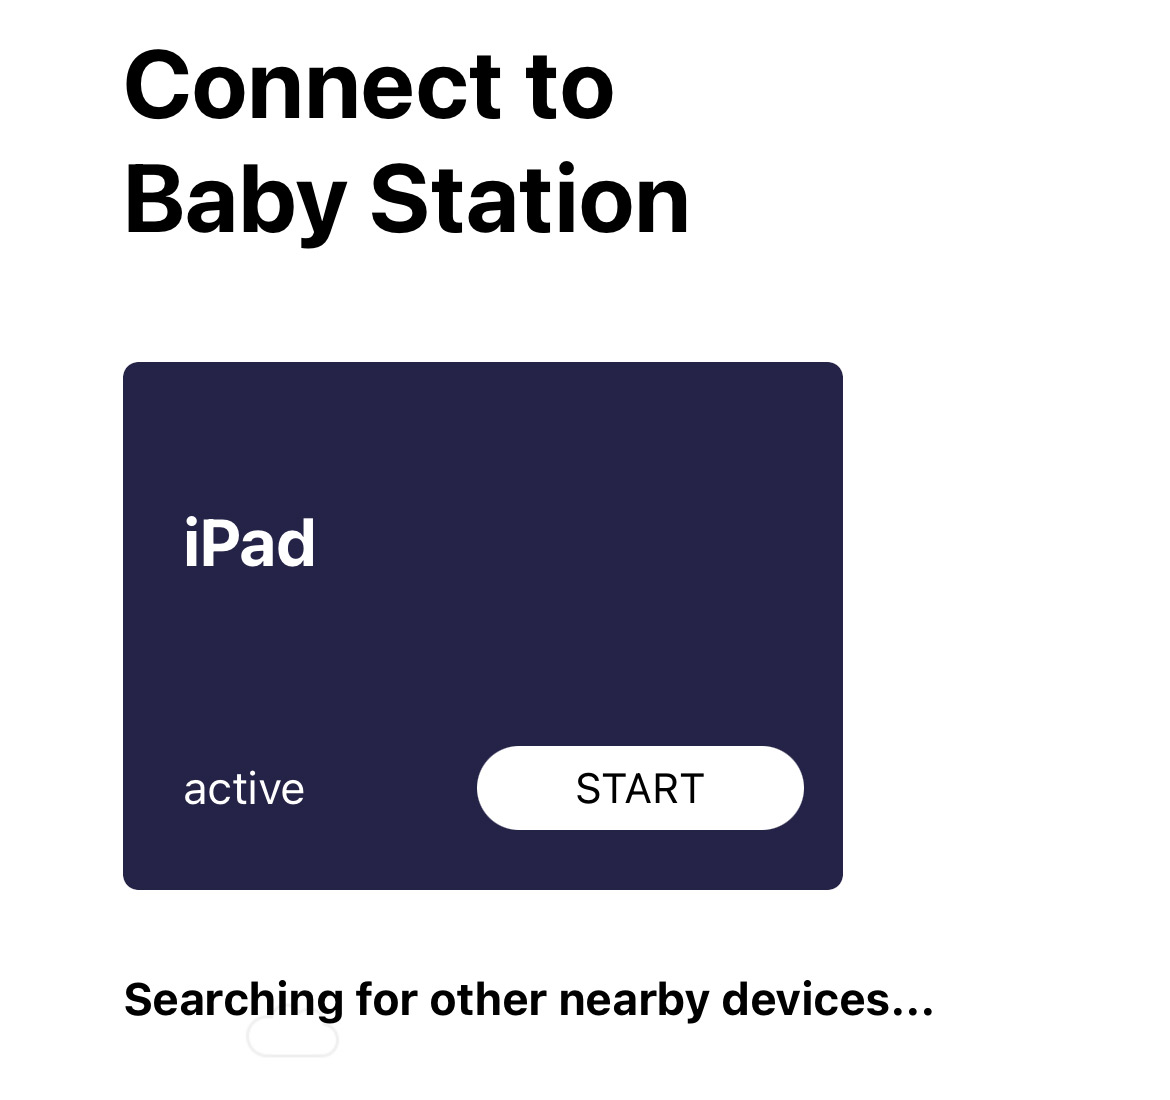
If they don’t find each other automatically, enter the Connection code from one device into the other to pair them manually. Luna will remember the pairing next time.
Once connected, the app listens for you and sends an alert if it picks up the sounds of a wake-up. You can also tap Stream audio to listen in at any point, though there’s no need to keep this running permanently – that’s what the automatic alarm is for. Just make sure the Alarm is switched on and your volume is turned up.
Adjust the sensitivity
This is the most important step, and Luna gives you a great visual tool to nail it. At the bottom of the Parent Station screen there’s a live audio chart showing sound levels over the past two minutes – anything highlighted red is loud enough to trigger an alert. Tap Change sensitivity (ranging from Low to Very High) and watch how the chart responds as you adjust.
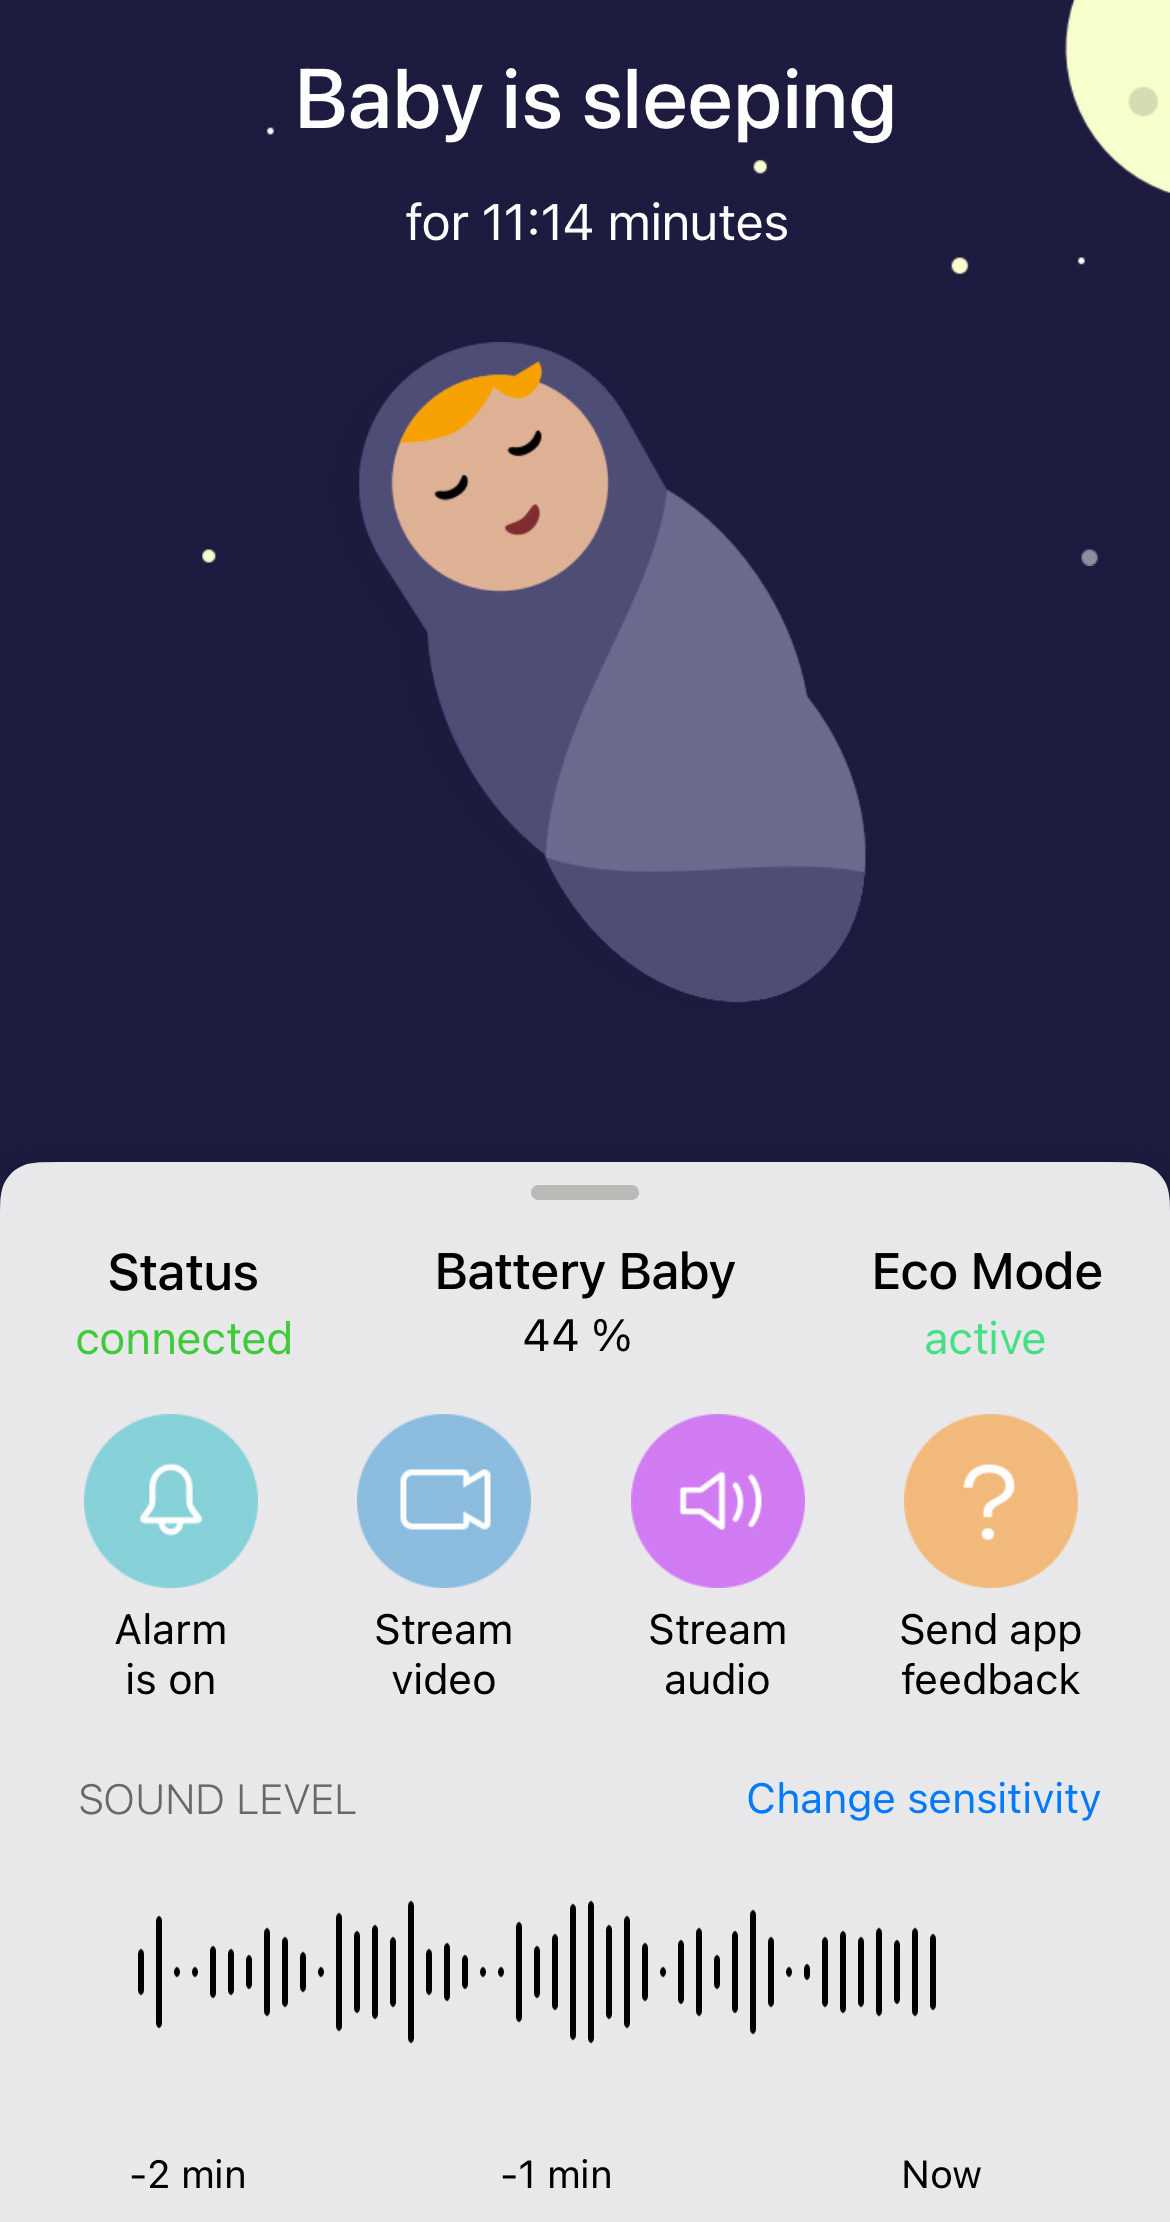
The goal is to dial things in so that normal background noise in the room stays below the threshold. If your baby’s a noisy sleeper, it’s also worth extending the alarm delay – that way only sustained sounds like crying will trigger an alert, rather than every little shuffle or murmur.
Adding video
Audio-only monitoring is the default, and it works well. But if you want a visual feed, tap Enable camera on the Baby Station to bring up a live preview. Find a safe spot to prop the device with a clear view of the cot or bed, then tap Enable to confirm. Back on the Parent Station, you can pull up the feed any time with the Stream video button.
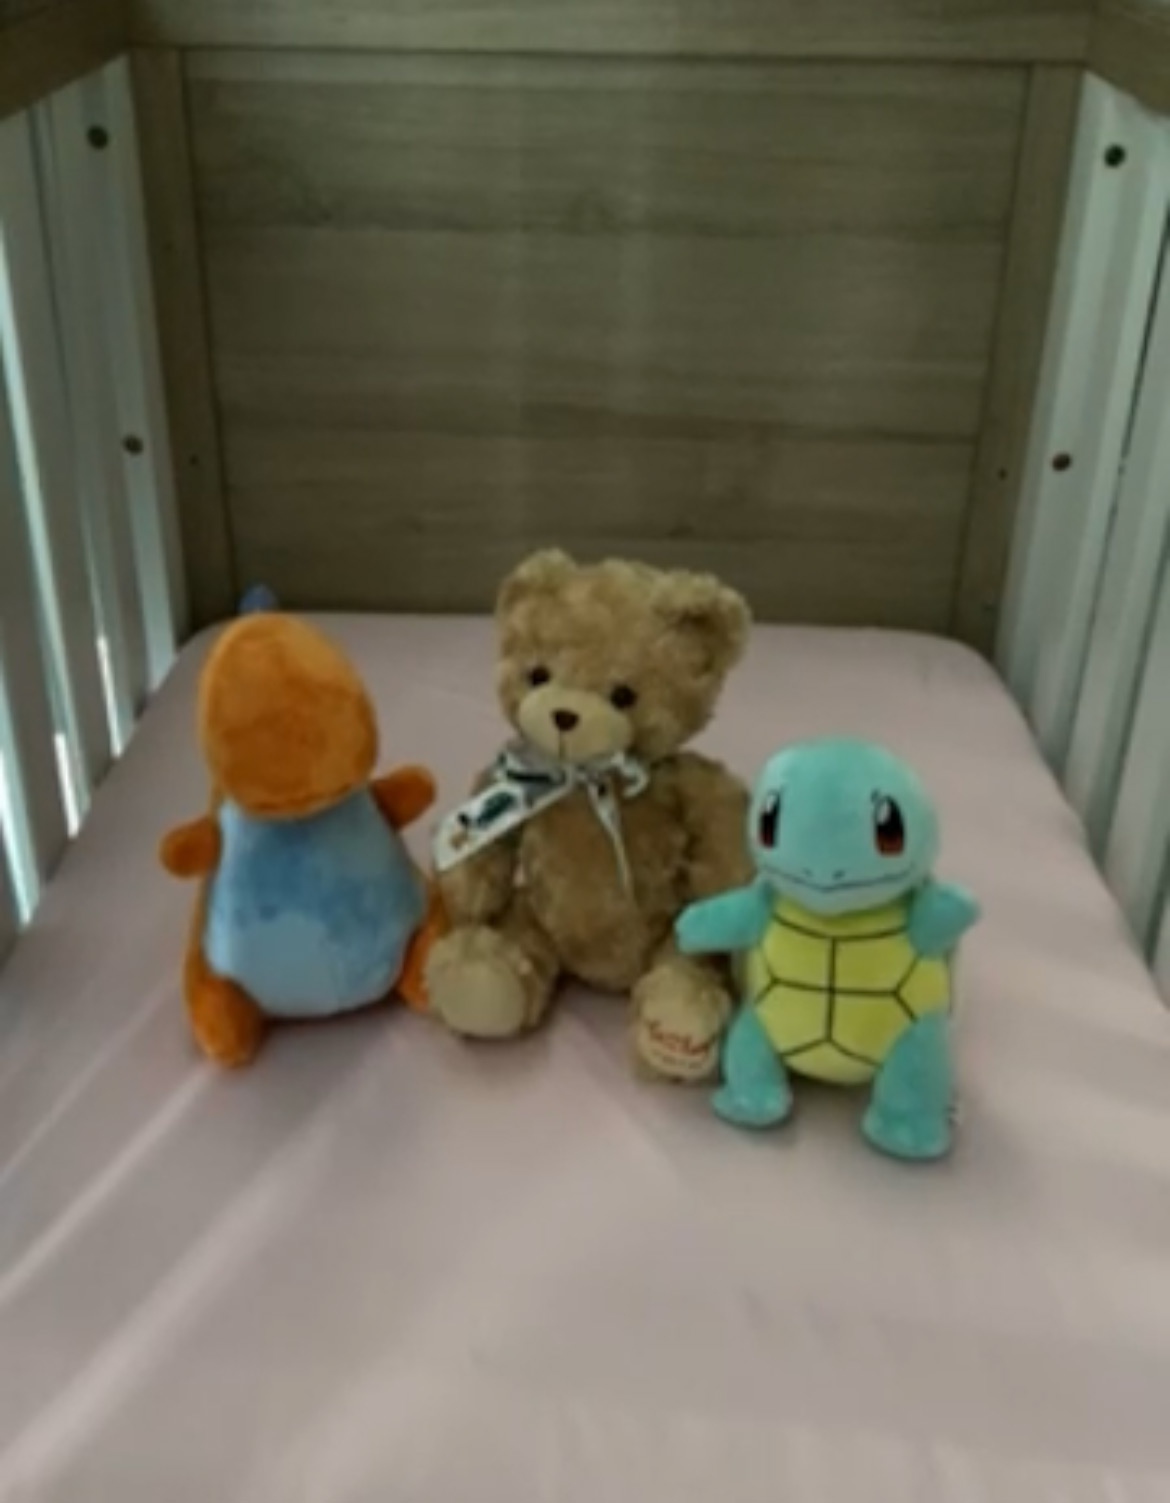
A couple of things to know: the video feed cuts out after 60 seconds to conserve battery, and video monitoring drains power significantly faster than audio-only. It also struggles in low light, so it’s not always practical at night. Set up the camera before connecting the second device if you can – in our testing that order avoided most glitches.
With all that in place, you’ve got a reliable, flexible baby monitor that travels with you – no extra hardware required.