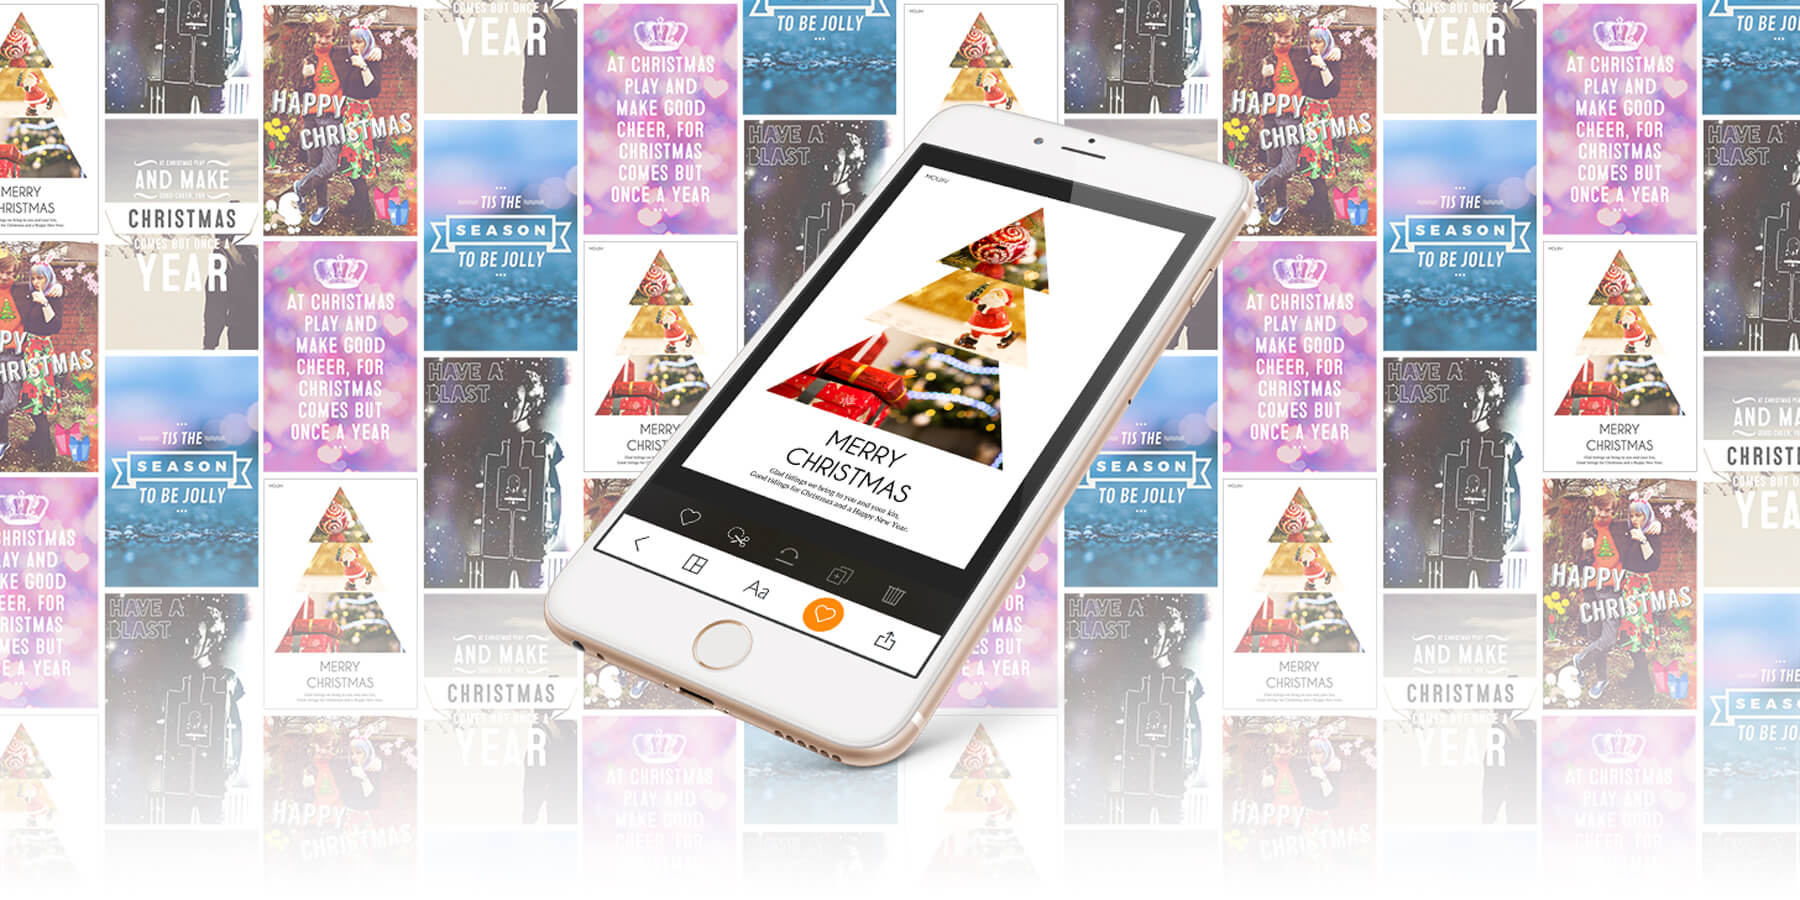
Christmas is getting closer – what better way to get in the mood than to make your friends and family some awesome personalized cards?
In this feature, we’ll look at how easy it is to design custom Christmas cards using nothing but your iPhone or iPad. Whether you want to embellish a tasteful portrait for the in-laws or make a stupid collage full of in-jokes, we’ve got you covered.
These digital designs are great for sharing via email or Facebook on Christmas Day. But if you want to go the extra mile and create physical cards, they’re also perfect for printing. See our guide to turning your pics into tangible gifts.
Let’s get creative!
Finding the right images
First thing’s first: you’re going to need to stockpile some appropriate photos to use as the base for your cards. We found it was useful to go through the Camera Roll in Photos and tap the heart button on any photos with greetings card potential. This adds them to the Favorites album, which can be thought of as an easy-access shortlist of suitable pictures.
Though your own photos are great for that personal touch, it’s also worth searching the web for some nice festive images. Google your friend’s celebrity crush, maybe, or give your card a more professional spin with some festive stock photos. Pexels.com is a particularly useful resource for free stock images; they’re free to use (even commercially) and you don’t have to log in to download them.
If you find an image you like the look of, press and hold it until a submenu pops up and press Save Image. It will be added to your Camera Roll and can then be put in the Favorites album with the rest. When you’re done collecting photos, it’s time for the next step… editing!
Editing your pictures
For cropping and basic tweaks, the standard Photos app is fine – but if you want to add messages or fun effects, these three apps are a much better proposition! Here’s how each of them works.
MOLDIV (Free)
This app is a great all-rounder, and our pick as the single best app for your Christmas card needs. The Edit mode is full of tools to help hone your photos to perfection, with a selection of excellent Filters and Textures to choose from in addition to the standard.
If you’re planning to print these later, it’s a good idea to use the Crop tool to trim your photo down to a standard 2:3 image ratio. If you took the picture on your iPhone, you’ll probably lose a little from the sides – but it’s better to design with this in mind rather than get a shock when it’s time to submit them for print!
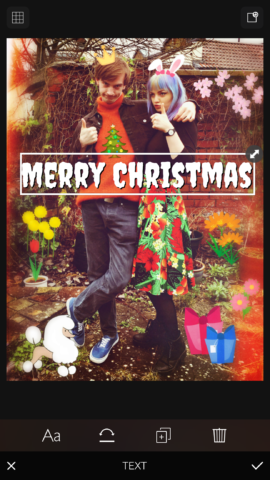
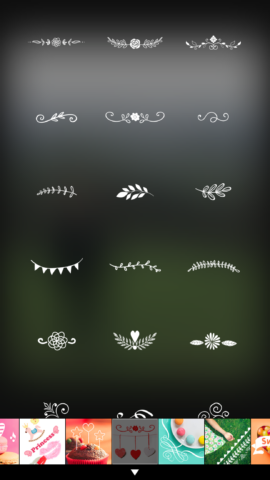
Searching through the app’s many Stickers reveals plenty of potential for augmenting your designs. A fun trick is to add a load flowers and such to the background of your image, and then use the Blur tool to soften the edges of the shot. This simultaneously brings the subject into focus and helps to blend the stickers more naturally into the frame. It’s not exactly realistic, but it’s a cool effect!
You can also use the Text tool to add emojis (🍾🎄🎁) if the sticker collection isn’t quite festive enough for you. When you’re happy with the overall image, the final step is to overlay a Christmas greeting with the Text tool. Pick a nice font, add a drop-shadow if the text doesn’t stand out enough, and you’re done!
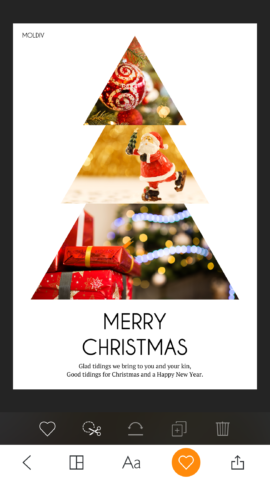
If the sticker approach is a little gauche for your sophisticated tastes, MOLDIV has another fantastic feature up its sleeve. From the main menu, select Collage or Magazine mode to combine multiple photos into a single design. The first of those options provides you with a set of simple layouts in which to place a series of pictures, while the latter offers up some professional-looking mag-style templates perfect for Christmas-based amendments. Both the collage and magazine layouts are customizable, and you can still add your own text and stickers on top of the designs, if you wish.
It’s worth noting that although the app and all its core functions are free, some of the extras are unlocked with in-app purchases. If you can justify the cost, we heartily recommend unlocking the whole lot in bulk, as you’ll probably end up using the app again and again. In our experience, MOLDIV is for life – not just for Christmas.
Over (Free)
If you don’t want to mess around tweaking every aspect of your photos but you still want to add a slick-looking greeting or caption, Over is the obvious choice. (Though the app is free, and the basic functions plenty for our needs, those who really enjoy the app may wish to subscribe to Over PRO for access to additional features and templates.)
Load up the app and you’ll see a range of slick layouts and photos. Some of these are free and can be used as a slick starting point for your card. Alternatively, tap the big ‘+‘ button to start from scratch with your own photo. Again, we recommend a 2:3 image ratio if you’re going to print these later.
Once you’re in, the app is relatively straightforward to use. The tabs allow you to add images, text, and artwork – though the shapes section is for PRO users only. The Artwork tab is particularly helpful if you’re short of inspiration, giving access to a range of beautifully hand-drawn quotes and messages. Text is the real focus of the app though, with a plethora of editing tools at your disposal to help get your ideas from your brain onto the app as accurately as possible.
Retype ($3/£3)
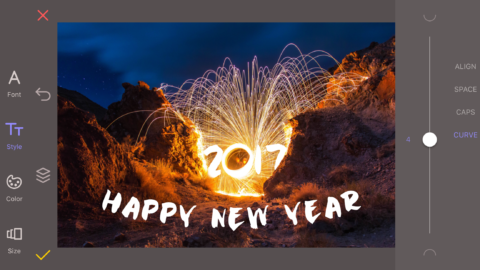
If everything we’ve mentioned so far just sounds like too much work, Retype is a great way to automate most of the creative process. Choose a background picture and type out a phrase, and this app will auto-magically generate some fancy-looking text art. There are fifteen different styles to choose from, and repeatedly tapping any of the themes randomizes the layout so you can experiment until you’re happy with the combination.
You can add your own images or choose from a decent selection of included backgrounds, and the tabs along the bottom allow you to tweak the colors, blur and opacity to make sure the text is as legible as it is beautiful. It’s a low-effort way to produce great-looking, social media-friendly greetings cards!
That’s about it from us – the rest is up to you! Get creative with our app suggestions, and don’t forget to read our companion article to find out the best ways to bring your digital imagery to life as cards and prints!
