
Something a bit different for this Deep Dive. Instead of an app you should be using, this one digs into a great iPhone feature and how to get the most from it: StandBy.

What is StandBy?
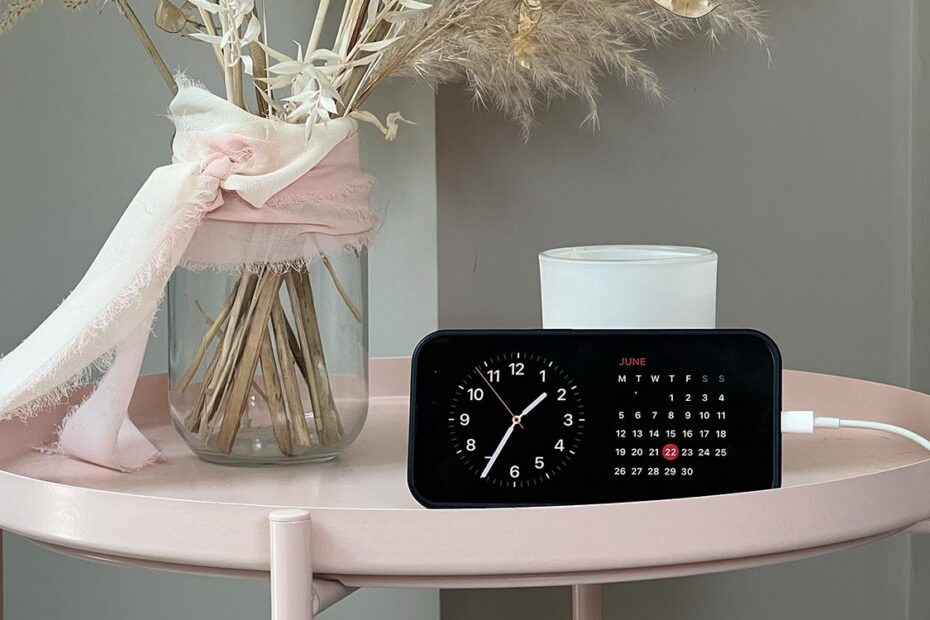
It’s a special mode for your iPhone, introduced in iOS 17. When your device is charging and positioned in landscape (horizontally), StandBy will appear. This will give you quick access to the time, favourite photos, and a whole bunch of widgets.
What makes StandBy great?
It makes an idle iPhone useful. Rather than your iPhone doing nothing on your desk while you’re busy with other things, it can provide at-a-glance info. Better still, it might encourage you to dock your phone while working instead of constantly picking it up.
How can I get started with StandBy?

Turn on StandBy: In Settings, go to StandBy. If the feature is not already enabled, switch it on. If your iPhone doesn’t have an always-on display, you will see a single option under Display: Night Mode. Turn this on if you’d like StandBy to take on a red tint in low light.
Set always-on behaviour: On an iPhone with an always-on screen, Display gives you far more options. Under Turn Display Off, Never leaves StandBy visible indefinitely. After 20 Seconds makes StandBy behave much like on older iPhones. Automatically intelligently turns the display off when the room is dark. And the Motion to Wake option at the bottom of the pane briefly turns StandBy on when the surface your iPhone is resting on gets nudged.

Tame notifications: If you’re using StandBy to avoid distractions, you won’t want notifications taking over the screen, so turn off Show Notifications in Settings > StandBy. Or use Show Preview on Tap Only to merely hide notification previews until you tap the screen.
Set up your iPhone: Ensure your iPhone is charging, either with a cable or MagSafe. If you’re using a cable, a stand will keep your iPhone stable. Position your iPhone in landscape and lock it with a press of the side button.

Change views: If you don’t see a clock, swipe to the left once or twice to reach the clock view. Swipe right and you’ll see the photos view. Swipe right once more for the widgets view.
Customise the clock: In the clock view, swipe up and down to browse options. The world map shows locations saved in Apple’s Clock app. Tap one to see its local time. For other clock types, tap-hold to enter edit mode, and use the button at the bottom right to access a pop-up that lets you change the clock’s color.

Choose photos: In photos view, unlock your iPhone if prompted. Photos refresh every 40 seconds and briefly show when and where they were taken. To change which albums this view uses, tap-hold the display, then use the eye buttons to hide categories, or + to add new albums.
Simplify photos: You cannot remove pre-existing photo categories, but you can disable any of them. For a focused photo frame featuring only your absolute favorites, disable every pre-existing category, create a new album with a few choice snaps in the Photos app, and then add just that one new album to StandBy.

Use widgets: In the widgets view, you can swipe up and down to change what’s shown, but each side of the screen has its own set to cycle through. This lets you pair combinations such as a clock and calendar, or a music player with a weather widget.
Update your widgets: Tap-hold a widget to edit those on its side of the screen. Disable Smart Rotate if you don’t want your iPhone switching widgets on your behalf. Use – buttons to remove widgets, the + button to add a new one, and tap-hold and drag widgets to rearrange their order.

Restore layouts: If you use StandBy with multiple chargers, your iPhone will save a separate layout for each one. That means you could set it up to display a calendar and to-do list in the office, a photo frame in the living room, and a clock in the bedroom. Assuming, of course, you’re willing to buy three chargers.