In this series, we dig into an app we think you should be using, and explain what it is, why it’s great, and how to get started. This time, we’re covering Things.
What is Things?
A planning tool for getting things done. It’s a task manager, where you plan your day, track your projects, and focus on what really matters to reach your goals – whether they’re all about work, family, health, or anything else you decide.
What makes Things great?
There’s the method. In urging you to filter tasks and prioritize, Things brings efficiency. You break goals down into manageable chunks. But you can always see the bigger picture, through a variety of lenses. But also, Things is just really nice to use, with an efficient yet approachable interface that reveals vital features to you as and when you need them.
How can I get started with Things?
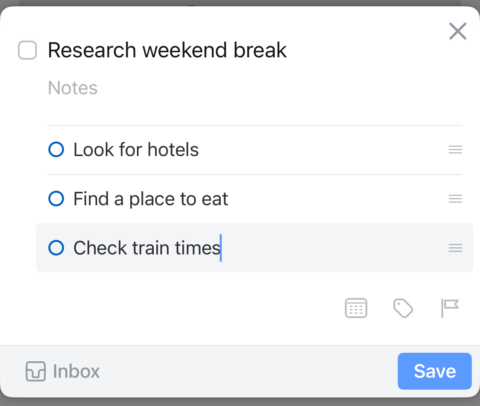
Start with the Inbox: When an idea strikes about something you want to get done, don’t think too much. Just get it straight into your Inbox. You can later decide on finer details, like when and how it can be achieved, along with applying categorization and tags. Use Siri to speed things along – “In Things, add [task details]” – or create a new to-do from Spotlight.
Assign tasks: Swipe right across a task or tap it and select the calendar to access scheduling options in the When? pop-up. For urgent tasks, use ‘Today’ or ‘This Evening’. Otherwise, set a date in the future or use ‘Someday’ for tasks you want to get around to at… some point. Need a nudge? Tap ‘Add Reminder’ to get a notification at a time of your choosing. You can also set a deadline by tapping the task in Inbox, tapping the flag icon and selecting a date.
Use natural language: To more rapidly define the time and date when you’d like to work on a task, swipe down on the When? pop-up and use natural language input. You needn’t type things in full. ‘3pm dec last fri’ is enough to set your task’s time to 3pm on the last Friday in December. Similarly, you can set relative days – ‘10 d’ or ‘10 d from sat’ for ten days from now or ten days from Saturday.
Explore categories: Once you’ve organized some tasks, swipe right to access the view options. This screen lets you immediately get at Today, Upcoming, Anytime (active tasks you can tackle any time) and Someday. Use the Quick Find search field to access ‘hidden’ filters like Tomorrow, Deadlines and Repeating – just type the first letter of each word and then tap the relevant icon.
Work with projects: Individual tasks can have checklists. But for more complex things you need to do, create a project. These can house multiple tasks, each with its own checklist. Additionally, add structure by tapping the down arrow button and selecting ‘New Heading’. Place tasks under a heading and you can drag and drop the heading to move the entire group as one.
Add context with tags and Areas: Areas are the next level up from projects. They allow you to group projects by context, such as Health or Family, thereby providing another way to focus on and filter tasks. Should you instead prefer to gather individual tasks across multiple projects, use tags. Things includes several built-in tags, such as Errand and Important. Personalize the app by adding your own.
Use the Magic Plus button: When in a filter or project view, tap the blue ‘+’ button to add a new task. But you can instead tap-hold and drag the button, dubbed Magic Plus, to place a new task in a specific location. Alternatively, if you’re deep into project organization but think of a new to-do that needs to go in your Inbox, hold the Magic Plus button and then drag it to the inbox icon that temporarily appears at the bottom-left of the screen.
Add widgets: Things works best with a strong routine, so make time to add and manage tasks every day. As a reminder, put your Things tasks right on your Home Screen with a widget. You can choose from any list or project, filter the widget by tags and include or omit checklists. You can even include a (non-magic) plus button on a full-width widget, to get at your Inbox in an instant.
Visit the Things website or get Things from the App Store. Note that the iPad and Mac versions are separate purchases. All are one-off payments, though, and you can optionally sync data between devices. For more advice on using the app, check out the Things support page.


