
Turn accessibility up to 11 with these tips for bolder text, fewer animations, type to Siri, and more
Most iPhone and iPad users never venture into the Accessibility section of the Settings app. This is a pity, because although the options within are, broadly speaking, designed for users with specific assistive needs, many have the potential to benefit far more people.
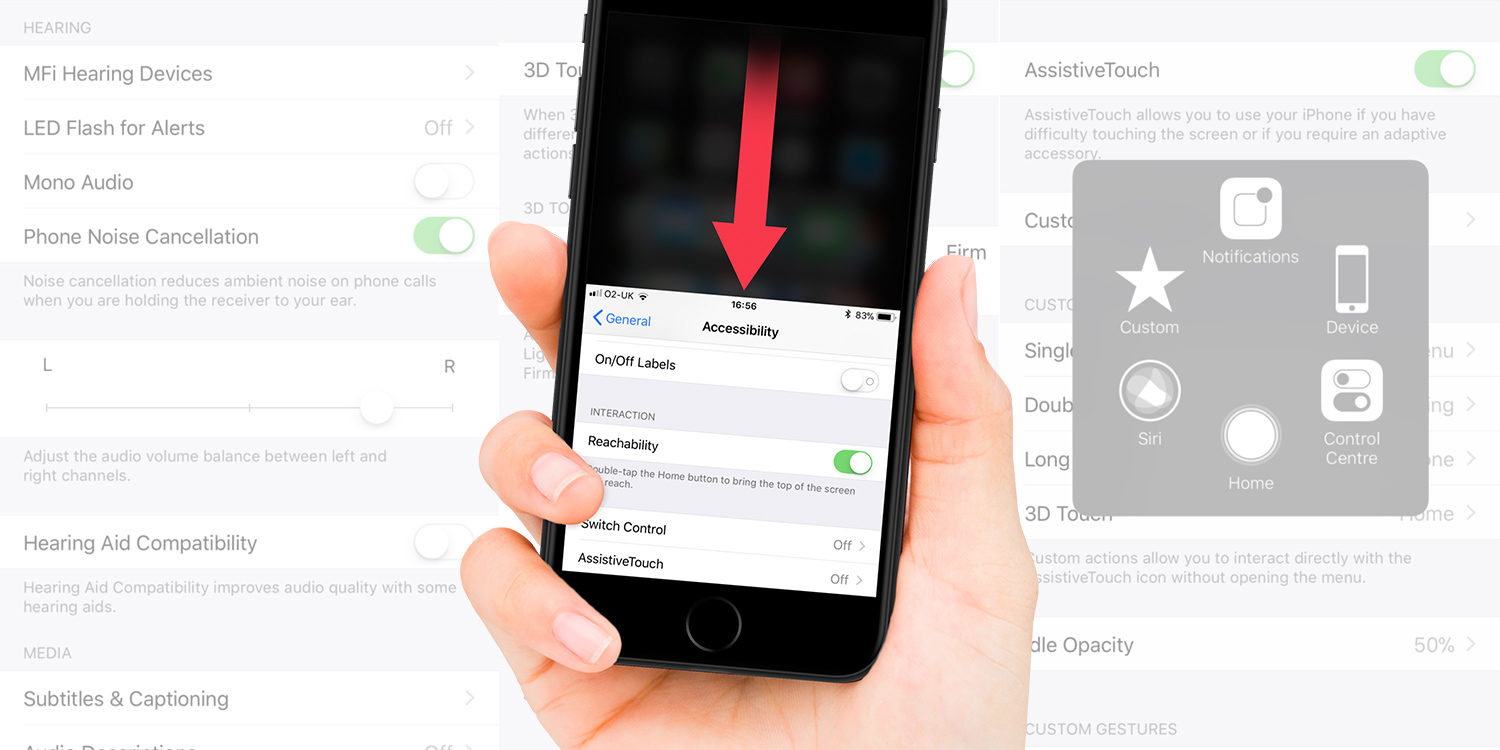
In this feature, we explore 11 settings that we believe deserve a wider audience, and that when activated can improve your iPhone experience in measurable ways. Most of these tips work for iPad, too, but please note that a few are iPhone exclusives. To get started, open up Settings and go to General > Accessibility.
Reachability
Many iPhone users will be familiar with Reachability – a quick double tap of the Home button and the screen slides down, enabling you to get at hard-to-reach icons and buttons when using your device one-handed.
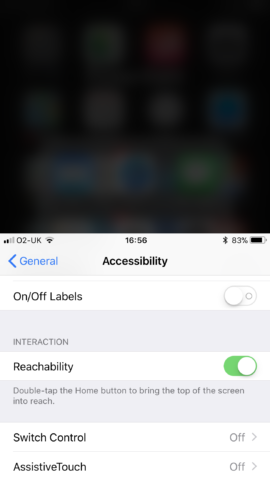
On iPhone X, Apple has disabled this feature by default, but you can turn it back on by tapping the Reachability button under the Interaction heading. The feature is triggered on iPhone X by swiping down on the Home indicator, and makes Control Center more accessible – just downwards-swipe from above the top-right icon.
Reduce Motion
Animations in iOS can be useful in providing you with a sense of place, but some people find all the zooming and movement tiring, jarring and even dizzying.
To calm system animations, tap Reduce Motion under the Vision heading, and then turn on Reduce Motion. This will remove parallax effects on the Home screen, and replace a large number of slide and zoom animations with subtler crossfades. These changes are particularly noticeable when launching/quitting apps, using Home screen folders, and entering multitasking.
Type to Siri
Under the Interaction heading, tap Siri and turn on Type to Siri. Now when you bring up Siri using the Home button (Side on iPhone X), you’ll get a text prompt. Type your query in the Type to Siri field, and then tap Done to send it.
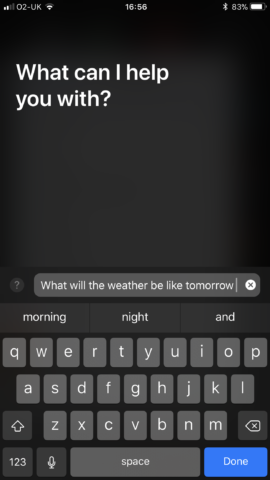
This is useful when you can’t (or don’t want to) speak to your iPhone. If you still have Siri & Search > Listen for Hey Siri” activated in Settings, you can still interact with Siri in the usual manner at other times, by saying “Hey Siri”.
Reduce Transparency
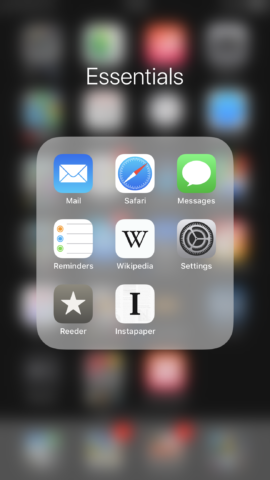
In recent years, much of Apple’s design language has incorporated semi-transparent layers. These resemble frosted glass, enabling you to see a hint of whatever’s beneath them.
Before (left) and after (right) Reduce Transparency is applied. In the latter case, you cannot see blurred map colour behind the search field
Mostly, this works fine, but you might find transparency on iOS a distraction, or that it impacts on legibility in an app you favour. If that’s the case, disable it by tapping Increase Contrast under the Vision heading, and then turning on Reduce Transparency. The effect is immediate and will be readily noticeable in things like open folders and the iOS dock.
Bold Text
During the major design overhaul that occurred with iOS 7, Apple was rightly criticised for its penchant for spindly fonts. This has lessened in recent iOS revisions (to the point some Apple apps now have massive bold headers), but if you still find the standard fonts a bit skinny, turn on Bold Text under the Vision heading.
Before (left) and after (right) applying Bold Text
This requires a restart of your iPhone, but the changes will be apparent immediately thereafter. Note that this option is also found in the Display & Brightness category in Settings.)
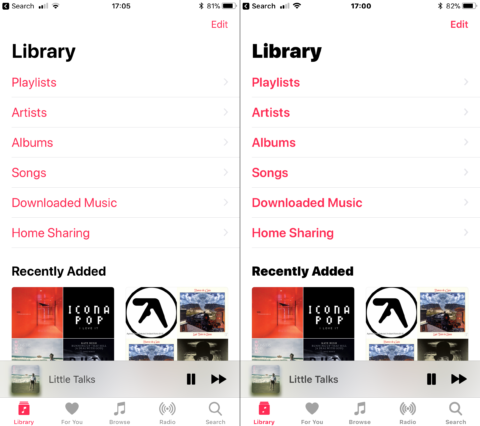
Color inversion
Many iPhone users have for years hoped for a night mode. You now sort of get this with Smart Invert, found in Display Accommodations > Invert Colors. This reverses the colors of your iPhone’s display, making the interface predominantly dark. However, images and media are not reversed.
The good news is this works well with Photos, App Store, and some third-party apps like Wikipedia. The bad news is images in the likes of Mail and Safari remain reversed. Perhaps we’ll finally get that proper night mode in iOS 12…
Auto brightness
In previous versions of iOS, you could control auto brightness from the Display & Brightness category in Settings. It’s now absent, presumably because Apple’s confident its automated system works very well. And it mostly does – but not always.
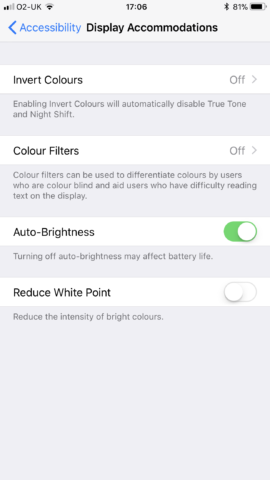
If you find auto-brightness isn’t doing the trick, and your screen gets brighter and darker at the wrong times, like someone’s randomly flicking a dimmer switch, go to Display Accommodations under the Vision heading, and turn off Auto-Brightness. As Apple notes, this might affect battery life, especially if your brightness setting is set to eye-searing.
Subtitles & Captioning
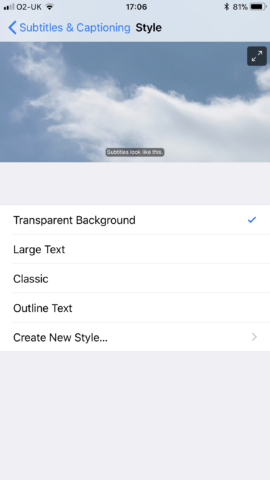
The Accessibility section in Settings isn’t the only way to turn on subtitles, but it does also provide the means to fine-tune what you see. Under the Media heading, tap Subtitles & Captioning, and you’ll see the switch for turning them on, but also a Style menu. Tap that and you can choose from one of the pre-defined styles or create your own – great when you want to immerse yourself in TV land, but have no headphones and don’t want to annoy everyone around you.
Audio balance
Another interesting audio trick in accessibility is found under the Hearing heading. Below the first set of options is an L/R slider. This enables you to adjust the audio balance of the left and right channels.
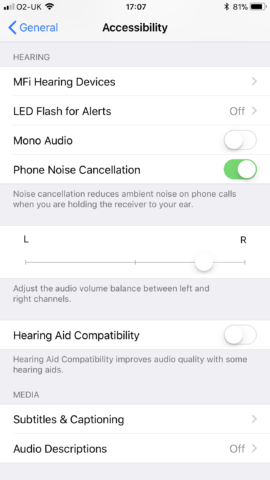
This option is primarily intended for people who have much better hearing in one ear, so they can equalize stereo sounds to their personal needs. But it’s a useful tool when you’re listening to a stereo soundtrack through a single earphone, either because your headphones are broken, or because you want one ear on your surroundings.
3D Touch
A great many accessibility controls are designed as assistive aids for vision; but touch is an area that Apple increasingly provides settings for, so users can fine-tune physical interaction with an iPhone.
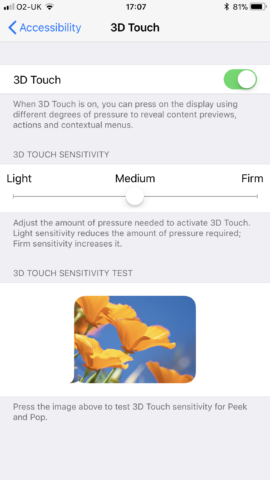
Under the Interaction heading, tap 3D Touch. You can disable the technology entirely here, but also adjust the sensitivity of the system, for if you prefer it to be more responsive, or require a firmer press. Note also that Interaction houses a Shake to Undo switch, too, which you can turn off if you often trigger that action by mistake.
AssistiveTouch
This last tip is a relative oddball, but nonetheless interesting. Under Interaction, tap AssistiveTouch. Turn this feature on and a little dot appears at the left of the screen. Tap it and you get a menu, showing Notifications, Control Center, and several other options.
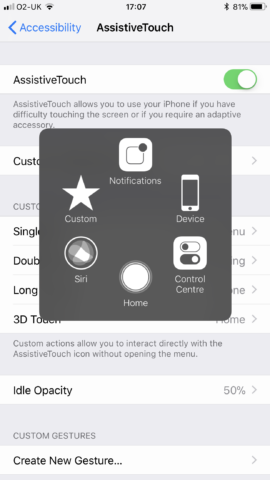
Using the Customize Top Level Menu, Custom Actions, and Idle Opacity options, the menu can be customised, and the button itself can be tap-held and dragged to reposition it.
AssistiveTouch probably isn’t something you’ll want on all the time, but it’s useful if you have a hardware problem (such as an intermittently working Home button), or just fancy quick access to awkward-to-find controls.