

Though we may have talked in the past about going ‘paperless’ with an iPhone handset, sometimes printing documents is the only viable option. Luckily, Apple’s smart technology allows iOS device owners to wirelessly print their documents, emails, and PDFs while on the fly.
AirPrint, a protocol that was first introduced by Apple in 2010, is the feature that makes this possible; fortunately for iPhone owners, after several years of availability setting up an AirPrint system is now quick, easy, and also fairly inexpensive, too.
Understanding AirPrint
Much like AirPlay, Apple’s protocol for wireless streaming, AirPrint is a technology that allows iOS devices (and Mac computers) to communicate with third-party hardware. In this case, AirPrint lets iPhones and iPads talk with printers manufactured by the likes of HP, Canon, and Epson.
The original goal with AirPrint was to allow iOS users to print content from their mobile devices; while a mere 12 original (yet rather costly) printers launched alongside AirPrint, a range of more affordable AirPrint-compatible devices are now available to purchase from various manufacturers.
Configuring your AirPrint system
First off, AirPrint is available on iPhones running iOS 4.2.1 or above. In addition to this, it requires a Wi-Fi network in order to connect to an iOS device.
Configuring your AirPrint printer will depend upon the make and model you purchase; some use WPS technology to more easily connect to a local Wi-Fi network, but this isn’t a requirement. Instead, users also have the option of configuring AirPrint using a tethered solution (via USB), and this method is quick and easy to set up.
Once AirPlay has been enabled on your printer, the magic can really begin. At this point, you’ll be able to print documents wirelessly from your iPhone handset, and the process for doing so couldn’t be easier.
Printing via AirPrint on iOS can be initiated from inside the iOS sharing pane. Here, options for sharing via AirDrop and via a selection of iOS applications will be situated alongside a “Print” icon, as in the following screenshot.

AirPrint’s interface can be invoked from the iOS sharing pane.
Touching this “Print” icon opens a new “Printer Options” page, and here iPhone owners will be able to configure their printer, the range in the document printed, and the number of copies. Local AirPrint-enabled printers can be searched for, and after a printer has been selected users can wirelessly send a document from their iPhone handset to be printed. It really is as simple as that.

Your iPhone will quickly search for nearby AirPrint computers.
How to install AirPrint on an unsupported printer
However, if your printer doesn’t natively support AirPrint, it’s still possible to hook an unsupported printer up to Apple’s AirPrint service, although there are a couple of limitations.
The first option available involves tethering your printer to a Mac computer and using a third-party application to add AirPrint functionality.
HandyPrint is one of the best Mac applications for achieving this kind of setup. You can download it now from the developer’s website, and it’s optimized for OS X Lion, OS X Mountain Lion, and OS X Mavericks, with a public beta release offering compatibility with Apple’s upcoming OS X Yosemite.
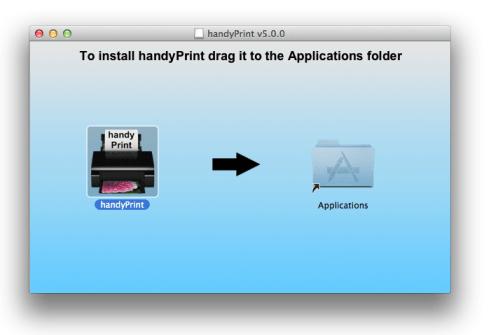
Installing HandyPrint is as simple as dragging the app icon over to the Applications folder.
The software can be downloaded and installed like any other Mac app, and once launched users may turn any shared printer (which can be configured from the “Printer Sharing” section of System Preferences) into an AirPrint-enabled device. Once configured, HandyPrint means your regular printer will indeed gain AirPrint functionality – provided, of course, that it remains connected to your Mac computer.
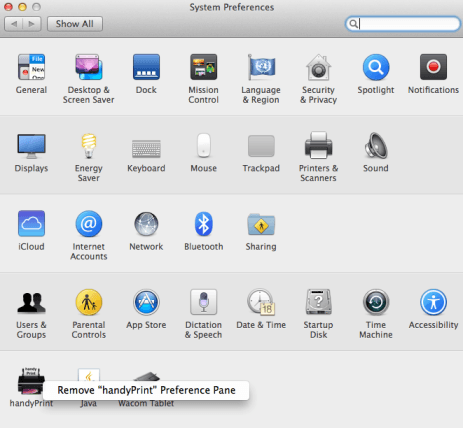
HandyPrint installs a dedicated preferences pane in OS X’s System Preferences.
Other options
Another solution for adding AirPrint support to an unsupported printer involves using Apple’s AirPort Express. This device supports AirPrint and features a USB port at the back; by plugging an unsupported printer into the back of an AirPort Express, users should then be able to print documents wirelessly using Apple’s protocol.
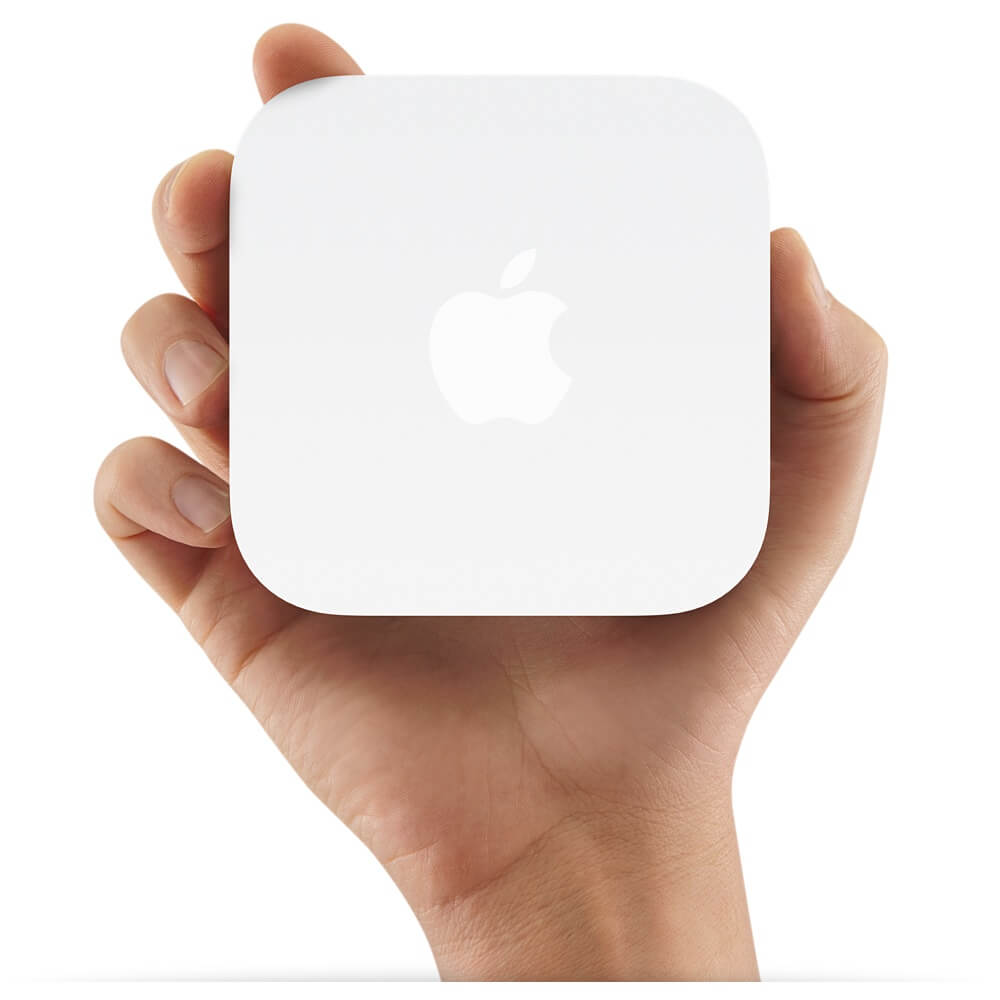
Purchasing an AirPort Express is an easy solution to make your printer AirPrint compatible, but it’s not a cheap one.
The downside to this method, however, is the cost: with a $99 (£79) price tag, the AirPort Express is actually more expensive to purchase than a brand new AirPrint-enabled printer. One benefit to using an AirPort Express is that users can also connect a pair of speakers in order to add AirPlay functionality, but purely for the purposes of achieving an AirPrint setup, this method is indeed more expensive than the cost of picking up a new printer.
Whichever option you choose, AirPrint is clearly an essential tool for iPhone owners looking to push the boundaries of what they can achieve with their smartphone.
For more information, see “About AirPrint” at Apple’s website.