
Everything you wanted to know about your iPhone and water, but were afraid to ask
Whenever a new iPhone appears, reporters test Apple’s claims about water resistance – sometimes to the extreme, taking devices for a swim and seeing what happens. Additionally, you’ll occasionally see reports about someone having fished an iPhone out of a lake, the poor device having been submerged for hours.
Inevitably, these phones still work – that’s what makes such stories newsworthy. The problem is, yours might not after a similar experience. Here, then, is our guide to iPhones and water: what IP numbers mean, whether your iPhone really is safe in water, and what you should – and shouldn’t – do if your iPhone gets wet.
Understand IP ratings
As of the iPhone 7, Apple’s smartphones gained IP ratings. ‘IP’ in this case stands for ingress protection, and the two numbers define how much protection a device has from, respectively, dust and liquid. 6 for the first digit means ‘dust tight’. 7 or 8 for the second means the device can be immersed in water for a period of time, which Apple outlines in the iPhone’s specs. You can check what rating your model has right here.
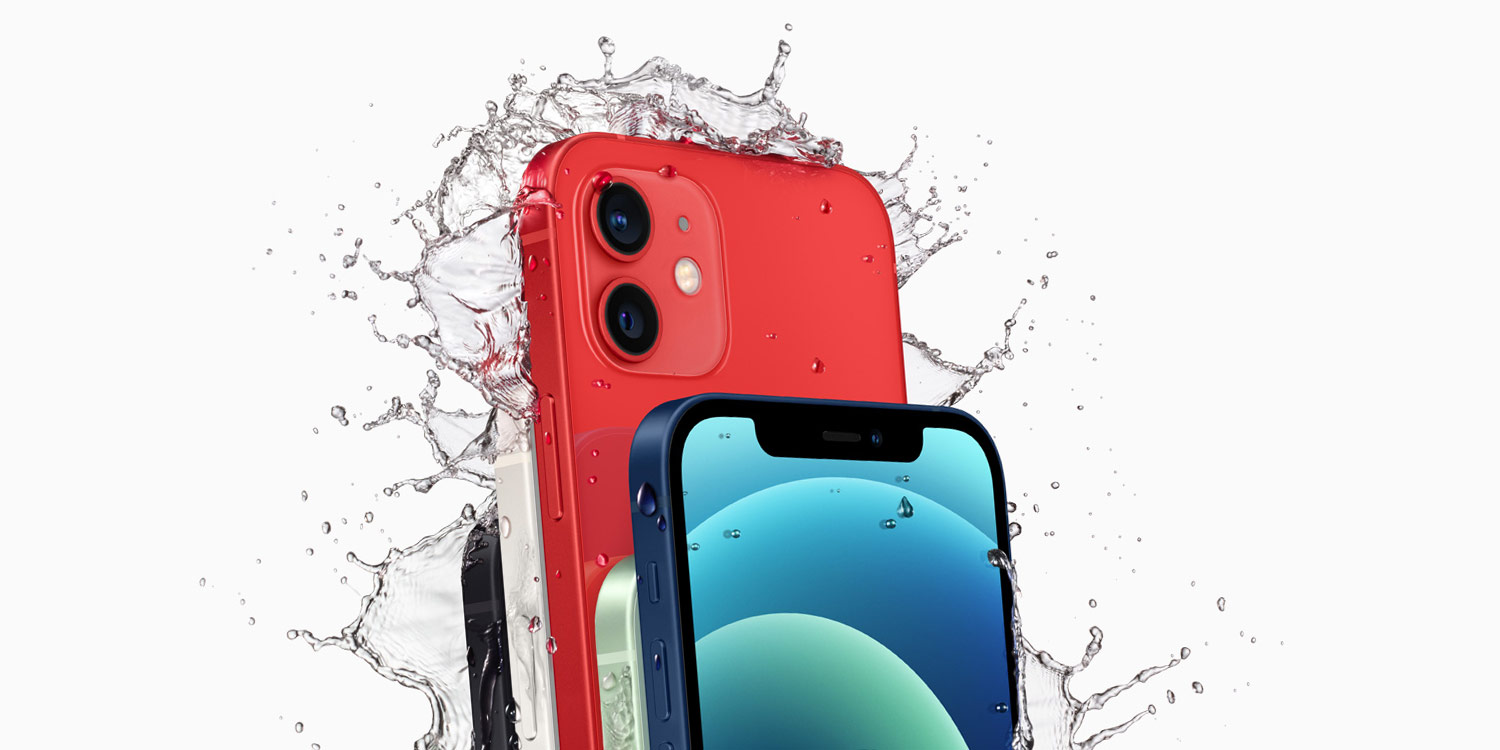
The iPhone XS (2018) and beyond all have IP68 ratings
Don’t dunk your iPhone
Even when armed with an iPhone that has IP68 protection, don’t make the mistake of thinking it’s waterproof, because it isn’t. Your iPhone isn’t fully sealed and is therefore only water resistant. Details Apple provides should be considered lab-based guidelines. Continued exposure to the elements can erode your device’s protection, so don’t intentionally take your iPhone for a swim.
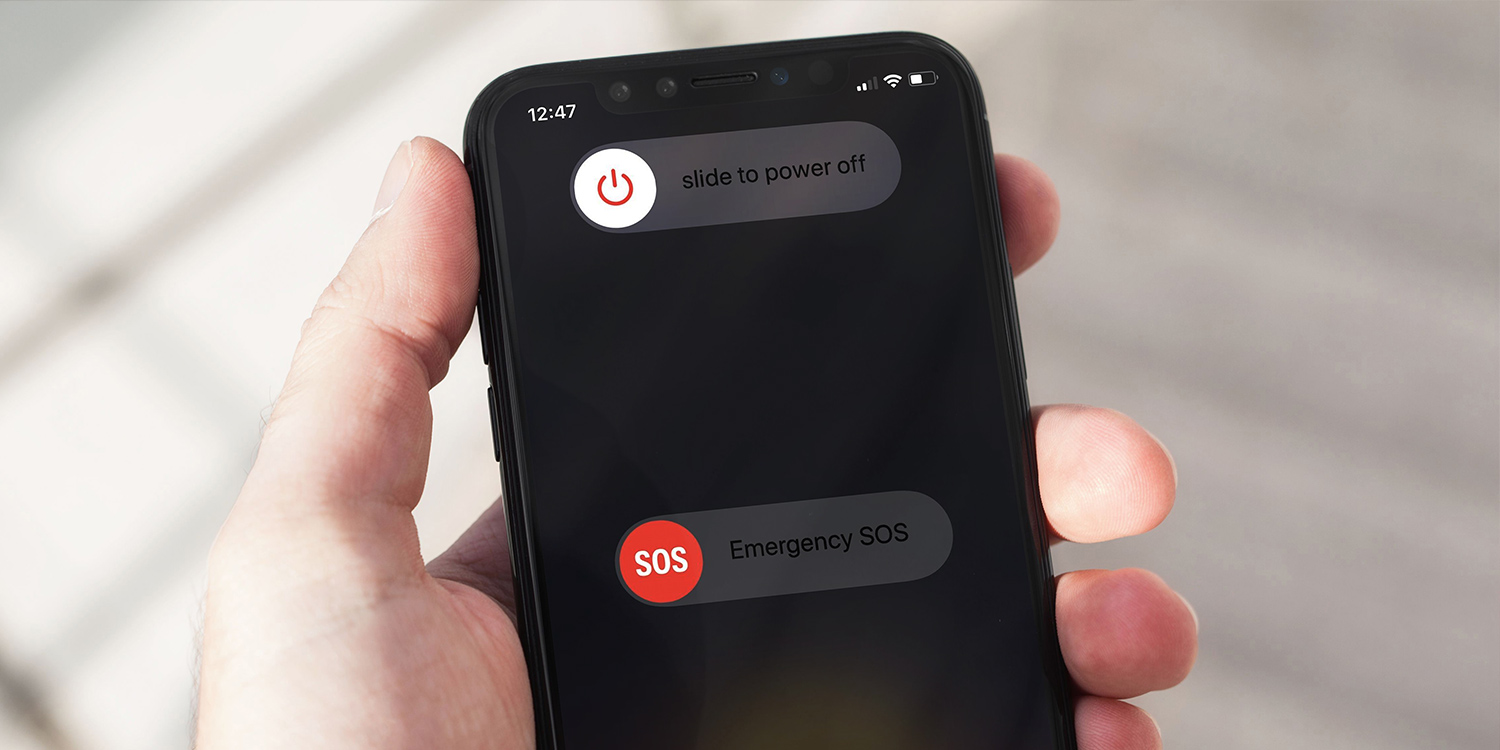
Power off a wet phone
Should your iPhone end up getting seriously wet, work fast. Get it away from water as soon as possible. If it’s charging, unplug it. Next, press-hold the side button and volume up and then slide the on-screen button to power your device down. If your iPhone’s only had a bit of a splash, you might get away without powering it down, but do so if you want to be safe.
Get rid of excess liquid
You need to get rid of as much liquid as you can, as fast as you can. If your iPhone has a case, remove it – liquid can get trapped inside. Remove the SIM tray/card too, ensuring no additional liquid gets inside the SIM slot. Tilt your device to remove liquid from ports and speakers. If your device was splashed with sticky/tacky liquid or fell in dirty water, consider rinsing it with tap water before removing the SIM tray.
Don’t use a bag of rice
Rice is tasty. It’s not great at removing moisture from phones. You’re more likely to scratch the display and get rice fragments in the charging port. Instead, wipe down your iPhone with a soft, lint-free cloth, don’t shove anything into the charging port, and then leave your device (and your SIM and SIM tray) on a flat, open, shaded, well-ventilated, dry space.
Check for water damage
Water damage is not covered under Apple’s standard warrantee, although you might have better luck with your location’s consumer laws. One thing Apple will do on receiving a non-working iPhone is check the liquid contact indicators. You can do this yourself: look inside the SIM slot. If you see white or silver, that’s good. If you see red, that indicates water damage.
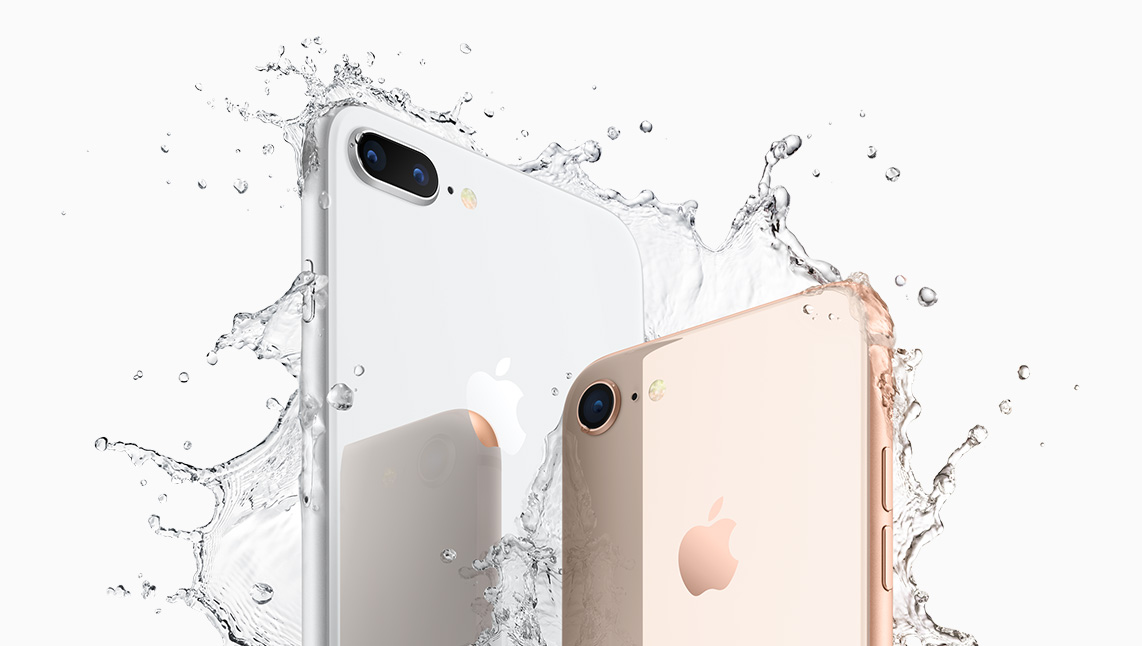
Apple has been splashing water around in its marketing shots since the iPhone 8, but water damage is still not truly covered by its policies
Power up when safe
Do not connect your iPhone to a charger until you are sure that it’s dry. If your iPhone fully ended up in a body of water, ideally wait two days. If it was just lightly splashed, Apple recommends a minimum of five hours before connecting a Lightning cable. Even when using wireless accessories, do make sure your device is fully dry prior to charging.
Back up your iPhone
If your iPhone turns on, great. But that doesn’t mean it’s OK. So prioritize making sure your data is safe and accessible, in case your iPhone is internally damaged and later abruptly keels over. We’d hope all you readers are backing up your iPhones as a matter of course. If not, head to Settings > [your name] > iCloud > iCloud Backup – or if you’ve a PC or Mac, connect your device to it, and use iTunes or Finder to take a local encrypted backup.