
Apple has enhanced its Markup tools in iOS 13, making it more intuitive and useful than ever to take a screenshot and add your own notations. Here’s how it works.
Taking a screenshot
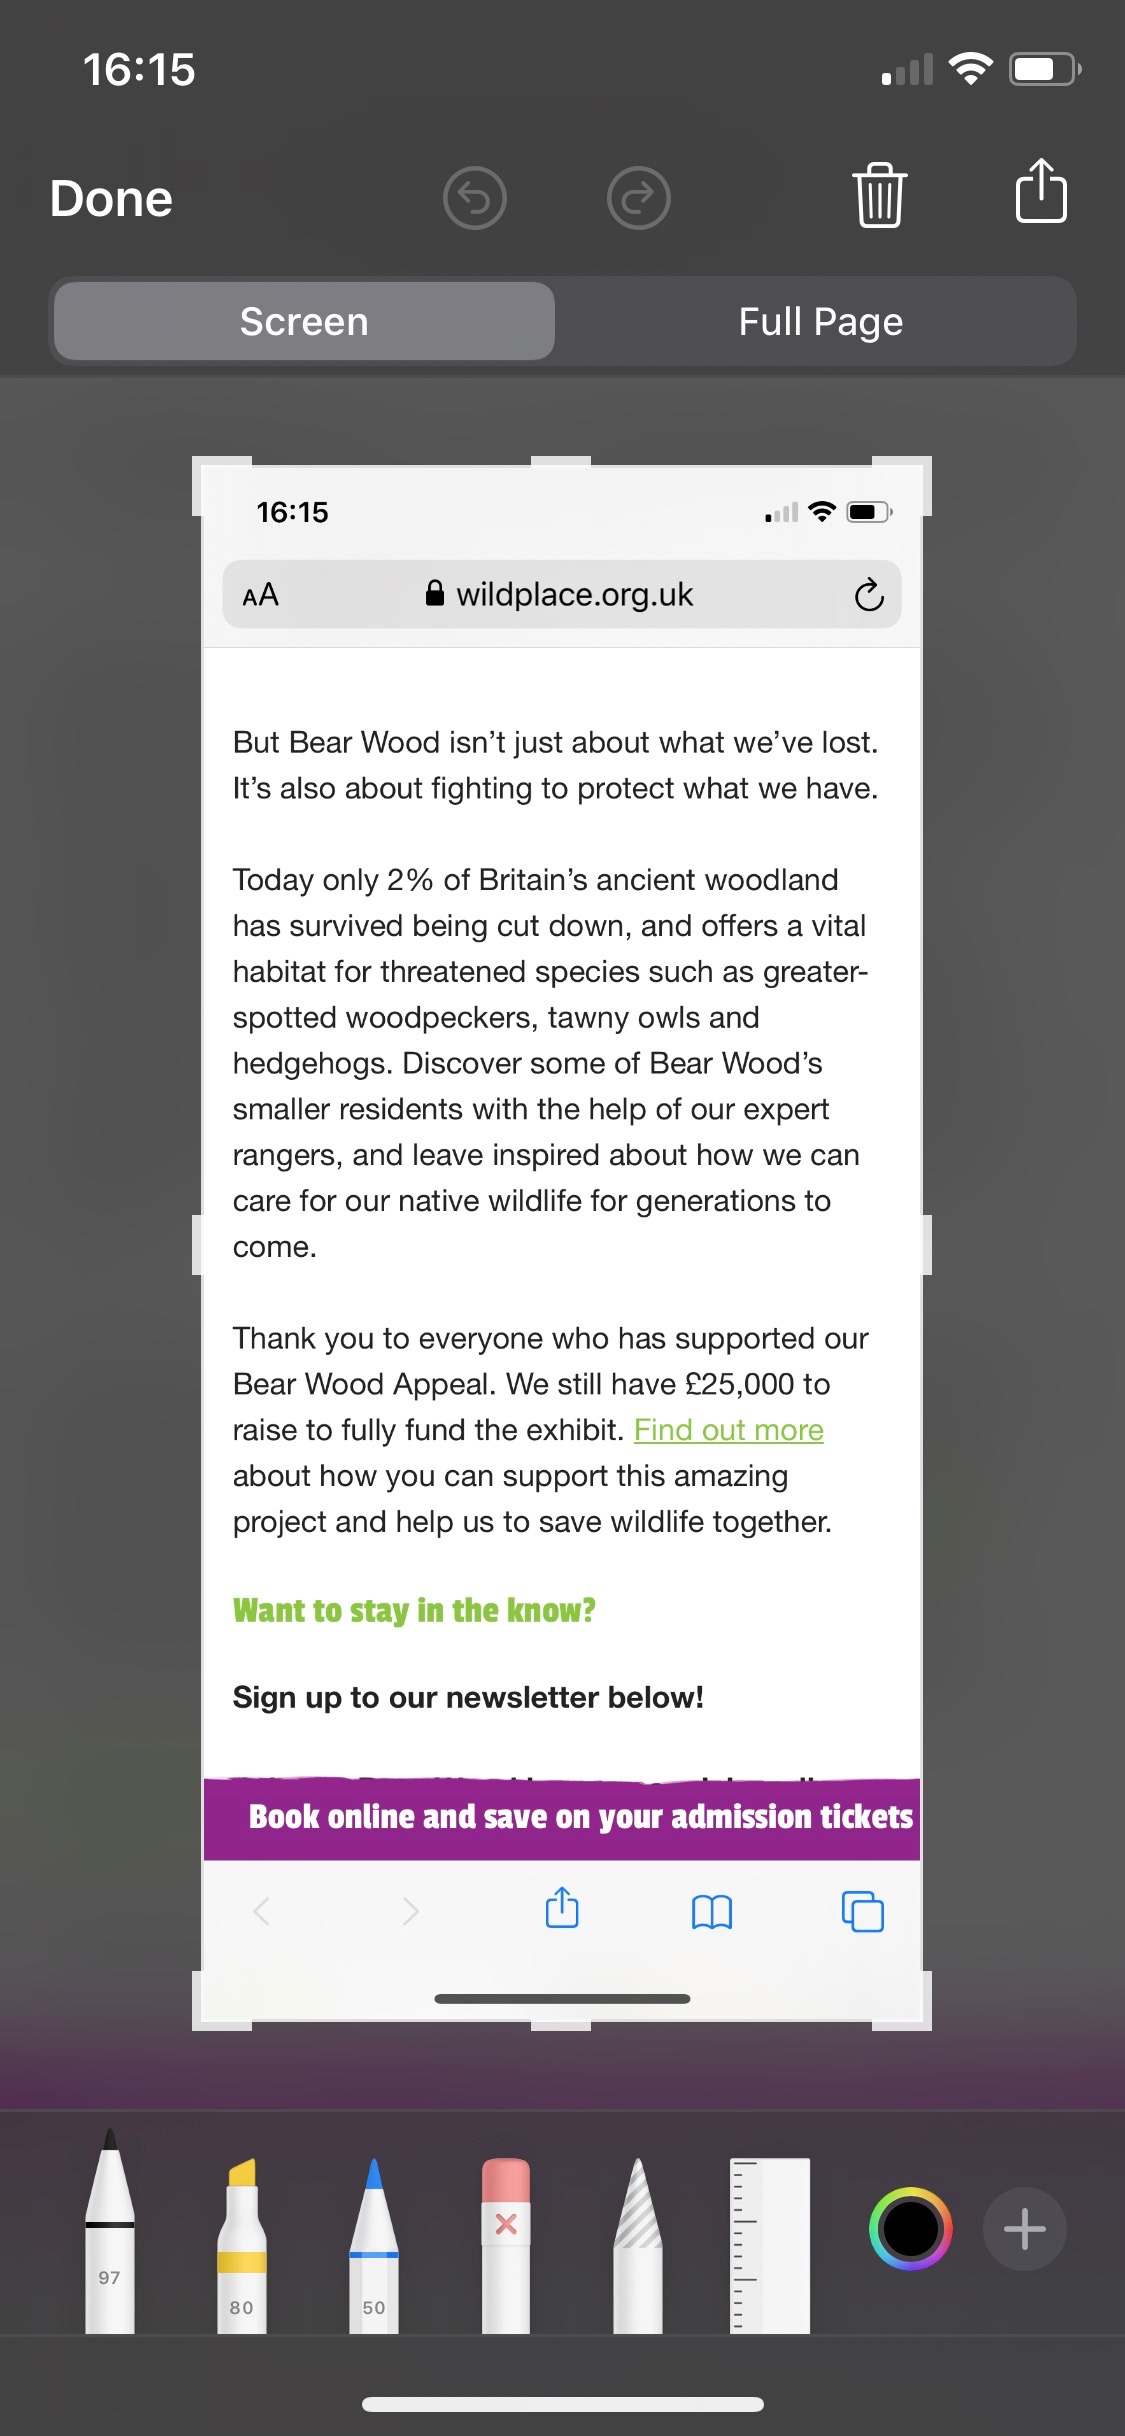
First things first, you’ll need to take a screenshot. Wherever you are in iOS 13, tap the wake and volume up buttons together to take a screenshot of what’s in front of you. Whether that’s in an app, a web page in Safari, or an iMessage thread is up to you.
Now tap on the screenshot thumbnail in the bottom left corner, and you’ll bring up the captured image along with the relevant Markup tools. Here’s a rundown of what they do.
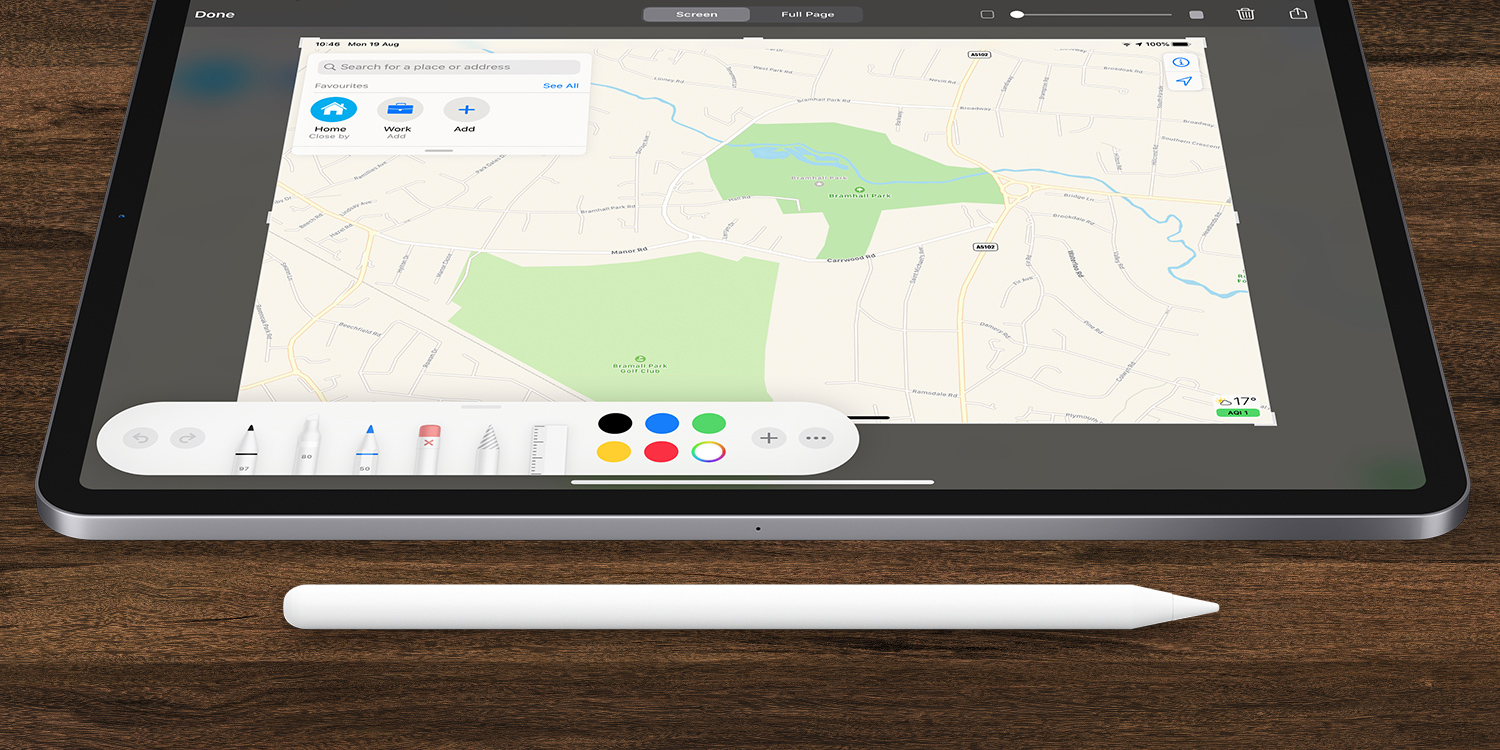
Markup Pens
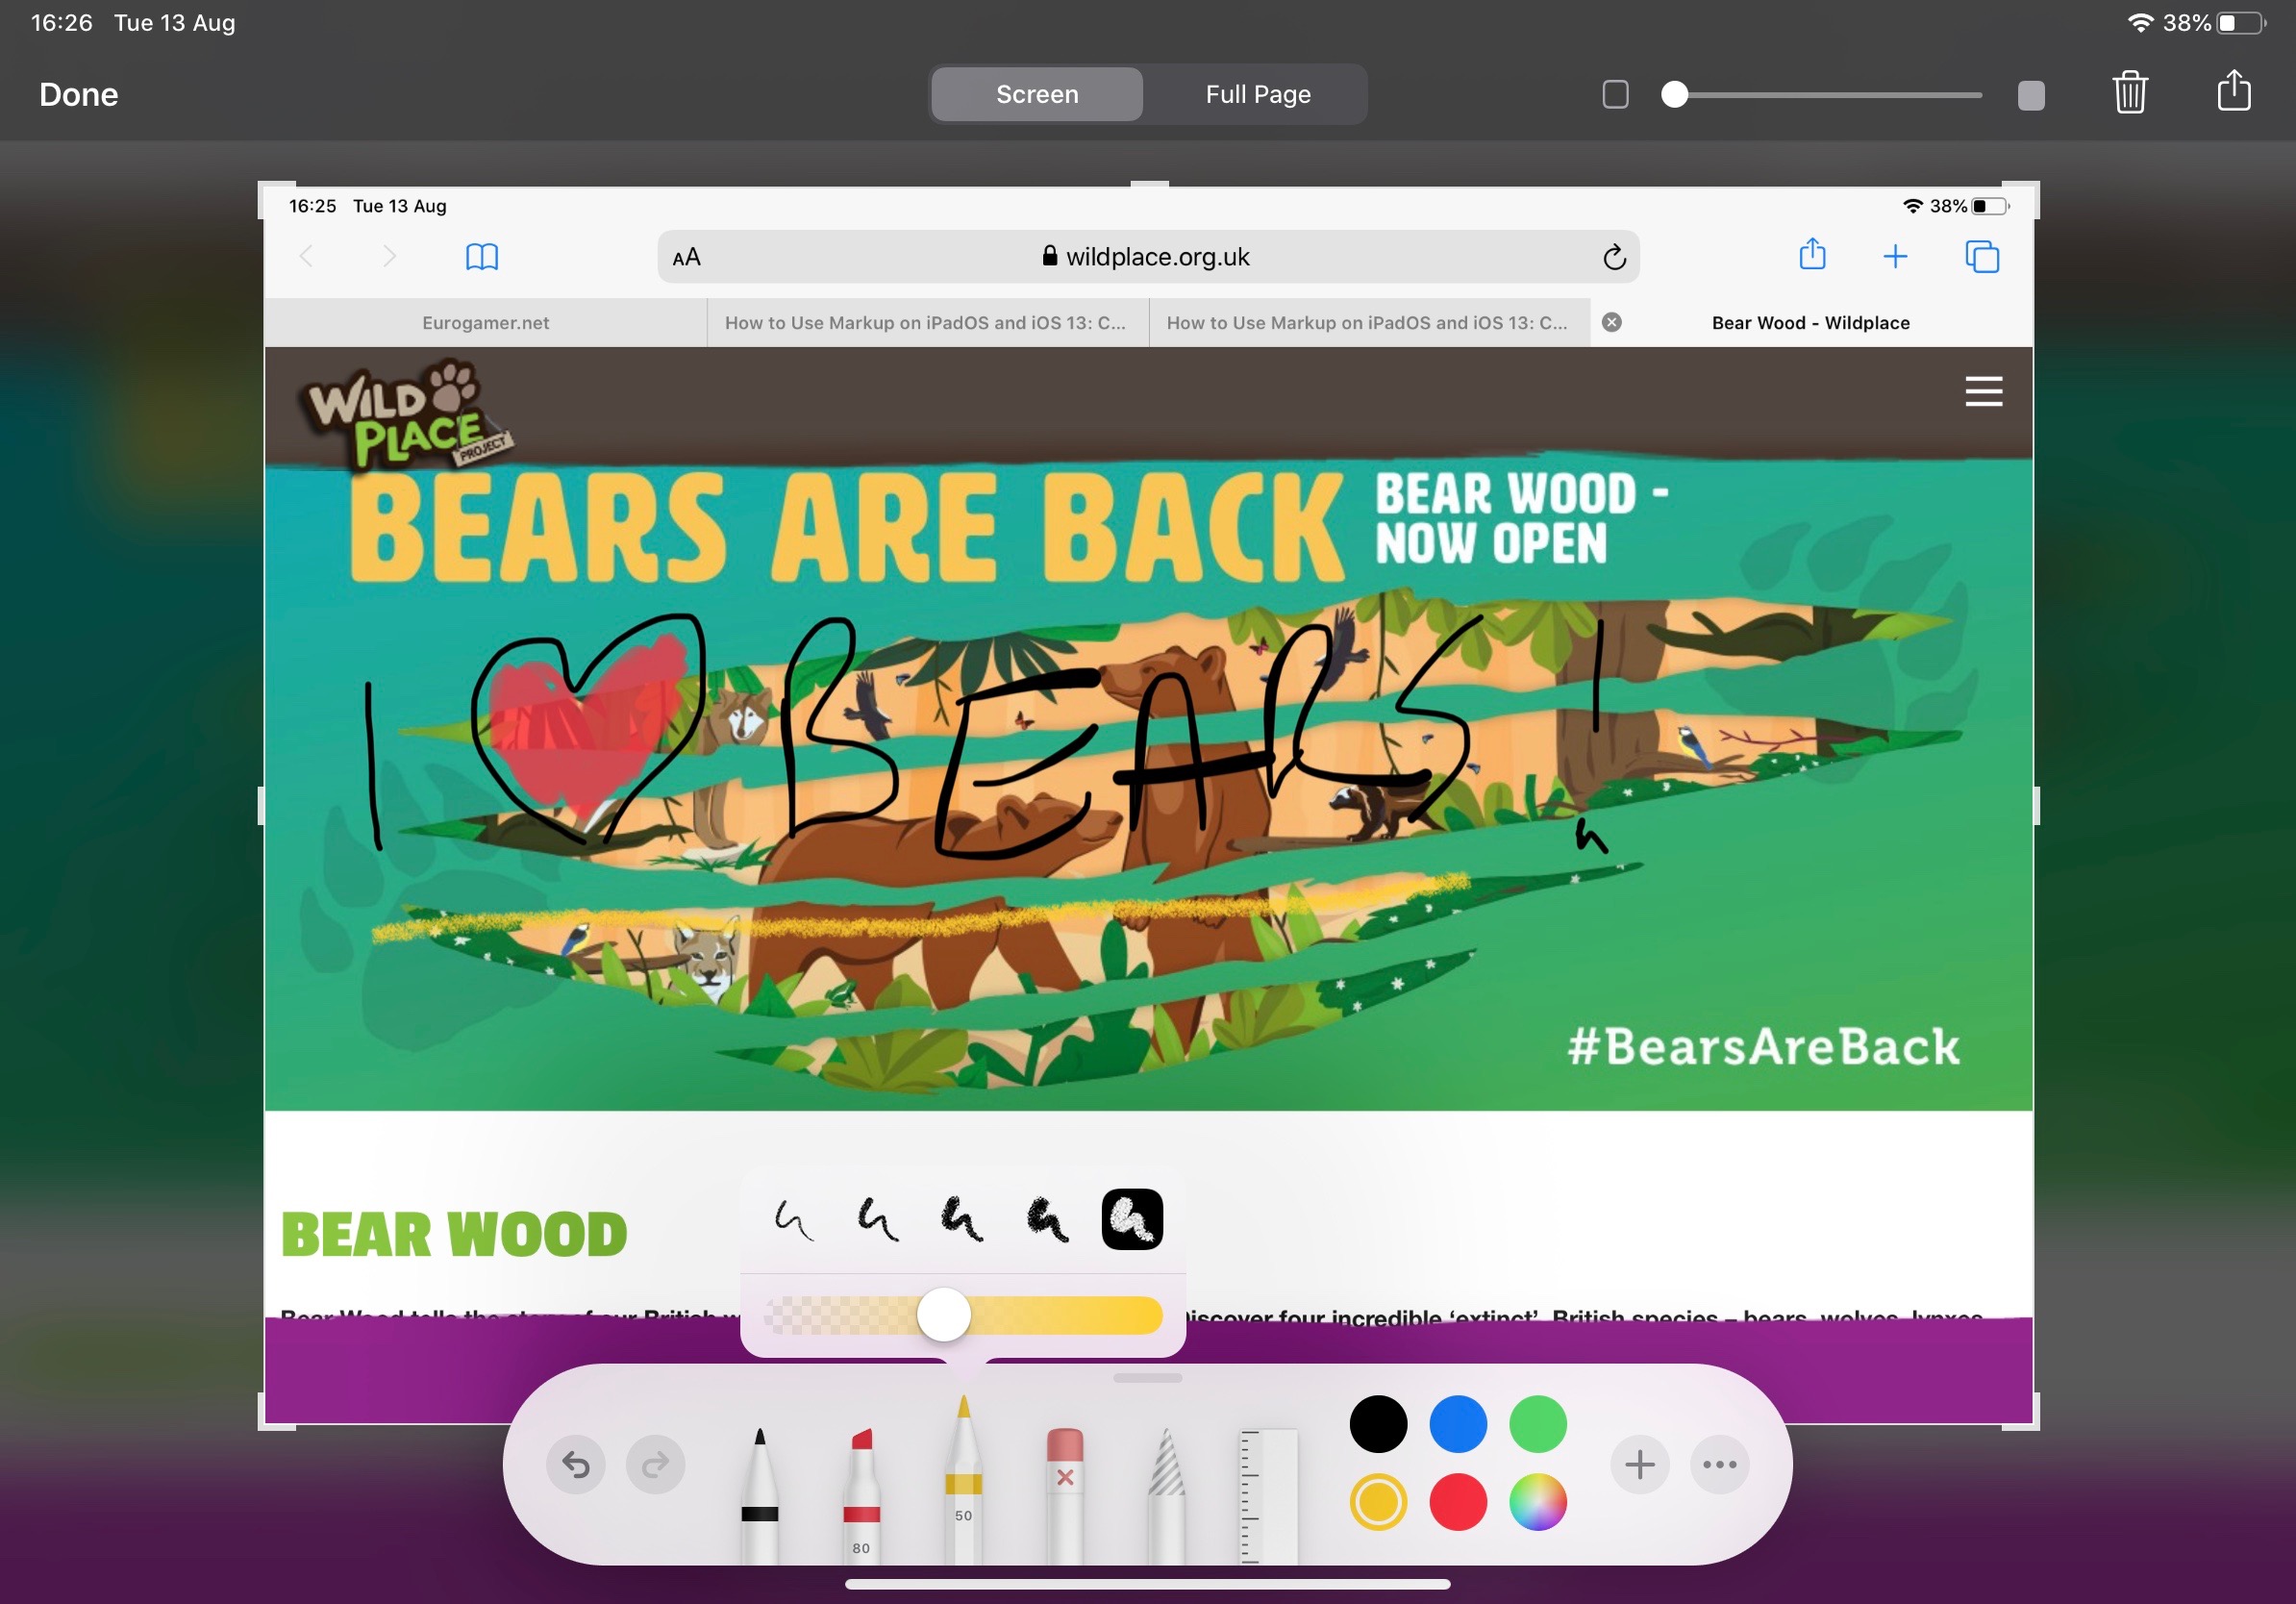
In order from left to right you have a basic sharpie pen, a highlighter, and a pencil for scrawling in various shapes and tones. You can adjust the darkness and thickness of each of these three pens by tapping the individual tools, and the color by tapping the colored circles to the right.
Eraser, outliner and ruler
To the right of the pens you have an eraser, which can rub out your pen work. Next to this you have a lasso tool. Draw around your markings with this, and you can touch and drag the selected area to another part of the screenshot.
Finally you have the ruler. Select this and orient it with two fingers, and you’ll be able to draw perfectly straight lines with the pen tools. Just like real life!
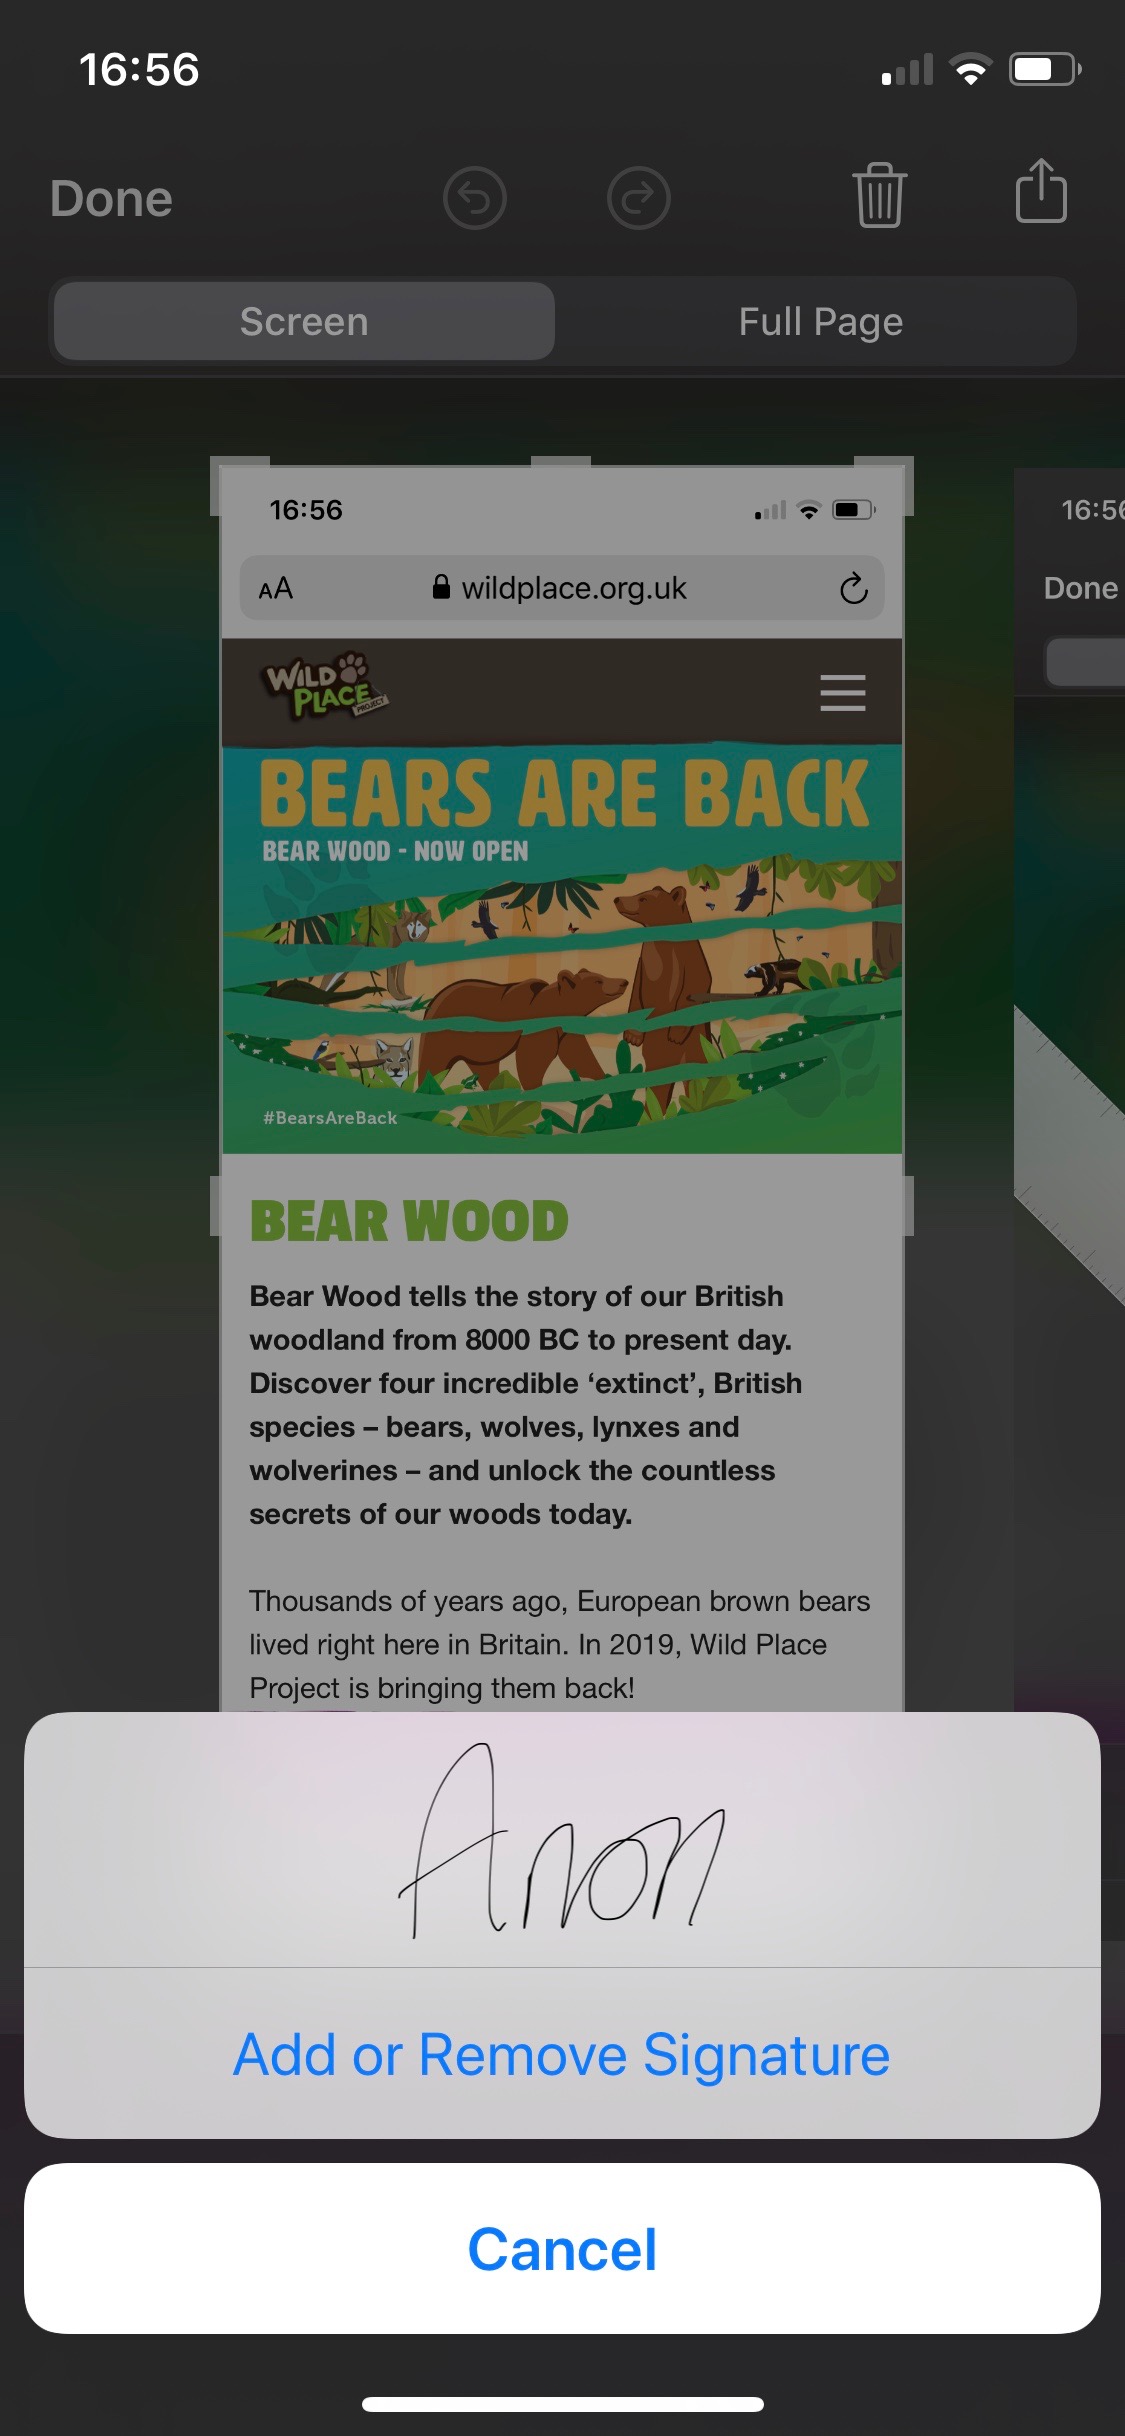
Adding a signature
To the far right of the Markup toolbar you’ll find a + icon. Tap that and you’ll see the option to add a signature to the current image or document. Tap the signature to add it to the current file. You can move this around as you see fit.
If a signature hasn’t yet been added, tap Signature > Add or Remove Signature followed by the + button and add your squiggle in the space provided.
Add text and magnify
The other two tools in the Markup + section let you add text and magnify sections. Tap Text, and a blue box will appear. Tap on this and select Edit to type out your message, or use the tools at the bottom to change the font, color, and orientation of the text.
Going back to the + menu, select Magnifier to zoom in on a section of the screenshot. You can drag the magnifying glass around the page by holding on it. Moving the green dot around the edge will zoom in and out, while the blue circle will adjust the size of the magnifier itself.

Save your Markup image
Once you’re finished, hit Done in the top left corner and opt to either Save to Photos or Save to Files. Alternatively, Delete Screenshot to wipe it from your device altogether.