
iMessage has some great built-in Memoji sticker tools, and plenty of sticker packs downloadable from the App Store – but wouldn’t it be cool to be able to make your own? You’re in luck – free app Sticker Maker Studio makes that possible, and it’s easy to do.
We’ll show you the basics to get you started, but there are plenty of customization tools to play around with if you get hooked on sticker making. Go wild!
Start your pack
Tap create a new sticker pack to get started, and give it a name (you can change this later). You can create multiple packs, each with a maximum of 30 stickers.

Tap on an empty box to create your first sticker, for this demo we’ll be uploading straight from our photo gallery.
Shape selections
Once you’ve chosen a photo, you’ll need to make a few choice edits to turn it into a sticker. Here’s what the most important selection tools do.
Select all uses the entire image for your sticker. Sorted! But if you want a cut-out…
Smart select is a dynamic selection tool which auto-magically cuts out the main subject in your image. This doesn’t work perfectly every time, but does a pretty good job with high contrast images that don’t have a busy background.
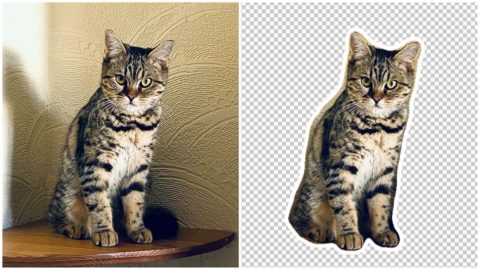
Using the Smart Select tool
Freehand allows you to cut out the subject manually by tracing your finger over the image – a magnification loupe in the corner shows a close-up of the part you’re tracing for better accuracy. Unfortunately, this feature doesn’t have any options to smooth out your line once drawn, and you have to complete it in one go – but for this style of rough, silly stickers, that’s rarely an issue.
Cut square and Cut circle do almost exactly what they say on the tin – note there’s just no option to cut out a perfect square/circle, you just have to eyeball it. You can always tap try again if it doesn’t go quite as planned.
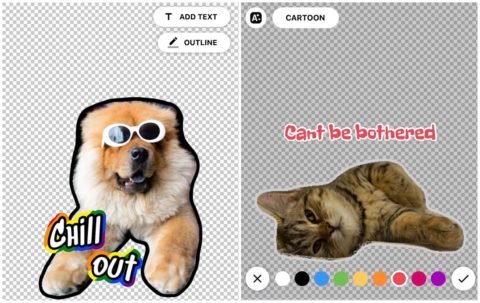
Editing a sticker
Once you’re happy with the shape of your sticker, you can edit the color and width of the outline, and remove it entirely if you wish. You also have the option to add text. When creating your text, tap the icons in the top left to scroll through different fonts and styles.
When you’re done tap Save Sticker – you can’t edit a sticker once it’s saved so make sure you’re happy with it first!
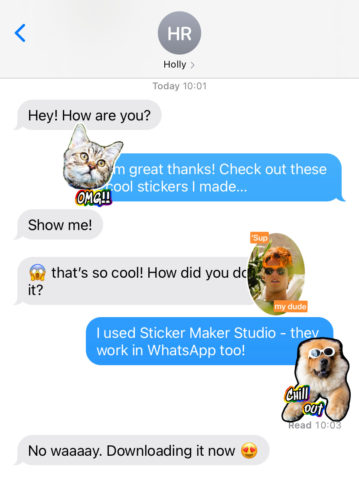
Using your stickers
Once your sticker pack is complete, you can add it to the Messages app.
Simply open the pack you want to add and tap the banner at the bottom. Make sure you have an image as your Tray Icon or you won’t be able to export it.
Open iMessage and tap on the Sticker Maker Studio icon at the bottom. This will open all of the sticker packs you’ve added, tap the icon of the pack you want to use.
Single tap a sticker to add it to a normal iMessage. Long press a sticker to pick it up and drag it onto your chat – whilst holding down, you can use a second finger to rotate the sticker or change its size. To stick to the chat it’ll need to attach to a preexisting message.
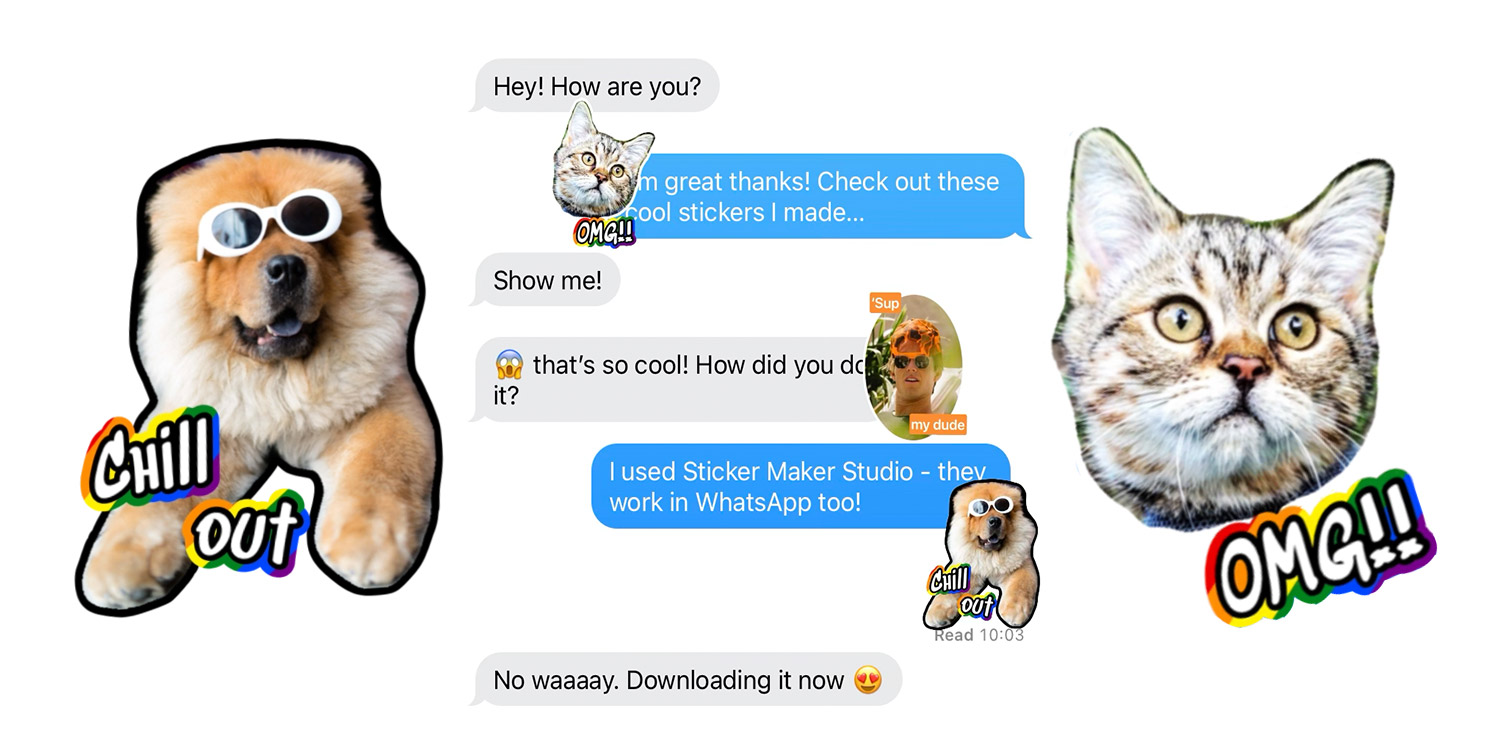
Note that if you want to send these stickers in another chat app like WhatsApp or Facebook Messenger, you’ll need to export your designs to your camera roll and then send them as normal images. It’s not as slick as the Messages technique, but it works!