
Apple’s HomePod launched a few years back to critical praise but commercial apathy. Though the audio quality was leagues ahead of rival smart speakers, so was the price point ($349/£329) – and Siri’s implementation left a lot to be desired.
Fast forward a few years and the original HomePod is no longer available, with HomePod mini Apple’s sole offering at a much more palatable $99/£89 price point. While a few pain points remain, it’s a much more capable unit these days and attracts plenty of users for its tight iPhone integration, decent audio quality, and commitment to privacy.
Whether you have the original HomePod or its mini brother, there are so many great use cases for this little speaker that might not be immediately obvious. So here are ten quick-fire tips to help you get the most from your HomePod.
Play Spotify or BBC Radio
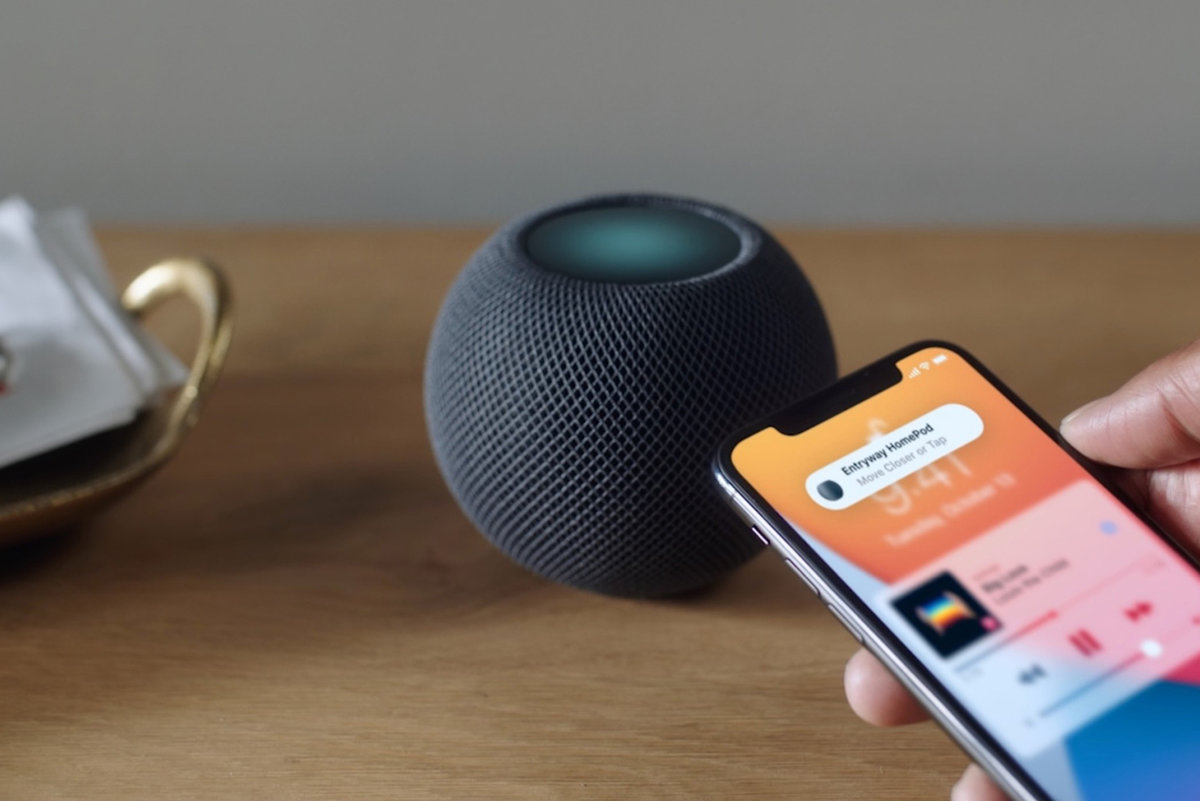
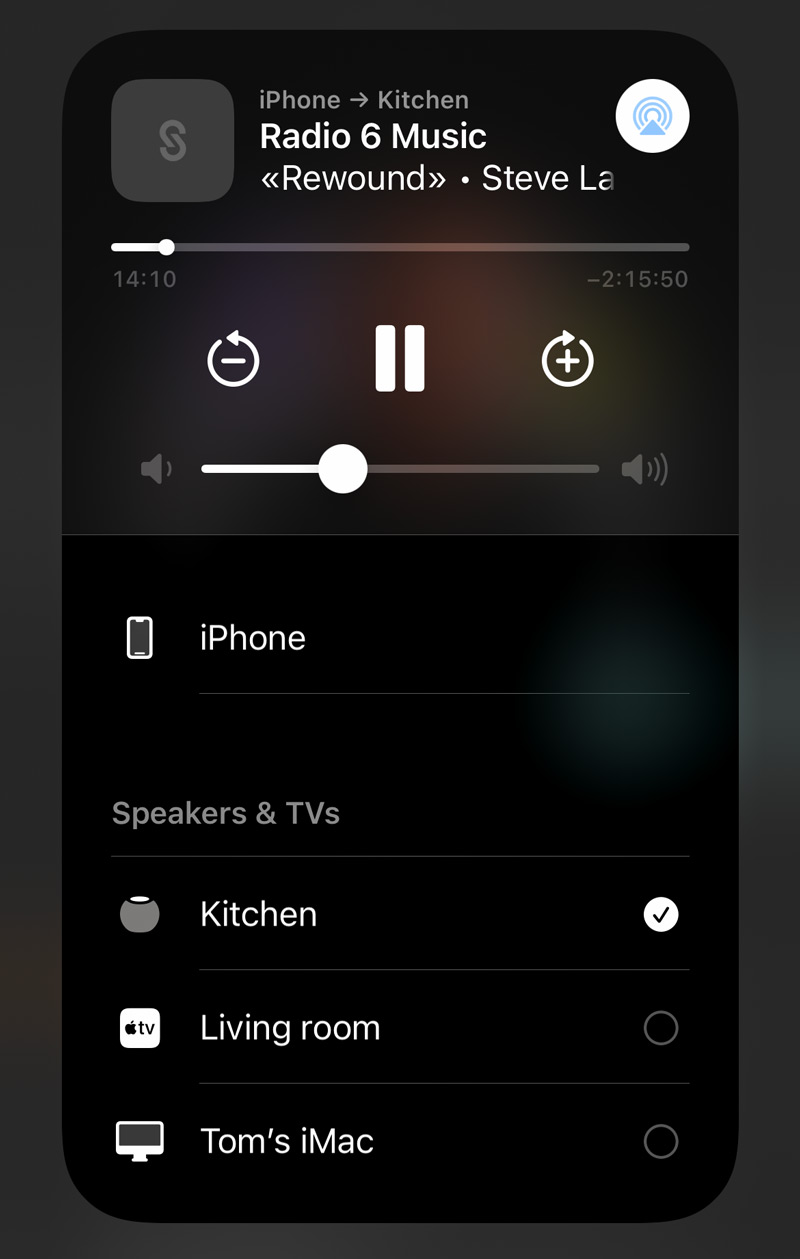
Some really popular services still aren’t natively compatible with HomePod, including Spotify and BBC Radio. That means you can’t ask Siri to start playback – but you can still play those things on your HomePod using AirPlay 2. Start up some audio on your iPhone manually and then choose your HomePod from the devices section of the app. You could also open Control Center and tap the AirPlay button in the top right of the music playback section, or if you have a HomePod mini you can simply just tap your iPhone to the top of the speaker to hand off the audio.
Smart Home automation
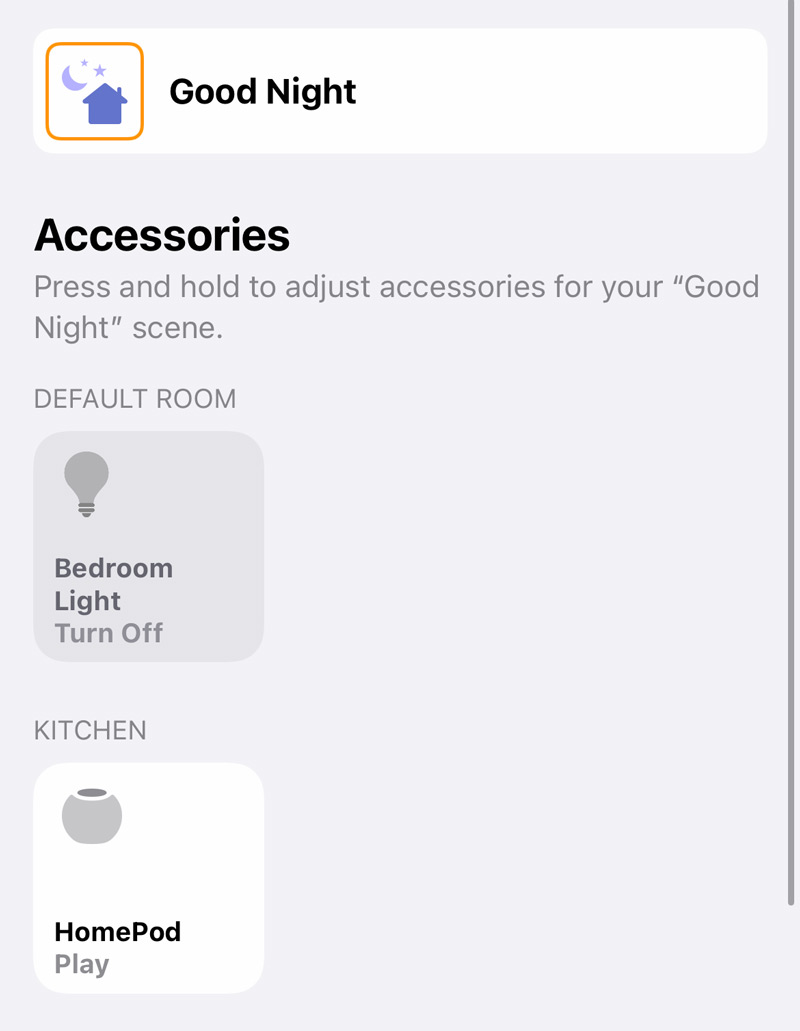
HomePod is a natural hub for smart device integration, and automatically sets itself up as such in the Home app. You can control individual HomeKit gadgets manually with a Siri request easily enough, but there’s a better way. Define some Scenes in Home for commonly-occurring routines, like breakfast or bedtime. Then you can trigger those scenes with a single command to Siri.
Personal Requests
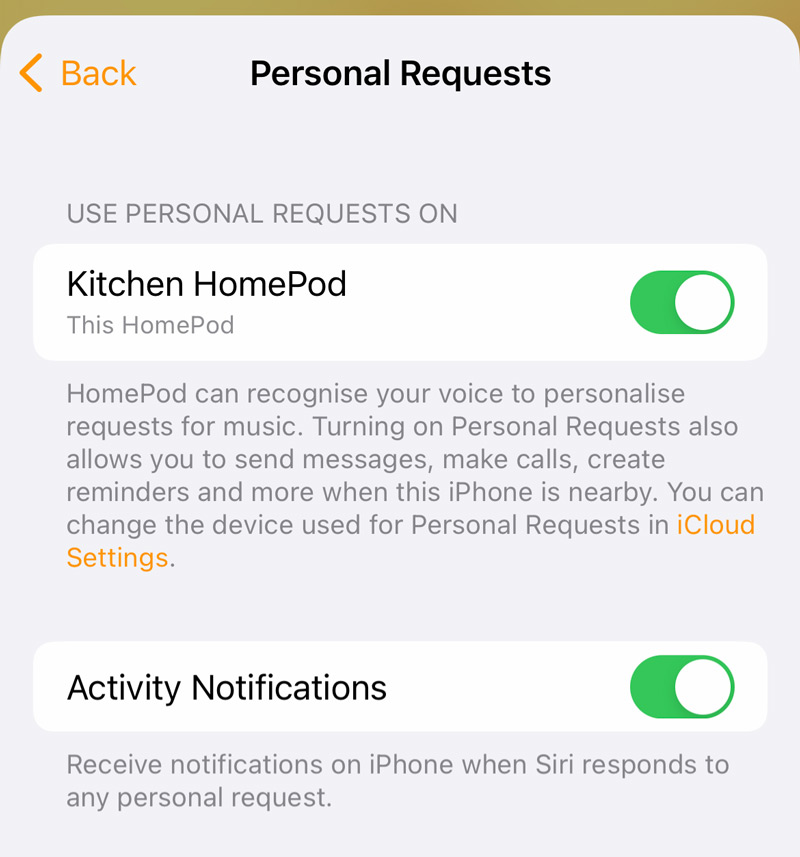
Did you know you can have Siri on HomePod write and read messages for you? Open the Home app, long press your HomePod from the Accessories section and tap the Settings button in the bottom right. Here, you’ll find a setting called Personal Requests, which you’ll need to allow to give Siri access to your messages. With this setting enabled, you can also make and receive phone calls and set personal reminders and events. Just be wary of any practical jokers who might try to send embarrassing texts on your behalf…
Multiple users
You can train Siri to recognize up to six individual voices, so family members can easily access their own settings and personal information. If you didn’t set this up when you first got your HomePod, you can do it manually from the People section of Home Settings in the Home app. These profiles will come into play when making personal requests.
Disable listening history
Apple Music takes note of everything you play and uses it to tailor content to you in future. But if your HomePod is shared by the whole family, you might not want all those random requests clogging up your feed and confusing the algorithm. Having multiple users set up helps, but you’ll also want to head to the Music & Podcasts section in HomePod’s settings and ensure it’s set to use a generic HomePod Account for Music requests from unknown voices.
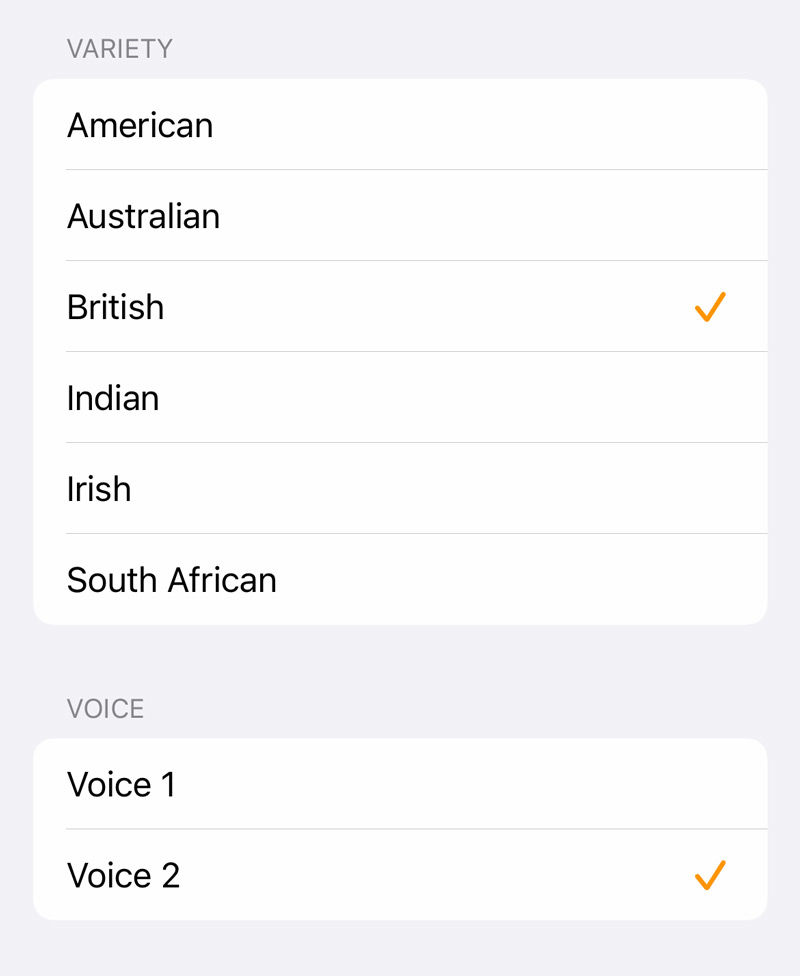
Change Siri’s voice
Bored of the default Siri voice? From your HomePod settings you can change both the gender and nationality of its voice, giving it a fresh feel instantly and helping to differentiate it from other Apple devices in your house.
Use HomePod as an intercom
You can use HomePod as an intercom to send voice messages between rooms. Anyone with the Intercom feature enabled on their iPhone will receive these messages if they’re at home, as well as any other HomePods in the house. You can ask Siri to intercom a specific room or make an announcement everywhere, and you can tweak your intercom preferences from your overall Home Settings in the Home app, as this setting isn’t specific to a single device.
Set up a stereo pairing
If you’re lucky enough to have multiple HomePods in the same room, you can set them up as a pair for stereo audio. After the initial setup, press and hold either one of the HomePods in the Home app and tap the Settings button in the bottom right. Choose Create Stereo Pair and follow the instructions to choose which device will be the left speaker and which will be right. Make sure to think about their placement in the room for optimal sound, too!
Sync HomePod to your TV
The built-in sound on flat-screen TVs is notoriously poor, but if you don’t have a beefy sound system in place you can use HomePod as a makeshift soundbar and it will likely be an improvement. From your Apple TV, head to Video and Audio settings and change the Audio Output to HomePod. This means it will remember your choice permanently. If you don’t have one, check if your smart TV supports AirPlay 2 – in which case you should still be able to pair your HomePod.
Recalibrate the sound
HomePod has a fancy automated setup feature that calibrates the sound based on the device’s placement within the room. If the HomePod detects it has been moved to a new location, it recalibrates itself in a couple of second – so if you ever notice the audio isn’t quite right, simply pick the HomePod up and carefully place it back down again. This should trigger a fresh calibration and hopefully improve the sound quality.