
AI art – meaning artwork created by artificial intelligence – has been steadily growing in prominence over the past year. AI art generators take a text prompt and turn it alchemy-like into a real image in a matter of seconds, and they hit the news again recently when one man controversially used an AI-generated painting to win a prestigious art prize.
This bagged first place at the Colorado State Fair
The art world has mixed feelings about the technology, with the exciting scope of these new AI tools curbed by the very real potential for it to take paid work away from human artists. Turns out the robots aren’t just content with stealing manual labor jobs.
Whatever your feelings on the ethics of AI-generated art, it looks like the technology is here to stay. But until recently, there was a pretty high barrier to entry, with only a select few dedicated nerds granted access to the best tech. That’s a shame, because making a computer paint whatever surreal nonsense is in your head is unsurprisingly pretty fun.
If you want to give AI art a try yourself, this guide will show you two ways to do it with nothing but an iPhone.
The easy way
There are a handful of decent AI art apps for iPhone, allowing users to type a basic prompt and get back a rough approximation of their vision. Although these are generally quite accessible, the results aren’t as impressive as the imagery the best algorithms can produce.
Still, if you just want to dip your toes in the AI waters and mess around with silly prompts, it’s a good place to start. Our favorite free AI art generator with its own app is Dream by WOMBO, which we’ve written about before.
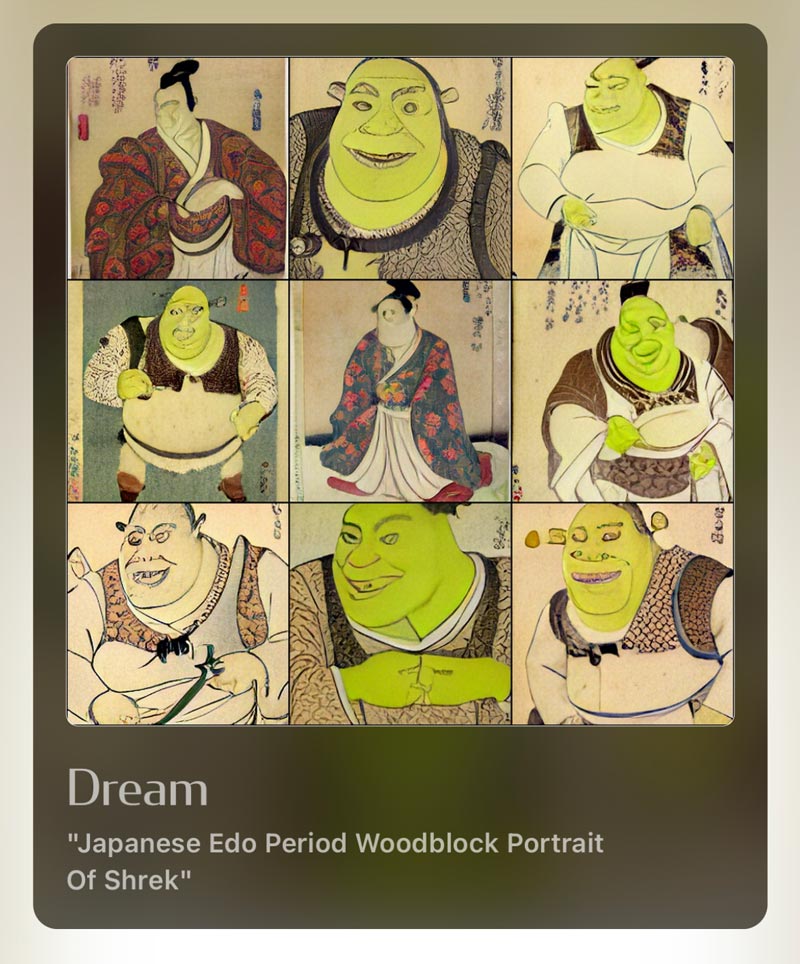
A particularly inspired community prompt
WOMBO includes a nice mix of predefined styles, you can easily add reference imagery, and it’s great for abstract stuff and silly memes. The community feed is full of weird and wonderful inspiration, too.
The slightly harder way
But if you want something more serious and more capable, Midjourney is our recommendation for your next step up. It’s the most accessible of the “big guns” of the AI world: unlike DALL-E 2, there’s no waitlist, and unlike DiffusionBee, it doesn’t require a Mac or any technical know-how.
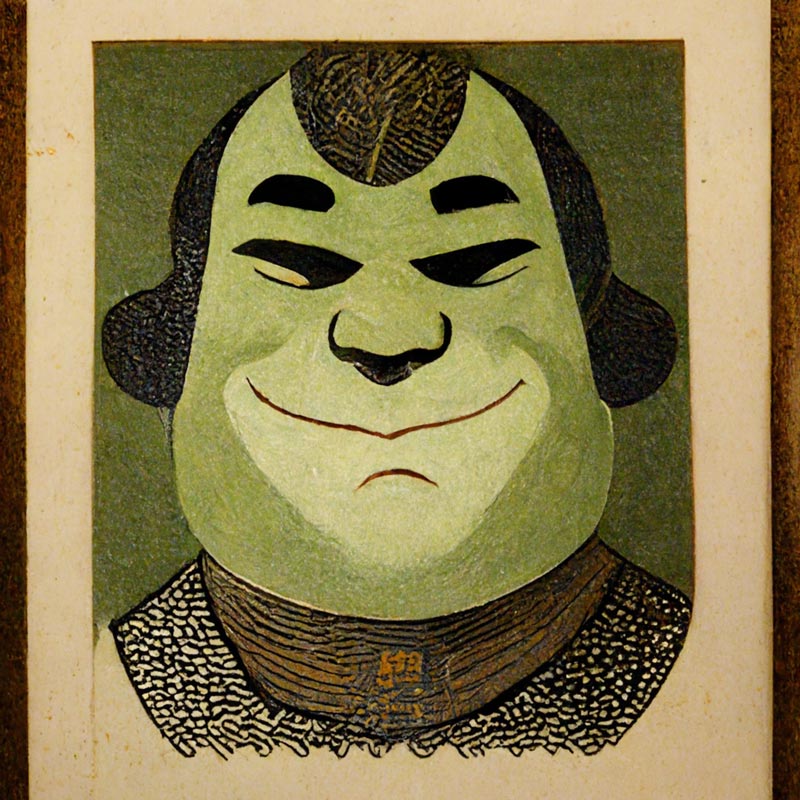
This is how Midjourney handled the exact same silly Shrek prompt seen earlier
That said, it’s certainly not as straightforward as WOMBO. There’s no iOS app to download, you’ll need a Discord account, and if you burn through Midjourney’s free allowance you’ll have to pay $10/month for further access. But the level of quality and customization you’ll get is way beyond anything you’ll find in the App Store.
So here’s how it works.
First, download Discord from the App Store. If you’re unfamiliar, Discord is a free app for hosting group chats. You join a server based on a specific interest and can then chat with other members about various topics, which are sorted into “channels”. But here, we’re not using it to make small talk – Midjourney has automated its Discord server to accept prompts and generate art, essentially making it into the user interface for its AI. Register for an account if you don’t have one already.
Next, head to midjourney.com in Safari and press Join the Beta. This will open the Discord app and invite you to join Midjourney’s server. From here, you’ll need to head to one of the #newbies channels using the menu to the left. These spaces are dedicated to letting new users run wild with AI prompts, so be aware that anything you type can be viewed by other users, and vice versa.
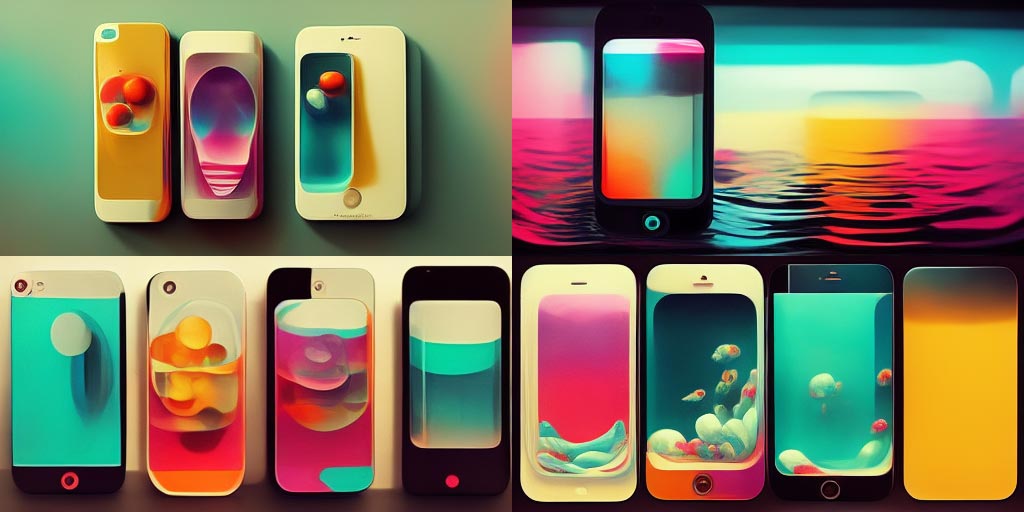
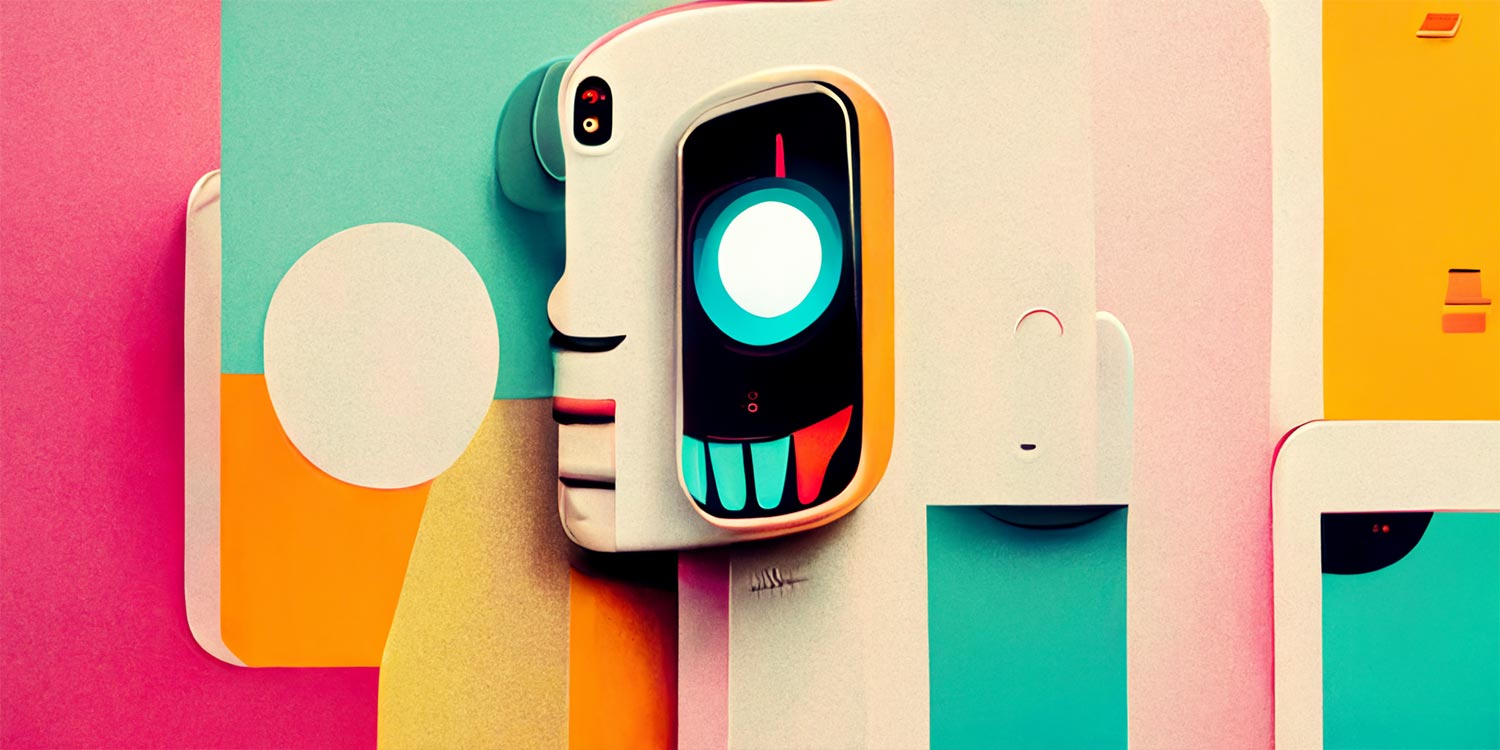
Discarded variations on this article’s header image
To suggest a prompt for the AI to generate, type “/imagine” followed by any kind of description you like. Usually, this takes the form of a physical description and then some art direction to dictate the style of the piece. Something like “/imagine pigs floating in space, abstract, modernist, vibrant” or “/imagine Tim Cook in Game of Thrones, 4K hyperrealistic.”
Literally anything you can think of, so long as it doesn’t feature nudity or excessive gore. (Midjourney is capable of producing those things, but you’ll get in trouble for it.) Scroll through past prompts to get a feel for what works well.
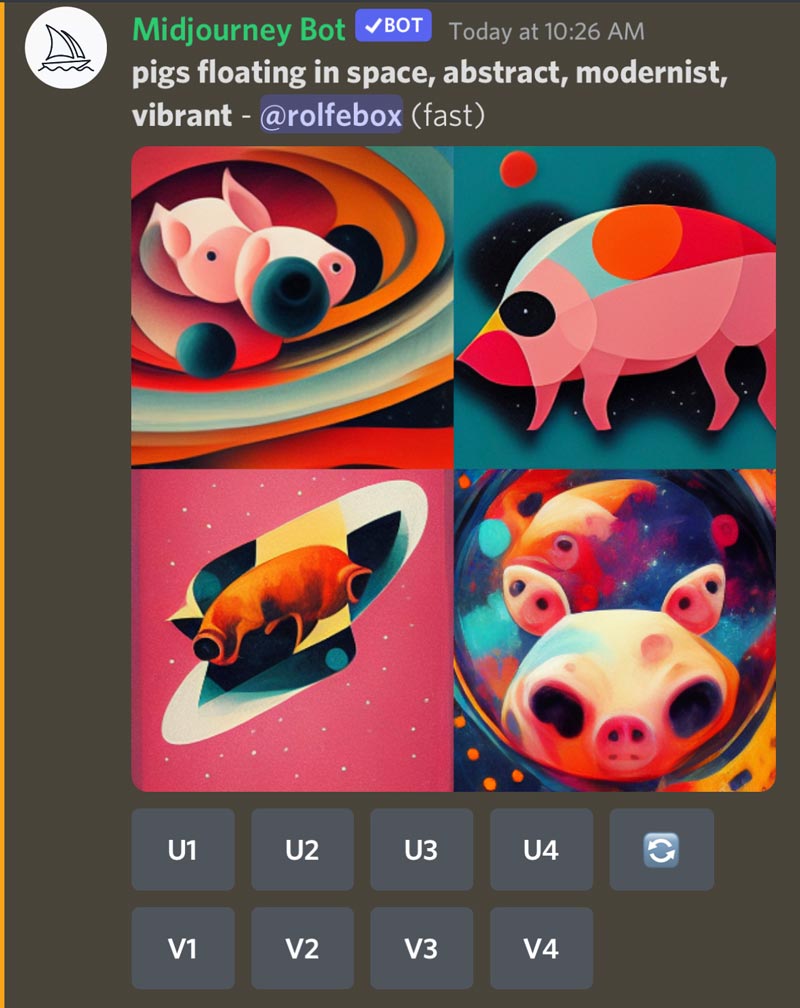
Send your message, and after a few moments, the Midjourney Bot will reply with four attempts at creating something from your suggestion. You might have to scroll up or down to find your post in the chat. You can then use the U buttons to Upscale one of these designs into a high-resolution image with fewer imperfections, or the V buttons to create four more Variations based on your chosen thumbnail.
By default, Midjourney will create square images using its standard algorithm, but you can use more complex prompts if you need something specific. For example, you can change the aspect ratio by adding “–aspect 16:9” to your text prompt. To learn about the other parameters the bot understands, we recommend skimming through the official user manual.
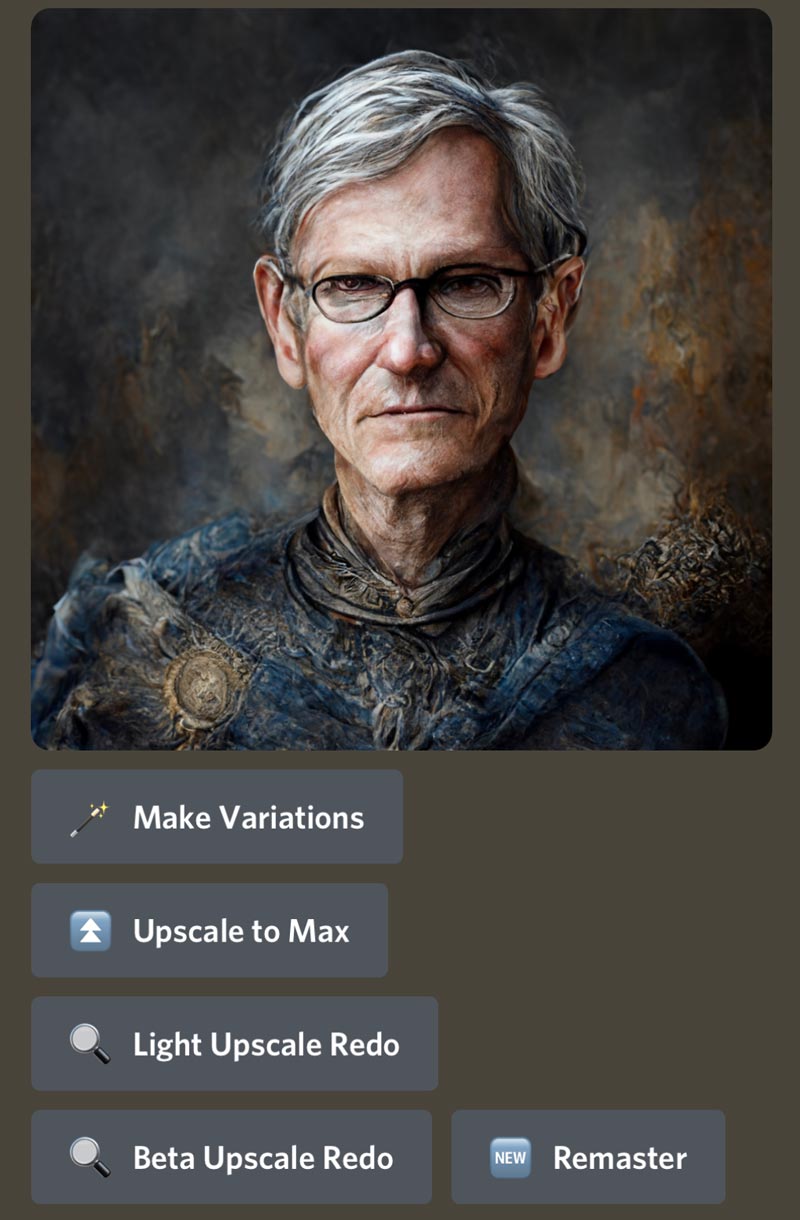
When you’ve upscaled something you’re happy with, there are a few more options to play with. More variations, remastering, upscale redos, and the like. Feel free to play around with these to finesse your art even further, but note that every request uses up your Midjourney allowance, and after a certain point (25 minutes of “generation time”) you’ll have to subscribe for more. Subscribers also get to generate images in a direct chat thread with the Midjourney Bot, instead of using the public #newbie channels.
To save your finished piece, tap the image to bring it full screen, and hit the download button in the top right. Grant access to your camera roll, and it will be saved to the Photos app. Cool!
If you catch the AI bug and decide to sign up, simply type “/subscribe” in one of the #newbie channels and follow the instructions. Have fun!