
- The app that beat’s Apple’s markup tools
- Draw, magnify, scribble and add text to any image
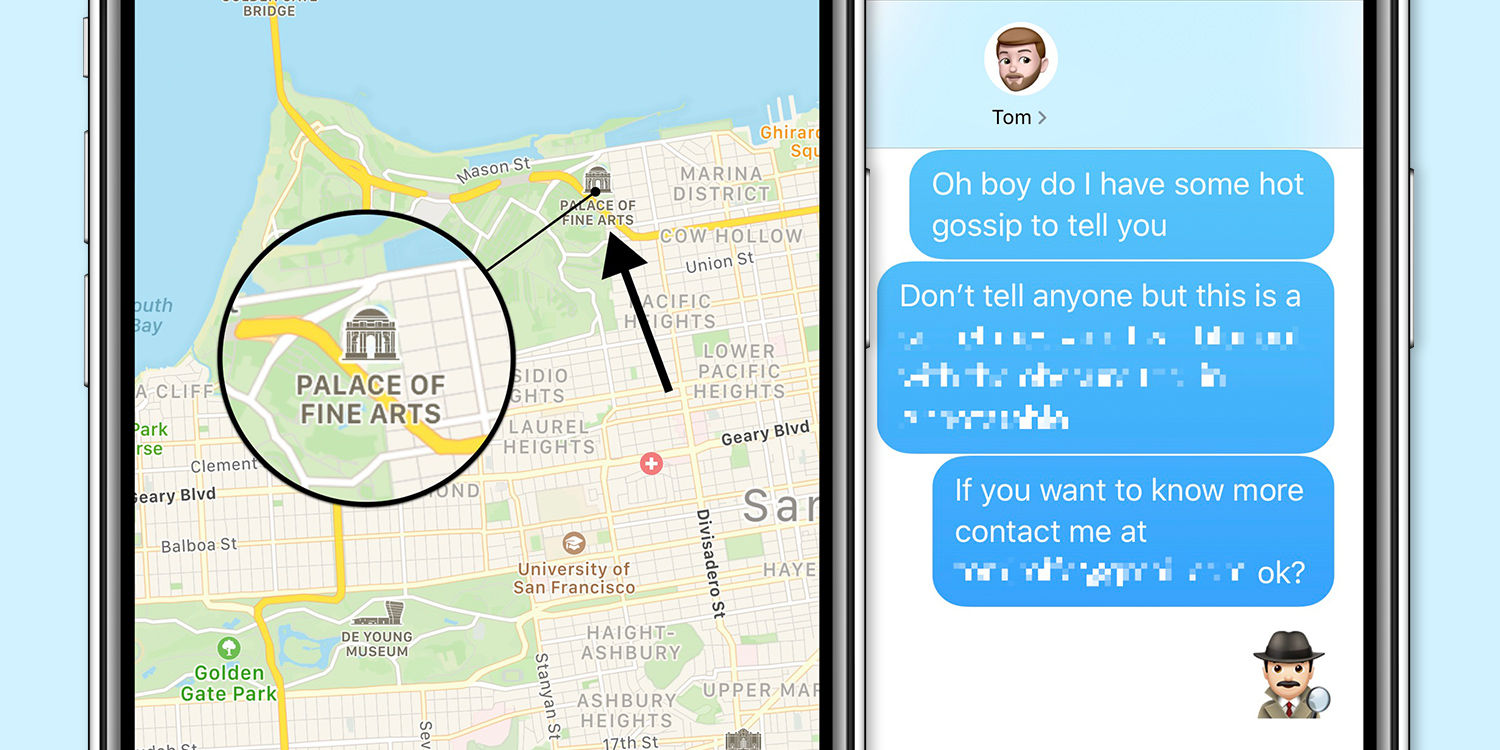
- Easily obscure, censor, or redact with ease
Apple’s iOS includes some decent built-in tools for annotating screenshots, but these tools will never be as powerful or nuanced as third-party alternatives.
If you want to annotate an image, whether to add emphasis to a photo, mark various points on a map, highlight important text in a screenshot, or even blur out private information, you won’t find a better tool for the job than Annotable.
It’s a free download, with some of its features locked behind in-app purchases. If you find yourself lamenting the lack of powerful annotation tools in iOS, the one-time $10/£10 unlock is an excellent investment and gives you access to everything Annotable has to offer. Or, if you’re only really interested in one particular toolset you can grab specific features for $2/£2 apiece. This app has been around for a full decade at this point, but it’s still hard to beat at this price.
Download the app with the link below and follow along as we take a quick dive into what it can do.
When you first load up Annotable, you’ll be prompted to pick a photo from your camera roll. Tap one and it’ll load into the main editing view.
The first thing you’ll notice is that the user interface is extremely minimal. Where are all the tools?! Smartly, Annotable hides away its functions in pop-out sub-menus to provide as much space as possible to display your underlying image. The button in the lower right shows the currently selected tool; tap it to unfurl the full selection.
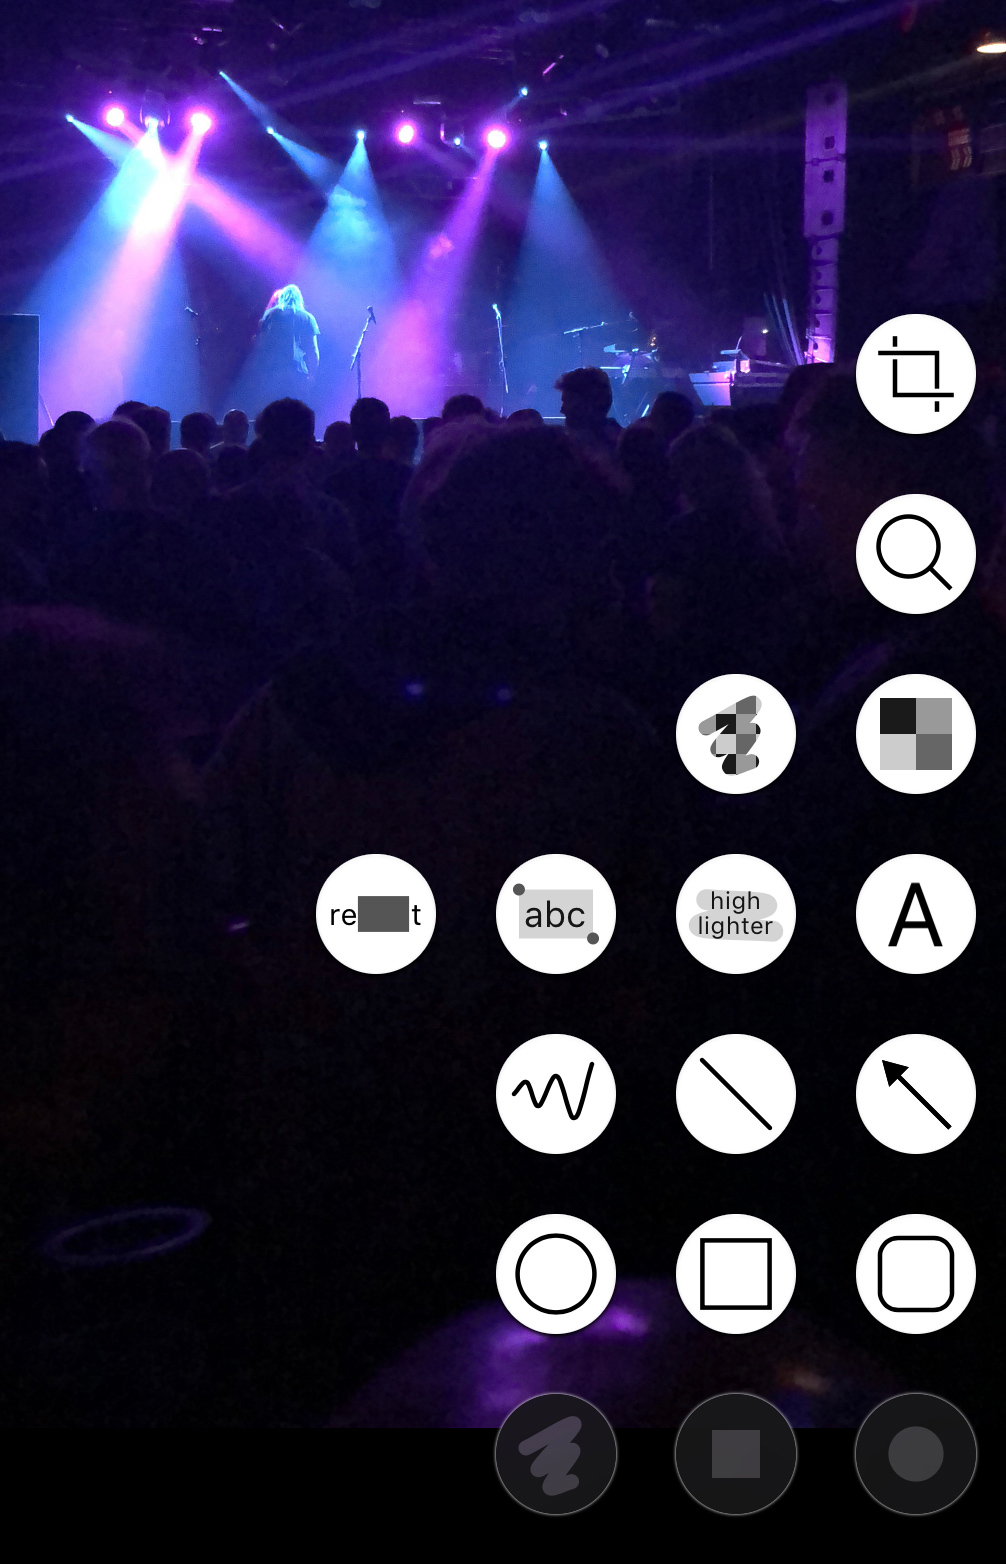
There are seven rows of annotation tools to choose from. Though incredibly simple to use, it’s not always apparent what each one does just from the icon – so let’s take a quick look at each. (Bear in mind the order of these tools will change based on your usage, with current or recently used functions gravitating toward the bottom of the list for easy access.)
First up we have the crop tool. Pretty straightforward if you’ve ever edited a photo before; use the blue handles to realign the edges of the image and tap the crop button again to confirm.
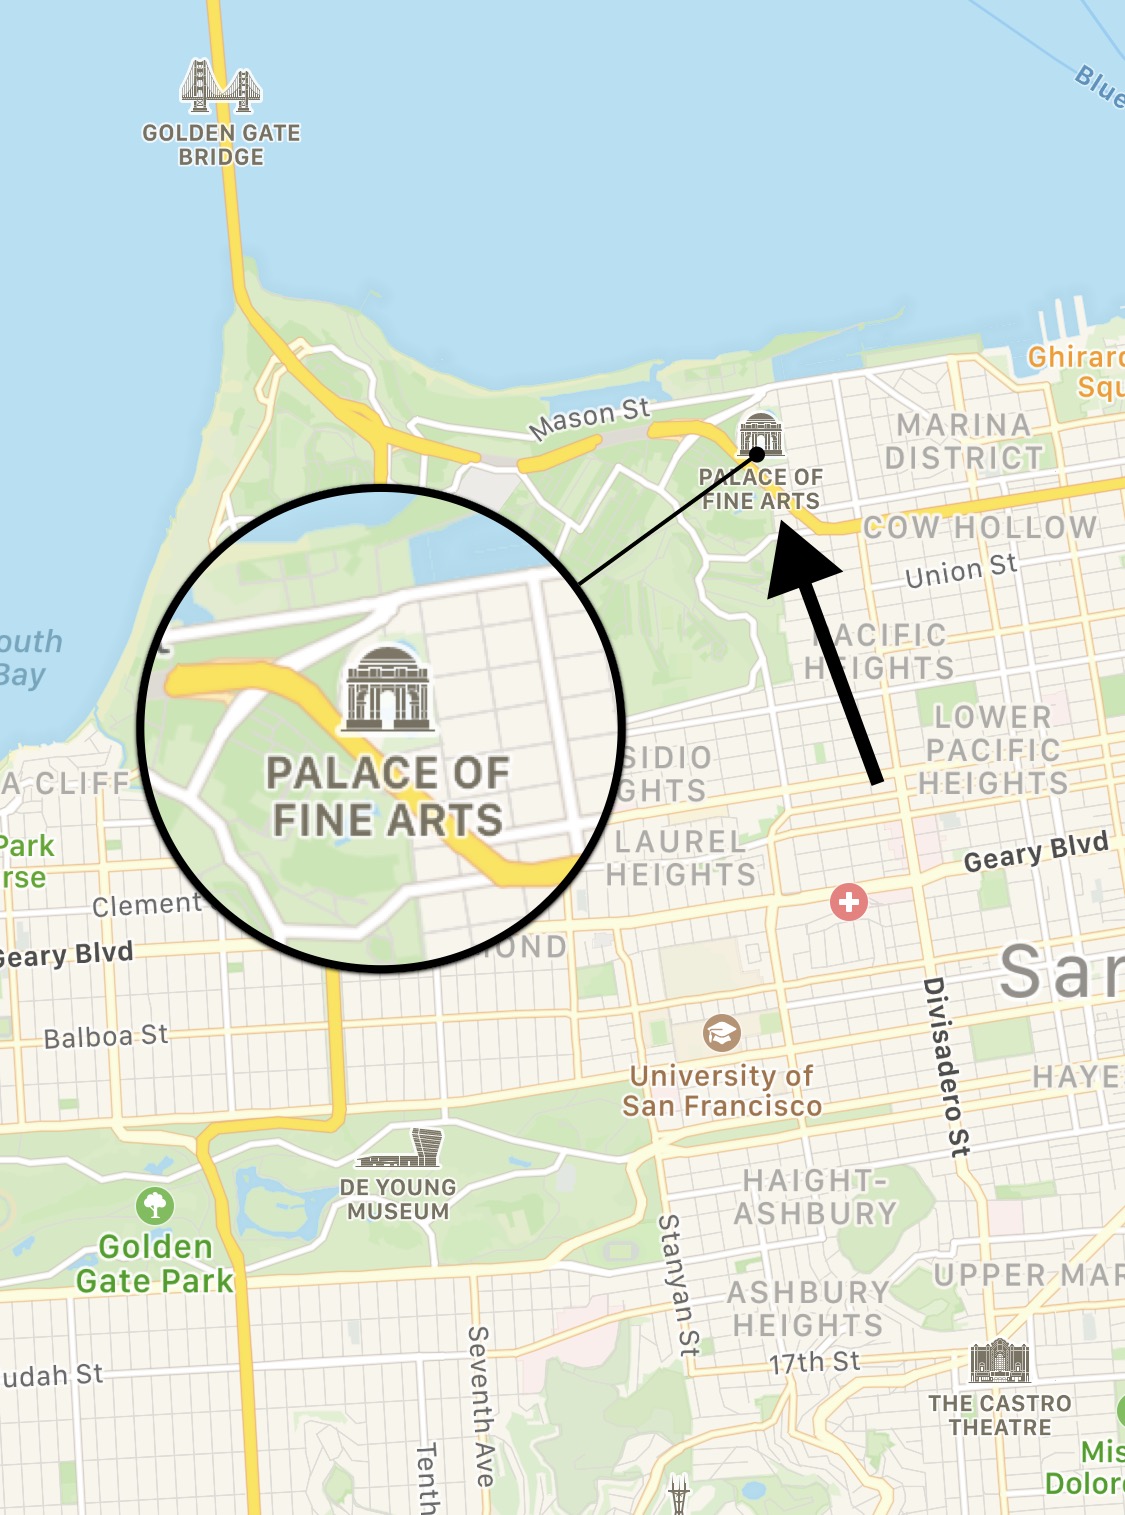
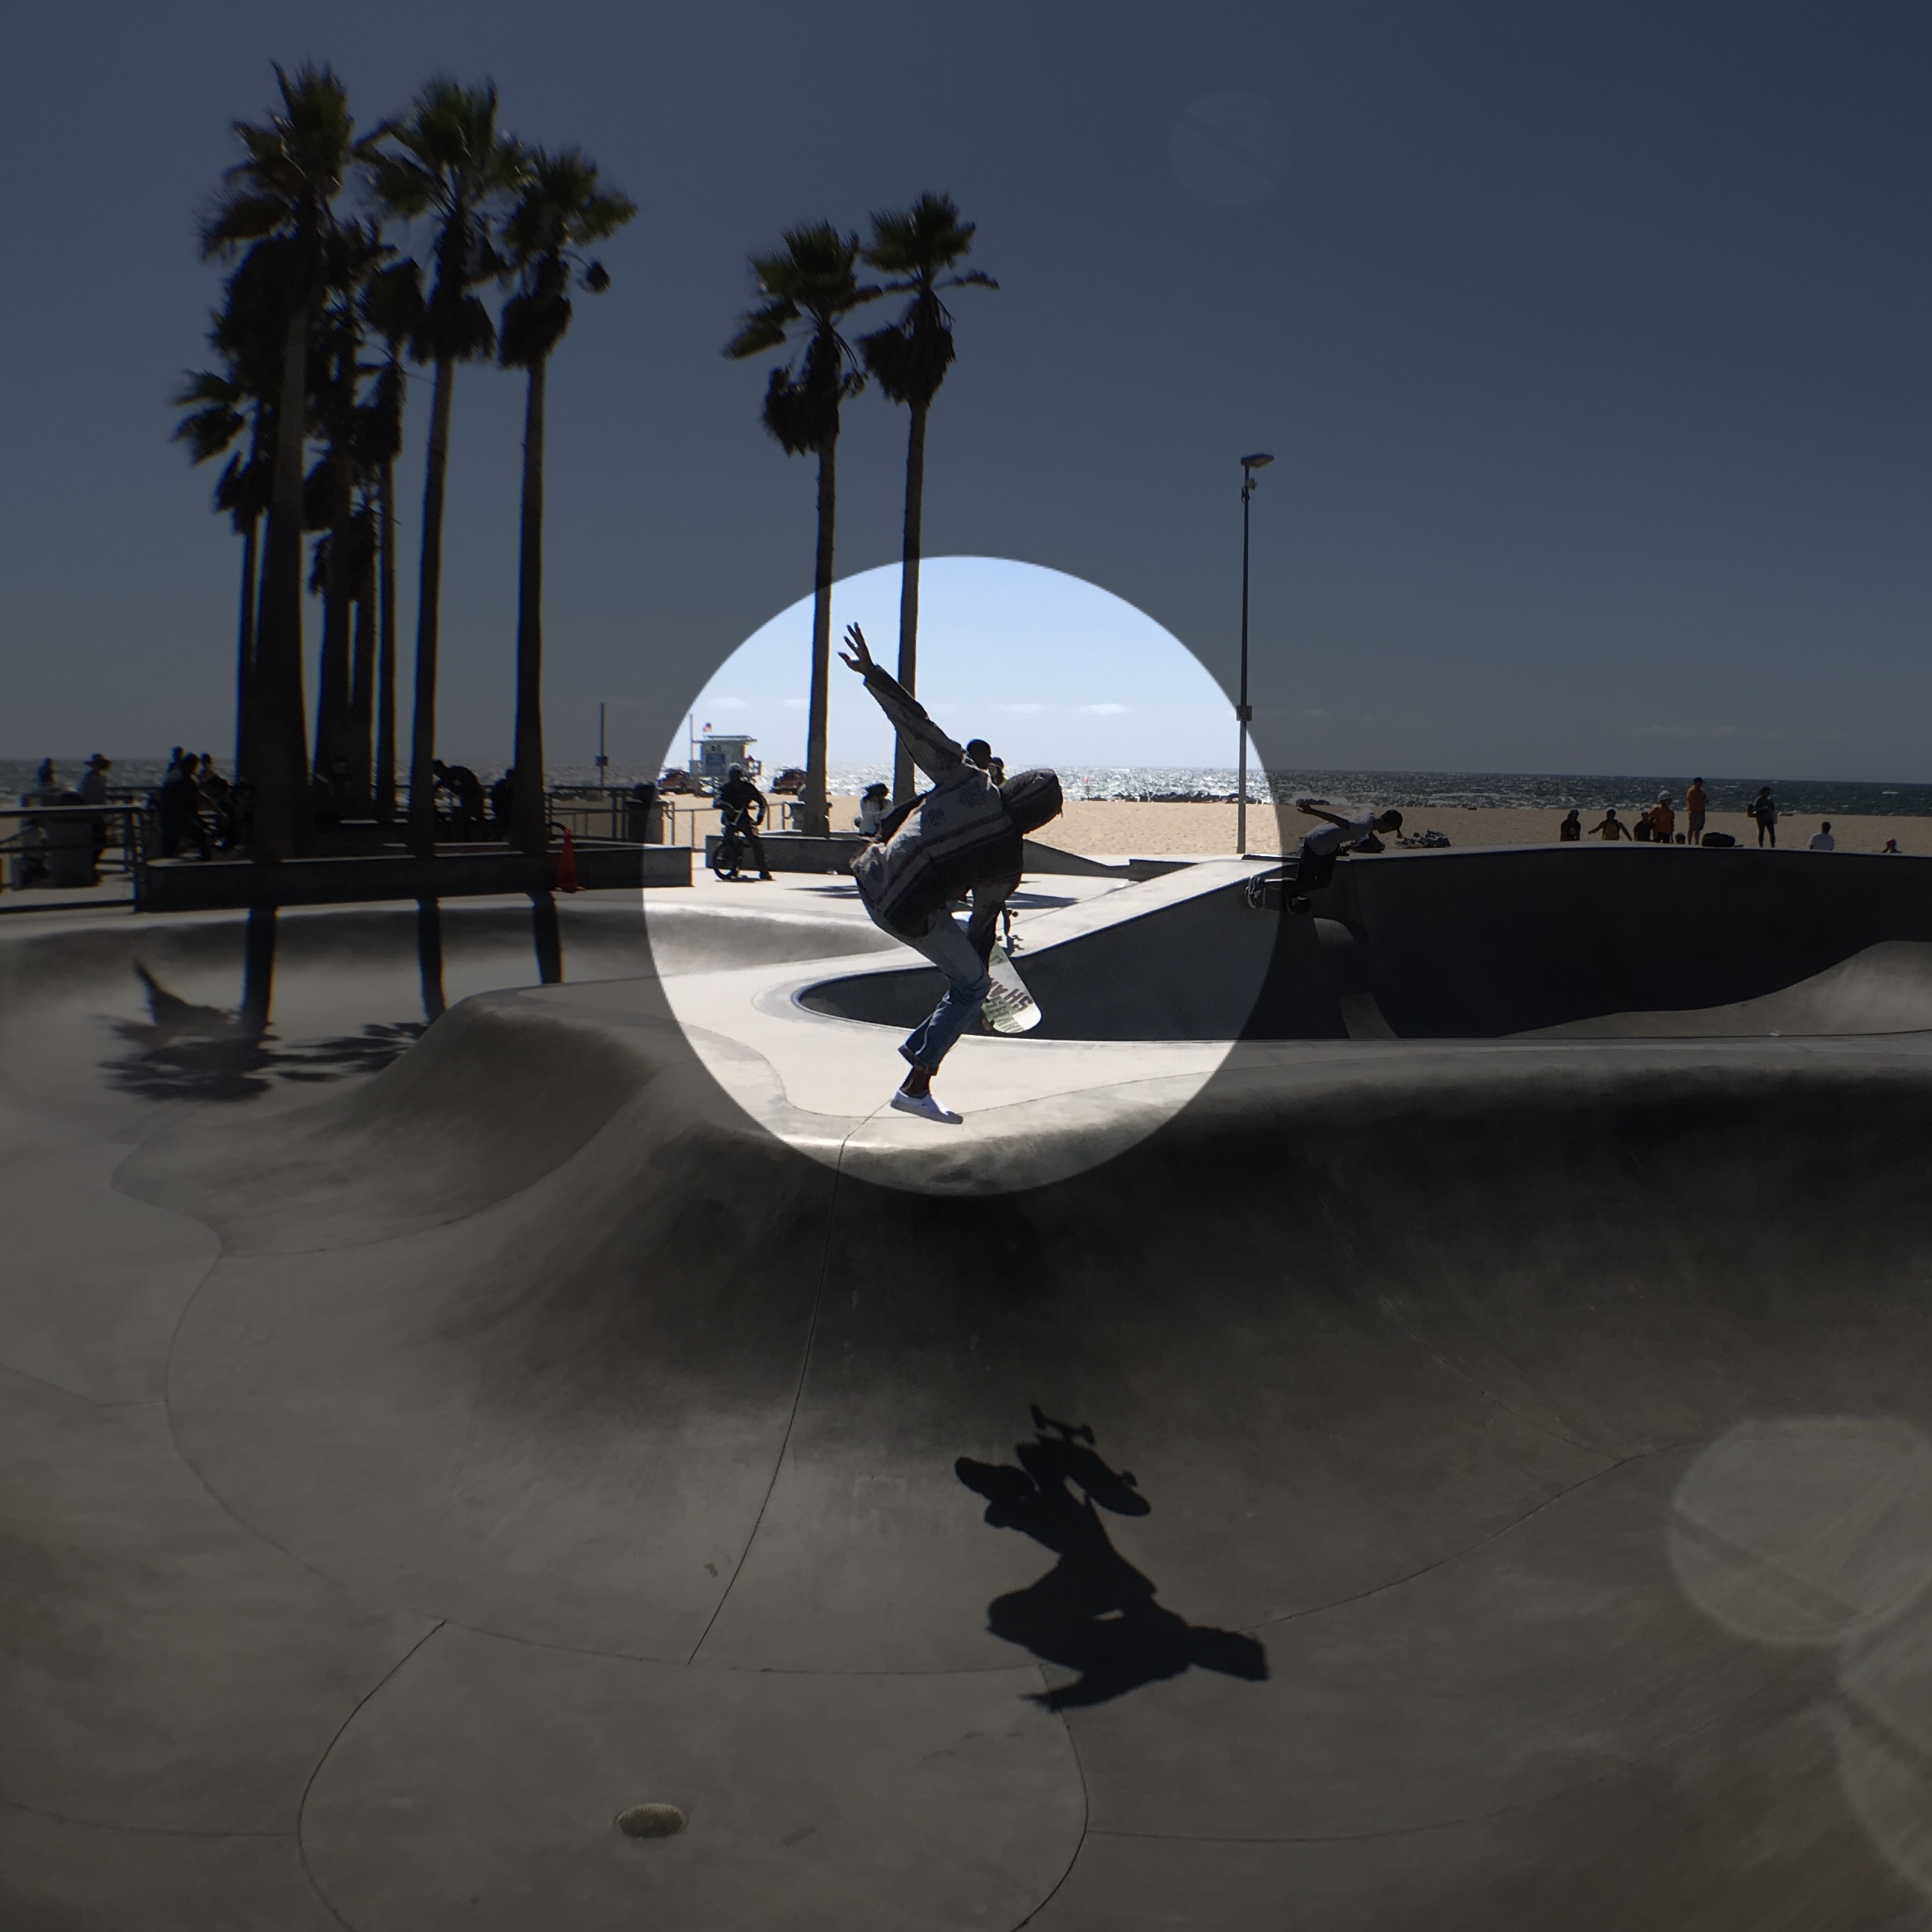
Next, we have the loupe tool, used for magnifying parts of your image. Once selected, simply place your finger anywhere on screen and drag to create a circle. Once created, you can tap-drag to move it around, use the outer blue handle to adjust the size of the circle, or the central blue handle to adjust its contents. You can change the outline color and zoom level from the left-hand menu.
Thirdly, we have the obscure tool. This can be used to cover sensitive information or blur out somebody’s face, for example. There are two versions of this tool: the first allows you to draw a freeform line over the area you wish to obscure, while the second lets you drag out a rectangular box to censor a whole area in one go. You can change the type of obfuscation using the submenu to the left, from black bars to gaussian blurs to big blocky pixelation.
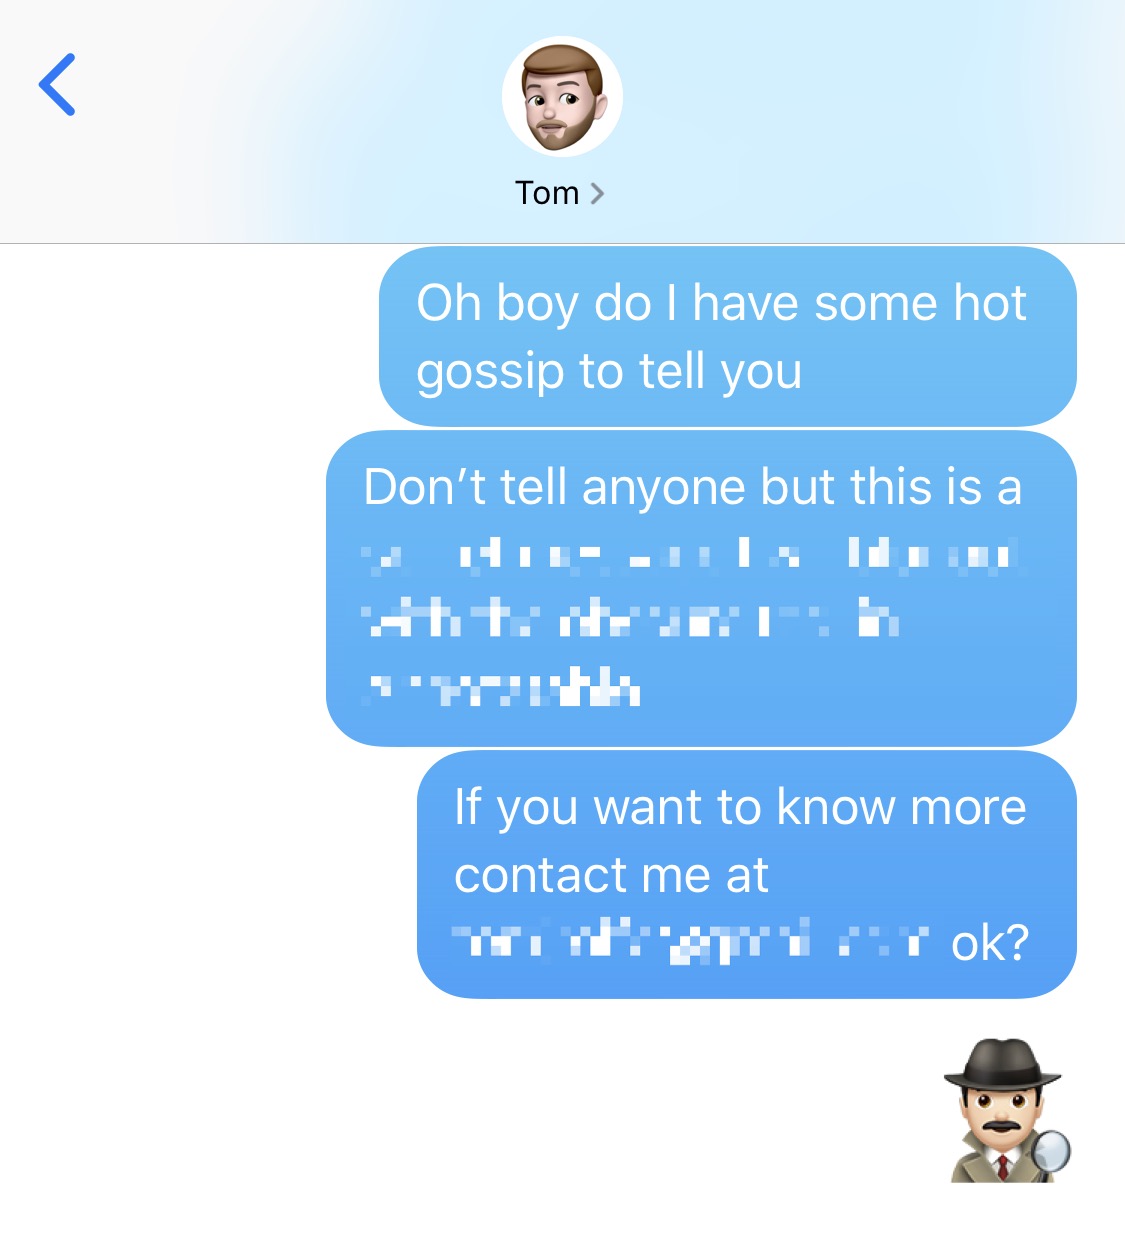
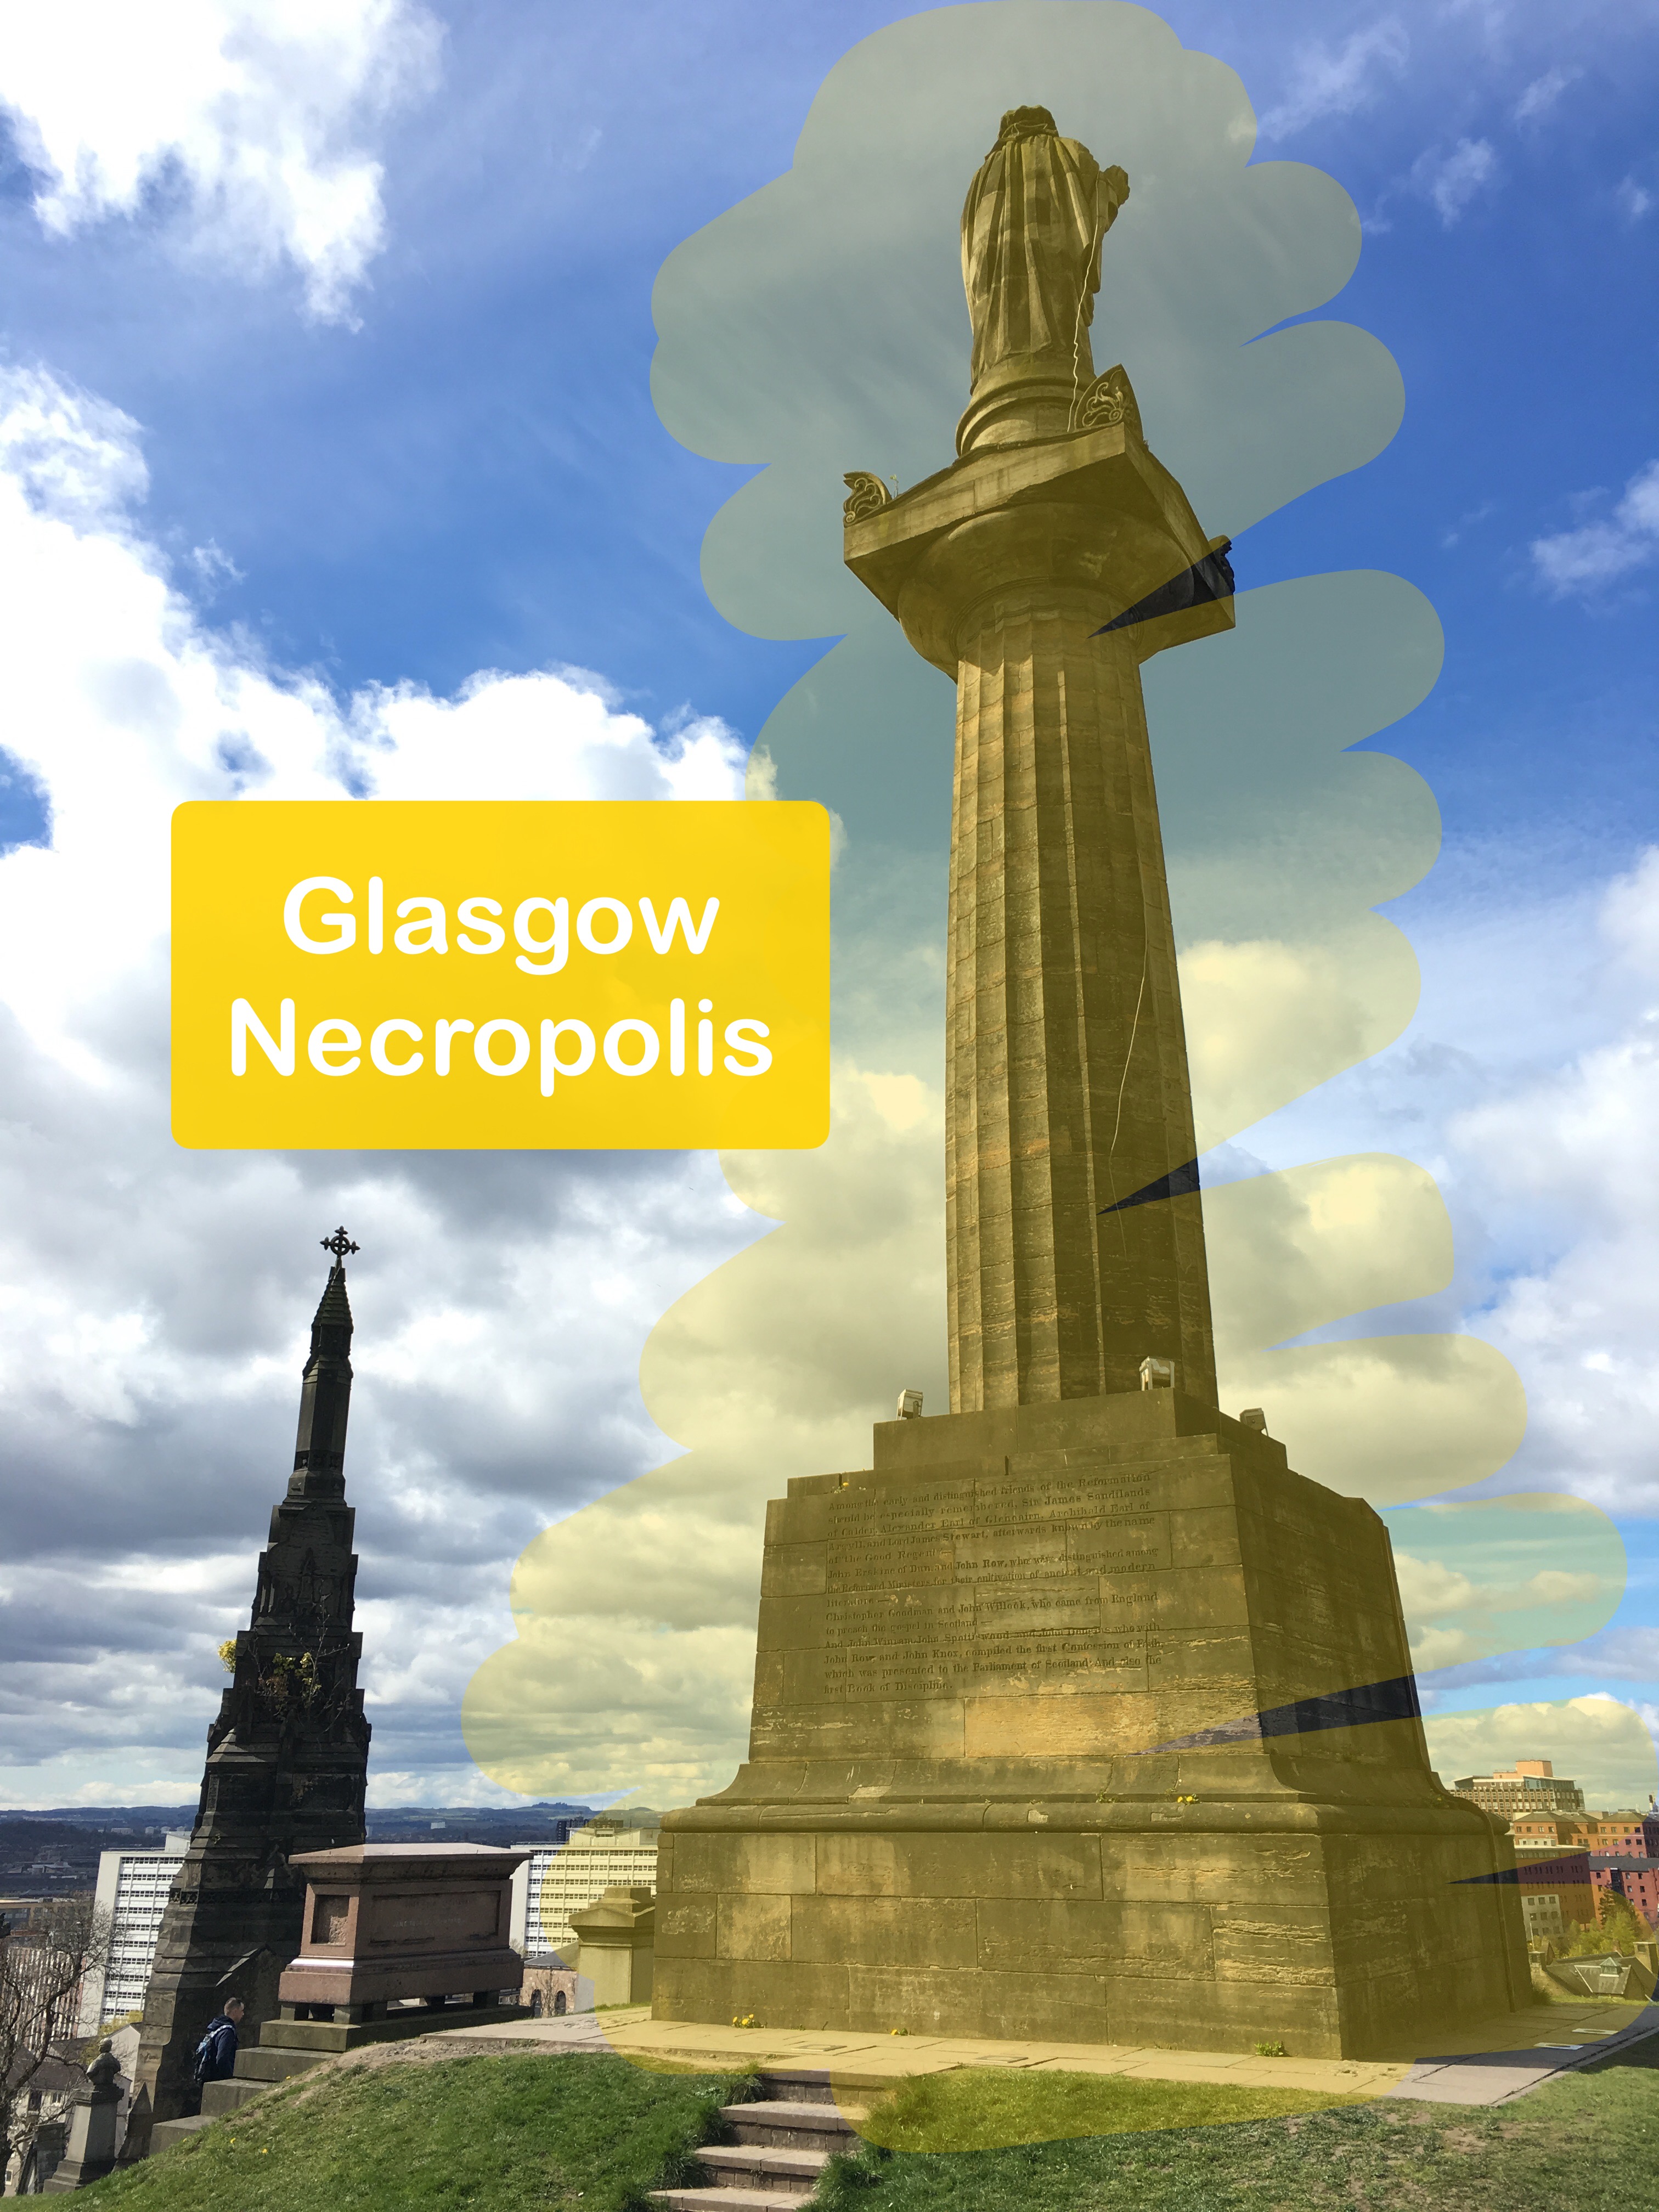
The fourth toolset deals exclusively with text, and it’s here the app’s OCR (optical character recognition) features become clear. This allows you to interact with text detected in photos as if you’d typed it yourself. One of these tools (the big ‘A’ icon) allows you to add new blocks of text, while the others allow you to highlight or redact existing text by drawing over it. Like before, additional options can be found in the left-hand menu.
Next, you have some rudimentary drawing capabilities in the form of the line tool. These allow you to draw lines with your finger: a freeform line, a straight line, or an arrow. Each of the above can be customized via the left menu: thickness, color, outline, shadow.
Below that, we have yet more drawing tools, this time dedicated to shapes. They work just like the line tools mentioned earlier but compromise circle, rectangle, and rounded rectangle tools. These are great for drawing attention to particular elements of the underlying image.
Finally, we have the highlight tools. These allow you to paint in an area of focus for the image using a circle, rectangle, or line tool. These areas will remain untouched while the rest of the image is darkened. This results in a spotlight-like effect and is great for adding emphasis without obscuring anything important.
When you’re done, simply hit the share button in the top right and you can send it to all the usual places, or keep it in your own camera roll with the Save Image button. (Oh, and if you make a mistake at any point you can use the undo and redo buttons along the bottom to roll back the changes.)
That’s it – happy annotating!