

The iPhone’s camera is incredibly capable right out of the box, but tucked away in the settings menus are several optional features that can improve your photography, customize your experience, and avoid annoying quirks. It only takes a few minutes to dial things in – but once you do, every photo or video you take will be better for it.
Here, then, are nine handy settings we recommend you take a look at ASAP. You’ll find them all in the Settings app under the Camera section.
Capture fast action with the volume buttons
When something exciting is happening, you want to grab as many frames as possible. By default, holding the volume button starts a video – but if you’d rather use this physical button as a shortcut to snap a burst of stills, you can change that. In Settings > Camera, enable Use Volume Up for Burst. Now when you hold the Volume Up button, your iPhone will activate burst mode and capture a stream of quick-fire photos, perfect for catching the exact right moment.
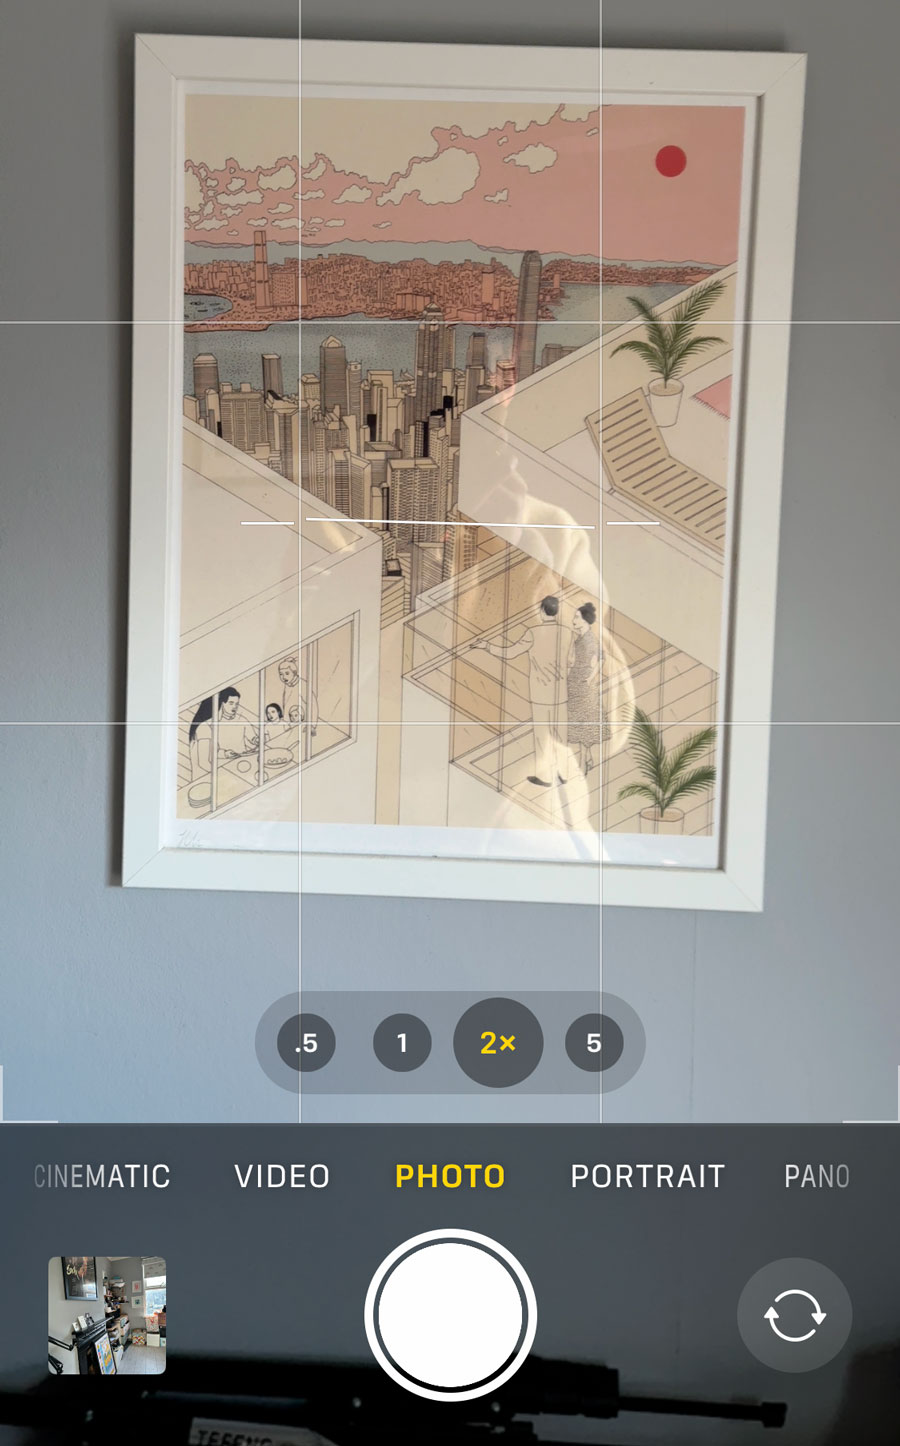
Use Grid and Level to improve composition
A good photo often comes down to how you frame it. Turning on the Grid gives you a simple rule-of-thirds overlay, helping you balance your shots. The Level feature is more subtle, but just as handy – it appears when your phone is flat and helps you line up overhead shots perfectly. Both features are tucked into Settings > Camera > Grid & Level, and once enabled, they make framing feel much more deliberate.
Mirror the front camera for more natural selfies
Have you ever taken a selfie, only to find it looks oddly flipped when saved? By default, the front camera inverts your image to match what others see. But if you prefer your photos to match the preview – like looking in a mirror – you can change this. Head to Settings > Camera and toggle Mirror Front Camera. It’s a small tweak, but one that can make your selfies feel more natural and familiar.
Decide whether to use ‘View Outside the Frame’
When enabled, this setting shows a subtle preview of what’s just outside your photo or video frame, capturing slightly more than you can see. This gives you a second chance to frame your shot, as you can ‘crop outwards’ to include something that might have been missed from the original shot. Handy if you’re often accidentally cutting off foreheads and feet from your photos – you’ll be able to get them back! But that extra context can be distracting or even lead to unwanted elements sneaking into edits. If you like tight, intentional framing, you may want to turn this off in Settings > Camera > View Outside the Frame. Otherwise, leave it on for a bit more creative flexibility.

Pick a Photographic Style that fits your vibe
Photographic Styles are like preset filters that subtly shift your images’ tone and contrast – but unlike filters, they’re baked in at capture, not applied after. That means they affect how your iPhone processes the image, while still preserving things like natural skin tones. It also means every photo you take will instantly suit your vibe without additional editing. You’ll find this under Settings > Camera > Photographic Styles, with options like Rich Contrast, Vibrant, Warm, and Cool to choose from. Choose the one that suits your aesthetic – just remember it applies to all future shots until you change it again.
Enable Portraits in Photo Mode for editable focus
Typically, if you want to blur the background in a photo, you need to use Portrait Mode. But with this setting enabled, your iPhone will capture depth data even in regular photo mode, letting you adjust the focus after the fact in the Photos app. It’s especially useful when you forget to switch modes in the moment, giving you the chance to change your mind later. Go to Settings > Camera > Portraits in Photo Mode to turn this on. It’s a nice safety net for creating those DSLR-style shots on the fly.

Choose your video resolution and frame rate
Your iPhone can shoot at 1080p or 4K, with frame rates ranging from 24fps to 60fps. That means you can opt for smoother motion, a cinematic feel, or just save on storage. If you mostly shoot casual clips or want to save space, 1080p at 30fps is a solid default. But if you need the highest quality – especially if you plan to edit or share on a big screen – 4K might be worth it. A 24fps setting gives a more film-like look, while 60fps feels super smooth for action or sports. Just bear in mind that shooting at higher quality consumes considerably more storage space, so consider whether you’ll actually feel the difference before making a choice here. You’ll find all of this under Settings > Camera > Record Video.
Enable ProRAW for 48MP photos – but only when you need it
Although the iPhone has a 48MP sensor, it captures 12MP images by default. That’s usually plenty, but enabling ProRAW unlocks the full 48MP potential. This is ideal when you want maximum detail and flexibility in editing. Just be aware: ProRAW photos are huge and will chew through your storage if you leave it on all the time. They’re overkill for everyday use, but will make a big difference if you plan to print your photography at a very large scale. You can turn it on via Settings > Camera > Formats > Apple ProRAW & Resolution Control, and toggle between 12MP and 48MP as needed right in the Camera app.
Disable Macro Control if auto-switching bugs you
The iPhone’s Macro Mode is clever, kicking in automatically when you move close to a subject. But that switch to the ultra-wide lens can be annoying – at some distances, you’ll find Camera keeps switching back and forth while you’re trying to compose a shot. For certain types of close-up, you’ll even find the standard 1x lens is better than the forced 0.5x lens used for Macro mode. So if you’d rather take manual control, head to Settings > Camera and turn on Macro Control. That way, you’ll get a manual toggle in the Camera app whenever you’re close enough to use macro, putting you in charge of when it activates. The button is yellow with a flower icon.