
- What Cinematic mode actually does and which iPhones support it
- How to take control of focus, depth, and subject tracking while shooting
- How to fine-tune focus changes and blur levels during editing
Cinematic mode arrived with iPhone 13, bringing film-style focus tricks to everyday videos. It mimics the classic “rack focus” technique – shifting attention from one subject to another mid-shot – and can make even casual clips look surprisingly polished. Apple even used it to shoot a mini mystery movie to show off how dramatic the effect can be.
It’s simple to start using, but understanding the controls will help you get much better results. You’ll need an iPhone 13 or newer, and an iPhone 14 or newer if you want to record in 4K.
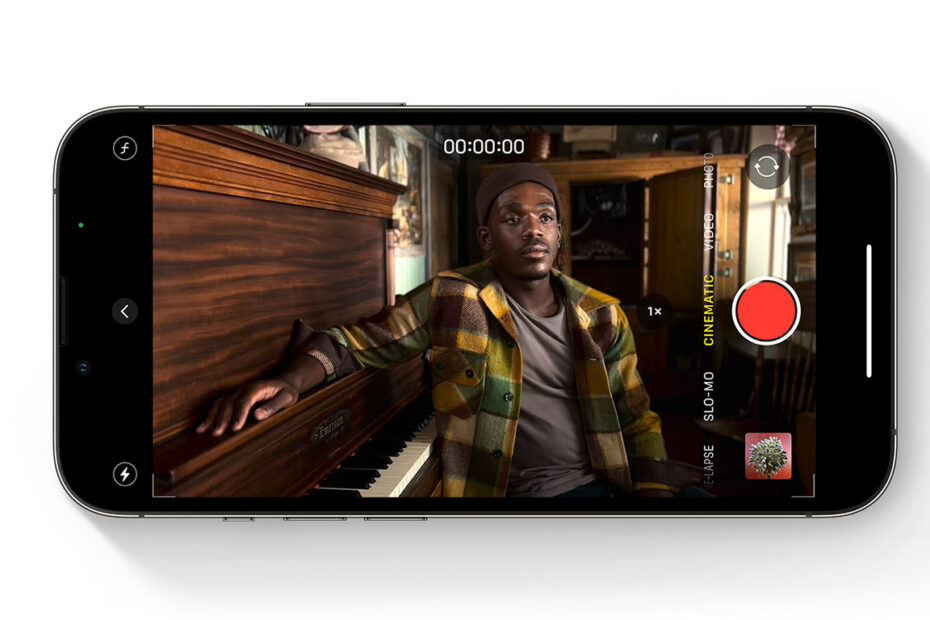
Shooting in Cinematic mode
Open the Camera app and swipe to Cinematic. If you’ve used Portrait mode for photos, the look and feel will be familiar – the camera identifies subjects automatically and softly blurs everything else.
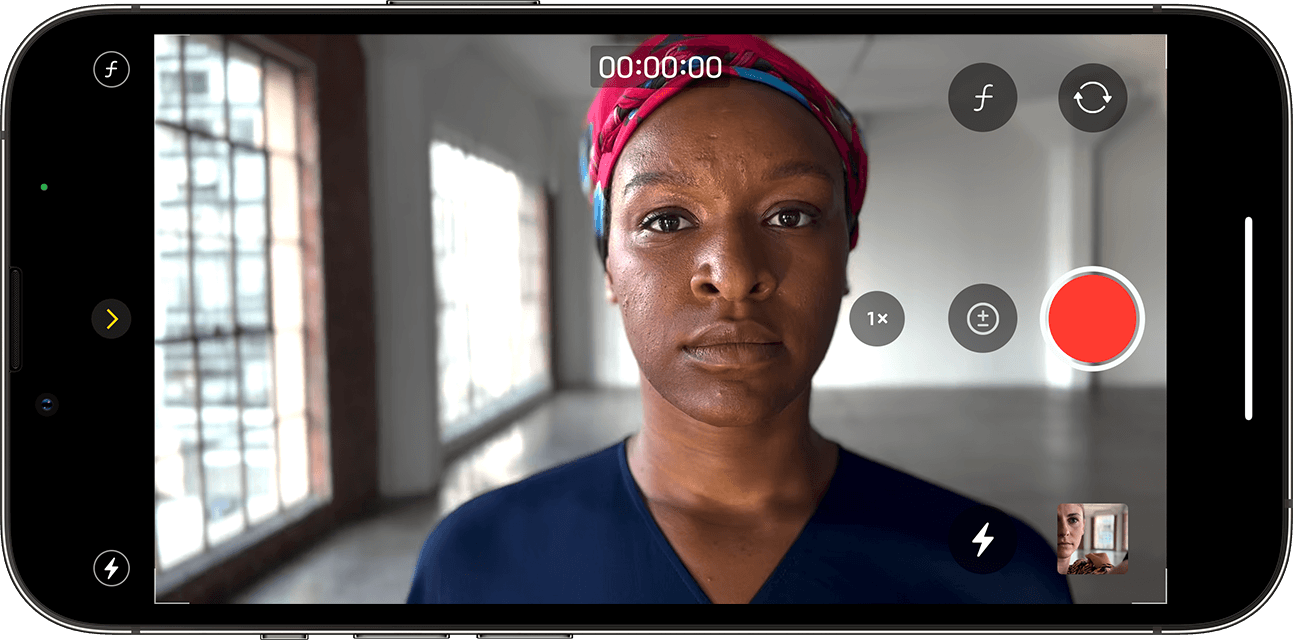
You can override this whenever you like. Tap a person or object to snap focus to it, even while recording. Tap another subject mid-shot and the iPhone will smoothly shift focus. Double-tap a subject to lock onto it so the camera tracks them as they move. A long-press anywhere on screen locks the focus at that specific distance instead.
You can also control the depth of field, which changes how strong the blur effect is. In portrait orientation, tap the f button in the top-right. In landscape, tap the < arrow first and you’ll see the same control. Use the slider to choose how much separation you want between the subject and background.
Editing your cinematic video
One of the best parts of Cinematic mode is that you can change your focus choices later – even on other Apple devices running iOS 15 or newer.
Open your clip in Photos and tap Edit. You’ll see yellow markers along the timeline showing every focus transition. The current focal point is outlined in yellow, while other detected subjects get white squares.
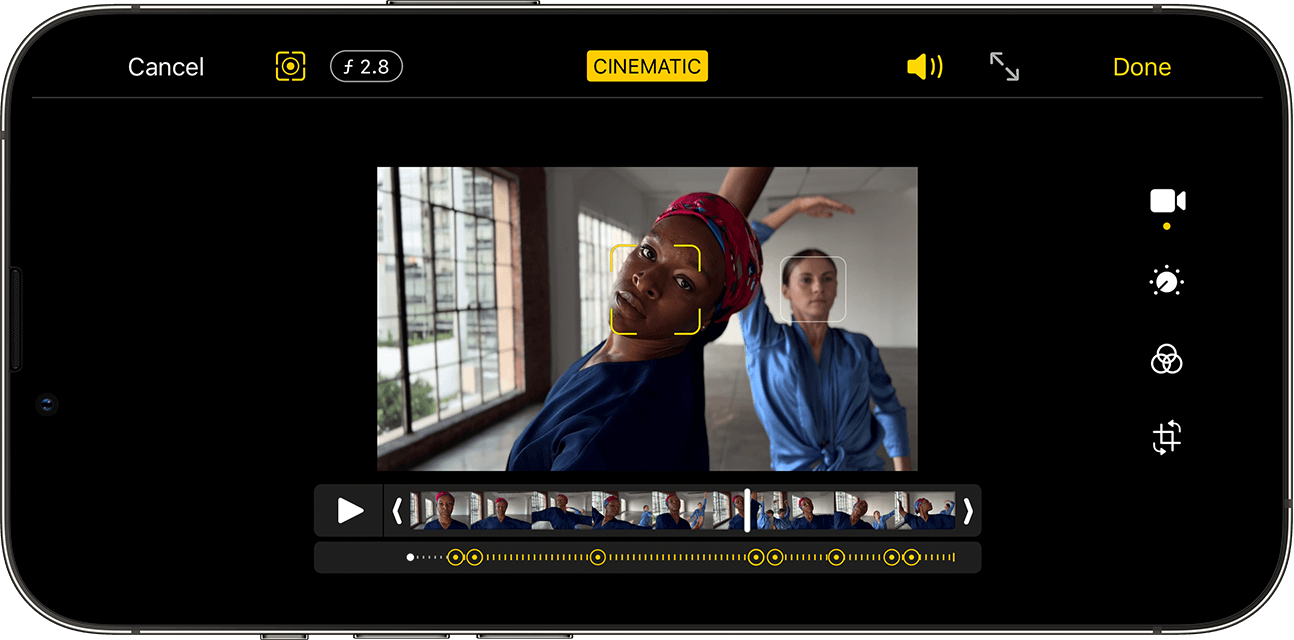
Scrub through the video and tap to switch focus, double-tap to track a subject, or long-press to lock focus at a set distance. If you want to undo a specific transition, hold on its yellow dot to remove it.
You can also toggle between your edits and the iPhone’s original automatic focus decisions via the focus button in the top-right.
Depth of field adjustments live here too. Tap f to change the blur level, but remember this applies to the entire clip – you can’t vary it partway through.
A little practice (and good lighting) goes a long way. With a bit of experimenting, you can get footage that looks far more cinematic than a typical point-and-shoot video.