

Gone are the days when you needed a pen and a print-out to sign a document. Thanks to your iPhone (or iPad) and the magic of the App Store, it’s easy to sign digital documents while on the move. Here’s how to do it.
Use Apple’s hidden Markup tools
Your first option when it comes to digitally signing a document is the Apple solution. Find a PDF in an app like Mail, Messages, or Files. Tap it to preview the document and scroll down to where you need to sign. Then choose the Markup icon in the top-right of the document preview.
Markup tools will appear on-screen. You could squiggle a signature using your finger (or using an Apple Pencil if you have a compatible iPad), but iOS also lets you save and recall signatures.
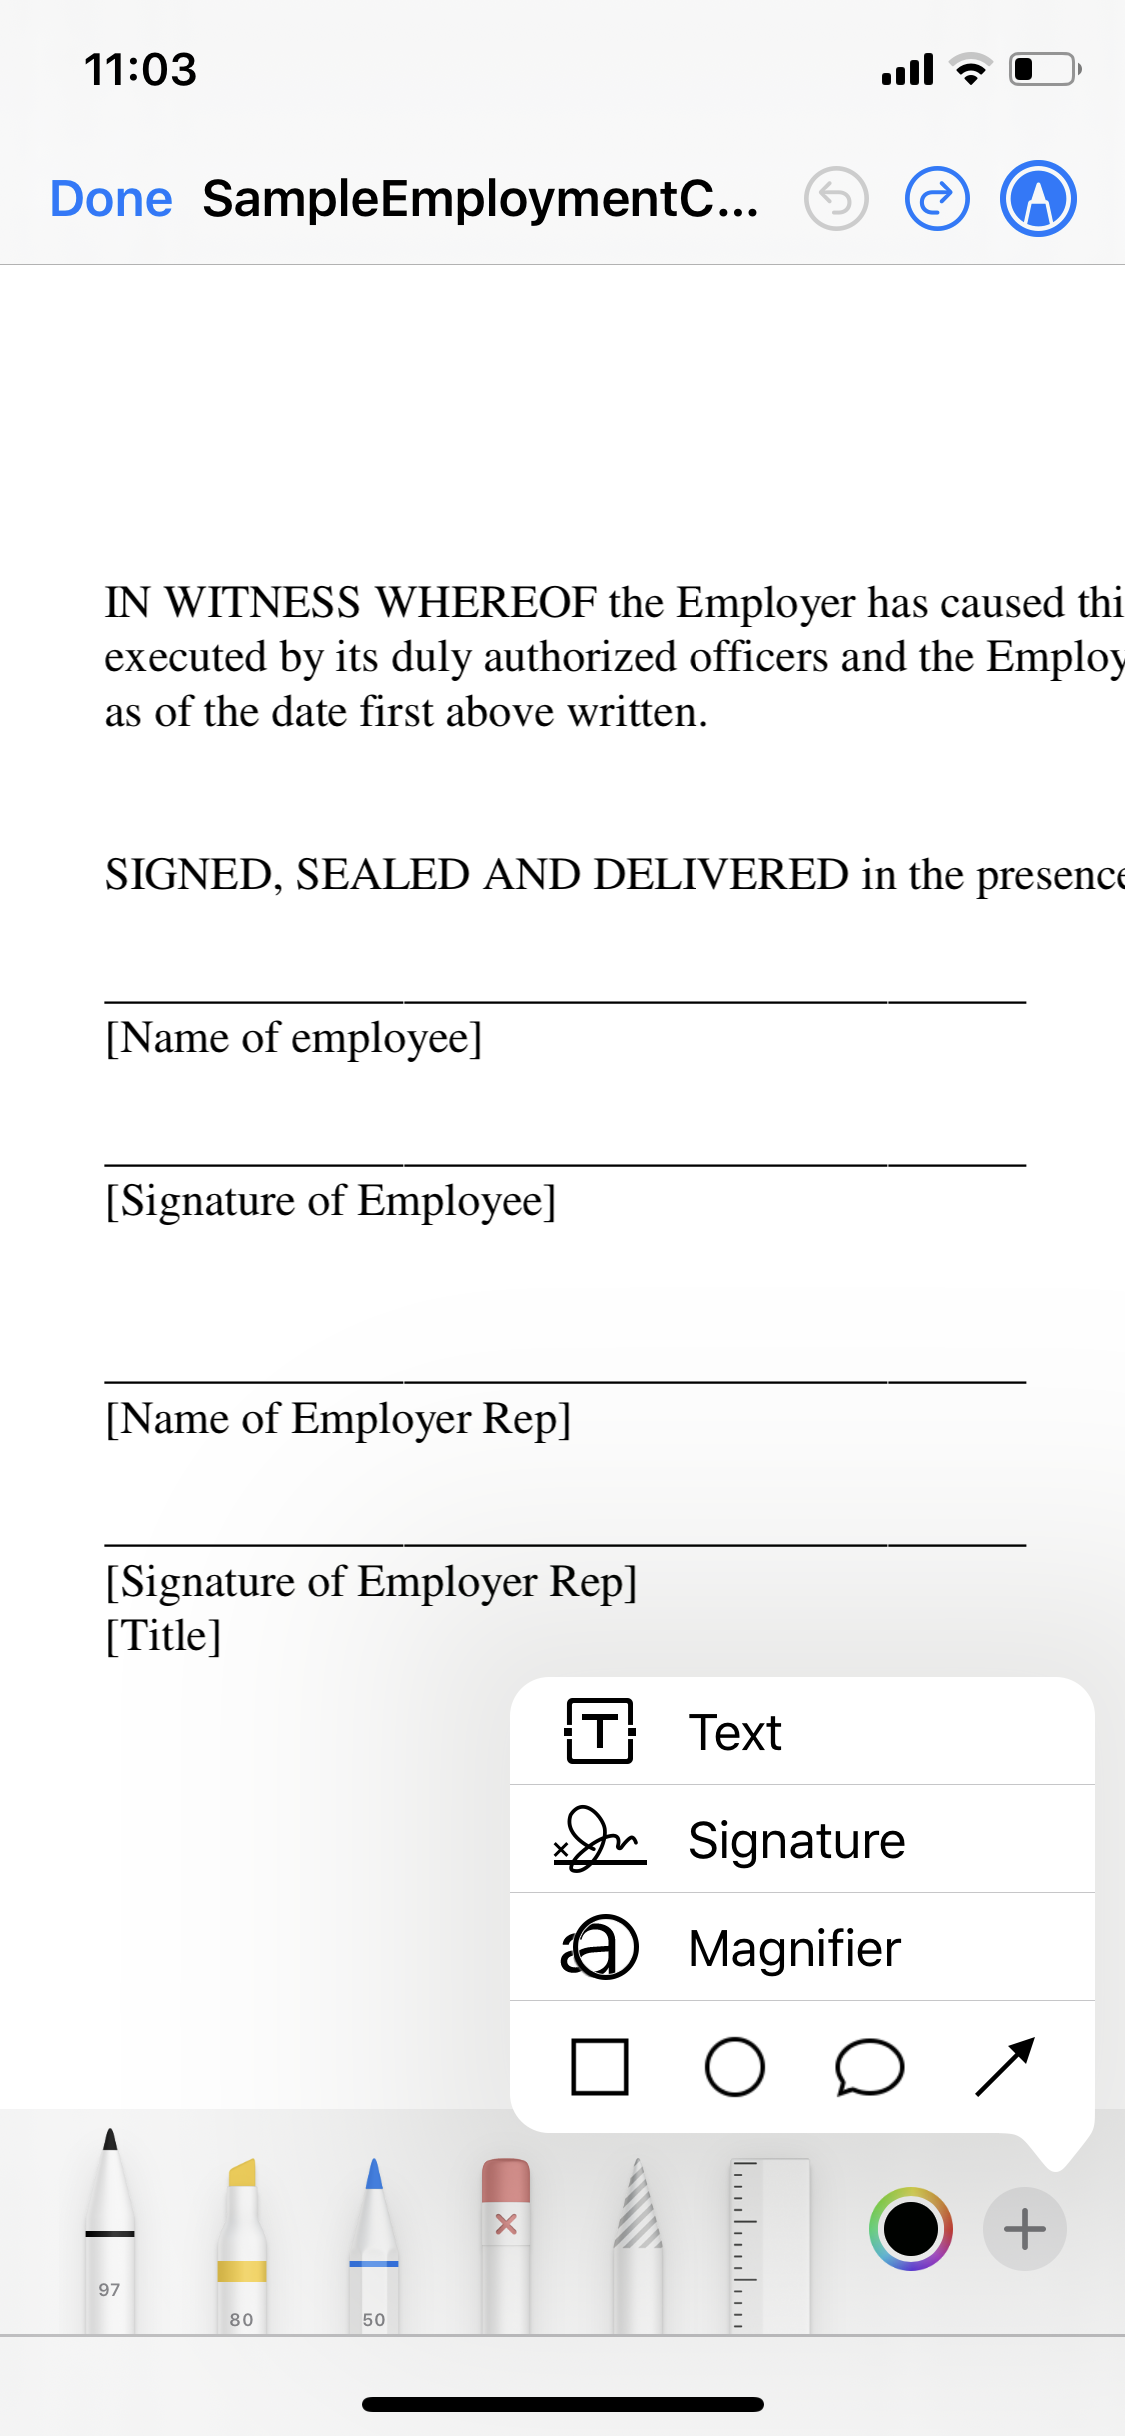
Markup’s hidden tools.
Tap the + icon in the bottom-right and choose Signature. To add a signature, choose Add or Remove Signature and sign the screen. Or, if you’ve already added a signature, simply tap it.
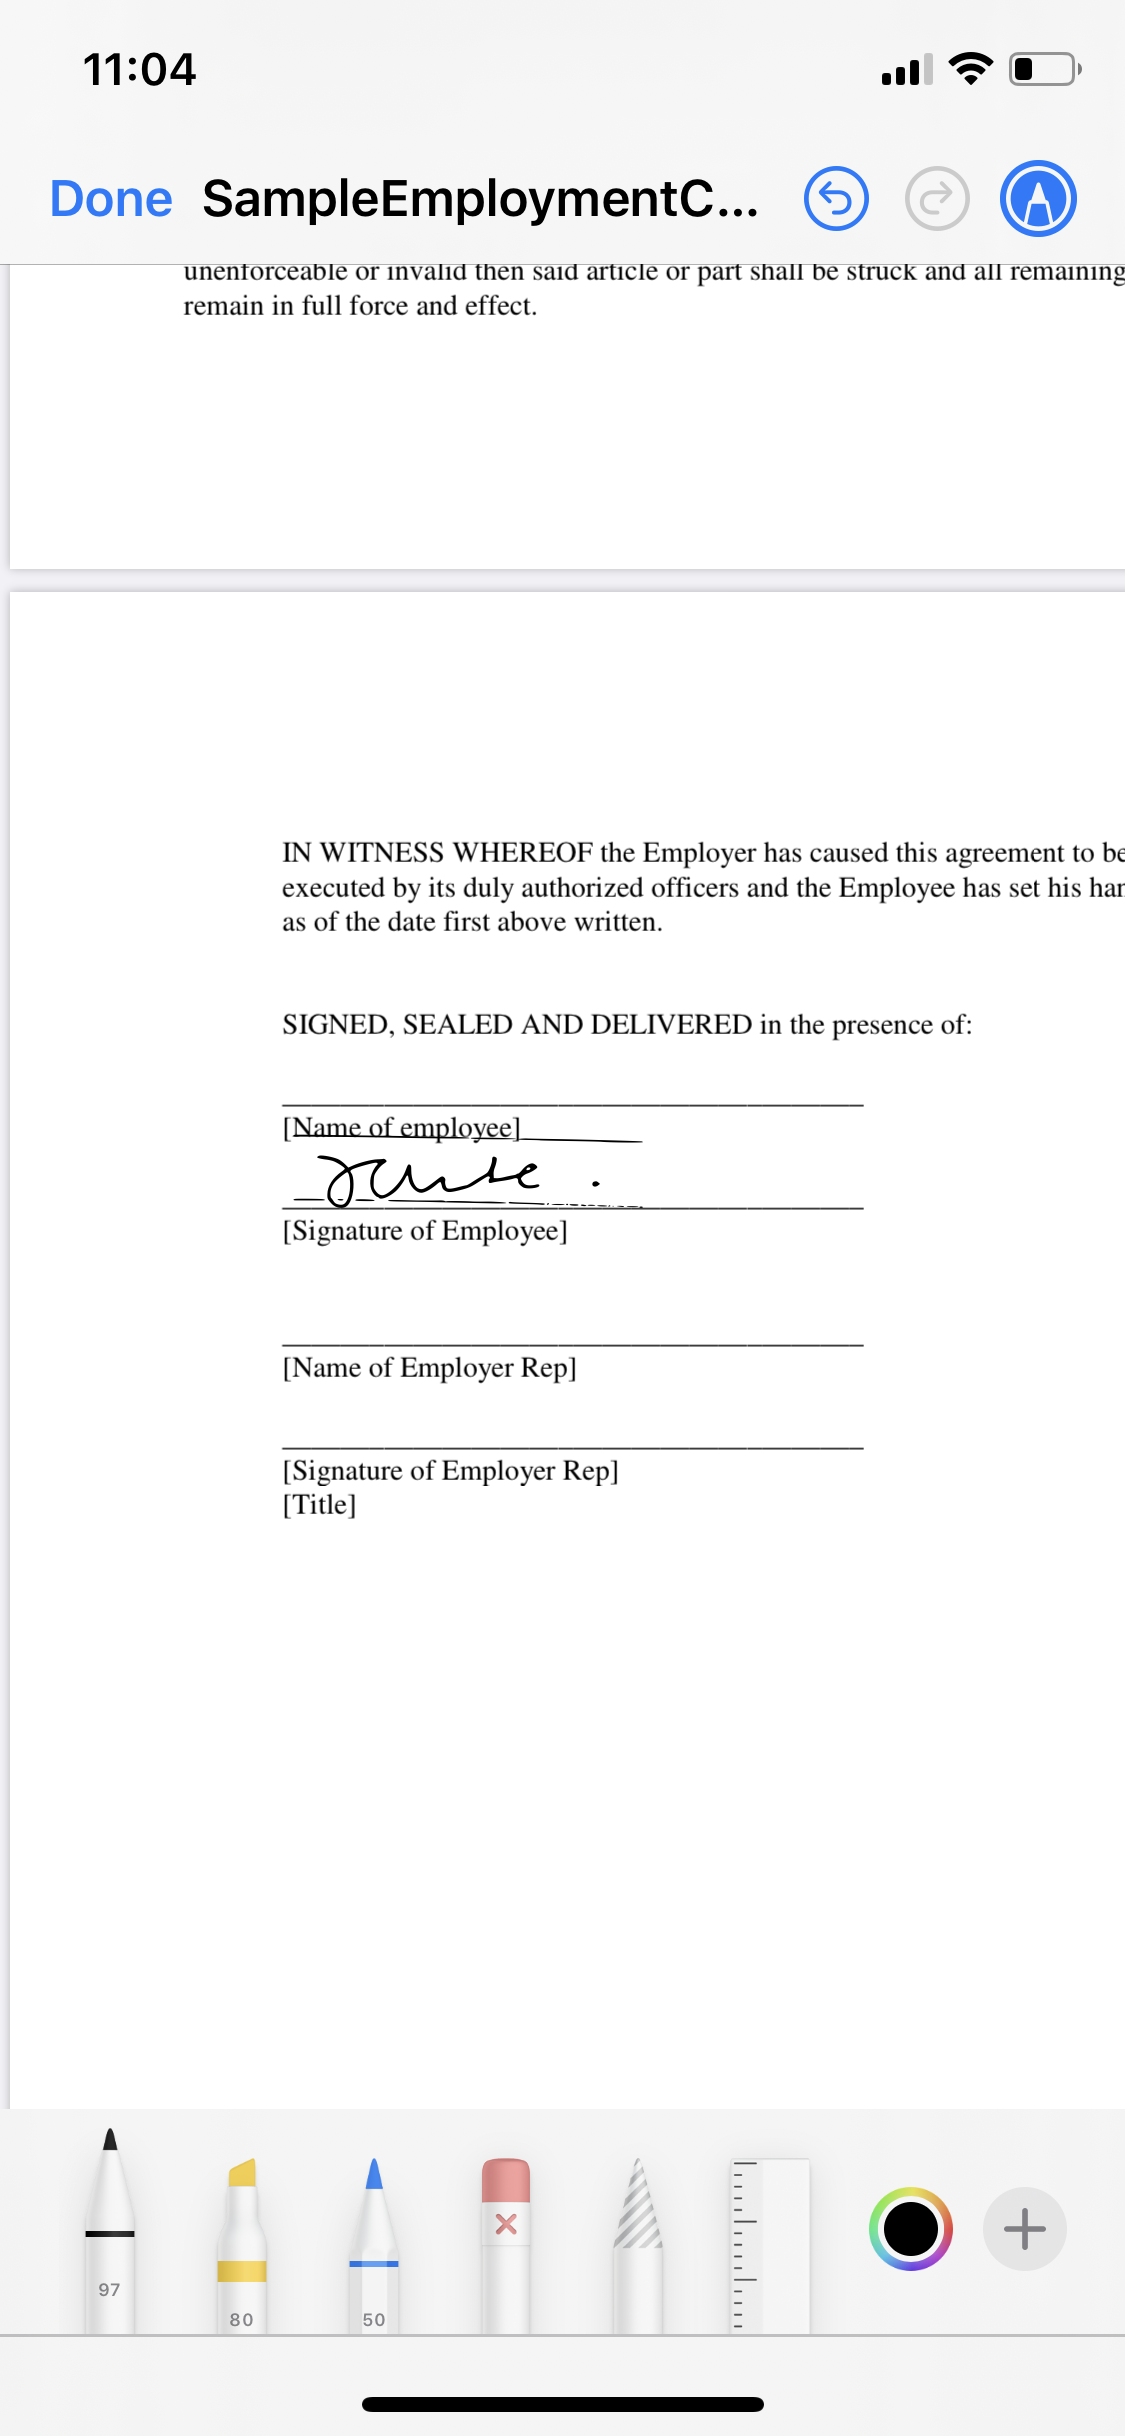
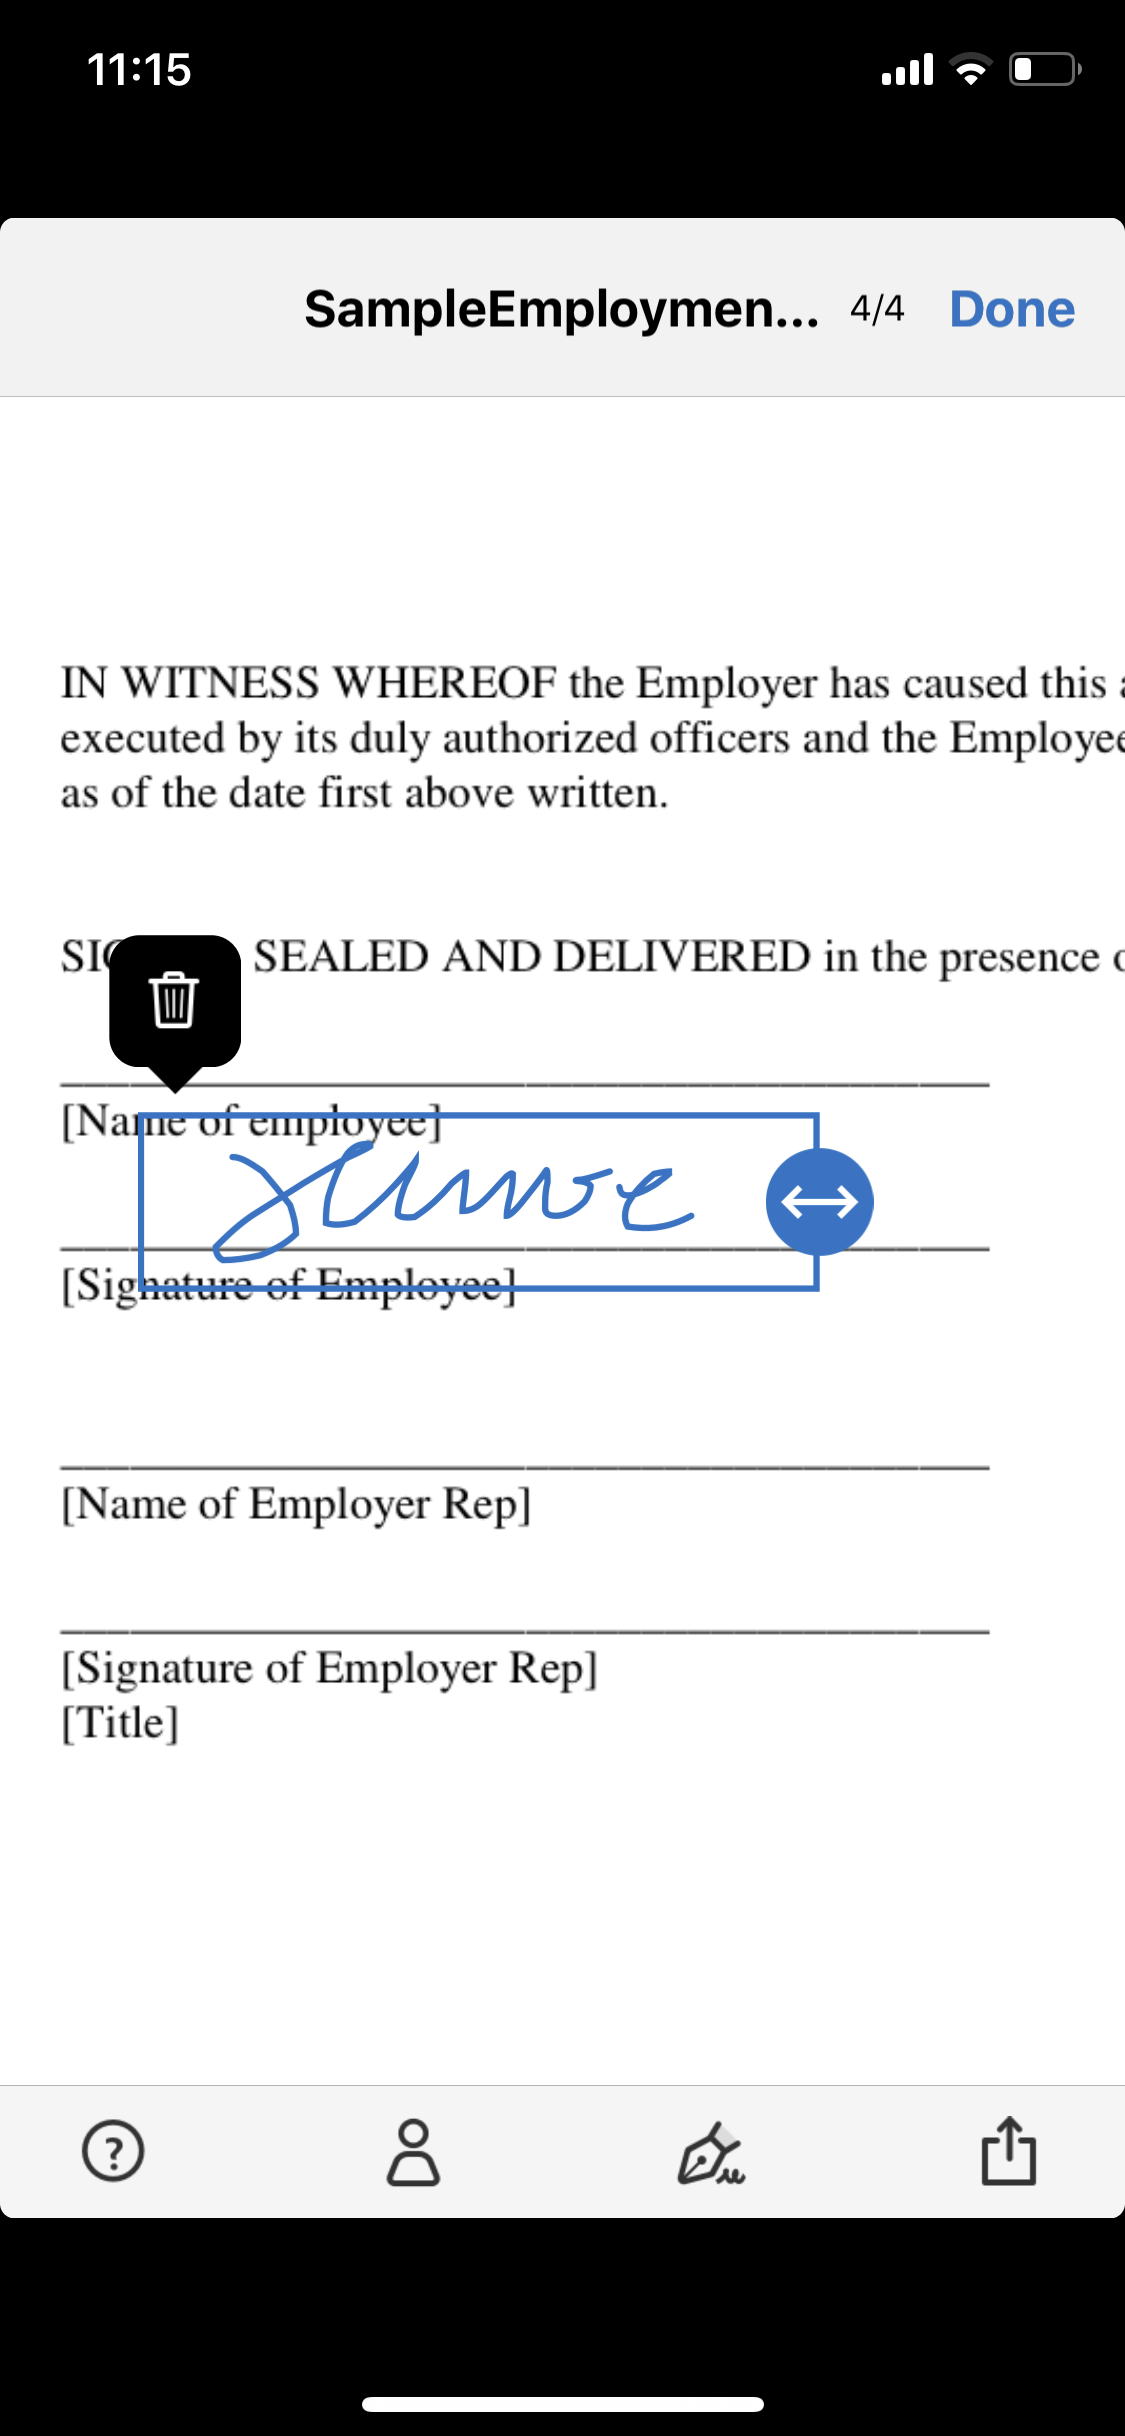
Placing your signature.
You’ll then be able to position your signature in the right place on the document, using the edges of the object to increase or decrease its size. You can also delete or duplicate the signature by tapping it.
Choose Adobe’s Fill & Sign
If you find Apple’s route a bit cumbersome, try using Adobe’s free Fill & Sign app. Although the app isn’t optimized for the iPhone X-series of handsets, it’s the most reliable, free option out there and remains our first choice.
To add a signature to Fill & Sign, launch the app and choose the fountain pen icon at the bottom of the screen. Sign your name, and input your initials too (which are useful for contracts and legal documents).

Set your signature.
Then to actually sign a document, you have a few options.
You can open the document in Fill & Sign using the iOS share menu. Alternatively, you can launch Fill & Sign and tap the + icon in the center of the screen. Here, you can choose a document from the Files app by selecting File Browser, you can scan a document using the iPhone’s camera, or you can choose a picture of a document from the Photos app.
Either way, once you’ve loaded your document into Fill & Sign, signing it is easy. Simply navigate to the section of the document where your signature is required, tap the fountain pen icon, and choose either your signature or your initials.
You’ll then be able to drop and resize the signature into the right place.
Drop it in the right place.
One of the benefits of Adobe’s solution is that it makes it quick and easy to fill out entire forms for when you have a bit more to deal with than a single signature.
Reading through contracts and checking the small print can be dull and time-consuming, but signing them doesn’t have to be. Regardless of which method you use, iOS can make it quick and easy to sign documents while on the move.