
In iOS 13 and iPadOS, the Photos app has changed dramatically. Not only has the layout been updated to make it easier to find what you’re looking for, but the photo editing interface is more powerful than ever – and for the first time, all the edits you can apply to photos work with video clips too.
If you’re unfamiliar with photo editing tools, here’s a quick guide to every single function available to improve your shots.
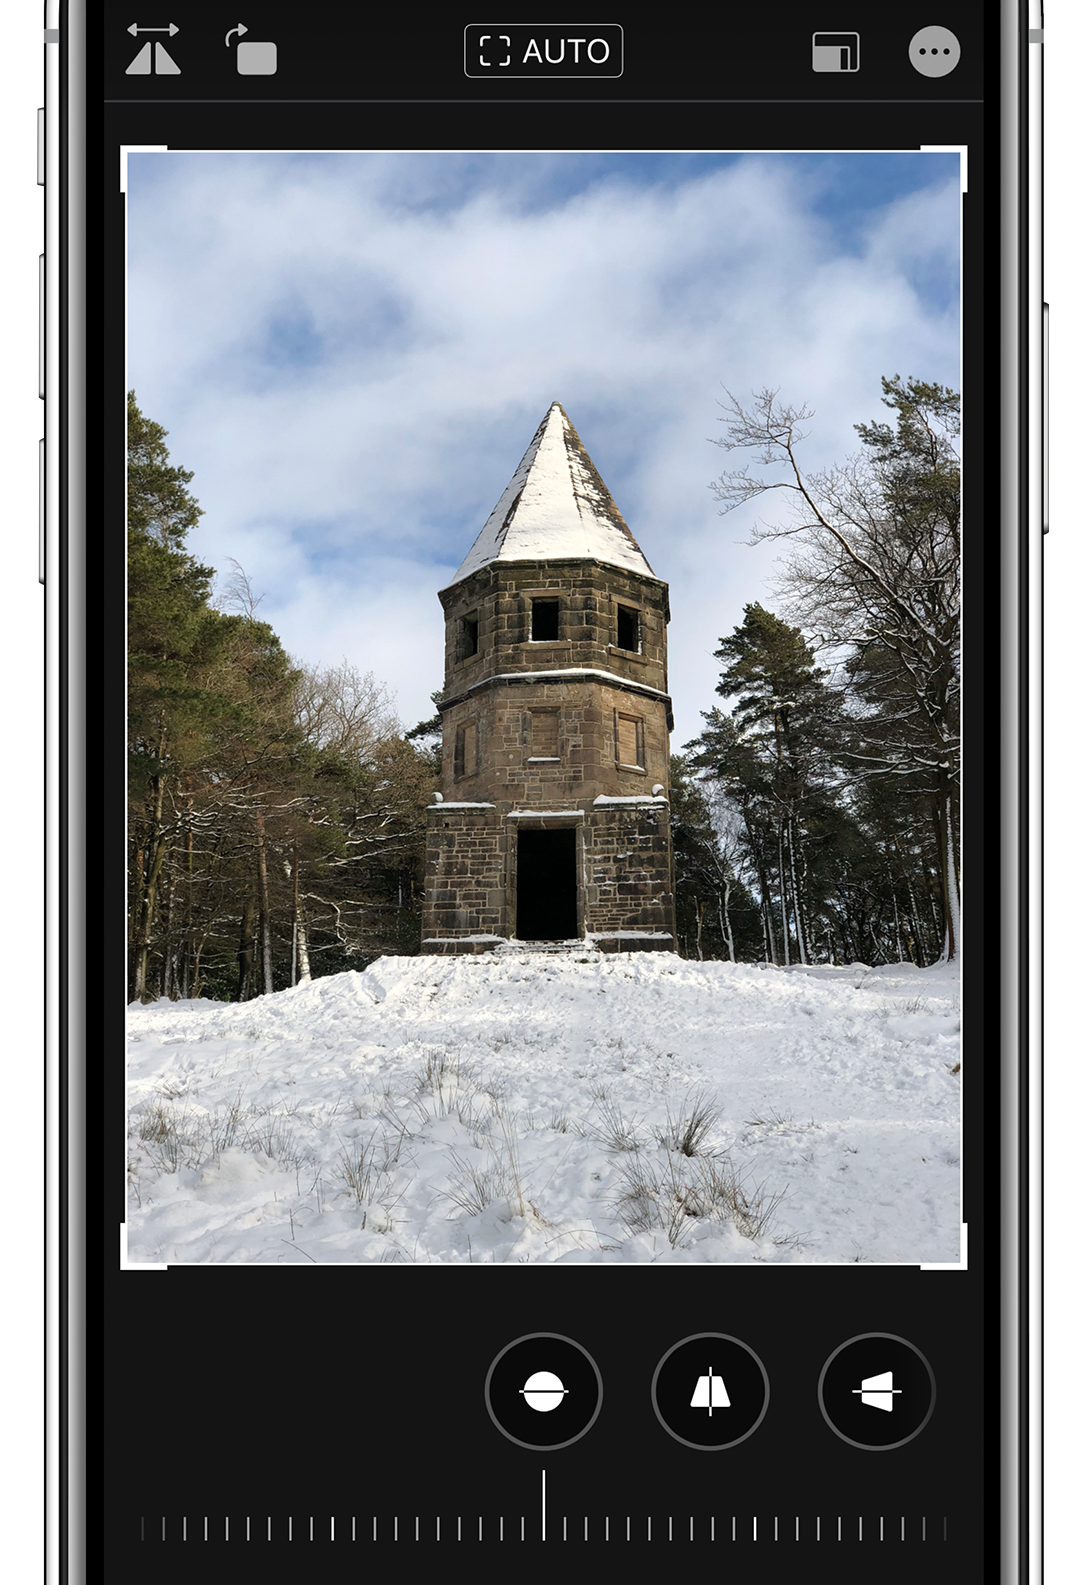
To get started, open the Photos app and tap on any of the thumbnails so they fill up the screen.
From here, select the Edit button to reveal the Photos app’s range of editing tools. You’ll see three main options on the left of the editing interface: the Adjust button (which looks like a dial), filters, and crop.
Adjust provides access to a number of editing tools which will allow you to fine-tune your image. These appear along the right of your device.
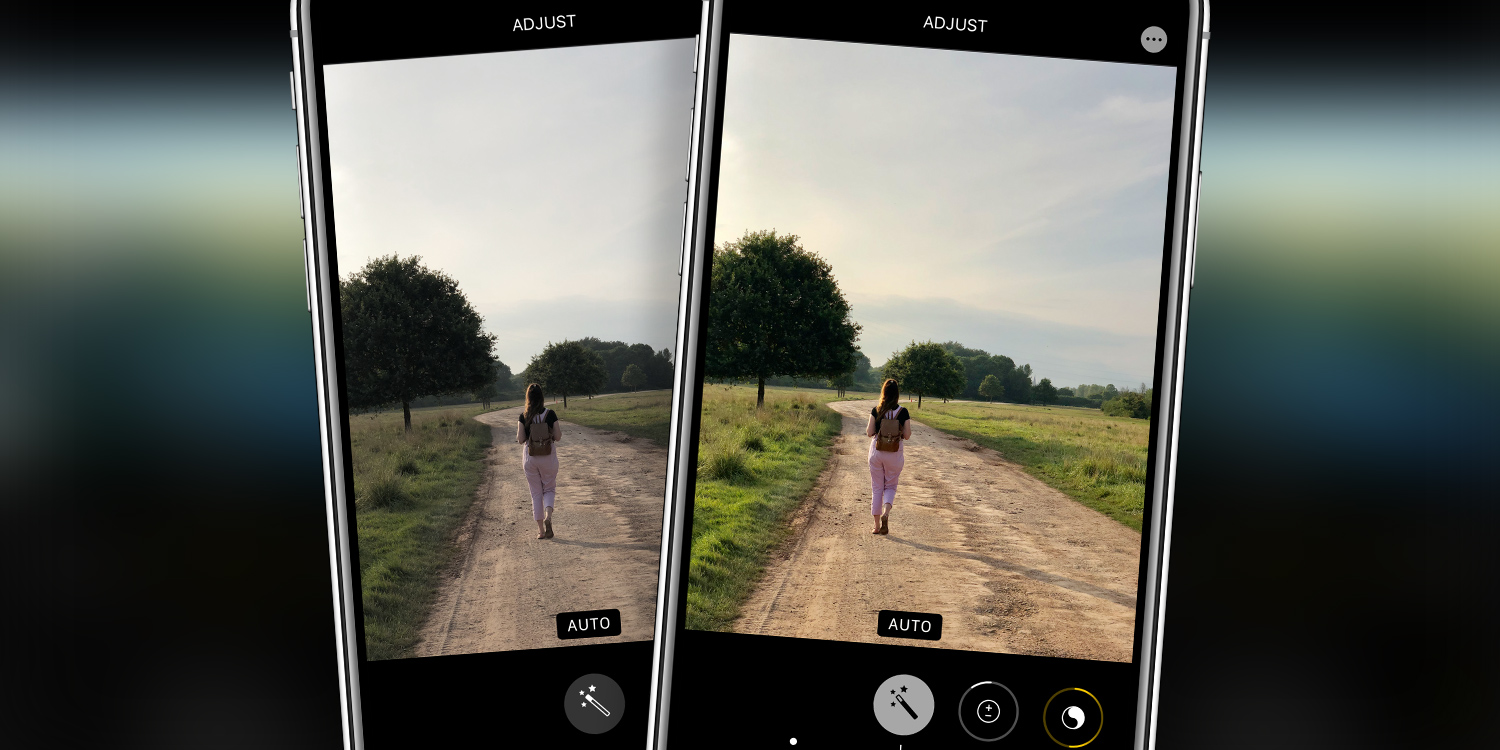
The first, Auto, lets you quickly improve an image with a tap. Your iPad will sharpen the image, boost color, and make other intelligent changes to brighten the photo.
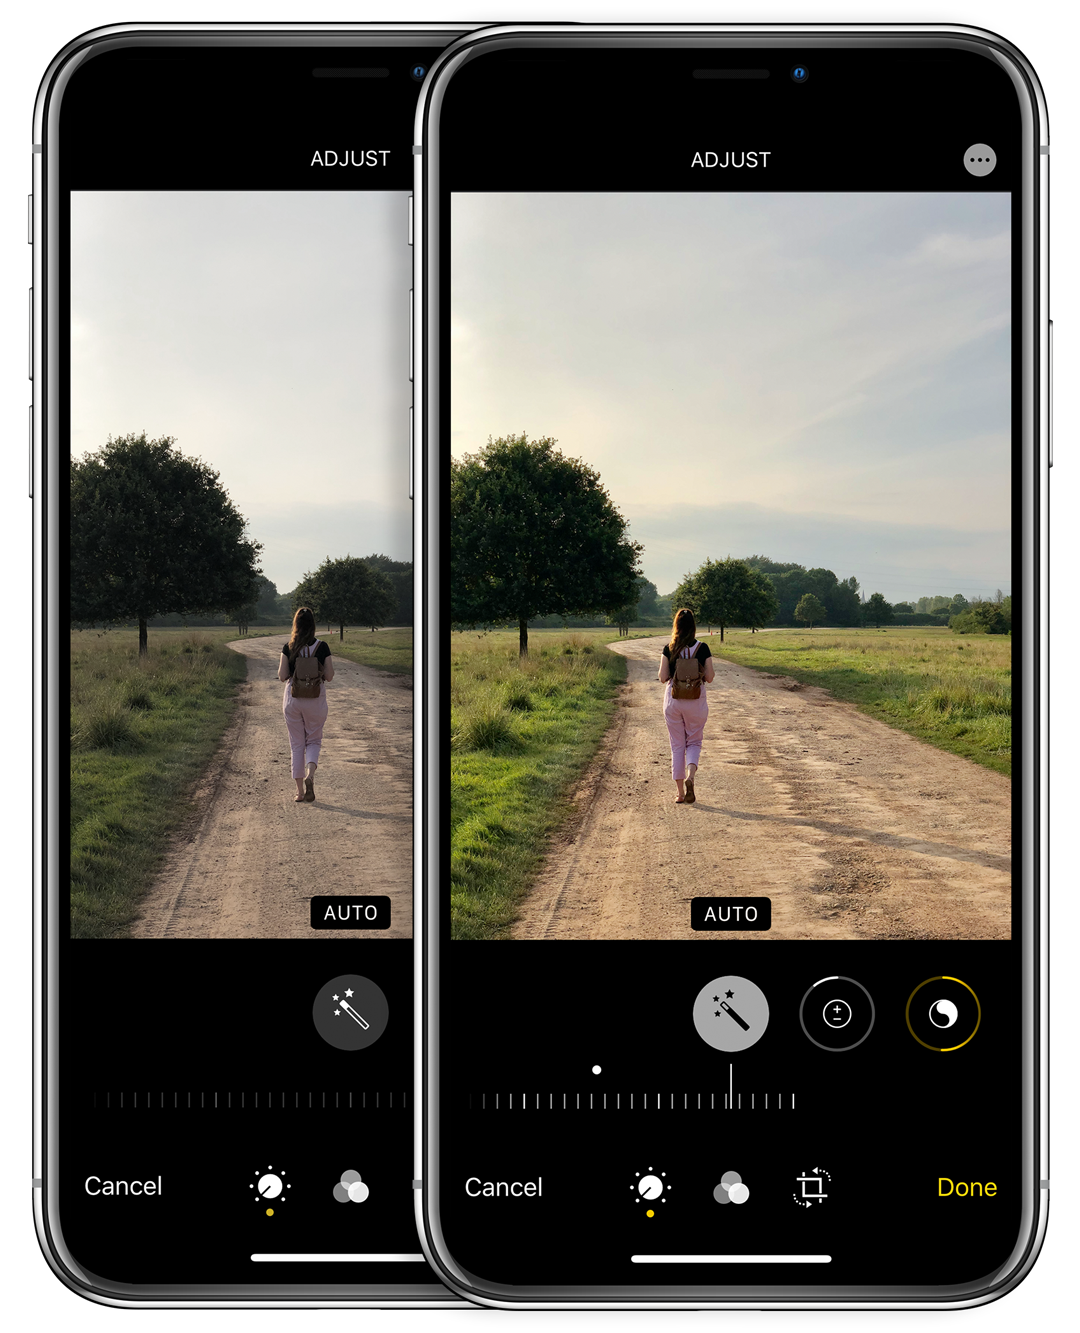
To the right of the Auto tool is a control slider — if you drag your finger along, you’ll see a range of dynamic edits applied to your image. Stop sliding when you spot an edit that you like.
However, if you’d prefer to manually edit your picture, that’s no problem. A range of settings are available in the Adjust menu for users to tweak.
Scrolling down, you’ll find the Exposure setting. Exposure allows you to adjust the amount of light in your photo — if an image is too dark, push the slider towards the “+” end, and if it’s too bright, nudge it towards the “–” end.
Brilliance, the next editing tool, alters the contrast to make fine details clearer and the overall image brighter. And Highlights, which is next door, lets you brighten the lighter areas of your image and darken the shadowy areas. It’s perfect for creating a really dynamic and dramatic photograph.

Shadows works in a similar way, allowing users to darken the shaded areas of their image.
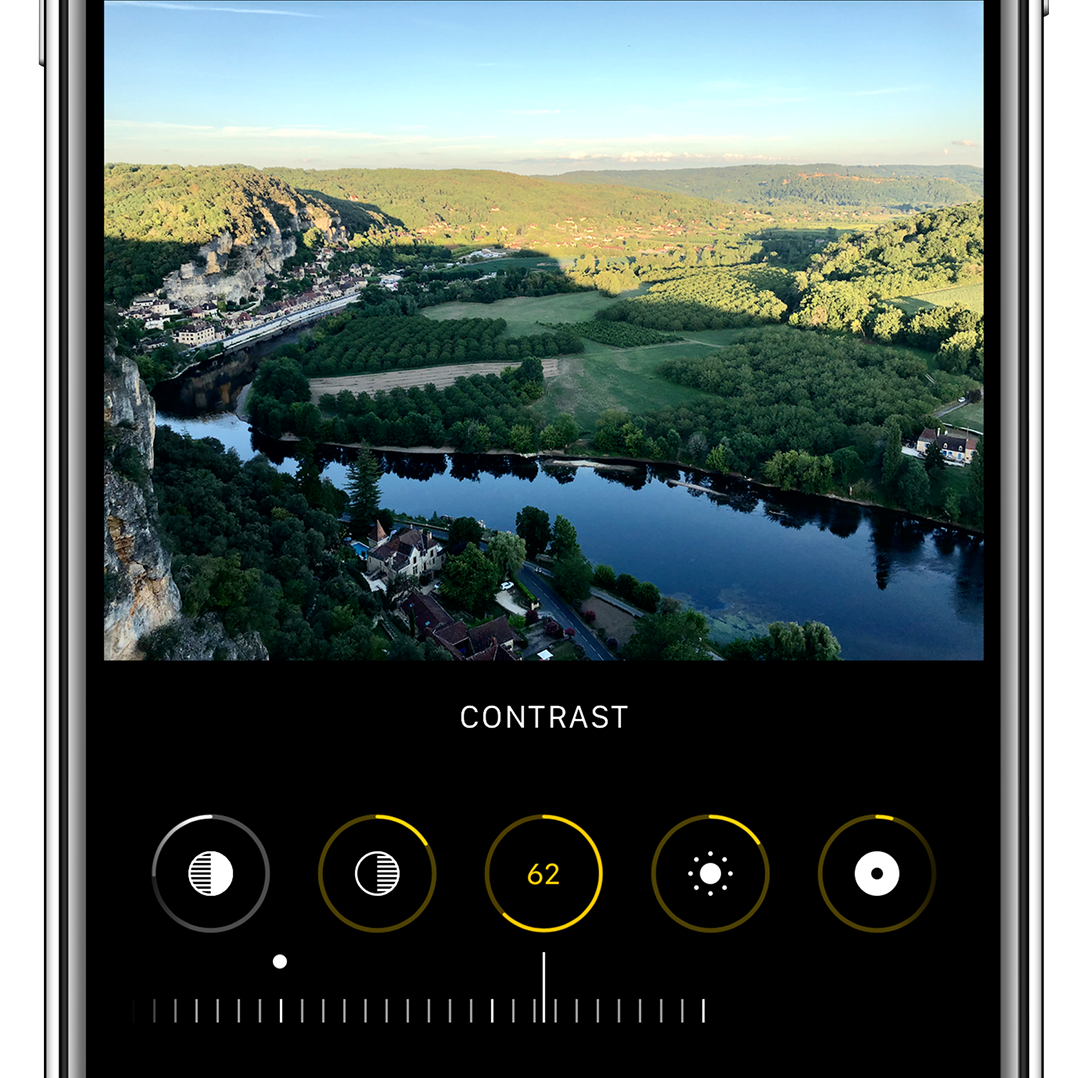
Contrast lets you add a greater range of colors between the lighter and darker areas of your photo — higher contrast images are more vibrant but the effect can be pushed too far, so be careful.
You can add more light into your image using the Brightness tool, and Black Point lets you tweak the darker areas of your photo.
Saturation allows you to increase or decrease color intensity. Subtle changes work best here — using the extremes can spoil your image.
Vibrance lets you boost color intensity. Warmth lets users push the colors in their image towards the warmer end of the spectrum (yellows and oranges), or the colder end (blues).
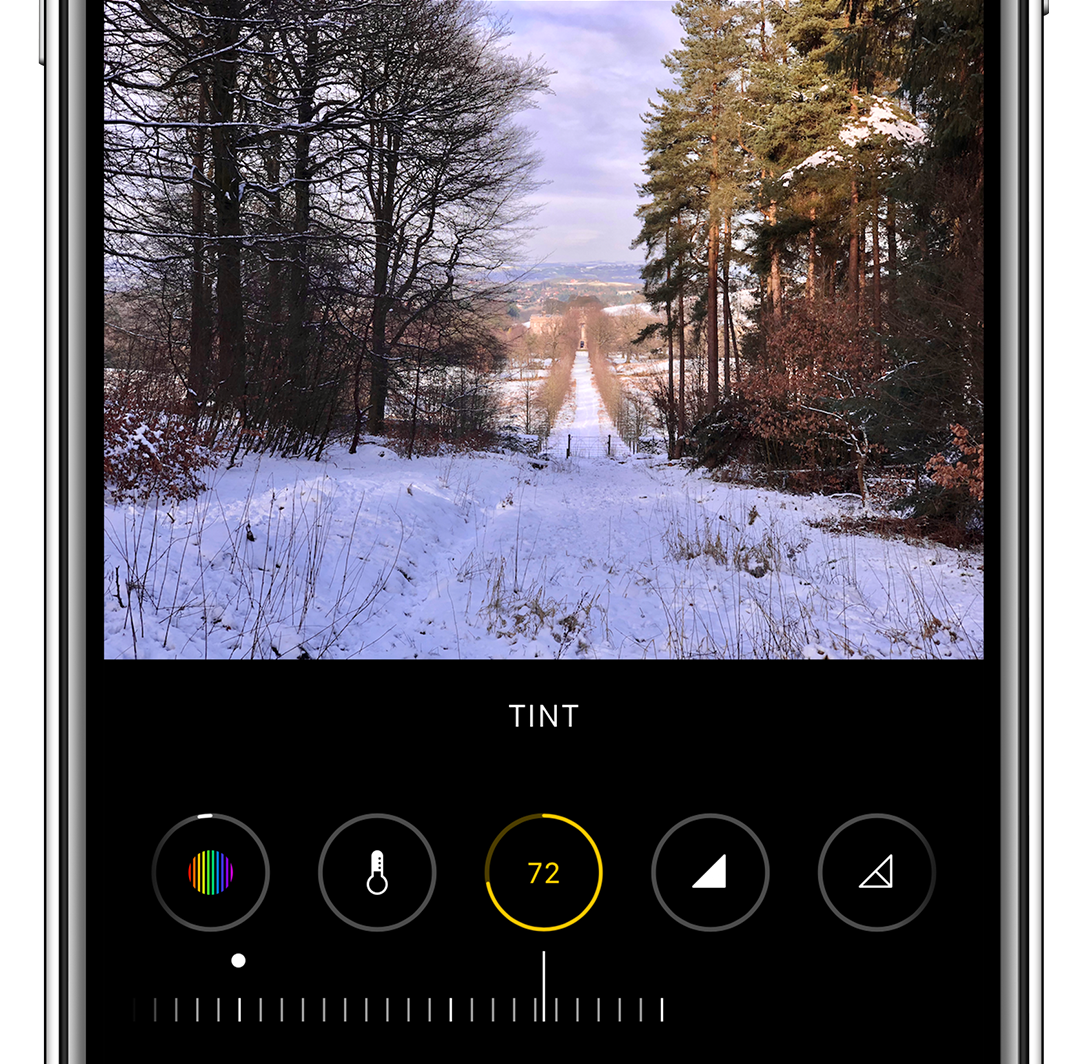
Tint lets you shift the color balance in your photo towards a purple or green hue, or somewhere in between.
Sharpness helps when you have a blurry image — it can bring your photo into focus, but over-tweaking can result in a grainy image.
Definition helps to define the focal points of your photo, bringing into view parts of the picture which might have gone unnoticed.
Noise Reduction lets you reduce the effects of camera noise, which can result in small dots appearing on your pictures when you zoom in. It’s something which smartphone and tablet cameras can be particularly susceptible to — if you notice fuzzy dots on your zoomed-in image, increase the Noise Reduction slider and see if it helps.
Finally, Vignette lets you darken or lighten the frame surrounding your picture. Darkening the frame can add quite an antique feel to an iPad-shot photograph.
Usefully, while it’s possible to adjust each individual setting, you can tap on icons to disable particular edits from your image. If you want to see how your picture looks without Saturation edited, instead of moving the control slider to zero, simply tap on the Saturation icon and it will be disabled.
The Photos app also includes a range of filters — tap the middle Filter button to preview and apply a filter to your picture. These range from the retro Vivid Warm to the black and white Noir filters.
Lastly, the Crop tool lets you adjust the size of your image — by dragging the corners of the grid interface you can remove parts of the image you don’t want.
To get Photos to crop automatically, choose Auto, which is at the top of the interface. To the right of this is a button which lets you crop to common dimensions, like 8:10 or 5:7. And to the left are two icons which let you mirror-flip your picture, or rotate it.
Lastly, at the bottom of the Crop interface you can straighten your image, or tilt it horizontally or vertically.
When you’re happy with the edit, tap Done. Or if you’d prefer to revert back to the original, tap Cancel and then choose Discard Changes.