
When iOS 7 was first released, Apple made certain stylistic choices. One of these meant that now, background iPhone wallpaper had to be a certain size and fill the screen. This often caused images to zoom in and become pixelated.
Apple tried to alleviate the problem by allowing users to turn off the zoom, but it still didn’t provide the best looking images. However, there are some simple things you can do to get a great looking background image.
1. Get the right size
To begin with you need an image that’s big enough to fill the screen. You may notice that landscape pictures are particularly troublesome when setting your wallpaper so it might be best to stay away from these. Also images taken with an older iPhone can be too small for the display.
To begin with you need an image at least 744 pixels wide and 1392 pixels tall to counteract the zooming effect. To guarantee an image will be that size you can find one on Google, which has a handy tool to help you out. You will need access to an iPad or computer to use the feature though.
Head to images.google.com and enter your search term. In our example we’ve gone for the generic ‘beach’ shot but you can look for anything. Once the results appear select ‘Search tools’ followed by ‘Size’ and choose ‘Large’. This ensures the images will be big enough to fill the screen. Now pick the image you want and then click ‘View Image’ so that it fills the screen.

Select large to ensure you only see the correct images
Now to get it on your iPhone we’d recommend sharing the link via email to your iPhone. Once you receive the message you can tap the link, then tap and hold the image and select the ‘Save Image’ option.
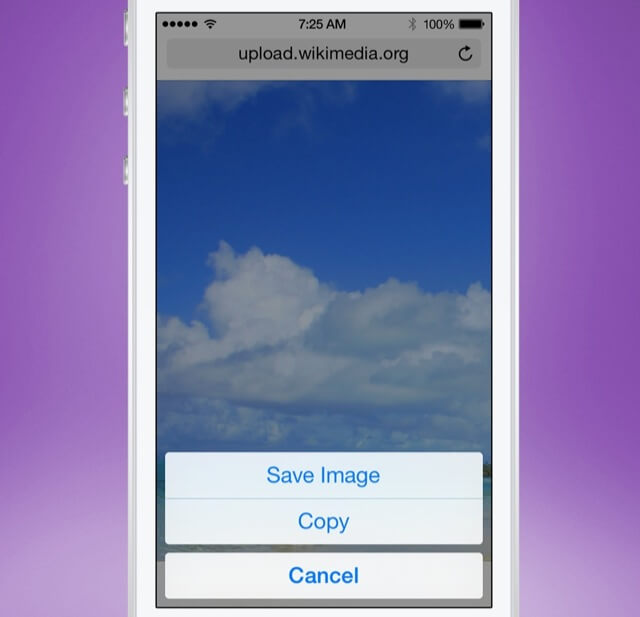
The image will be added to your Camera Roll
2. Set it up
Once you’ve saved the image you’ll want to set it as your wallpaper. Head to the Settings app and tap Wallpapers & Brightness. From here tap ‘Choose a New wallpaper’ and open the Camera Roll album. Here find the image you saved and tap on it to view a preview. If you have updated to iOS 7.1 or later you’ll see the option ‘Perspective Zoom’. Tap this to turn it off and give you more flexibility with fitting the image to the screen. Once your happy with the placement, select Set and choose from the options.
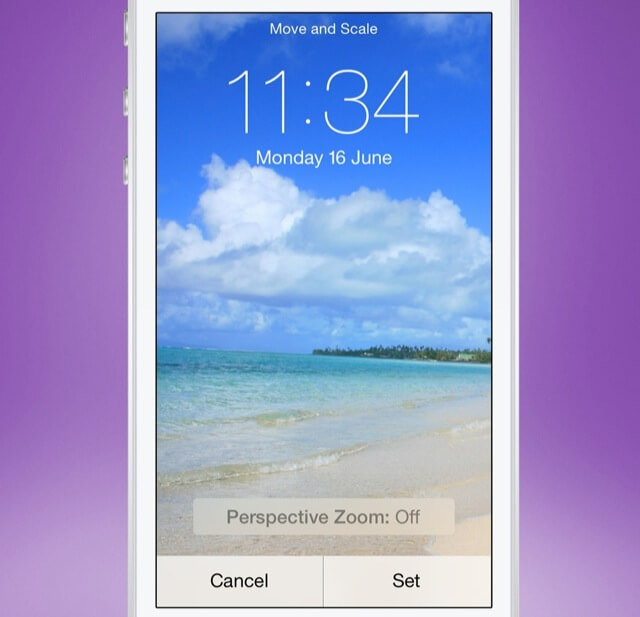
Turn off Perspective Zoom to gain more control of your iPhone wallpaper
3. Edit your own iPhone wallpaper
Now if you do want to use an image that you’ve already taken that isn’t looking great then you will first have to download an app. There are several available but we prefer iOS 7 Wallpaper Fix. It will set you back the tiny sum of $0.99/£0.69 but it is definitely worth the small outlay.
Once you open the app, tap on the image and select New followed by ‘Photo Library’. Find the image you want as your background and open it. At first it will try to match Apple’s default preference and will fill the screen, but if you pinch out on the image you’ll be able to scale it to your heart’s content. You can even rotate the image if you want.
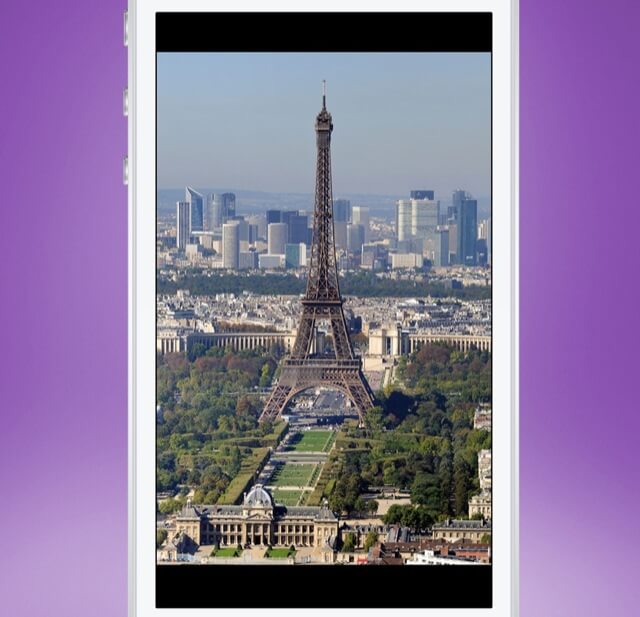
You can size the image in any way you wish within the app
Once you’re happy with the placement tap the screen and select Preview to make sure you’re happy. If not, tap again and move the image around. If you are tap the screen followed by Save. This is then added to Camera Roll and you can set it by going to Settings and Wallpapers & Brightness.
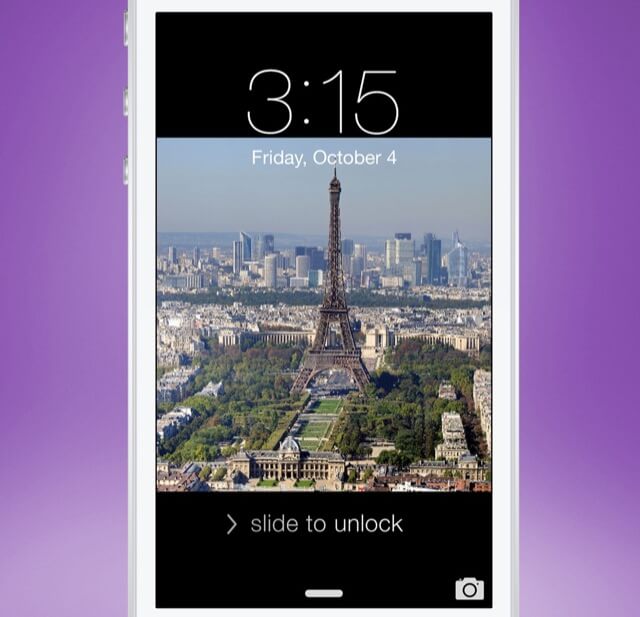
Preview what your background will look like. Maybe we should make it a bit bigger.
Wallpaper paste
And there you have it! Two different ways of getting a perfect looking image for your background and no more pixellated monstrosities.