
Making a presentation on your iPhone is simple if you use Apple’s own Keynote app, a part of the iWork suite of applications. To help you get started we’ve been through the app and what follows are our selection of the best tips.
Starting up
As with the other iWork apps, you can save your presentations to iCloud. During the initial start-up process you’ll be asked if you want to use iCloud. We recommend that you do as you can then access your presentation from a computer through icloud.com and edit online as well.
After confirming that you want to use iCloud you can start building your presentation. The app comes with plenty of default layouts and you can choose from these if you don’t want to design the whole slide. We went with the Editorial style, but you can choose the option that best suits the presentation you wish to create.
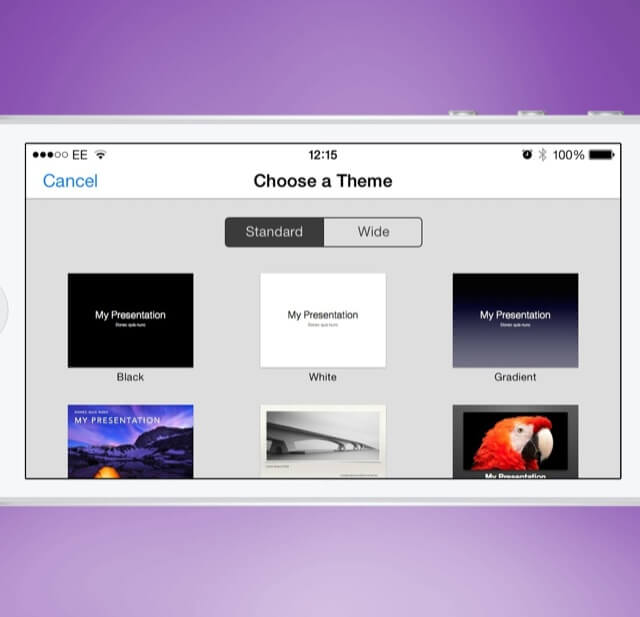
There are a variety of themes available
Building your presentation
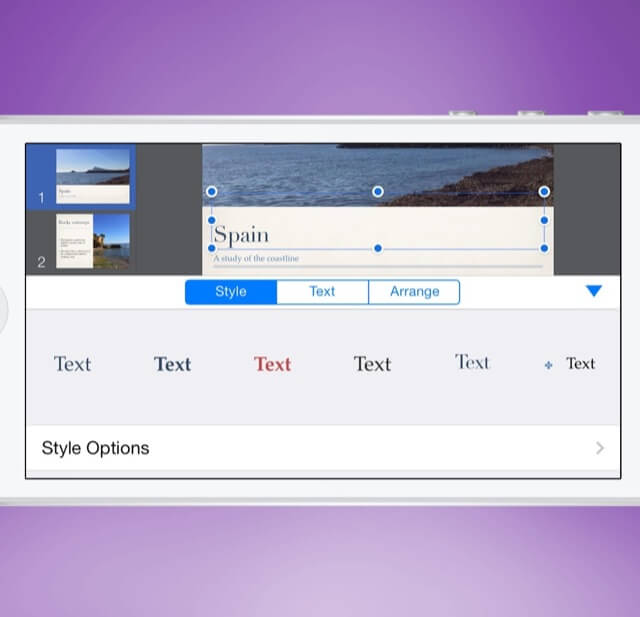
Once you’ve chosen your style, you’re presented with the front page. Any text areas that can be edited will state ‘Double-tap’ on them, so simply do that and add your text. To alter the style of the text, tap the text box once followed by the paintbrush icon.
There are three options called Style, Text, and Arrange. The Style option has a few default options which you can use to quickly alter the look. From the Text option you can find the bold, underline, and italic options along with alignment and more default text styles. The last selection, Arrange, allows you to change the layer order and the placement of the text in the box. From here you can also lock the layer so that it won’t be moved around accidentally while editing or interacting with other options.
Adding more elements
Apart from the default text boxes it’s possible to add elements such as more text boxes and images to your slides. To do so, tap the plus icon and then tap the musical note across the top. You can add any image from your Camera Roll or other albums, which will then be placed on to your slide, initially covering everything. To change the overall size, drag on the blue dots, or to crop the image, double-tap it and drag the blue dots. While the image is highlighted in this way, you can also drag the slider to increase the scale within the cropped window. To move the image, simply tap and hold then drag to its new position.
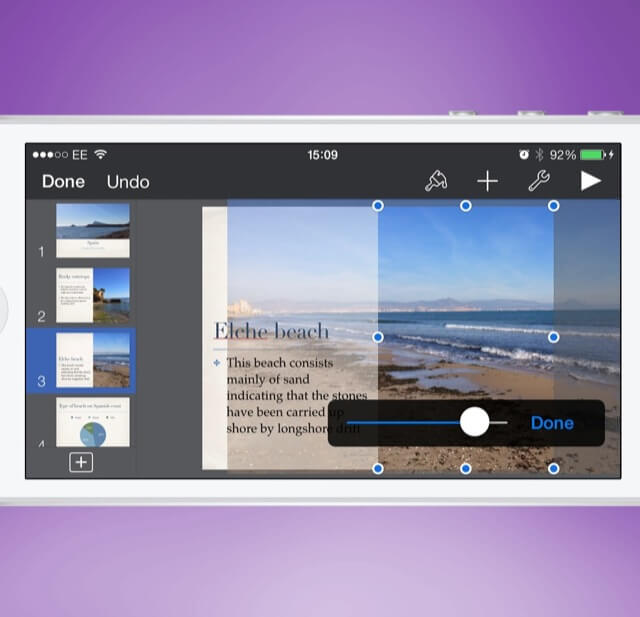
Drag and drop appropriate extras onto each slide
To add a new text box, tap the ‘T’ icon instead and choose from the default options. Again this will be placed on to your slide. You can tap on it once to edit the text. After you have, use the blue dots to change the height and width of the box, with the text altering to fit as you do.
Text is easy to add and customize
Add new slides
Of course you won’t be able to fit all the necessary information on to one slide, which would also make for a very short presentation, so you’ll need to add more slides. Tap the bordered plus icon in the bottom left and choose from the default options. These are designed to match the style you chose when starting the presentation. If you choose a slide with a default image, tap the translucent ‘+’ icon and choose from your photo library. Again you can edit the text boxes as before by double-tapping them.
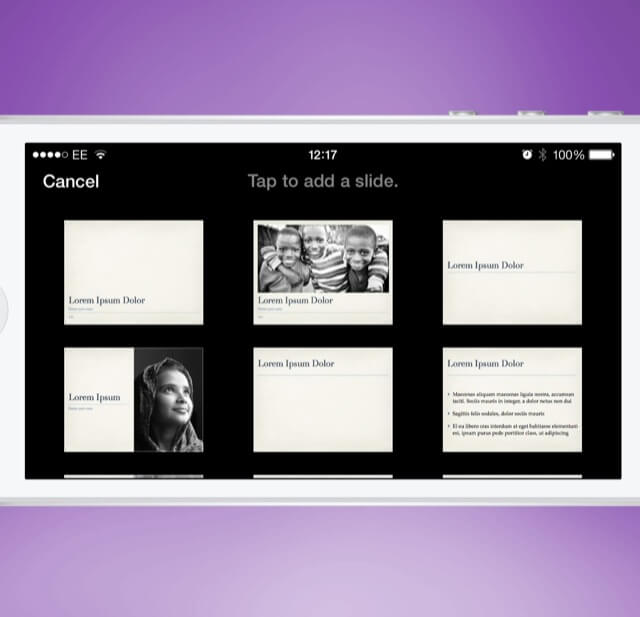
There are a many suggested layouts for each new slide
Add Graphs
If you want to show off statistics or data then adding a graph or table is more aesthetically pleasing than a simple list. To add these elements tap the + icon followed by the graph option to add a graph or the table option to add a table, and then choose from the default options.
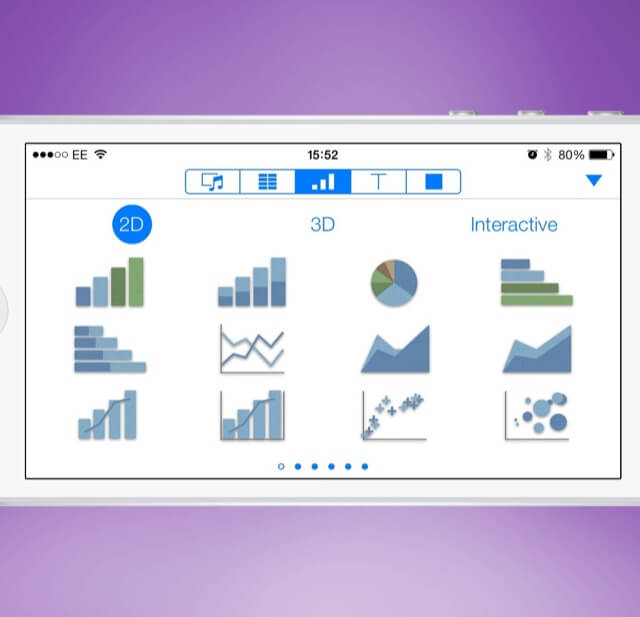
Pie or scatter-chart? The choice is yours
If you add a graph, tap on it followed by Edit Data to alter the information shown. This chart is full of default data that you will need to edit or remove to fit with your statistics. If you wish to remove a column or row tap and hold the outside edges of either and then tap the Delete option. Once you’ve edited the data, tap Done to return to the slide.
Data can be added to table cells by double tapping the empty options. To change the number of rows or columns, tap the table followed by the ‘+’ on either end followed by the up or down arrows.
Change the style
Once the data is all correct you may wish to change the style of either your table or graph. Simply tap on the element followed by the paintbrush icon. This reveals the default choices at the bottom, similar to when editing text. Use the Chart Options or Table Options to find more settings including font type and size.
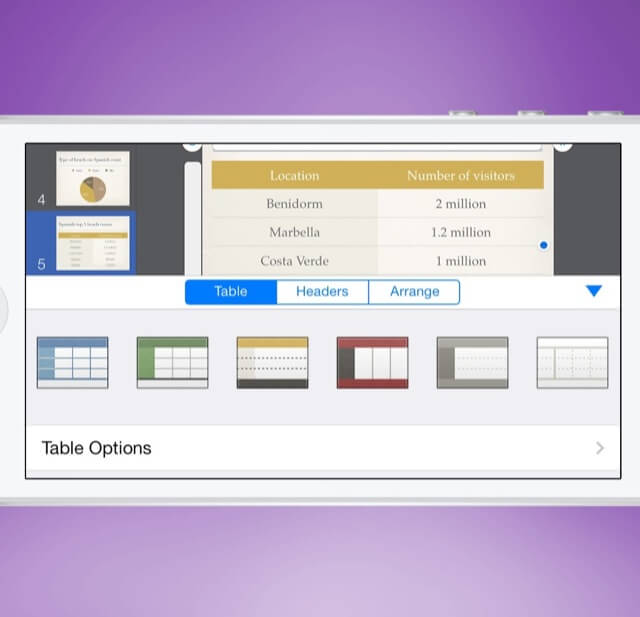
Setting up tables is a simple task
Animate your slides
After you’ve finished your presentation you’ll want to add some animation between slides and to the elements to make them more exciting. While looking at a slide, tap on any component followed by Animate. This will then reveal the Build In and Build Out options for your selection. Tap on either and choose from the options. To preview, tap the Play option from the top left.
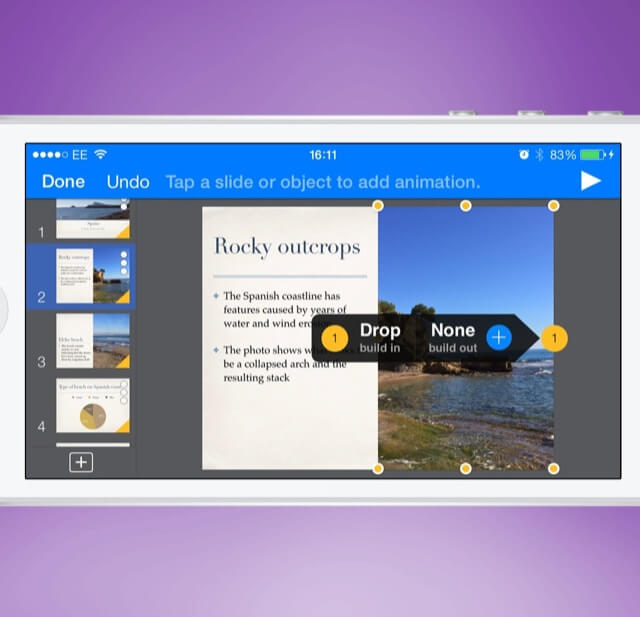
Animate your slides to add some flare to your presentation
Tapping on the Options, Delivery or Order headings across the top will give you more choices for the animation. Tap Done to return to your slide and select other elements and add transitions.
To add effects between slides, select one by tapping the thumbnail in the left-hand column followed by the None option. The effect chosen here is applied to the whole slide rather than just certain elements. Again you can preview it by selecting Play in the top left and alter the effect from the Options menu. Tap Done to confirm your selection.
Preview
When you’ve added all your transitions you can preview them by tapping the ‘Play’ button in the top right. Make sure you make your way back to the first slide though, otherwise you’ll start the preview at the current place.

Preview to check everything is how you want it
To progress through the presentation tap the screen to trigger your animations. Once it’s finished you’ll return to the editor and you can make any changes to each transition. When you’re happy, tap Done to confirm all your animations.
Add Notes
While you’re making the presentation it can be handy to have some notes to help you remember what to talk about in regard to each slide. Tap the wrench icon followed by Presenter Notes. Select which slide you wish to add notes to from the left-hand side and type out your note. When you’re finished, just tap Done.
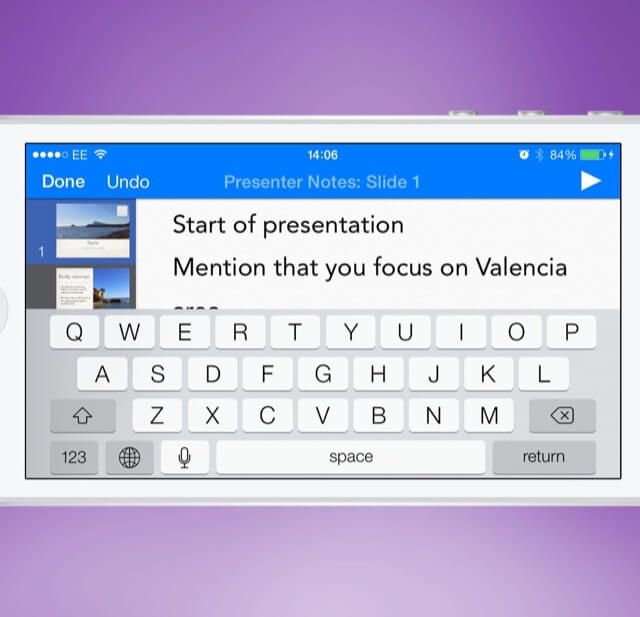
Remind yourself with notes
Share with others
If you’re looking to share your presentation, tap the wrench icon then Share and Print. From here you can share via iCloud, Send a Copy, Print, or Open In Another App, which also lets you select the format of the presentation including PowerPoint if you need to share with people using Microsoft Windows.
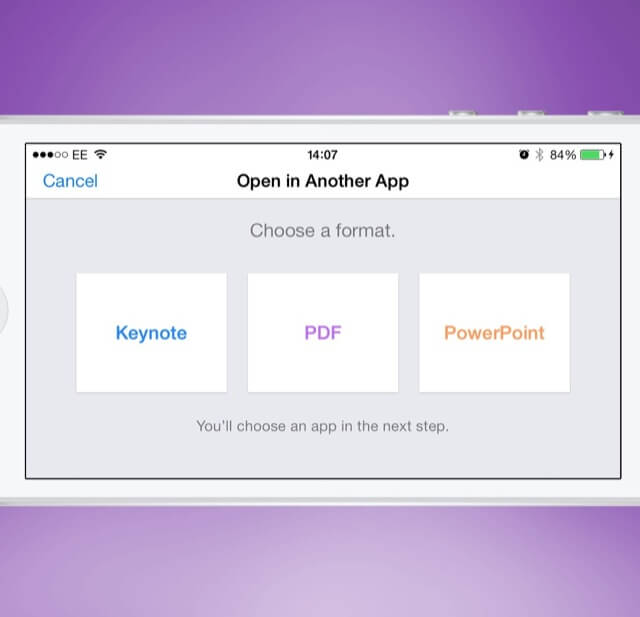
Export in 3 different formats
From the Tools menu you can also access Presentation Tools for advanced extras. Here you’ll find the ability to add music from your library, the type of presentation and if it will work with remotes.
Play it
Once you’ve finished building your presentation you’ll want to show it off. One of the best ways of doing this is by using AirPlay to an Apple TV. To enable AirPlay, open Control Center by sliding up from the bottom of the screen, tap the AirPlay option and tap the name of your Apple TV.
Now if you press the ‘Play’ icon you’ll enter presentation mode.
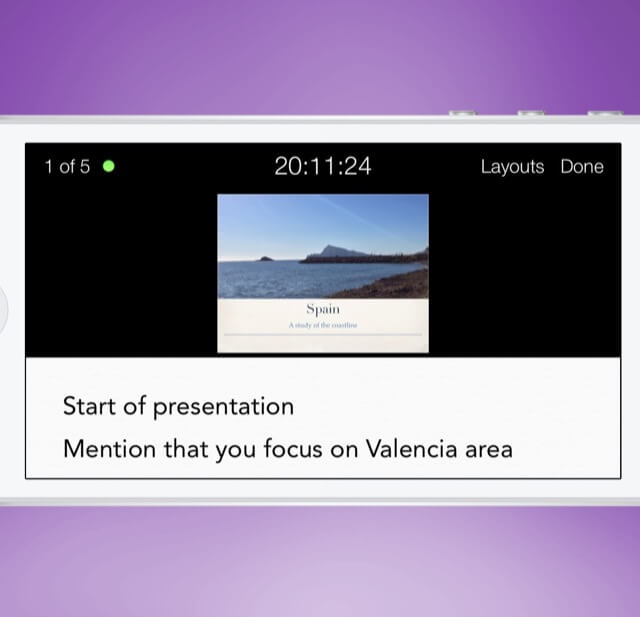
In this view, the time is displayed prominently across the top, as well as how many slides are remaining. If you tap and hold the screen then a laser pointer will appear if you’d like to bring attention to a certain point.
Once your presentation is over, turn off AirPlay from Control Center.
Great presentations can be made in a matter of minutes
Keynote master
Now you should know how to create a presentation, add text and slides, insert graphs and tables, as well as show off the finished article.
For more help with iWork, check out our Numbers and Pages how-to articles.