

These days, most of us have at least a handful of different email addresses. As such, for easier management many iOS users likely forward their email from different addresses on to one single, personal account (for example, a Gmail account).
However, you may not want to share this email address with just anyone, so usefully, Apple has ensured that within the iOS Mail app, you don’t have to.
In Mail, iPhone owners can easily add email aliases to the application, allowing them to choose the address which appears in the “From” line of outgoing email messages. This way, you can hand pick the email address you’re using for an outgoing message to suit individual recipients. First, we’ll look at configuring aliases for IMAP and POP accounts (both protocols for retrieving mail from a remote server. IMAP is the more advanced, allowing multiple clients to connect to a server, whereas POP requires that the current client is the only one). Then we’ll move onto the more complex task of configuring Google Mail and iCloud emails.
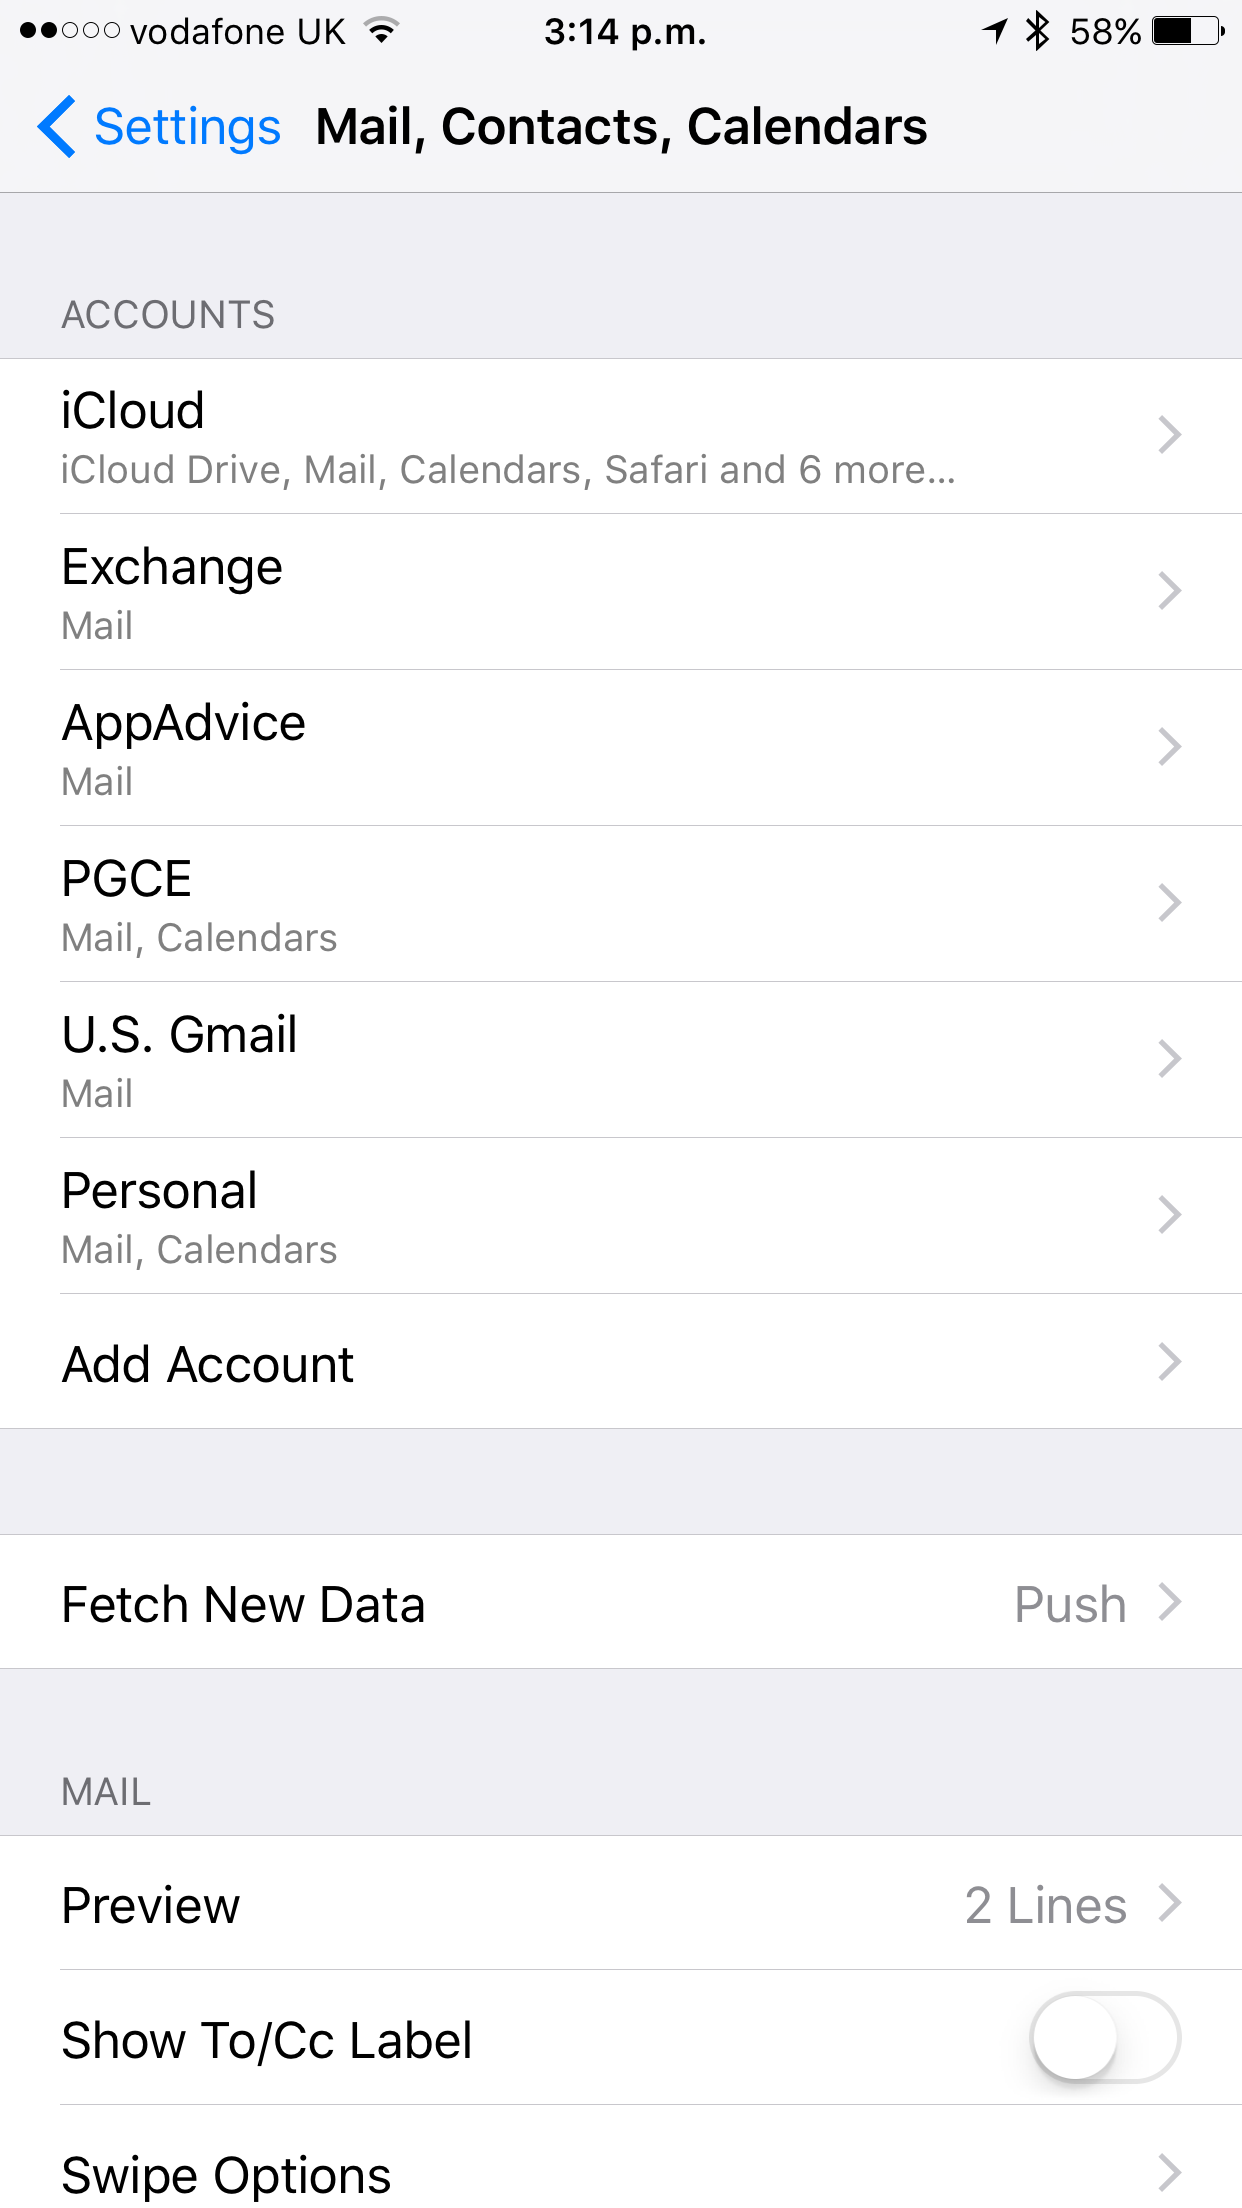
Many of us have multiple email accounts configured to work alongside the iOS Mail app
For IMAP and POP accounts, then, the process is all fairly straightforward. First, you’ll need to launch the iOS Settings app, navigate over to Mail, Contacts, Calendars, and choose an email account that you’ve already configured with your iOS device (to do this, tap Account and then Email).
Here, you’ll be presented with a list of primary email addresses, along with the option to Add Another Email. From here, you’ll need to tap that virtual button, enter the email address you want to use, and, most importantly, hit the Return key on the iOS keyboard (if you don’t do this, your changes won’t be saved).
Touching Done returns you to the previous screen. Now, you’ll be able to choose from a list of email aliases when sending an email message through tapping the From address in the Mail app’s compose interface.
Unfortunately, configuring email aliases for Google Mail and iCloud accounts isn’t as easy
Google Mail and iCloud accounts, however, are more troublesome. In fact, you can’t add aliases for either iCloud or Google Mail accounts on iOS or OS X – at least, not in the same way.
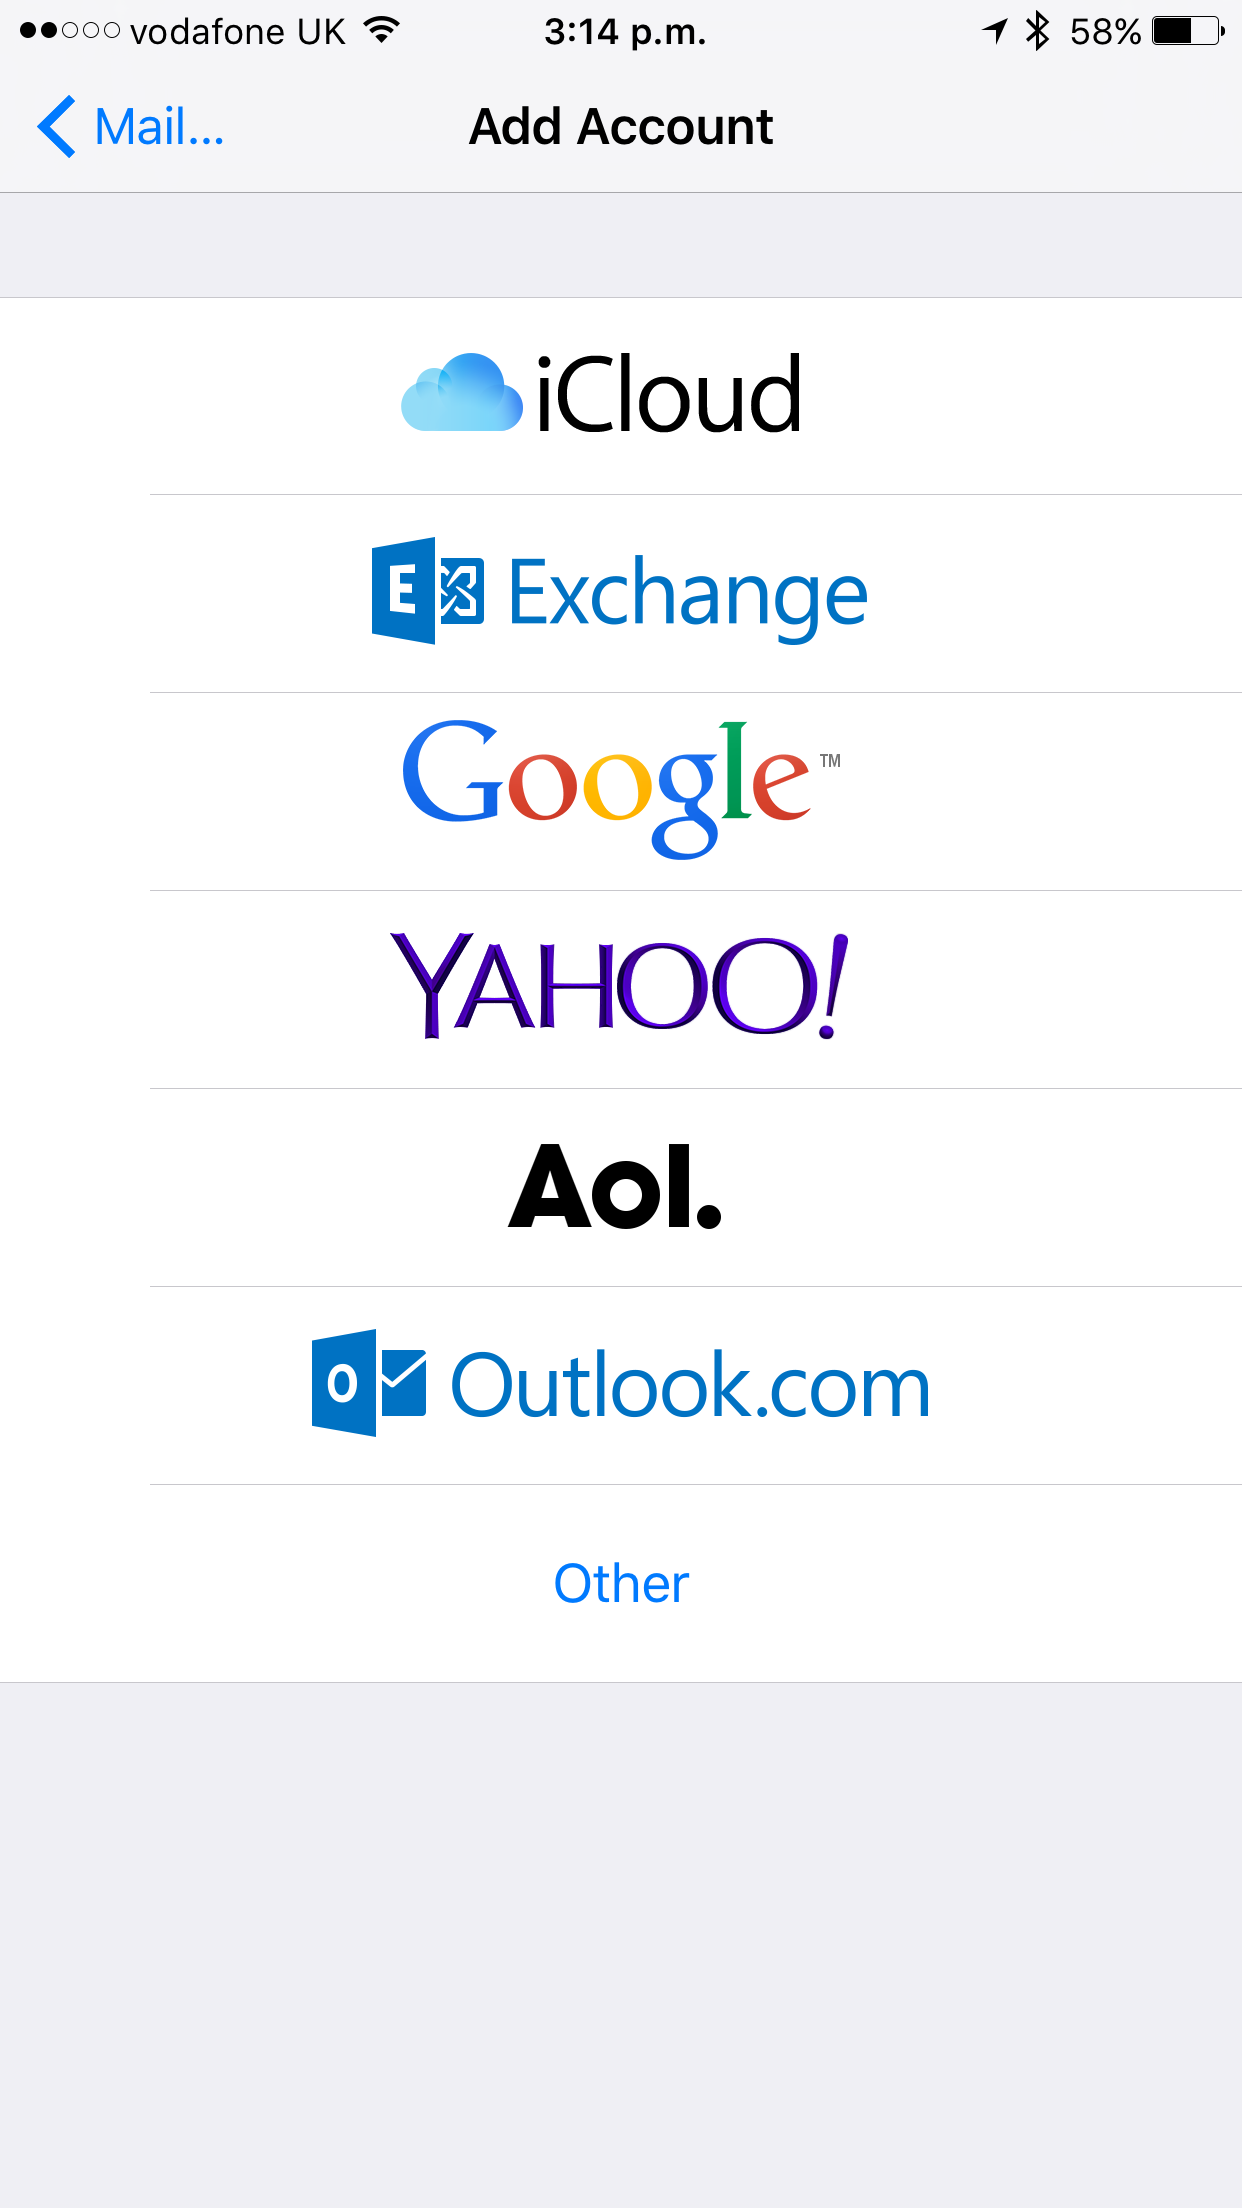
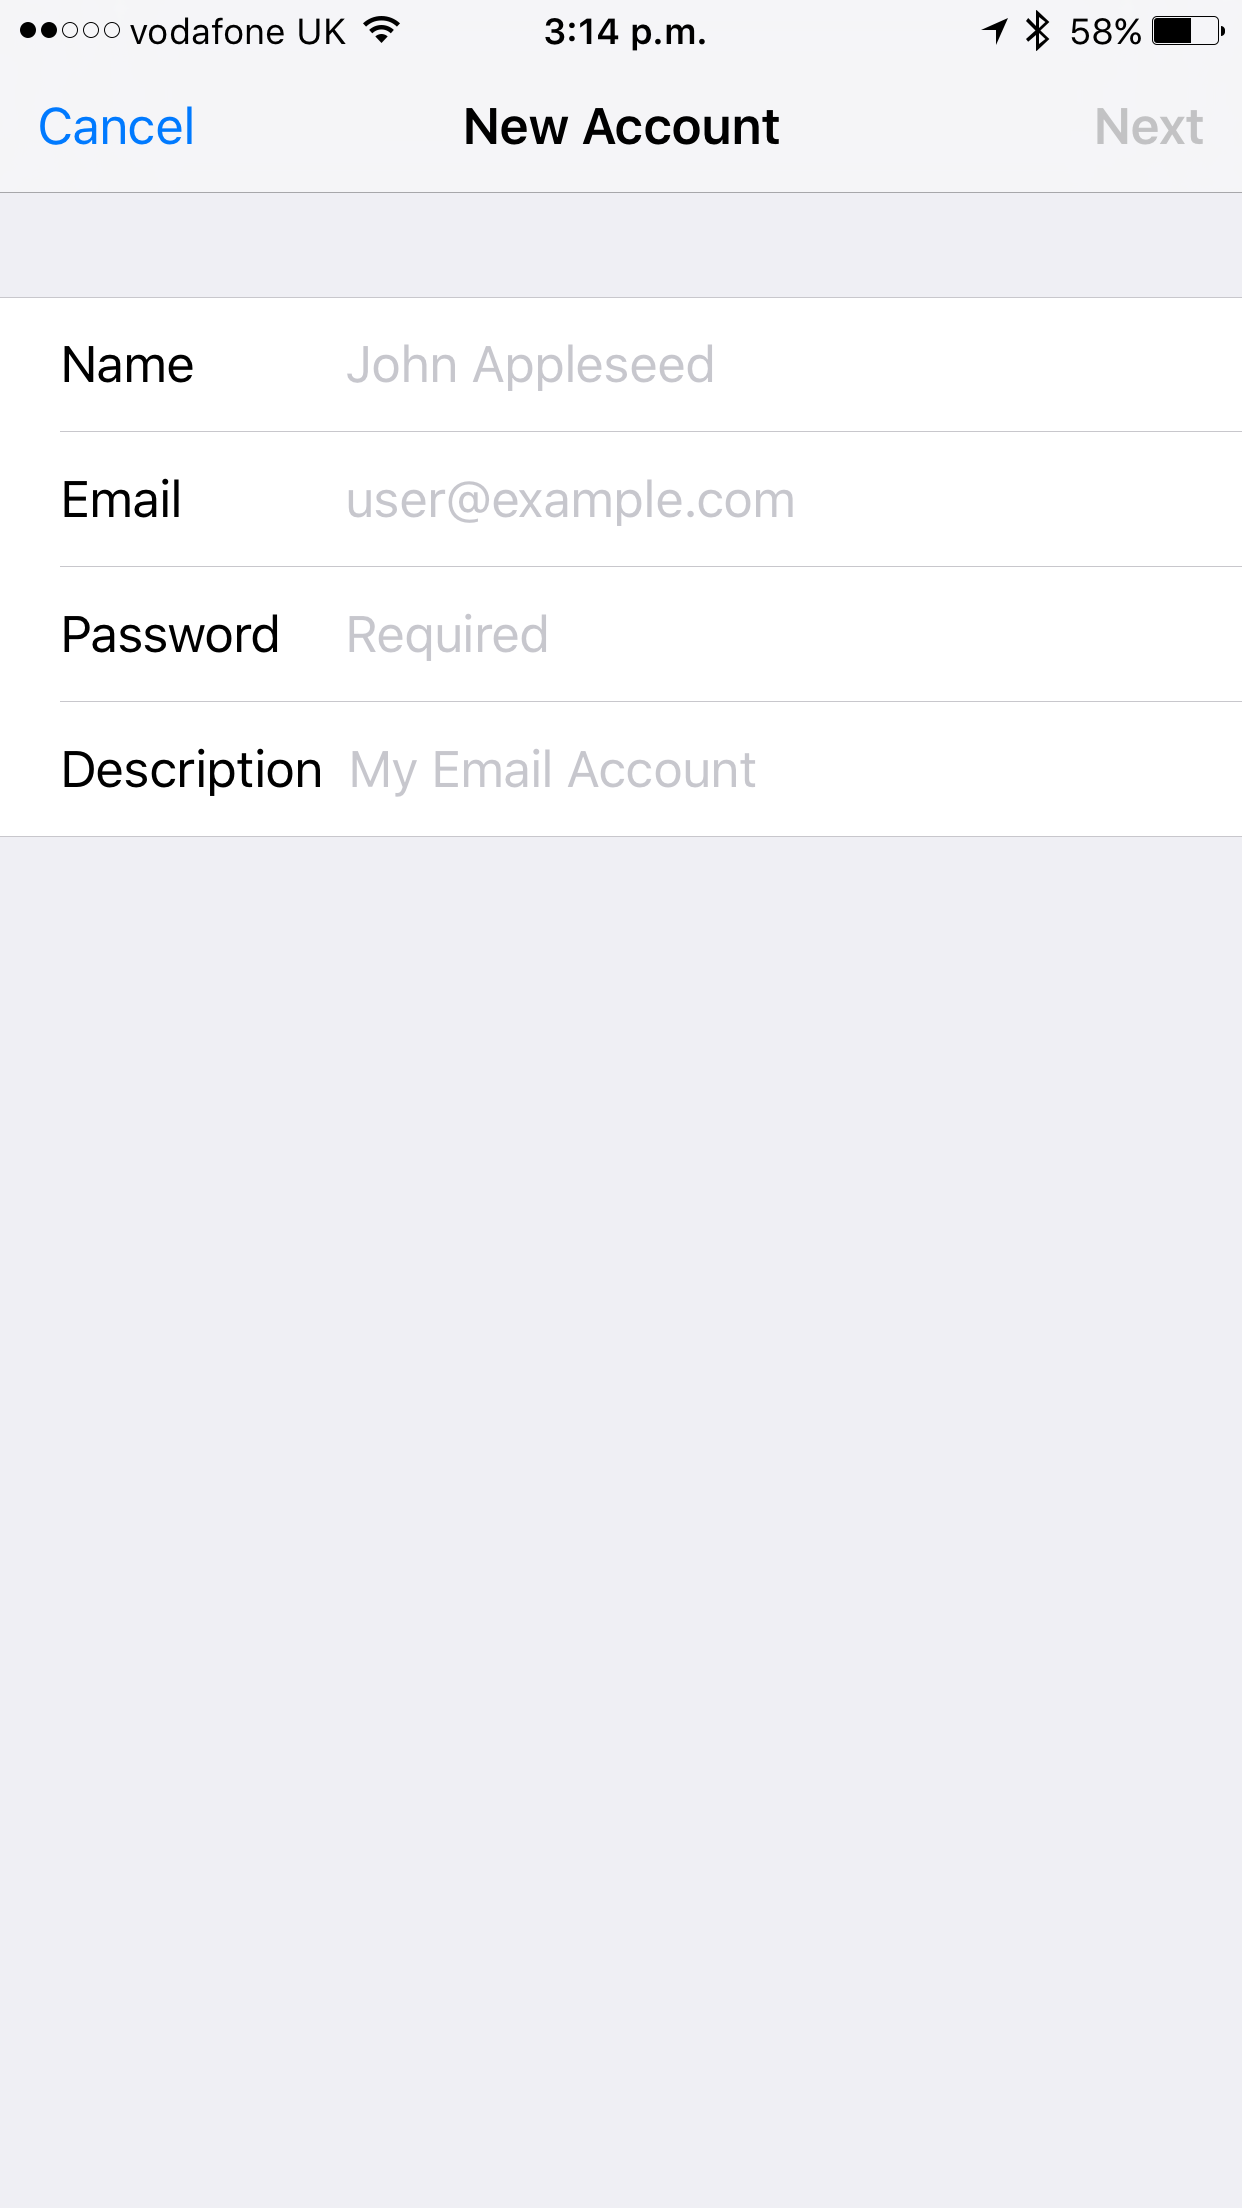
In order to configure aliases for Google Mail or iCloud, you can re-configure an email account with either provider as an IMAP account, instead of using the default configuration options Google and Apple provide. (Here are manual IMAP configuration instructions for Google Mail accounts; Apple, on the other hand, has a support document which outlines the correct settings for iCloud.)
Though, as Dan Moren (writing for Six Colors) explains, there’s an easier workaround for iOS device owners in this situation. “If you already have any generic IMAP account set up on your Mac or iOS device, follow the instructions above to add the additional email alias to that account. iOS doesn’t directly link addresses to mailboxes, so when you compose a message or a reply you can choose any address or alias that is set up on your iOS device,” he writes.
This, of course, is much easier than reconfiguring an iCloud or Google Mail account as IMAP, and the end result is more reliable, too.
Configuring aliases with a generic IMAP account is an easier way to enable them for Google Mail or iCloud
So, there you go: email aliases on iOS can be configured, and the process isn’t quite as complex as you might have thought.