
The iOS Voice Memos app is perhaps the most under-appreciated of all the stock iPhone (and iPad) apps. With it, you can not only make notes as you would with a dictaphone, but record snippets of songs or poetry as ideas come to you, record interviews, and even lectures or speeches.
Using it is simple; launch the app and the first thing you’ll see is a big red button in the middle of the screen. Tap it and Voice Memos starts recording through the iPhone’s microphone. Tap it again to pause recording.
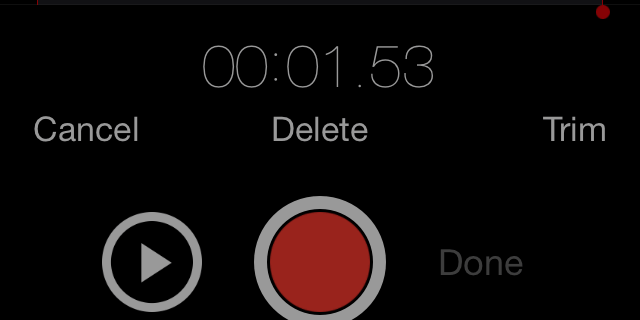
The red record button is used to start and pause recording
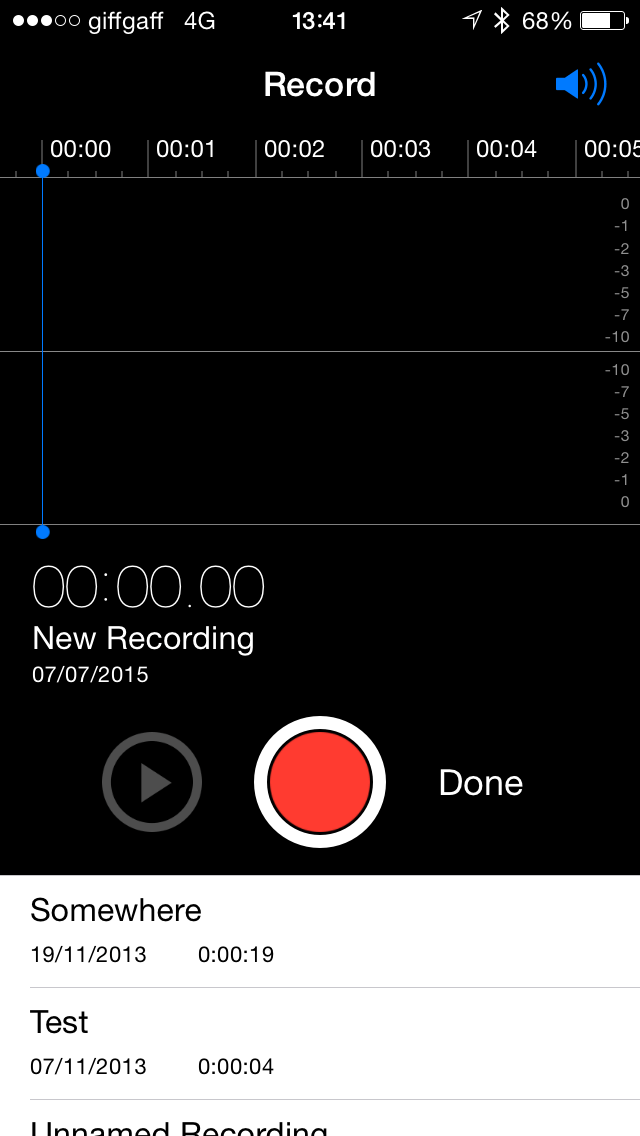
As you record you’ll see a spectral wave (check) running along the screen, with a blue line in the centre denoting the current position. The peaks and troughs in the wave represent the volume of the recording. Along the top is a time scale showing you how long you’ve been recording for.
When you’re done, press Stop to save the recording. You’ll be prompted to give the recording a name, after which it will be saved. Saved recordings are displayed in a list in the bottom half of the interface.
Listen back
To listen to a recording, tap it and press the Play button (the blue arrow under the recording’s name after you’ve tapped the recording). To edit the recording, tap Edit. You’ll now see the recording’s sound wave in the main window and underneath it, on the right, an icon that looks like the Crop tool from a photo editing application. Tap it and you’ll see to red lines running vertically at either end of the wave. Tap and hold then drag them inwards to place each where you want to cut the recording. Once you’ve positioned them where you want them, you have two options. You can tap Trim to delete the sections of the recording outside each line (to the left of the one near the beginning and the right of the one near the end). Or you can tap Delete to remove the section between the lines.
Whichever option you choose, you’ll be asked whether you want to create a new recording from the edit or apply the change to the original. Choose whichever one you want.
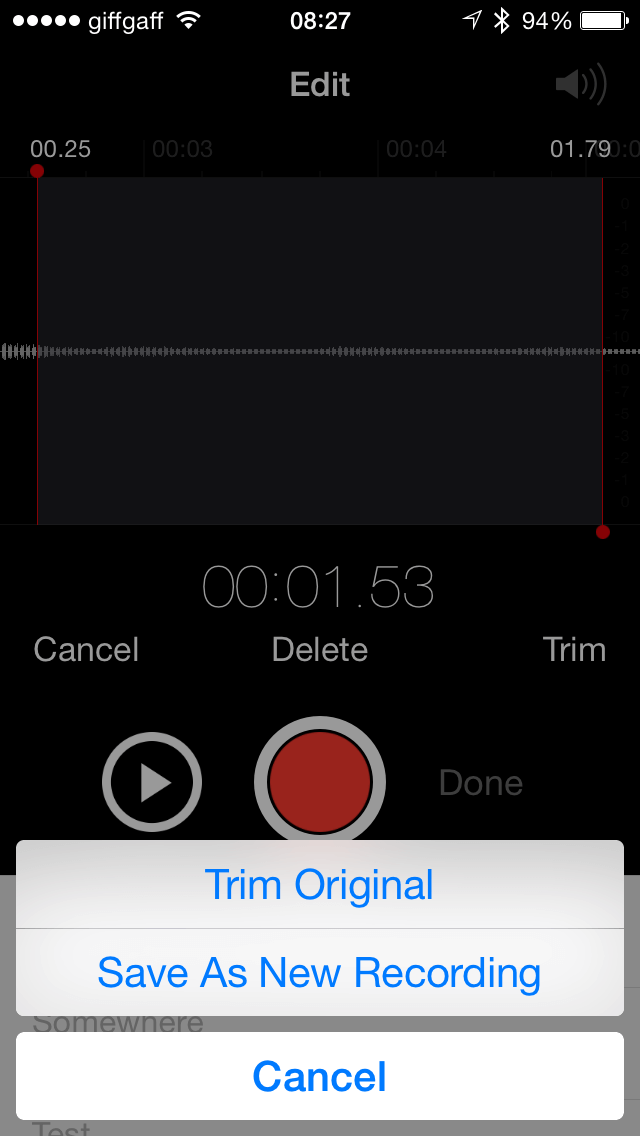
You can save the edited version as a new file or replace the original
Once you’ve edited the recording and are happy with it, there are a number of ways you can get it off your iPhone. The easiest is to tap it and tap the Share button. The options you’ll see on the next screen will depend on the apps you have installed and the Extensions you have switched on. At a minimum you’ll be able to send the recording as a Mail attachment or a message using iMessage. You may also see options to save it to Dropbox or Evernote, or share it on Facebook Messenger. Tap the More button to see what options are available.
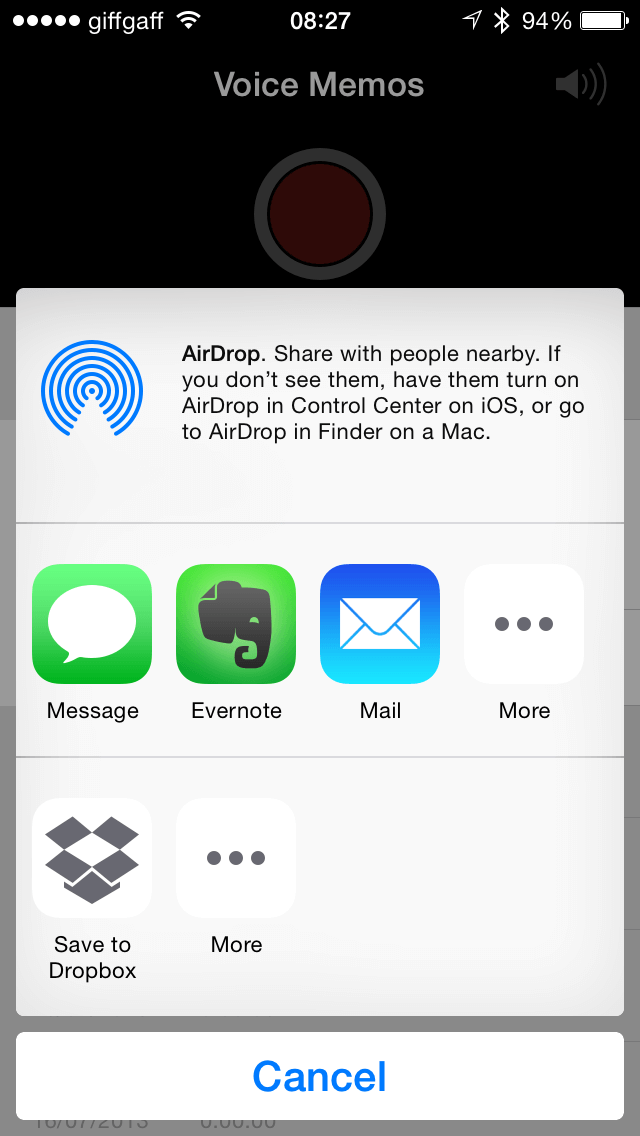
You can share your recording using other apps
You can also sync Voice Memos with iTunes, if you sync your iPhone that way. They’ll appear in iTunes with the name you gave them in the app and you’ll be able to play them like any other audio file.
Microphones
There’s one other thing you should consider if you plan to use Voice Memos a lot: the microphone. While the iPhone’s built-in mic is fine for occasional use as a dictaphone, it’s not great if you want to, say record a lecture or record yourself playing guitar. For those tasks, you’d be better served by an external mic. These come in a variety of different sizes and forms. Some are designed for recording music, in which case they are omni-directional. Others are designed for speaking into, in which case they pick-up audio from one direction only. Some, like IK Multimedia’s iRig MicCast allow you to toggle between high and low gain to take account of the volume of the source.
Prices vary from around £10 for a clip-on lapel mic to well over £100 for a high-quality omni-directional microphone.
If you have a microphone already and would rather use it, you have a couple of options. If it’s a USB microphone, you could connect it to a powered USB hub, connect the hub to a Lightning to USB cable and connect the Lightning end of the cable to your iPhone. The hub is needed to provide power to the microphone. The other option is IK Multimedia’s iRig Pre which connects to your iPhone and allows you to connect any microphone with an XLR connector, and provides it with phantom power.