
There was a great deal in iOS 9 to get excited about, but for those of us who use it regularly, the new Notes app was one of the most important.
Notes was a simple app for scribbling down shopping lists, phone numbers, or storing text copied from somewhere else. However, it’s now much closer to being a full-blown alternative to Evernote or OneNote.
As well as writing text notes, you can draw pictures, grab links from a web browser, complete with a snippet of the web page, and import photos from your iPhone’s Camera or Photo Library.
Notes are shared on iCloud by default, so you’ll have access to them on any device connected to your iCloud account. If you use a Mac, you’ll need to upgrade to OS X El Capitan to see and edit the notes created in the new Notes app.
Here’s how to use it.
Text formatting
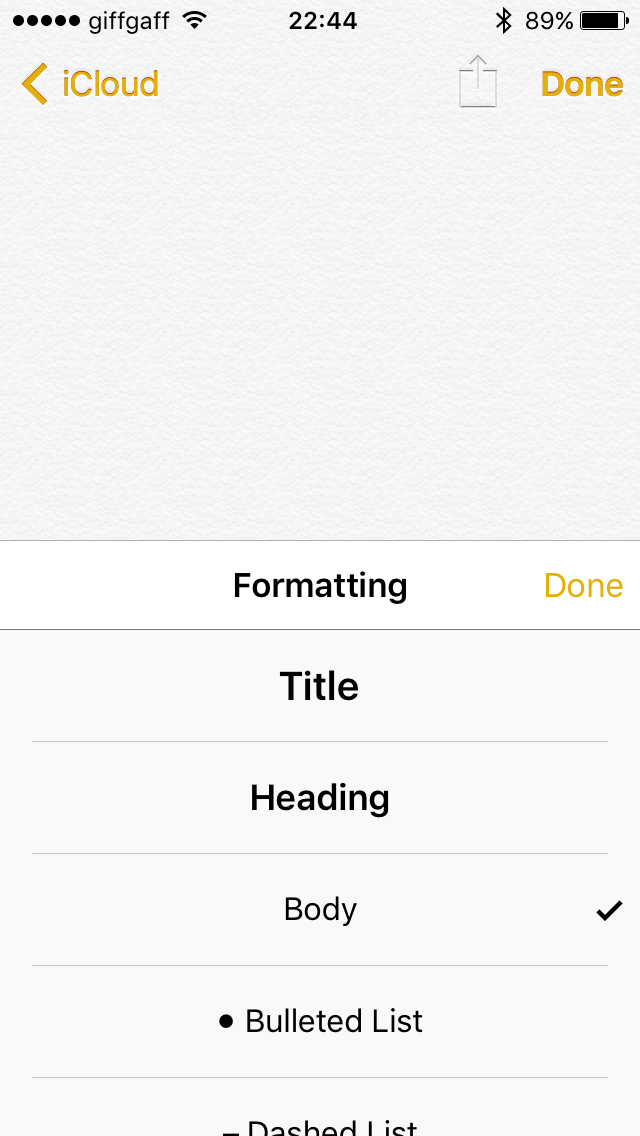
You can format text as title, heading or numbered lists
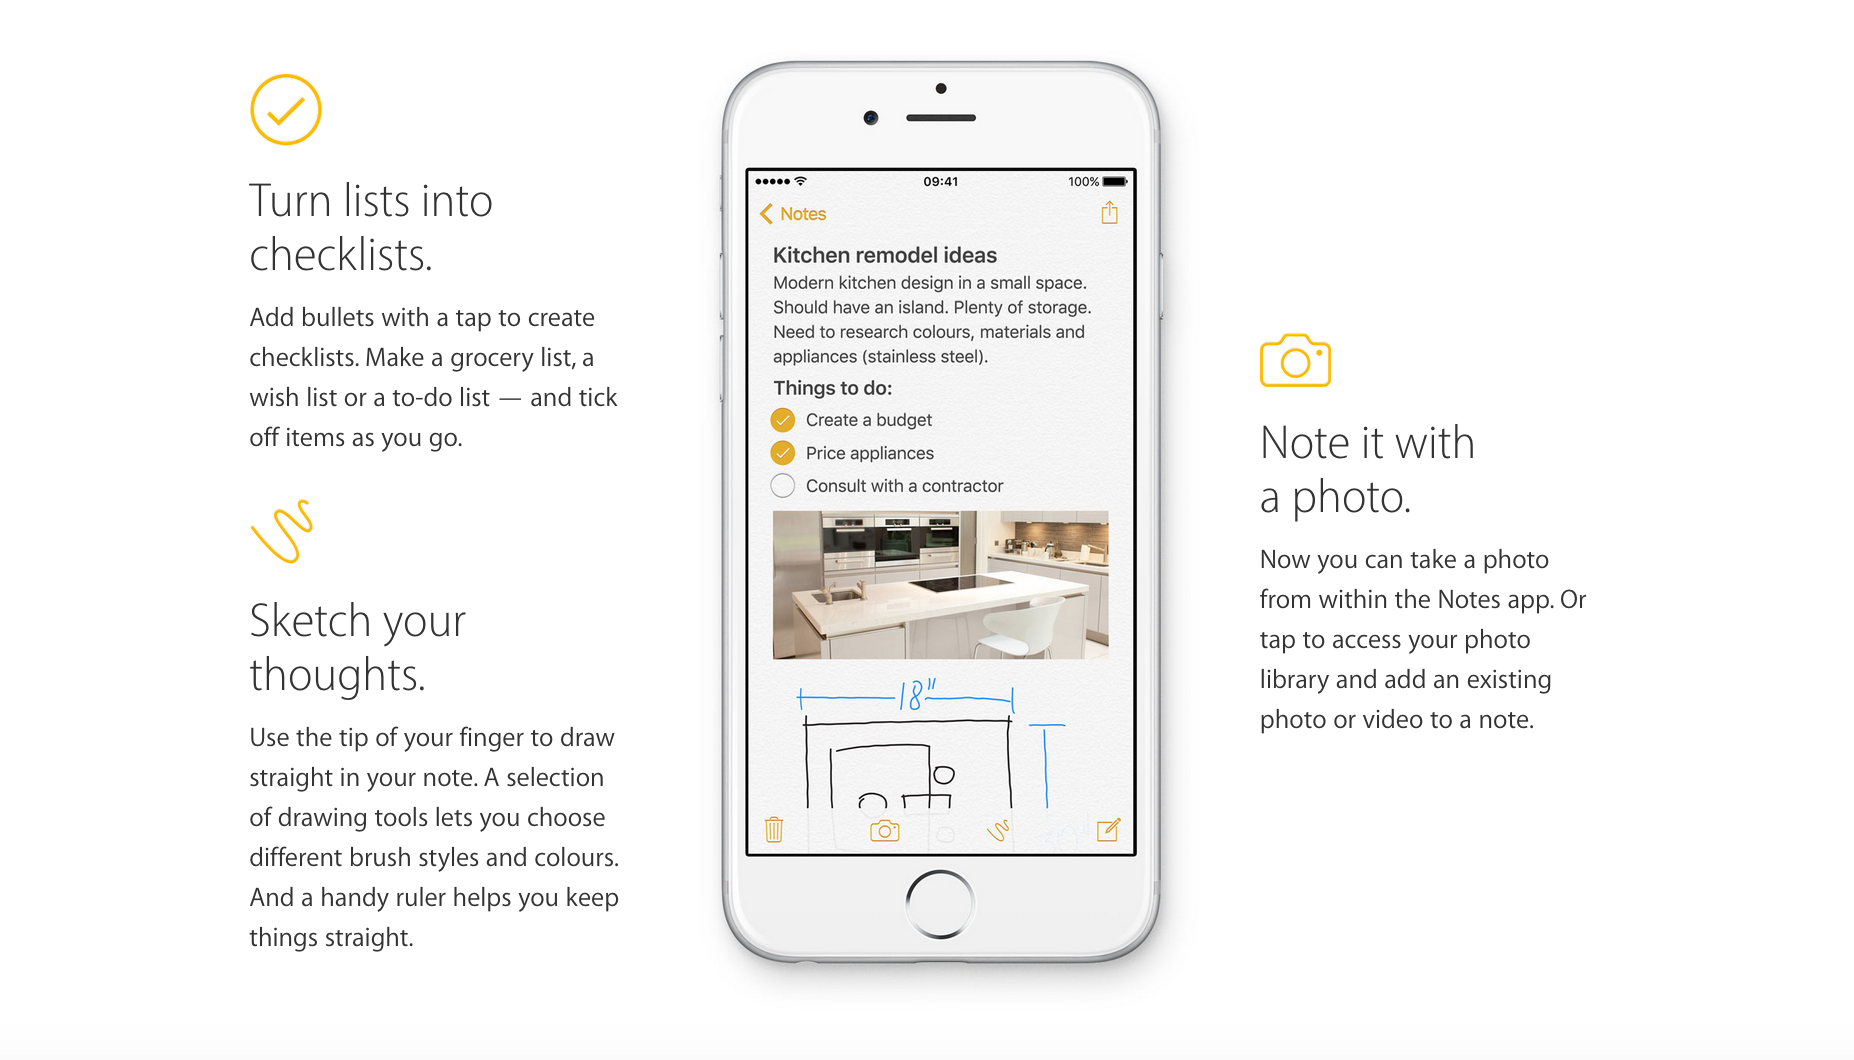
The new text formatting tools in Notes allows you to create to do lists with checkboxes, bulleted lists, titles and headings to notes.
To access the formatting options, create a new note and tap the ‘+’ sign that appears above the keyboard. Now tap ‘Aa.’ You’ll see a list of available formats including Title, heading and numbered list. Tap the one you want then tap done. Headings and titles revert to ‘body’ when you tap the Return key. To swap from a list back to body, you need to go back to the formatting options and choose ‘Body.’
Drawing
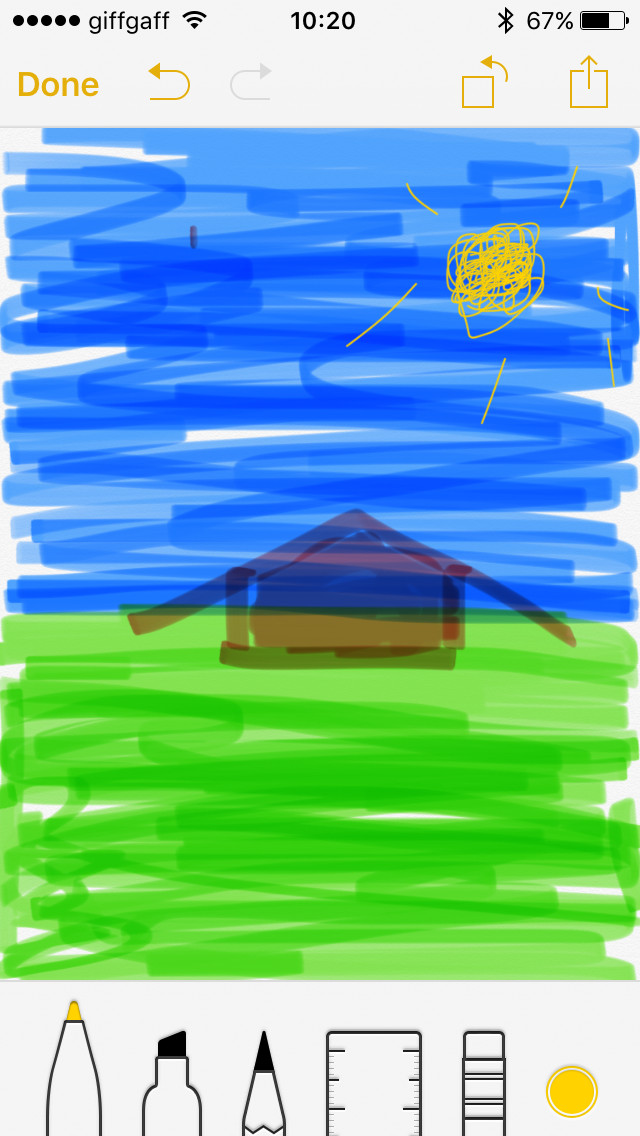
Your drawings will probably be much better than this one
In any note, tap the squiggly line in the tool bar at the bottom. Now choose from the three tools available (pen, pencil, and marker pen). Then tap the dot at the right hand side to access the color palette. There are 24 colors to choose from, swipe left over the first eight to see the next eight, and again to see the final eight. Tap a color to choose it.
Now you can start drawing on screen. Tap the squiggly line to change tool or color. You can mix colors on the screen by drawing over one with another. To erase mistakes, choose the eraser tool.
Drawing with the ruler
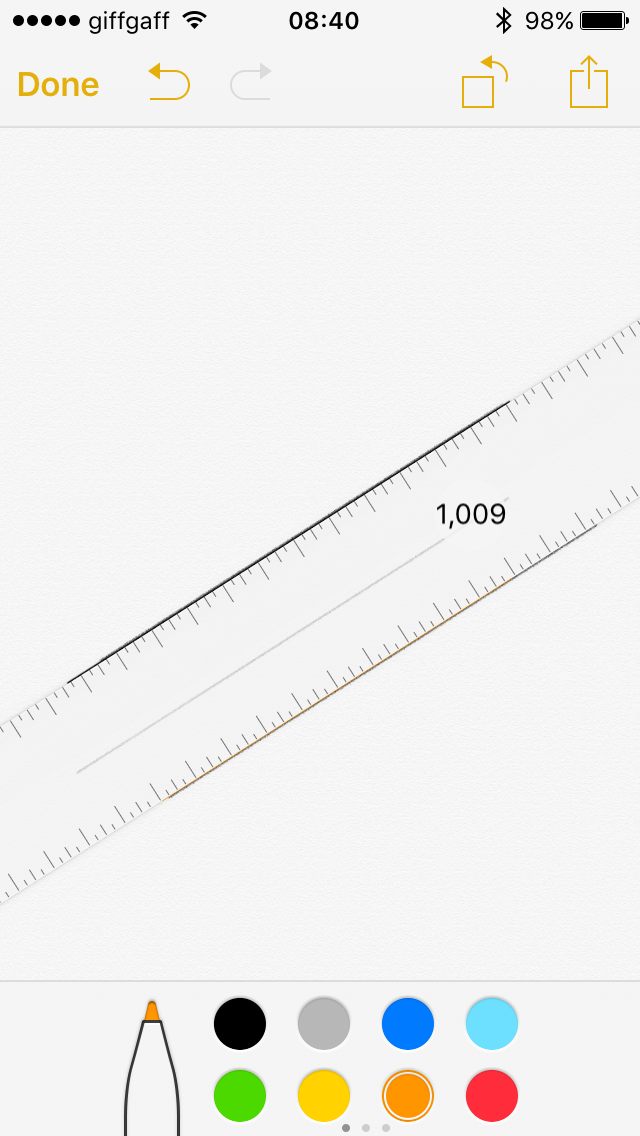
Drawing with a ruler is very straightforward (sorry)
If you need to draw straight lines, choose the ruler after you’ve chosen your drawing instrument and color. To move it, tap on it and drag it to where you want it on the page, Use two fingers to rotate the ruler on screen so that it’s at the angle you need. Then put your finger on the edge of the ruler and draw along it, as you would if it were a real ruler on paper. As you draw, a number appears in the centre of the ruler indicating the length of the line. Frustratingly, depending on where your finger is and which edge of the ruler you’re using to draw, the number may be obscured. The units of measurement are unimportant, this is purely designed to allow you to draw lines relative to each other, rather than create scale drawings.
Add pictures to notes
There are two ways you can add an image to a note – using the iPhone’s camera or by importing one from the iPhone’s Photo Library. With either option, tap the camera icon in the toolbar of a note. That will give you the option of taking a photo with the camera or importing an image from your Photo Library.
Once you’ve chosen a photo to add, it will be placed in your note inline, i.e. at the point where the cursor was when you tapped the camera icon. Every image you add to a note is available in Notes’ Attachment Browser (see below). And a thumbnail of the first image you add is displayed with the name of the note in the main Notes browser.
Web pages

Adding web pages to notes can be done in Safari using Share sheets
You can add web pages to notes, just as you can with Evernote. There aren’t as many options in Notes as there are in Evernote, but it’s a quick and easy way to capture pages for research or reading later.
To add a note, navigate to the page in Safari then tap the Share button (the rectangle with an arrow pointing out of the top of it). From the options in the window that opens, tap Notes. You can now choose whether to add the web page to an existing note or to create a new one. You can also add your own text to append to the web page thumbnail when its added to a note.
If the web page contains an image, that image will be added to the note as a thumbnail, along with the page title and a link.
Maps
To add a map to a note, open the Apple Maps app, search for a location, and when Maps has displayed the map you want, tap the Share button and tap Notes. As with web pages, you can choose to add the map to an existing note or to create a new note. And you can add text to the note.
Attachment browser

The Attachments Browser displays all the attachments on your notes
In any Notes folder (see below) window, tap the icon at the bottom left of the screen. You’ll see all the attachments in your notes displayed on screen. Tapping an attachment allows to view it full-screen.
From there, you can tap Go to Note to navigate to the note containing the attachment.
In the list of attachments, you can also tap Show All in any of the lists of attachments (they’re separated by type – photo, drawing, web page) to see all the attachments of that type.
Folders and syncing

You can create folders in which to store notes
Notes are synced with iCloud, but you can also, in Settings > Notes, choose to keep some notes on your iPhone without syncing. On the main window, notes are separated into iCloud and On My iPhone, so you can see which is which. From here, you can tap New Folder at the bottom right of the screen to create a new folder in which to store notes. You’ll then have the option of adding the folder to either the iCloud or On My iPhone notes.
Sadly, while you can add new notes to any existing folder, there doesn’t appear to be any way to retrospectively file existing notes in a new folder.
And that’s a guide to the new features in the iOS Notes app!