Let’s talk about one of the most underrated tools in iOS.
Guided Access mode, part of Apple’s accessibility suite, allows you to lock your iPhone or iPad into a single app.
There are many potential use cases: you might wish to limit a child’s use of your iPhone to a single game, or turn an iPad into a payment system for your business. You could even use an old iPod touch as a wall-mounted smart home hub. Whatever your reasoning, Guided Access transforms your device into a single-use screen, ensuring it stays on the desired app for the duration of the session.
Enable Guided Access
Setting up Guided Access is simple. Head into your Settings app, select Accessibility > Guided Access, and flick the main toggle on. You’ll be asked to set a passcode, ensuring you’re the only one who can end the session. This adds a layer of security, especially important when the device is used in public settings.
Start a Guided Access session
Kicking off a session is just as easy. Open the app you wish to use and quickly triple-click the Side or Home button. (If you have multiple triple-click shortcuts set up, you’ll need to choose Guided Access from the pop-up menu.)
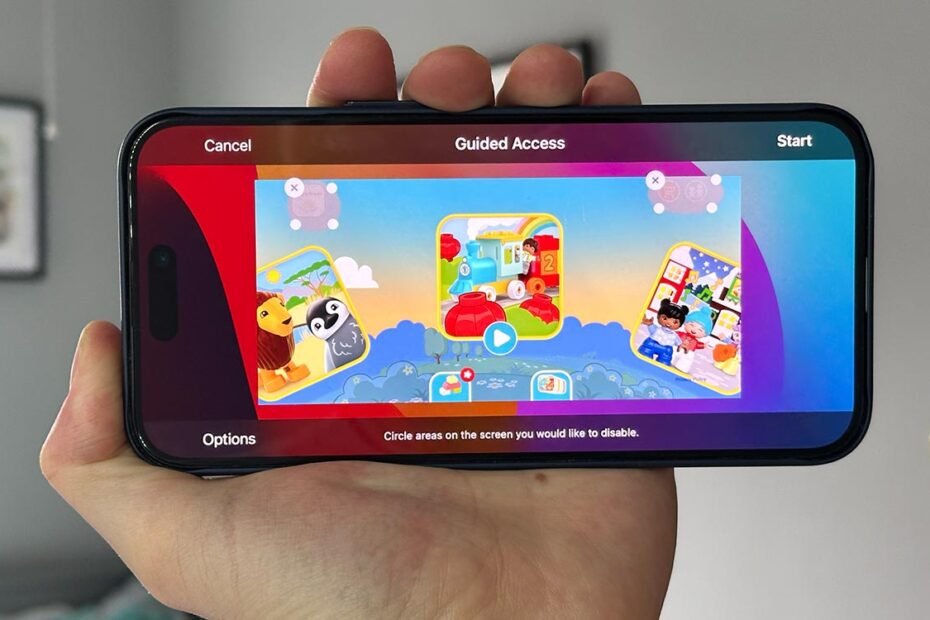
Here, all you need to do is hit Start to commence a standard session. If you didn’t set a passcode in settings earlier, you’ll be prompted to do so now.
To wrap up the session, triple-click the Side or Home button again and enter your passcode. For added convenience, you can also set up Face ID or Touch ID for ending Guided Access sessions.
Customizing Guided Access
You can further adjust what is and isn’t allowed during a guided session.
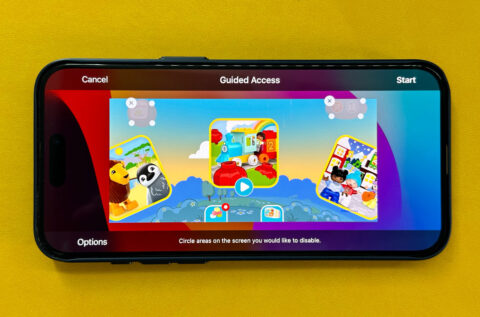
Before hitting Start, try drawing circles on-screen to disable specific areas of the screen. This allows you to tailor the experience precisely to your needs, whether it’s stopping little fingers from making in-app purchases or ensuring a public display stays on the intended page.
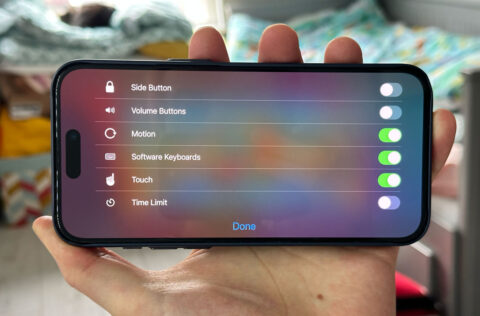
You’ll also find a bunch of controls behind the Options button, where you can toggle various hardware features on or off. Perfect if you need to stop users messing with the volume controls or accidentally locking the device. You can even set a time limit for the session.


