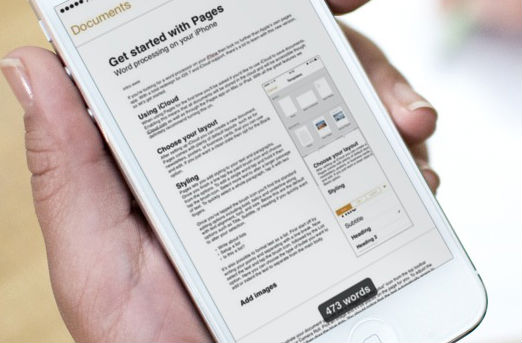

If you’re looking for a word processor on your iPhone then look no further than Apple’s own Pages app. With a total redesign for iOS 7 and iCloud support, there’s a lot to learn with this new version, so let’s get started. 
1. Using iCloud
When using Pages for the first time you’ll be asked if you’d like to use iCloud to save documents. Enabling this means that all documents will be stored in the cloud and will be accessible via iCloud.com as well as through the Pages app on Mac or iPad. With all the great features iCloud has to offer, we definitely recommend turning this on.
2. Choose your layout
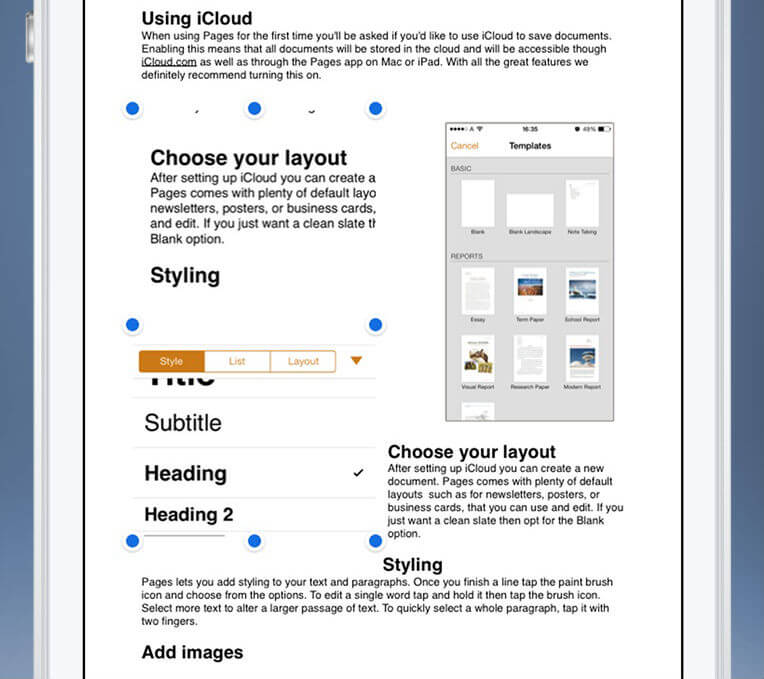
After setting up iCloud you can create a new document. Pages comes with plenty of default layouts such as for newsletters, posters, or business cards, that you can use and edit. If you just want a clean slate then opt for the Blank option. 

Choose a default template. We’re opting for ‘Blank’ in this walkthrough
3. Styling
Pages lets you add styling to your text and paragraphs. Once you finish a line tap the paint brush icon and choose from the options. To edit a single word tap and hold it then tap the brush icon. Select more text to alter a larger passage of text. 
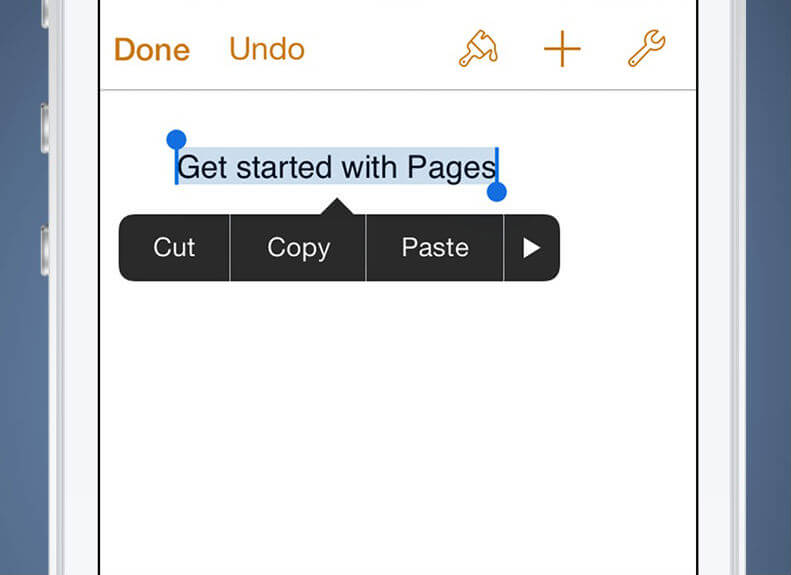
To quickly select a whole paragraph, tap it with two fingers.
Once you’ve tapped the brush icon you’ll find the standard editing options including bold, italics and underline along with text alignment, font, and size. Below this are the default options such as Title, Subtitle, or Heading if you quickly want to alter your selection. 

All the styling options you could need
All the styling options you could need It’s also possible to format text as a list. First start off by writing your points and separating with a line break. Now select the text and tap the brush icon, followed by the List option. Here you can choose the type of bullet you want to add or indent the text to separate from the main body.
4. Add images
To help illustrate your document you can add in images. Tap the Plus icon from the top toolbar and access your Camera Roll. Pick an image and it’ll be placed on the page for you. To adjust the image tap on it and then drag the blue dots. You should notice that the text automatically wraps to avoid the image. To change this tap the brush icon and tap Wrap from the Arrange menu to see the various options.
All the styling options you could need
To add more effects, return to the main options and tap style. From here you can choose from one of the default options. Tap on them to preview or for more control select Style Options and edit your choice here. Once you’ve made your changes tap the upside down triangle icon and carry on with your document.
5. Document settings
While editing your document, there are several options to help see your progress and aid with placing images. Tap the tool icon to open the Tools menu. From here tap Settings and turn on options such as Word Count and Center Guides or Edge Guides. If you now move images, you’ll see yellow lines appear when you try to drag too close to the margins of the page.
6. Change Margins
If you’d like to change the margins, return to the main Tools list and select Document Setup. First off you can change the type of paper by tapping Change Paper Size and choose between US Letter or A4. 
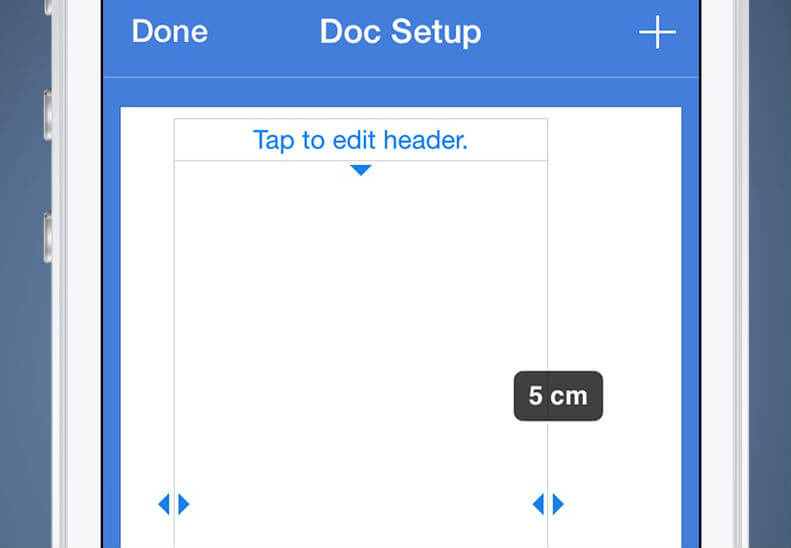
Change the margins of your document by dragging on the arrows
From the Doc Setup page you can drag any of the blue arrows to alter the margins of the page. It’s also possible to change the header and footer by tapping the relevant labels at either end of the page. If you wish to add an image to every page, such as a logo, tap the ‘+’ and edit its size and position as described in the last issue. Once your happy tap Done to return to the main editing window. 
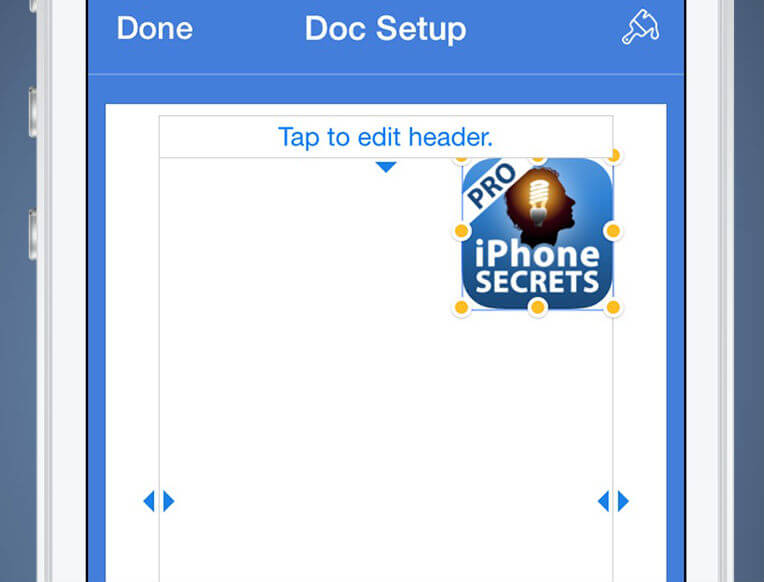
Add your company logo to every page by placing on the Doc Setup page
7. Tracking
Editing a document is often just as important as the first draft, but you may want to see what changes or additions you make. Open the Tools menu and select Change Tracking. Turn on Tracking from the top. If you return to the document and make any changes, they will be highlighted in yellow to mark them out. 

See the changes made by looking for highlighted sections
To add a comment, select a word or section, then tap the right white arrow from the options box until the Comment option is visible and tap this. Now type your comment about this selection. To view the comment later, tap the highlighted word to reveal the it. To navigate through all your changes use the arrows in the bottom right. You can also tap Accept or Reject to quickly make the changes you suggest. 

Tap any highlighted section to see any comments
Once you’re finished, return to the Change Tracking option and turn it off. Pages will ask if you want to accept your changes if you haven’t already.
Share
Once you’ve finished your document, you can share the document with others via an iCloud link. To do so, tap the Tool icon followed by Share and Print. Select the Share Link via iCloud option followed by one of the sharing choices, such as Message or Mail. Once your recipient receives the link, they will be able to edit the document through Pages on iPhone, iPad, or Mac, or through www.icloud.com if they don’t have the Pages program. 
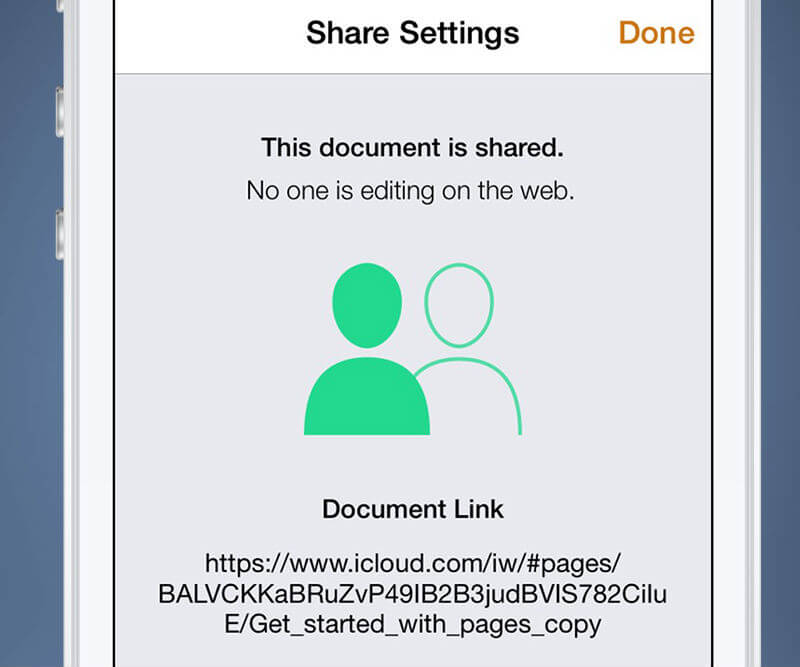
Once you share the document then all recipients can make changes
Once you share the document then all recipients can make changes If the recipient makes any changes, they will then also be reflected in your document. To restrict the document again, return to the Share and Print options and select View Share Settings. From here you can see if anyone is currently accessing the document or tap Stop Sharing to lock the document again.
From the Share and Print menu you will also find options to Send a Copy, Open in Another App, or Print via an AirPrint compatible printer. Choosing Open in Another App will let you save as a PDF or Word document if you need to use these formats. 
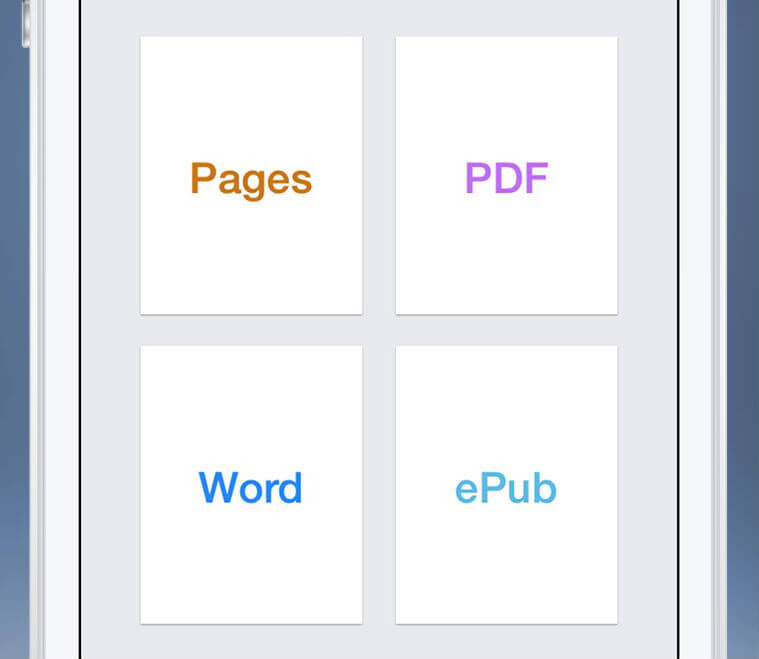
You can save your document in different formats if you need to
8. Perfect Pages
Now you know how to edit, style, track changes, and share your document you should be ready to type away on your phone. If you don’t believe us, most of this How-to was written on our iPhone. Who says you can’t get work done on your mobile?