
Handing over your iPad to show off holiday snaps can lead to potential disaster if a swipe in the wrong direction could reveal too much. If you’d prefer to hide certain images from regular view, this is easily done.
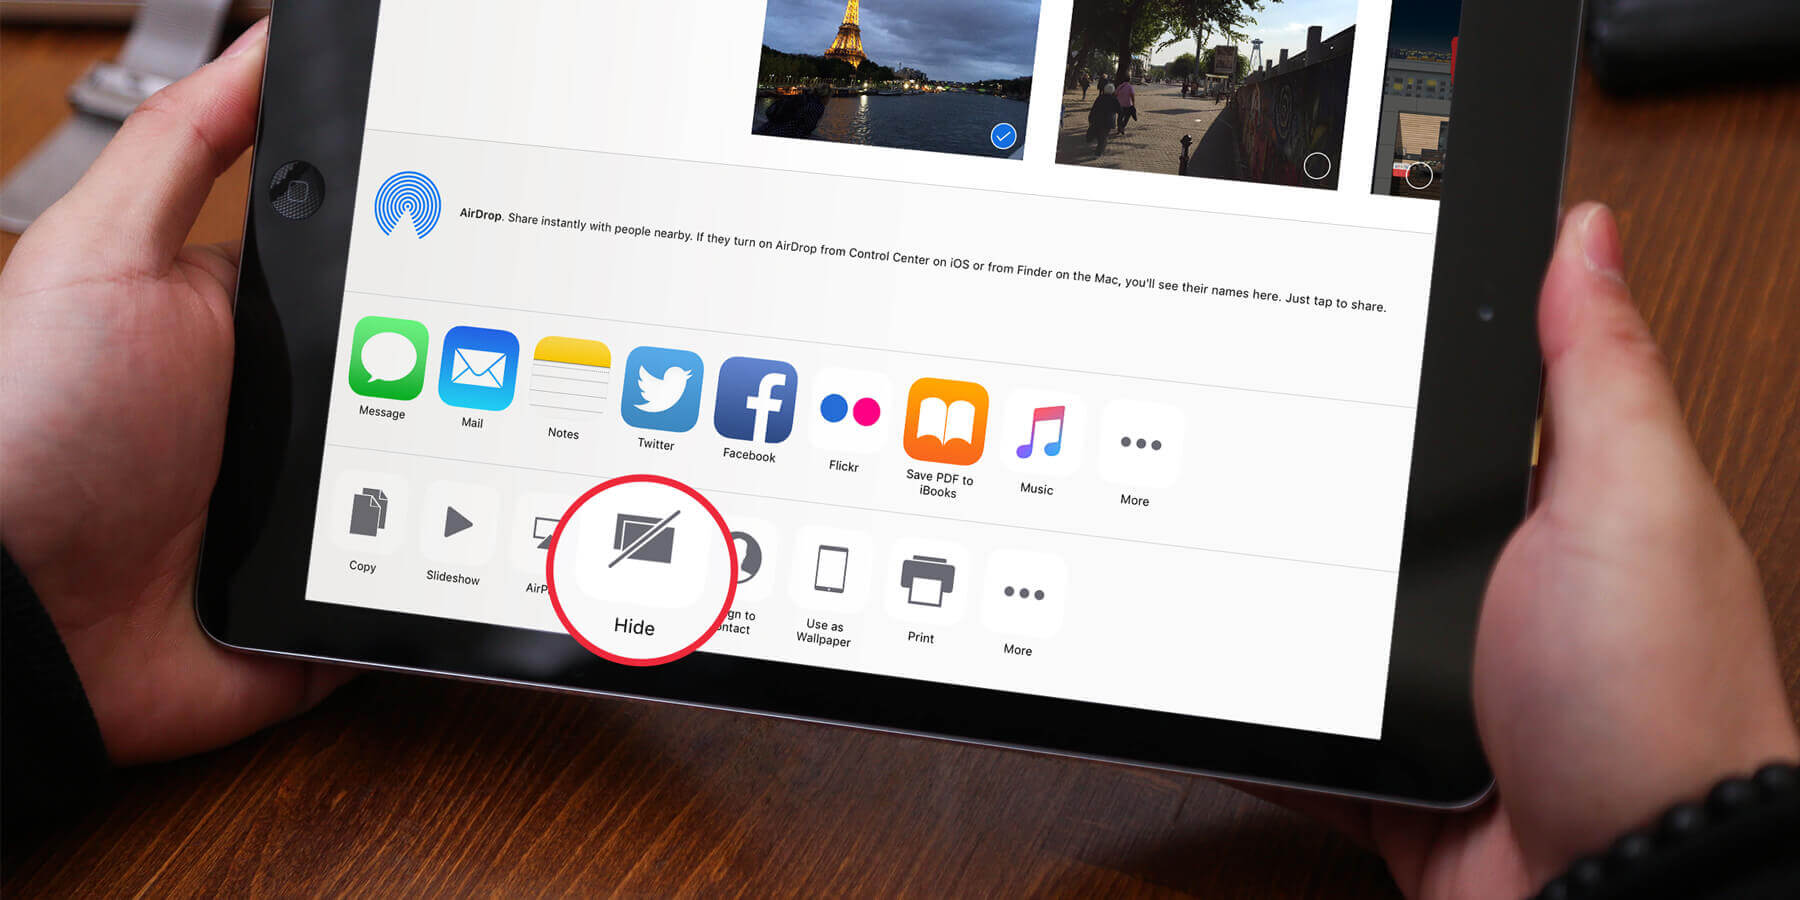
Firstly, choose the photos to hide. For a single image, tap to bring it full screen. For multiple images, tap Select from the album view and tap the ones you want to hide. Then press the Share button along the top. One of the options along the bottom is Hide – tap it to assign the photo to a new folder. The photo will be hidden from Camera Roll and all automatically generated Collections, but it can still be found within an album called Hidden.
For iOS 8 and older, instead of tapping the Share button, tap and hold the image in question and select Hide from the pop-up menu. Confirm that you want it hidden and it will be moved to a new folder.
To return the snap to it’s previous location, follow the same steps for the picture in the Hidden album but select Unhide instead of Hide.