
There are plenty of ways to share photos from an iPhone or iPad. AirDrop, Messages, Mail, and countless other options can found in the share menu. You can even create shared albums so multiple people can contribute to a collection. But with iOS 16, Apple is taking things a step further with the introduction of iCloud Shared Photo Libraries.
Now, you can have an entire library of images, automatically synced and shared with up to five other people. It can be a great way for couples and families to share access to snaps without having to manually send anything, or worry about duplicate shots using up space on multiple iCloud accounts. The process is streamlined and pretty customizable, so you only have to share what you’re comfortable with.
Despite the potential for this feature to simplify people’s lives, there are a few things to get your head around about how it works – so here goes!
(Remember: iOS 16 is set for release in September, but you can test the beta version right now if you can’t wait!)
Setting up a shared library
To create a shared library, follow the pop-up prompt in Photos after your first upgrade to iOS 16. If you missed it, or want to make one at a later date, open the Settings app and head to the Photos section. Tap the Shared Library button to get started.
Each person can only be involved in a single shared library, so make sure it’s only your nearest and dearest who get invites. Also note that, similar to Family Sharing, the person who creates the library provides the iCloud storage for everything added. That might mean having to upgrade to the next iCloud+ tier to unlock more storage, but it likely means that other participants can remain on Apple’s free iCloud tier. So weigh up who should be in charge before setting anything up.
Although the creator provides all the storage, in other ways iCloud Shared Photo Libraries gives everyone equal billing. All participants can add, edit, or delete content as if it were their own. That means crops, filters, and adjustments made by one person will be shown for everyone.
It doesn’t mean that your kids or elderly relatives can accidentally delete everything, though. Luckily Apple has thought about that. Photos removed from a shared library will go to the Recently Deleted folder as usual, and the original person who added the snaps will be notified and asked whether they’d like to move the photos back to their own library.
Who and what gets shared?
Let’s invite some people. Tap Add Participants and choose from your contacts. Bear in mind they’ll need the latest software to participate: iOS 16, iPadOS 16, or macOS Ventura.
You’ll then be asked which photos you’d like to move to the shared library. Give this some thought, as some of the categories are automated. For somebody you’re very close with, you can share absolutely everything, meaning you’ll have almost identical photo libraries on your devices. We say almost, because a few things are never shared. Photos in your Hidden and Recently Deleted folders don’t get shared, and neither do screenshots.
Alternatively, you can choose photos manually, to select what you want to share by hand. But the most interesting option is choose by people or date, which lets you tap into the intelligence built into the Photos app to pick photosets relevant to those you’re sharing with.

The app’s facial recognition, as seen in the People album of the app, can be used to narrow down what gets shared. That means you can automatically add photos of the people in your shared library. Choose some people to share photos from your moments together, and hit Next to review some photos of the chosen people to ensure the facial recognition is doing its job properly. You can deselect any incorrectly identified snaps to help the app improve.

Next, you can narrow down what gets shared by a specific date. Photos will suggest a start date based on the first photo you ever took with the chosen participants, but you can use the date picker to manually select a different time frame. That way if you only want to share images from the start of the year onwards, that’s fine. Hit Next again and Photos will allow you to preview your selections before actually sharing anything. That way if you’ve accidentally opted to share more than intended, you can tweak the settings before putting it live.
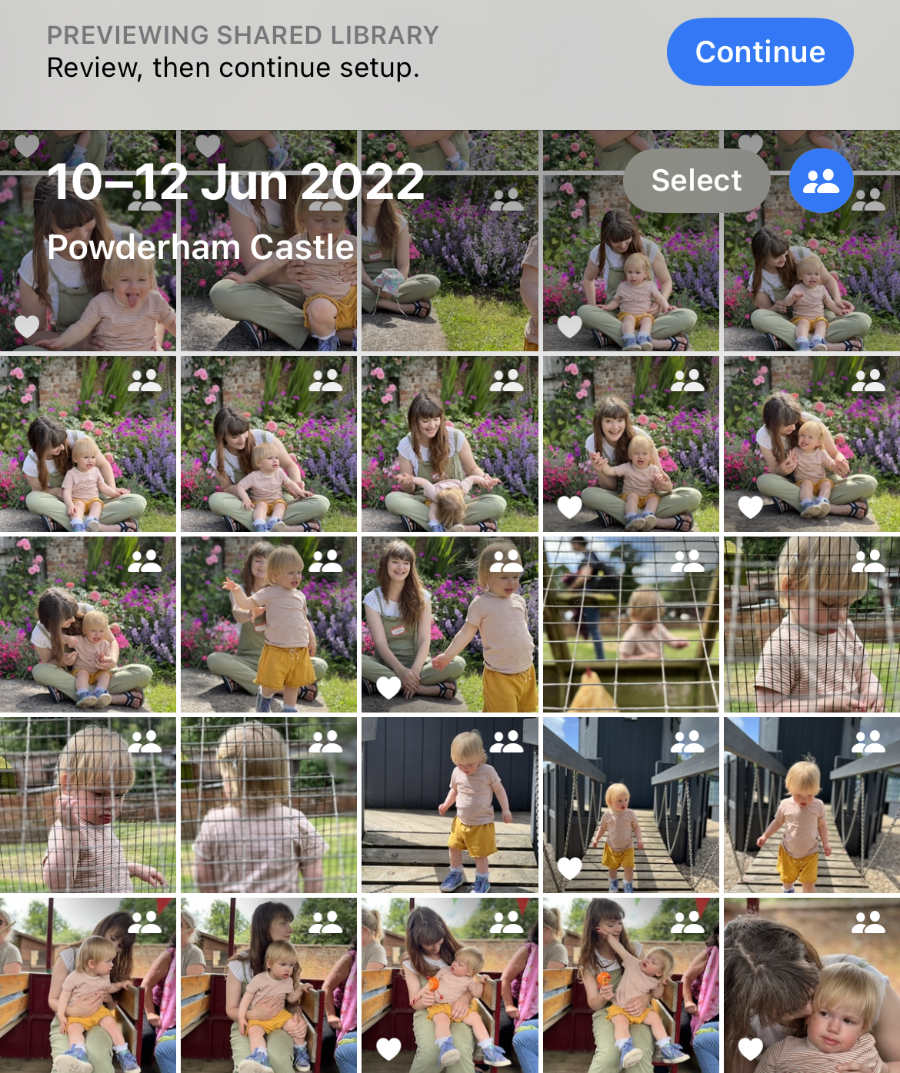
If everything looks ok, confirm your selection and you can send each participant an invite!
Share from Camera
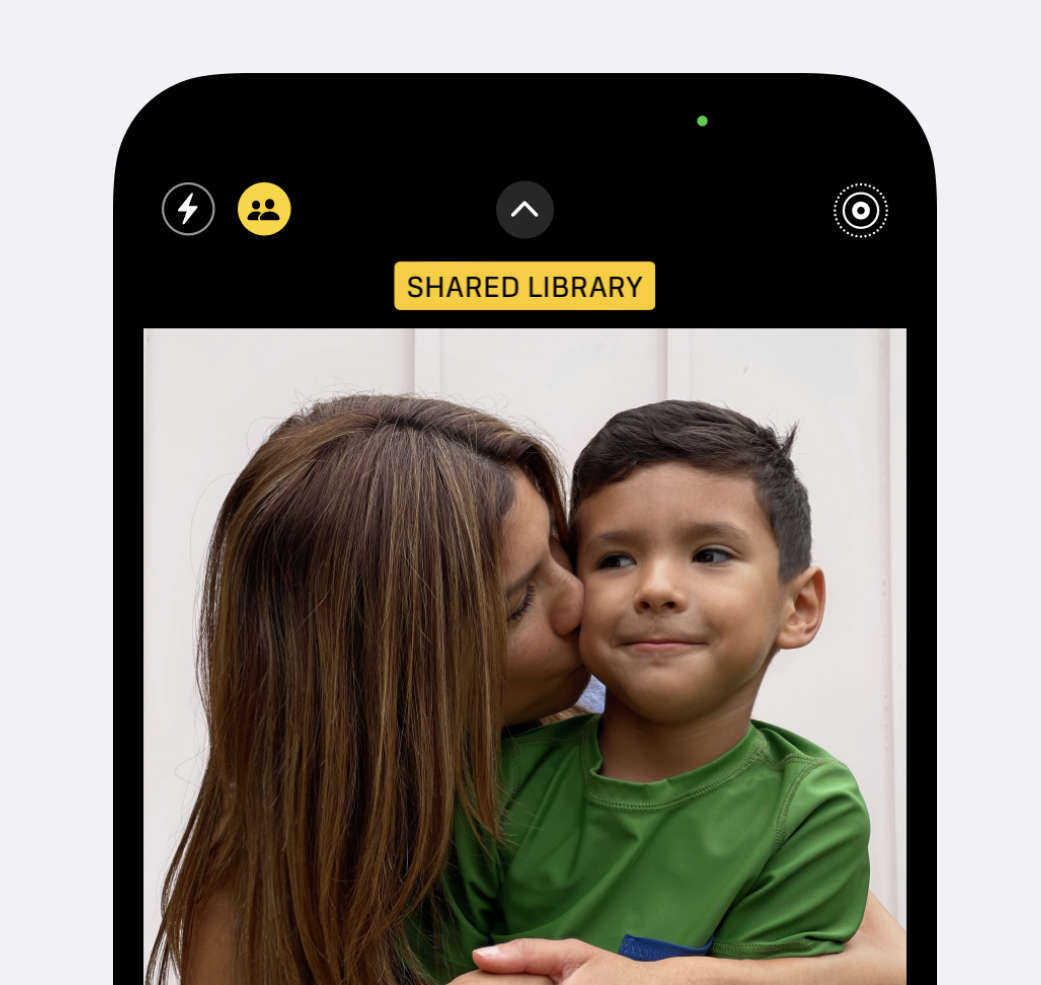
Once you have a shared library set up, you can add photos to it directly from the Camera app as you shoot them. Simply tap the shared library button next to the flash button to switch this function on, and everything you snap will be shared. Make sure to tap the button again to turn this feature off when you’re done!
Alternatively, if you want even more automation you can give the camera permission to Share Automatically, following the prompt given after setting up your library. With this activated, your device will use Bluetooth to check if any shared library participants are nearby when you take a photo. If so, it assumes you’re sharing a moment together and puts any photos taken directly into the shared library.
Of course, you’ll want to be wary with both of these features to avoid accidentally sharing something you didn’t mean to!
Navigation
Once your shared library is up and running, by default the Photos app will show a combination of all your own photos and your shared photos in the camera roll. Your familiar Recents folder will be a mix of both, ordered chronologically.
If you ever want to filter down to just one library, tap the menu icon in the top right of the Photos app and choose either Personal Library or Shared Library. You can put it back to Both Libraries at any time.