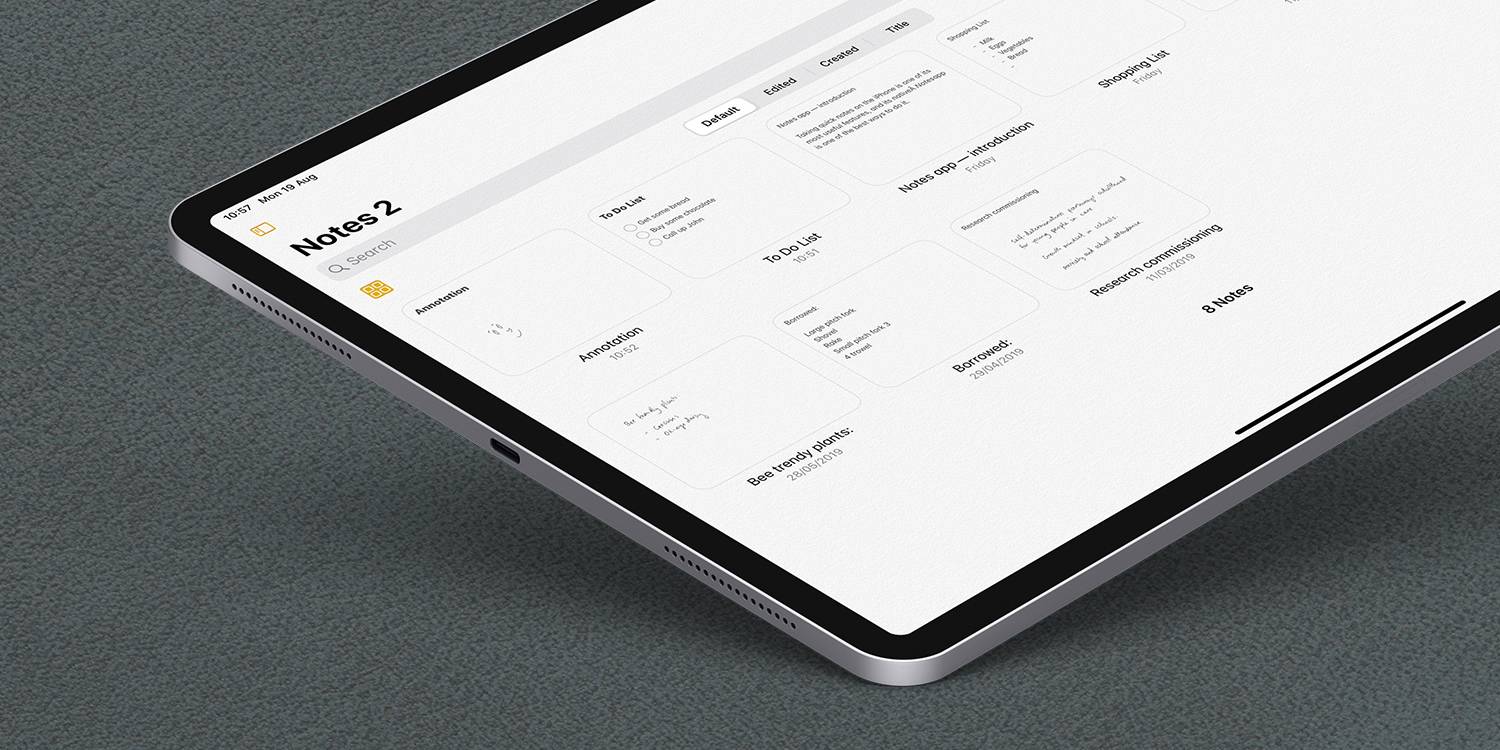
Taking quick notes on the iPad is one of its most useful features, and its native Notes app is one of the best ways to do it.
To start a new note, open the Notes app and tap the square icon in the top right corner.
This opens a new note and the keyboard appears. Type out your note, and then add any tables, headings, or checklists using the menu bar directly above the keyboard.
Sketch your thoughts
Miss the tactility of pen and paper? Tapping the pen icon on the menu bar at the bottom will allow you to draw or write notes using your finger.
The note saves automatically; simply return to your list of notes by tapping the back arrow in the top left corner.
Quick styles
A long press of the Aa symbol at the top of the keyboard will let you quickly change the formatting of the current paragraph to Title, Heading, Body, and the like. You can also use this menu to instantly turn your text into a numbered or bulleted list.
Keep your finger held down and slide up to the desired quick style option, then release, and it will implement and dismiss the menu for you.
Actions menu
Whether you’re in a folder or a note, tap the menu icon (three dots) in the top right corner to access the actions menu.
When in a folder, this menu will let you do things like switch to a gallery view, move and delete multiple notes, sort notes by various criteria, and view attachments.
Within individual notes, the actions menu lets you Scan, Pin, Lock and Delete the selected note. This is also where you’ll find various share, search, and view functions.
Gallery View
For a more accessible way of viewing notes on your iPad, activate Gallery View. This viewing mode displays all of the notes in a folder as tiles with a preview of the note’s content. If you have a lot of annotations in Notes, this might be a better way of viewing all of your notes in one place.
To activate this viewing mode in Notes, tap the … icon in the top-left of the screen. Then choose View as Gallery.
Tap the same icon again and choose View as List to deactivate Gallery View.
Lock your notes
You may wish to keep some of your notes private from anyone that may have access to your phone. Adding this extra layer of security is simple.
Head to the main screen which displays your list of notes. Long-press on a note to reveal a pop-up menu, and choose Lock Note.
Here, you’ll be prompted to enter a password. There’s also an option to open the note using biometrics – Touch ID or Face ID.
If you want to, you can choose a Notes-specific password. But the easier option in most instances to instead lock notes with your device passcode and even Face ID. You’ll be prompted to switch to this method the first time you try to lock a note in iPadOS 16 or above. They’ll be accessible on all your iCloud devices by using that specific device’s authentication method, and end-to-end encrypted for privacy.
When you unlock a note, it’ll stay unlocked until you lock your device so you don’t have to keep authenticating. However, if you’d like to re-lock it sooner you can tap the Lock Now button that appears at the bottom of the Notes app.
Organizing notes
You can also organize your notes into separate folders. To do this, tap … which appears in the top right of the screen, choose Select Notes, then select each note you wish to place in a folder.
Now tap Move in the bottom left corner, choose or create a folder, and the note will be moved.

