
Not quite happy with your final shot? There are plenty of ways to edit it. Open the Photos app and tap on any of the thumbnails so they fill up the screen.
From here, select the Edit button in the top right to reveal the options.
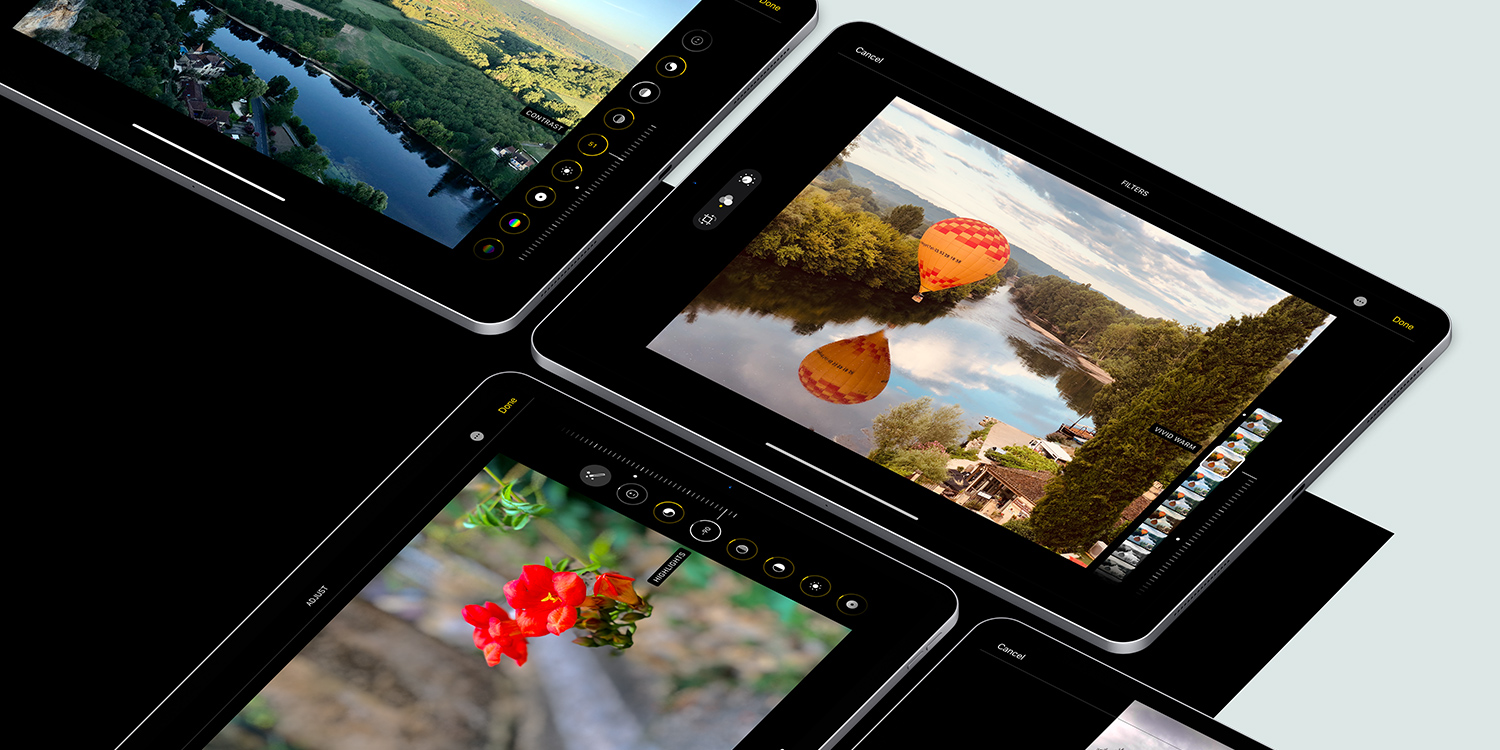
First, there’s the Auto-Enhance option, which automatically improves the shot and can be toggled on or off by tapping the magic wand icon on the top bar.
The three overlapping circles represent the Filter options to alter the overall tone of the image. Tap and hold the image to quickly see the original without the filter applied.
Then there’s the Crop option, which lets you constrain the image for better framing. You can also rotate the image when cropping.
Finally, the dial button opens up Color Control. Here you can change the light, color, and black and white levels. Tap on any of the options and move the slider across the preview pane. To quickly swap to the other options, slide up or down on the preview boxes.
When you’re happy with the edit, tap Done.
Reusing adjustments
This is a really smart way to save time. If you make an edit you’re happy with, you can duplicate the adjustments across multiple photos without manually tweaking the settings for each one.
Edit a photo as you normally would, and hit Done. Then tap the three dots button in the top right and choose Copy Edits. Navigate to another photo, and from the same menu choose Paste Edits. All the changes you’ve made to the exposure, contrast, saturation, etc. will be replicated here.