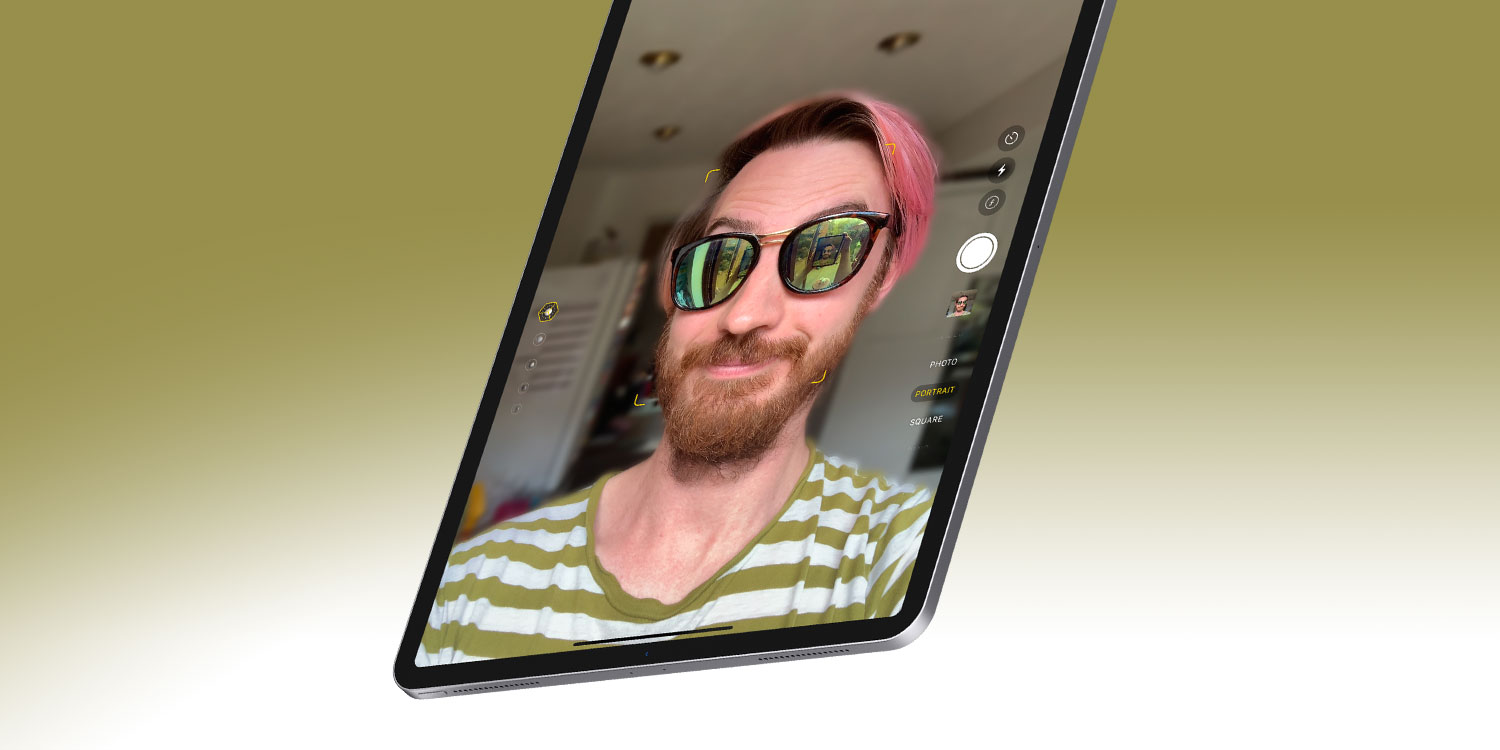
Portrait mode is a camera function that can help you take brilliant portrait photos. It detects the subject of the shot and artfully blurs the background while keeping the foreground in sharp focus.
There are some limitations when it comes to Portrait Mode on iPad. Only certain models are compatible – specifically, you’ll need an iPad Pro from 2018 or later. Even then, it’s only the front-facing camera that’s capable of Portrait Mode photography.
For this reason, the feature is best suited to self portraits.
Open the Camera app and flip to the front camera if it’s not already selected. Swipe to Portrait right-hand side of the screen.
Aim the camera at your subject. If you’ve aligned everything correctly, a yellow text bar will appear at the top of the screen to indicate that Portrait mode is active. Otherwise, follow the instructions that appear at the top of the view. It’ll tell you if you need to get closer or further away from the subject to activate the effect.
Sometimes it takes a bit of trial and error to frame the shot properly. Try panning the camera back and forth until it registers and the yellow bar appears. Then just hit the shutter button as usual to take the photo.
Shooting tips
Portrait shots, more so than any other camera mode, benefit from good lighting. Clear daylight or a strong light source will make a huge difference.
It also helps to shoot in front of a background that’s busy but not too close – avoiding shooting subjects stood flat up against a wall or in front of a plain blue sky, else the depth effects are barely noticeable.
Once you know how to get the most out of Portrait mode, you can get some seriously impressive shots!
Mirrored selfies
Want to flip your Portrait selfies to offer a mirror-like view of your face, rather than the third-person view afforded by default?
Simply head into Settings > Camera and activate the Mirror Front Camera toggle.

