
Apple’s iWork for iOS suite of apps wouldn’t be complete without Keynote, the portable presentation-maker. Whether you’re running Keynote on an iPhone or iPad, the app offers a perfect mobile solution for creating smart-looking presentations while on the go. Here are the app’s core features which will transform you from a slideshow novice into a presenter king in no time at all.
The basics
Much like Pages and Numbers, Keynote integrates with iCloud Drive and, when you first launch it, the app displays compatible presentations (from both Keynote and Microsoft PowerPoint) which are sitting in your Files app. You can tap on one to download and open it, or if you’re looking to create something new, hit the “+” icon in the top-right of the screen.
Keynote ships with a plethora of templates – it’s arguably the best thing about Apple’s Keynote, as opposed to PowerPoint. You can choose something more simple and minimalist, or opt for a big, glossy template full of rich fonts and backgrounds. Whatever you decide, the contents are easily changeable.
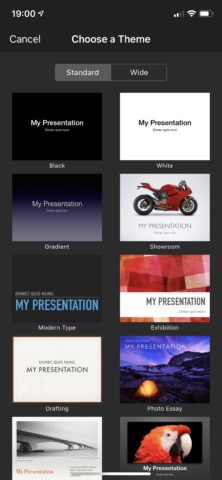
Keynote for iOS has a wide, wide, wide range of templates. No matter what your presentation is focused on, Keynote will deliver!
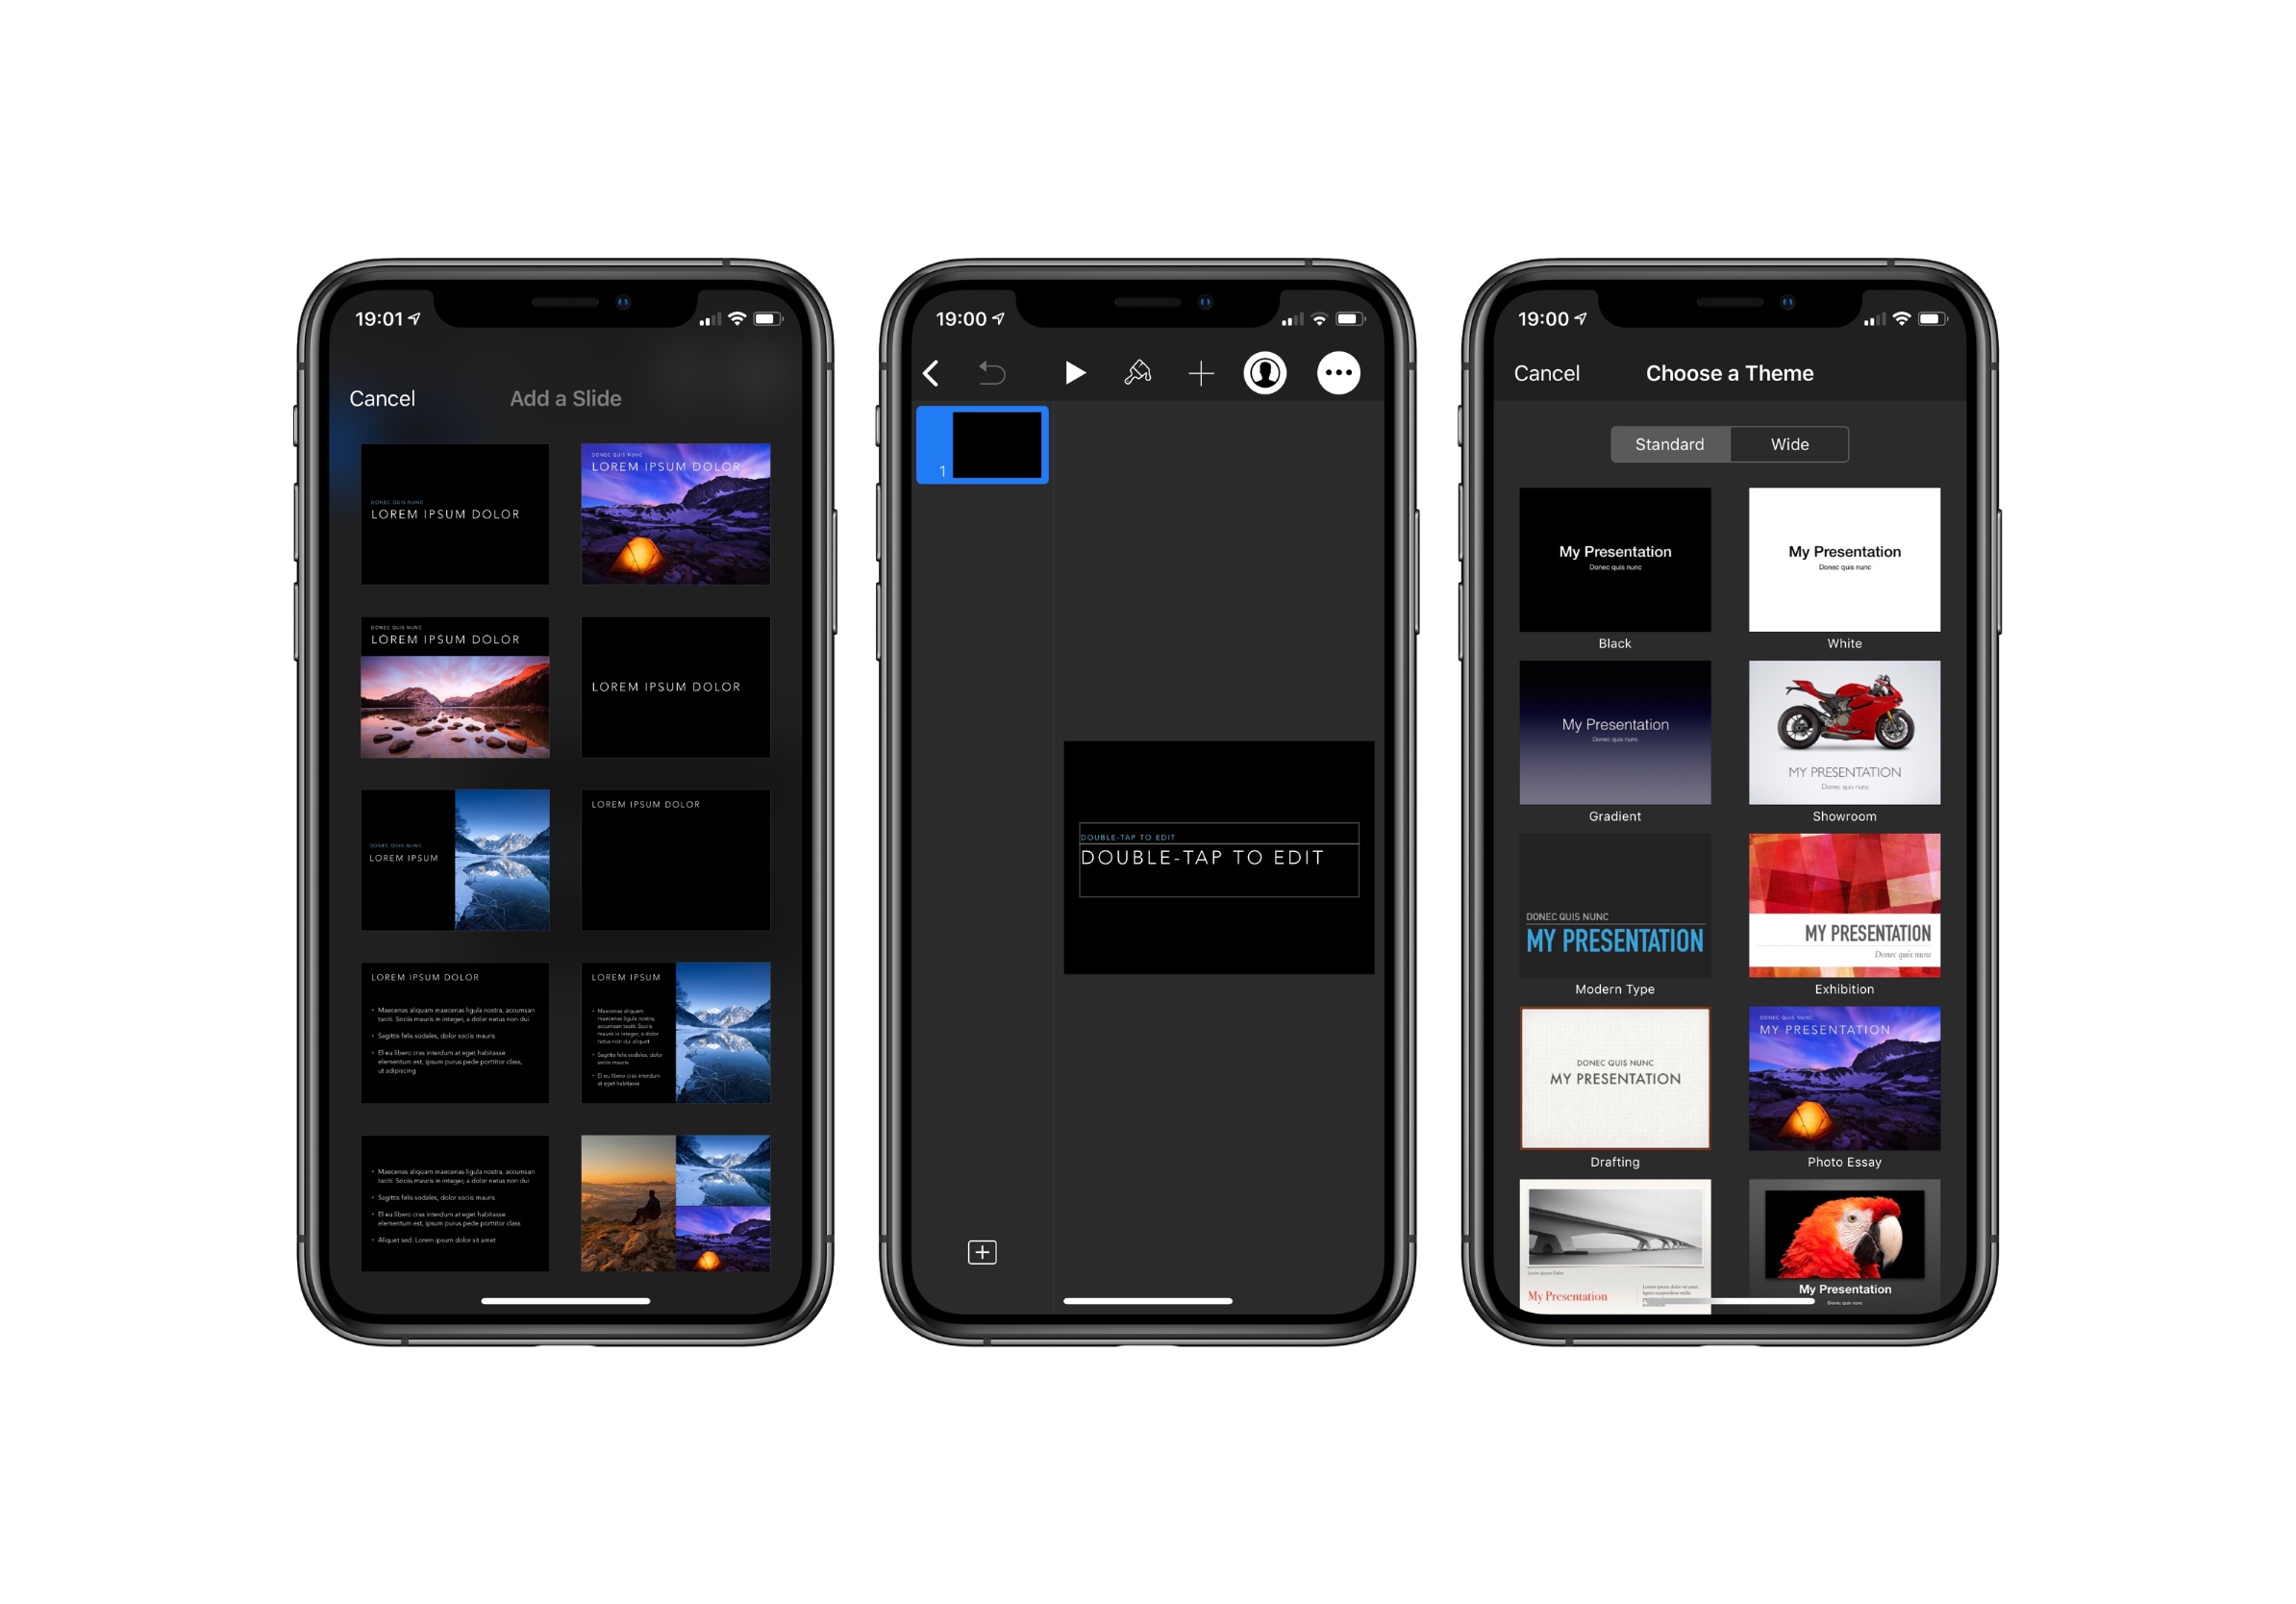
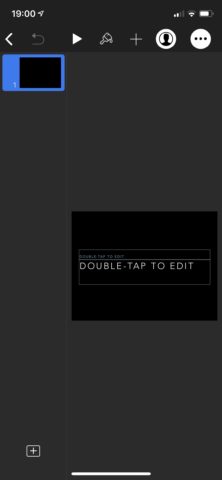
Text can be edited using the virtual keyboard, and new slides can be added in via an icon which lives in the bottom-left of the app screen. Keynote dynamically previews slide templates – which one you choose will depend on the kind of content you’re looking to deliver. There are list templates, picture-heavy templates, and mixtures of both.
Changing a picture is also incredibly simple: just tap the “+” icon which appears alongside stock images and select one of your own from the Photos app. Keynote auto-crops and aligns your image to fit in with the space you have available.
There are also plenty of slide designs. The one you choose will depend on the nature of your presentation.
Fine-tuning
You can fine-tune elements of your presentation’s formatting using the paintbrush icon towards the top of the screen. You can alter the slide background, fonts, and also make edits to the “master slide” which are then rolled out for future use.
Changing ‘Master Slides’
Editing those master slides is a great idea if you’d like to customize Keynote further. To do so, tap the same paintbrush and choose “Edit Master Slide.” Then you’ll need to pick the slide template which you’d like to alter. Edits made to the master slide will remain baked into Keynote. The next time you choose that slide, the edited version will load up.
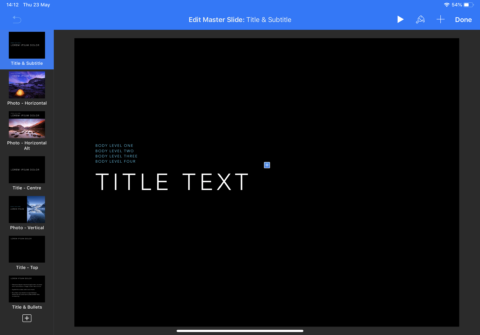
Editing master slides is a great way to roll out permanent changes to the design of Keynote’s slides.
Animations
When it comes to animations, Keynote for iOS offers some interesting features. You can animate objects in slideshows by tapping them and choosing “animate” from the pop-up menu. This then opens the Animate interface. Individual objects can be animated and you can even set flight paths for animated objects by drawing them with your finger. To test how the animations look, hit the play icon at the top of the screen.
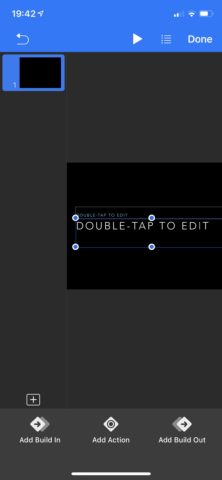
Keynote for iOS has a dedicated animation interface to ensure you get those slide animations just right.
Slide transitions, on the other hand, can be edited using the “…” icon at the top of Keynote’s interface. (Transitions involve the animations which occur between individual slides.)
The all-important “…” menu
In this same menu, a bunch of bonus features are available to access. You can enable or disable presenter notes, you can access a rehearse feature (which lets you time your performance of a presentation), and you can add a soundtrack to your slideshow to create a multimedia presentation. Passwords can be set for the slideshow and a comprehensive “Keynote Help” document can be accessed.
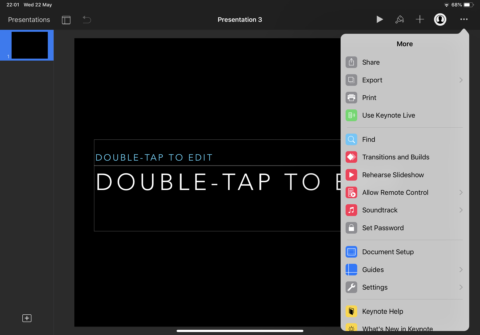
There’s plenty on offer in this all-important but easily-missable menu, so don’t overlook it!
Finally, it’s possible to share and export the presentation – supported formats include PDF, PowerPoint, Movie, Animated GIF, and of course Keynote. That should keep everyone happy. Conversion between Keynote and PowerPoint occurs fairly seamlessly, and in most cases your Microsoft friends won’t be able to tell that you didn’t use a member of the Office suite to create your latest corporate presentation.
Don’t forget the tapper
If you’re using Keynote for macOS, the iOS counterpart can also function as a handy remote. To access this hidden feature, head to the document picker and hit the iPhone icon in the top-right of the screen (which sits alongside the “+” icon). Happy tapping!