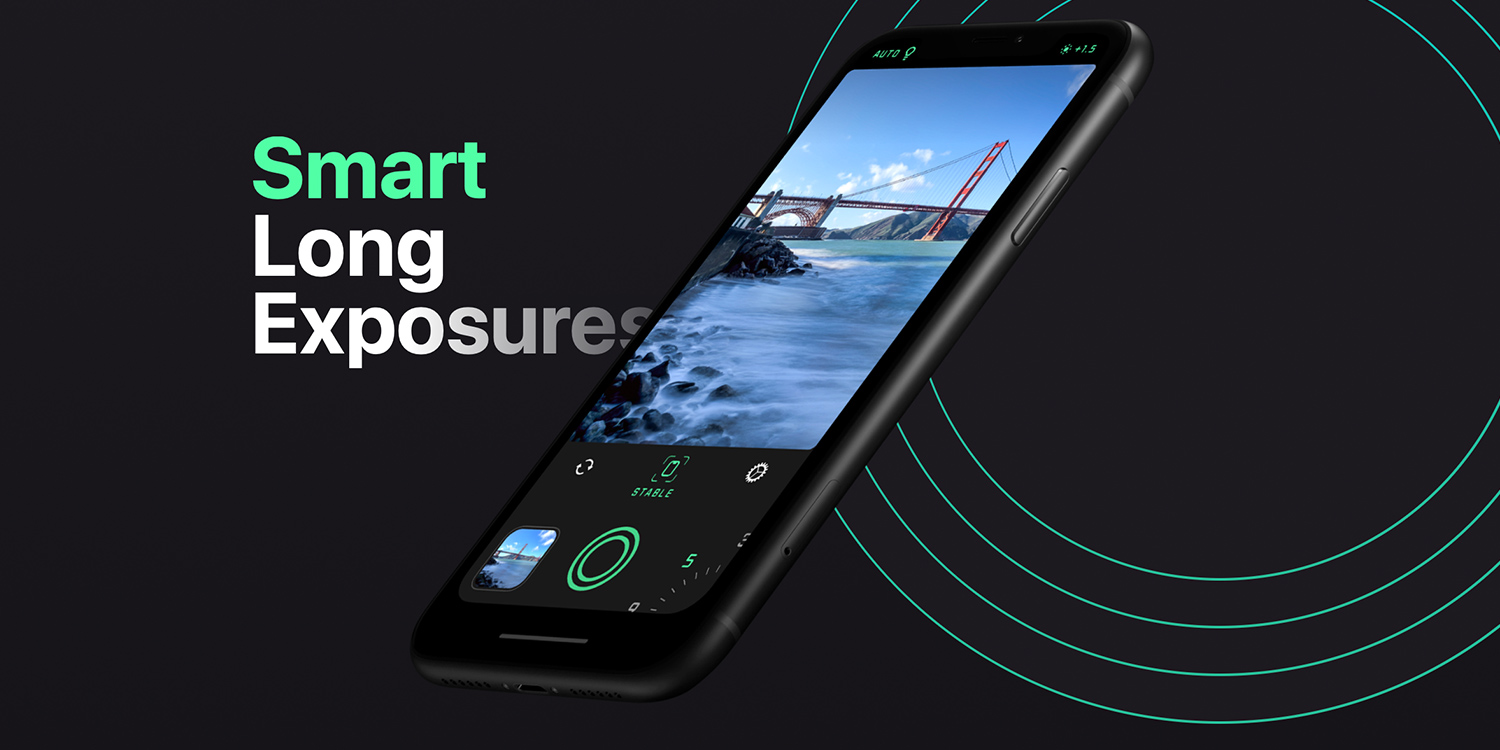

- Why Spectre is great for long-exposure iPhone photos
- How to keep your iPhone steady for the best results
- The kinds of creative effects you can capture
For several years now, Spectre Camera has been one of our go-to apps for executing simple, intuitive long-exposure shots on our iPhones. The results are a cut above the built-in ability to fake a long exposure with a Live Photo. It’s an even easier recommendation now that the Spectre Camera app has gone free, with a one-off in-app purchase ($5/£5) unlocking extras including a brilliant extended 30-second exposure mode.
With that in mind, we thought now would be the perfect time to explain how to use the Spectre Camera app to take high-quality long exposure photos on your iPhone.
Download the app
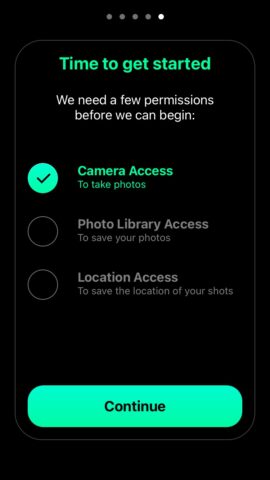
First up, download the Spectre Camera app from the App Store. Like we said in the intro, it’s now free to download. Open the app, click through the intro, and grant the necessary permissions.
The new long exposure feature will require a purchase, so if you want to execute extended exposures, hit that IAP.
Maximise exposure
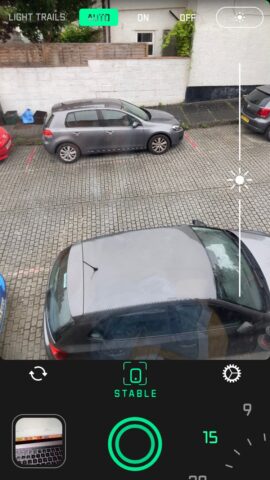
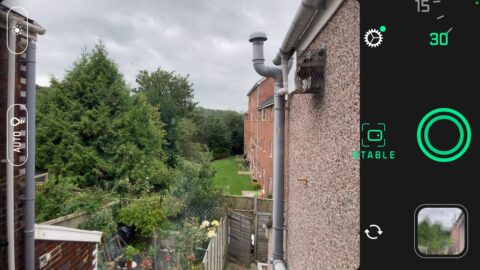
Set the exposure time between 3 and (if you bought that IAP) 30 seconds by touching and dragging the dial in the bottom right of the viewfinder. It’ll be in the top right if you’re holding your iPhone in landscape view.
Steady as she goes
Now it’s time to frame your shot. Whatever you choose to take a picture of, the key is to hold your iPhone sufficiently steady so that the green box icon stays within the cursor. You’ll know your hand is still enough when you consistently get the ‘Stable’ message showing.
Even with a fully ‘Stable’ shooting stance, our advice would be to find a solid surface to lean on for that extra stability. Keeping things as still as possible really is crucial to the most effective long-exposure shot.
What can be achieved
You can generally keep the Light Trails shooting mode in the top/left of the viewfinder in Auto mode, but feel free to turn it on if that’s the effect you’re specifically going for here. Extend those exposure times and take a picture of an active road at night, for example, to capture some cool light trail effects
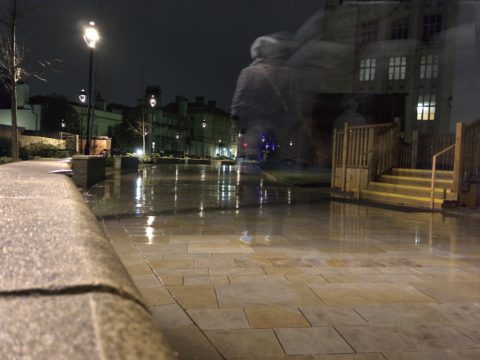
If you’re looking to make people disappear from busy scenes during the day, go for one of the longer exposure times. As you shoot, you’ll see people disappearing before your eyes on the viewfinder.
Longer exposure times can also be used to capture creative water effects. Snap a fast-moving river or waterfall for 9 seconds or longer, and the water will take on a beautifully streaky look.