
For photography nuts, the headline feature of the iPhone 11 family is its ability to capture excellent shots in minimal lighting.
Advances in computational photography enable the iPhone 11, iPhone 11 Pro, and iPhone 11 Pro Max to do things a conventional film camera can’t.
But what about older iPhones? If these advanced digital processing techniques are largely software-based (which they are), then can’t your old iPhone be made to take better low light photos too?
The simple answer is yes, it can. All you need a little help from a third party app. Here’s how to get decent low-light photos with an iPhone 6 or later.
Download NeuralCam
There are a number of third party apps that adopt similar computational photography principles to the iPhone 11 family. But NeuralCam from Halcyon Products is quite possibly the best of the lot.
You can download NeuralCam here for $3/£3.
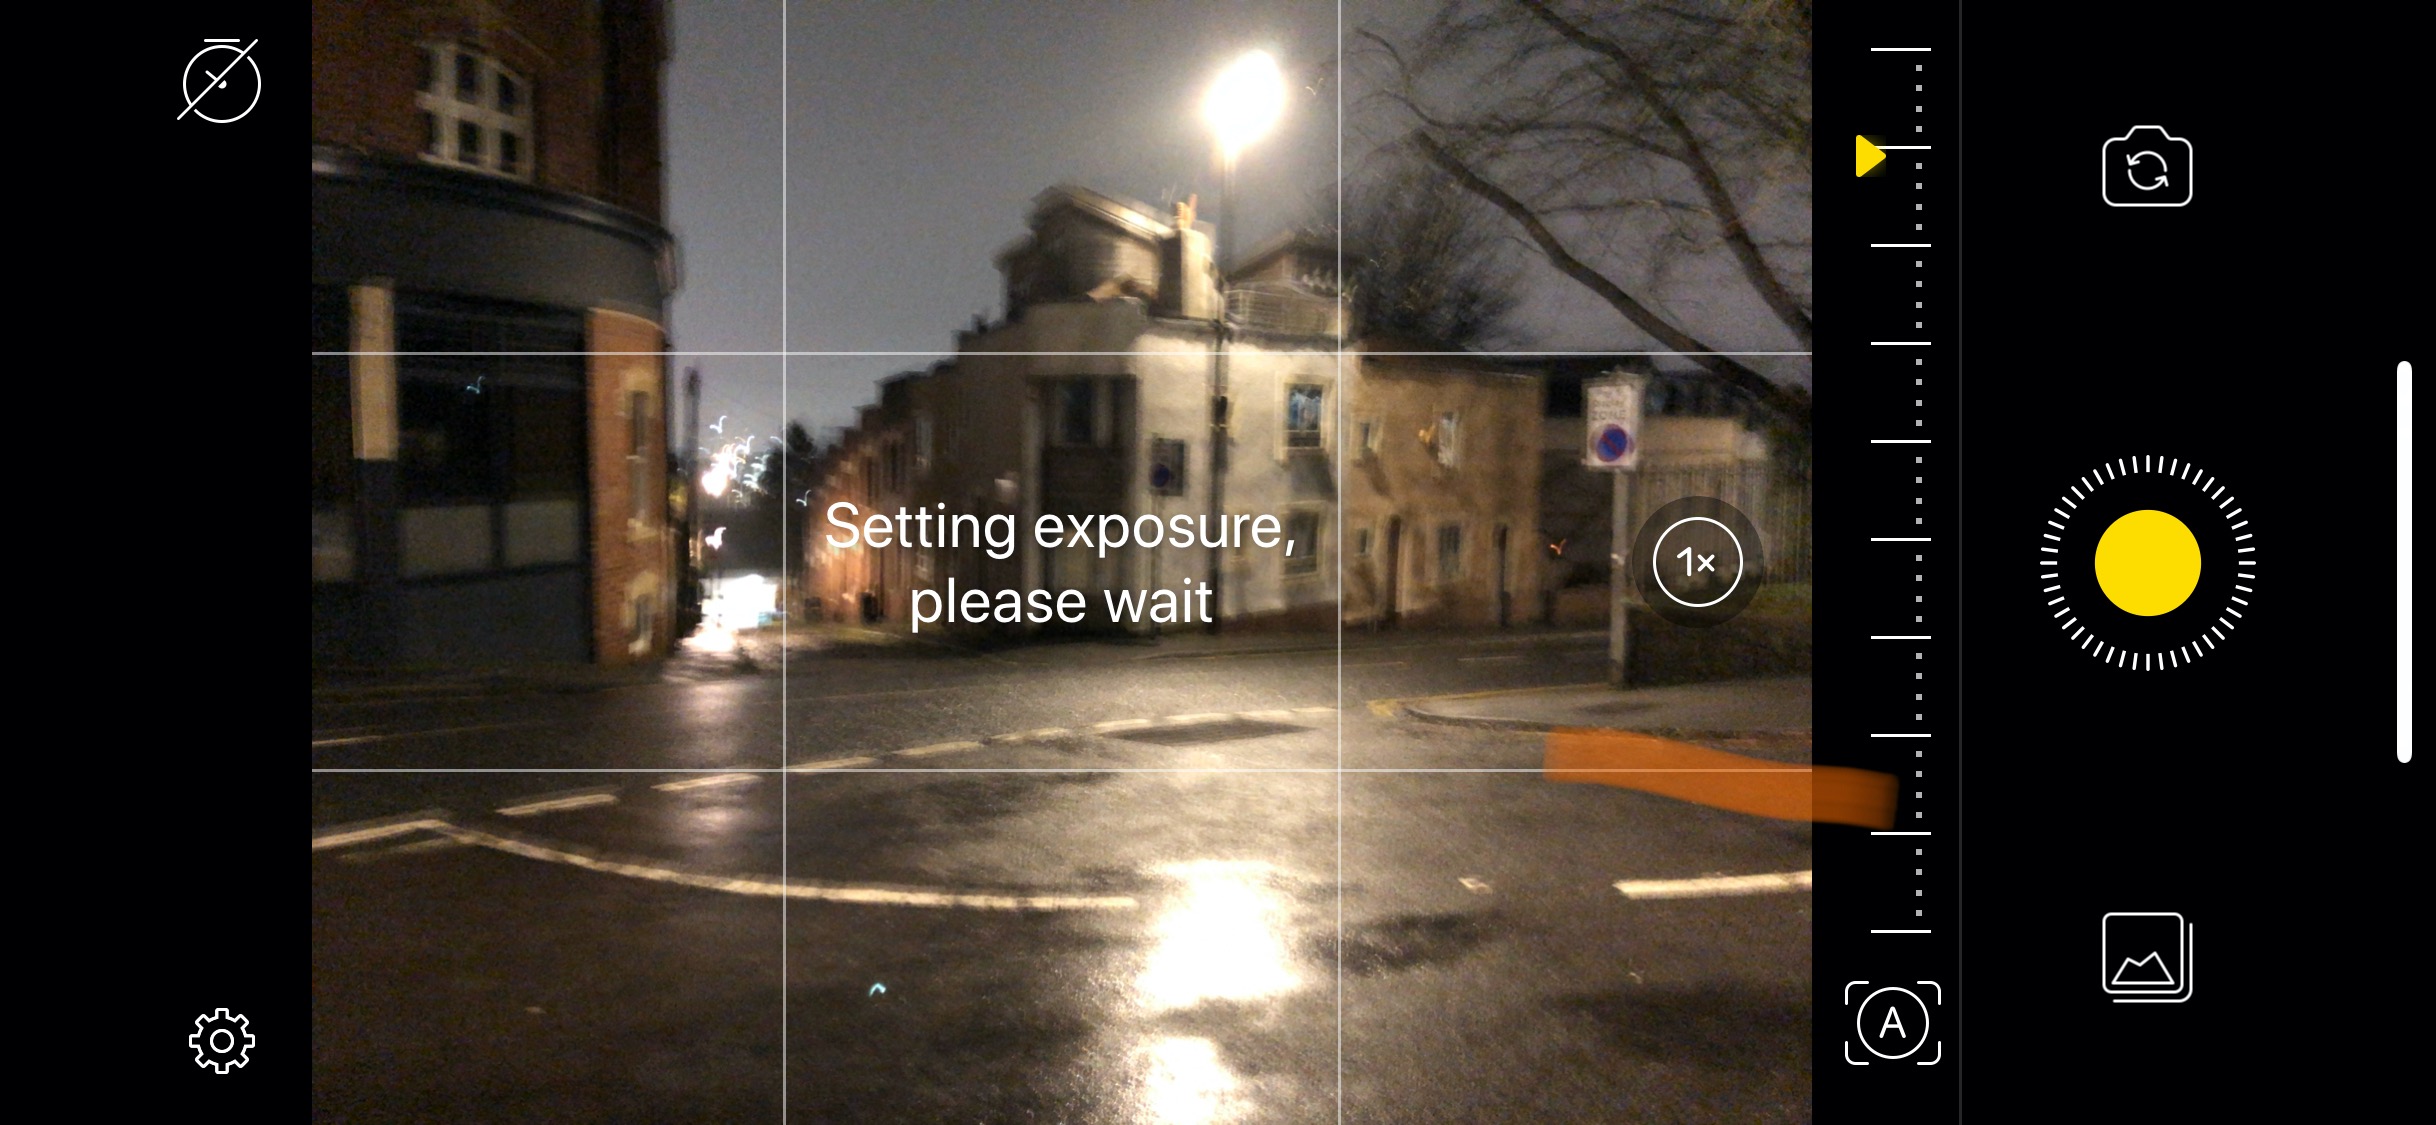
Steady does it
NeuralCam’s clean, fuss-free UI makes shooting in low light a breeze. Just point and shoot as you normally would, but employ a little extra care at each stage.
The most important thing to do is to ensure that you’re holding your phone as still as possible. You don’t need a tripod, but if you can steady your arm on something solid that would be an advantage. It’s not essential, though.
Give your iPhone a chance to think
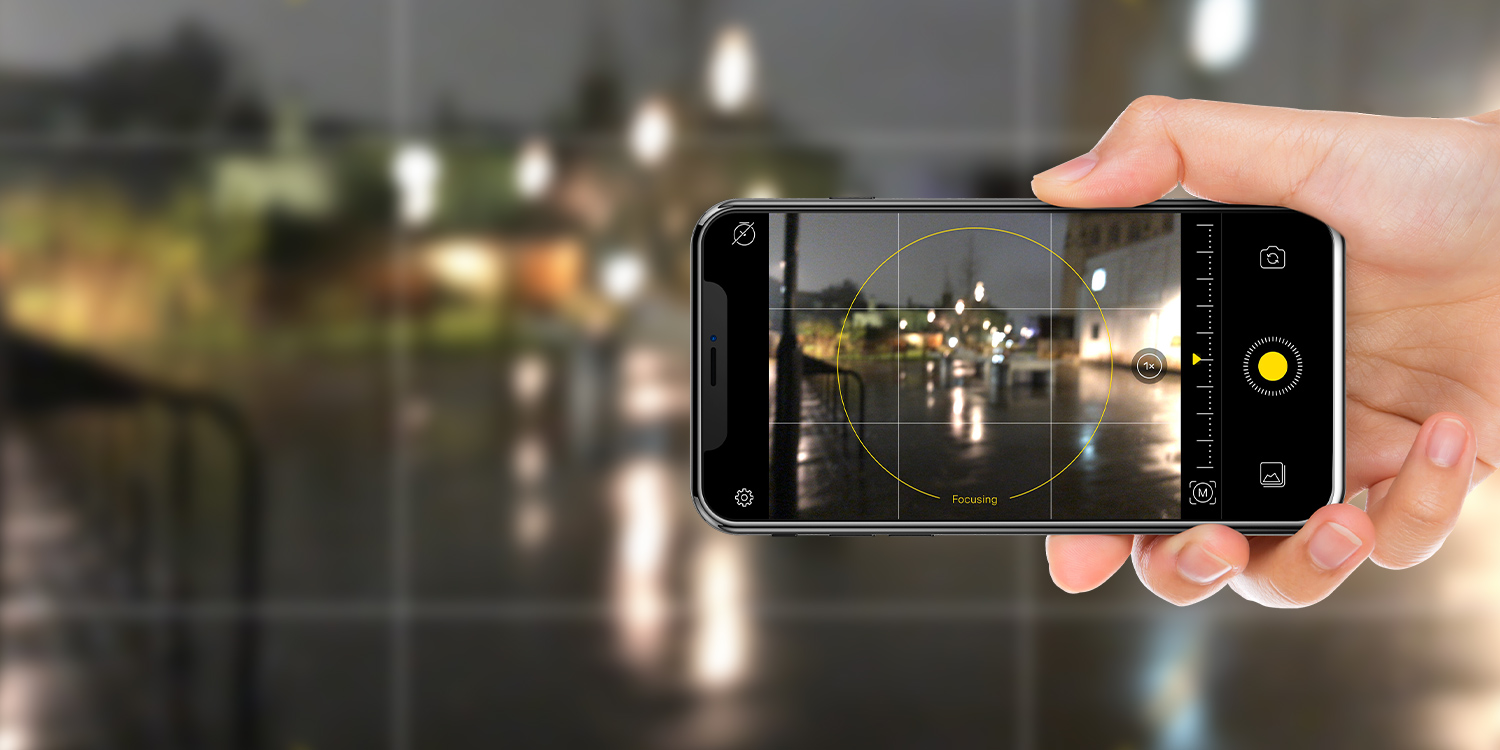
As well as holding steady during the capture process, you’ll need to be a little patient with NeuralCam either side of the shot. It will autofocus by default, but you’ll need to give it a little longer than a normal snap to do so.
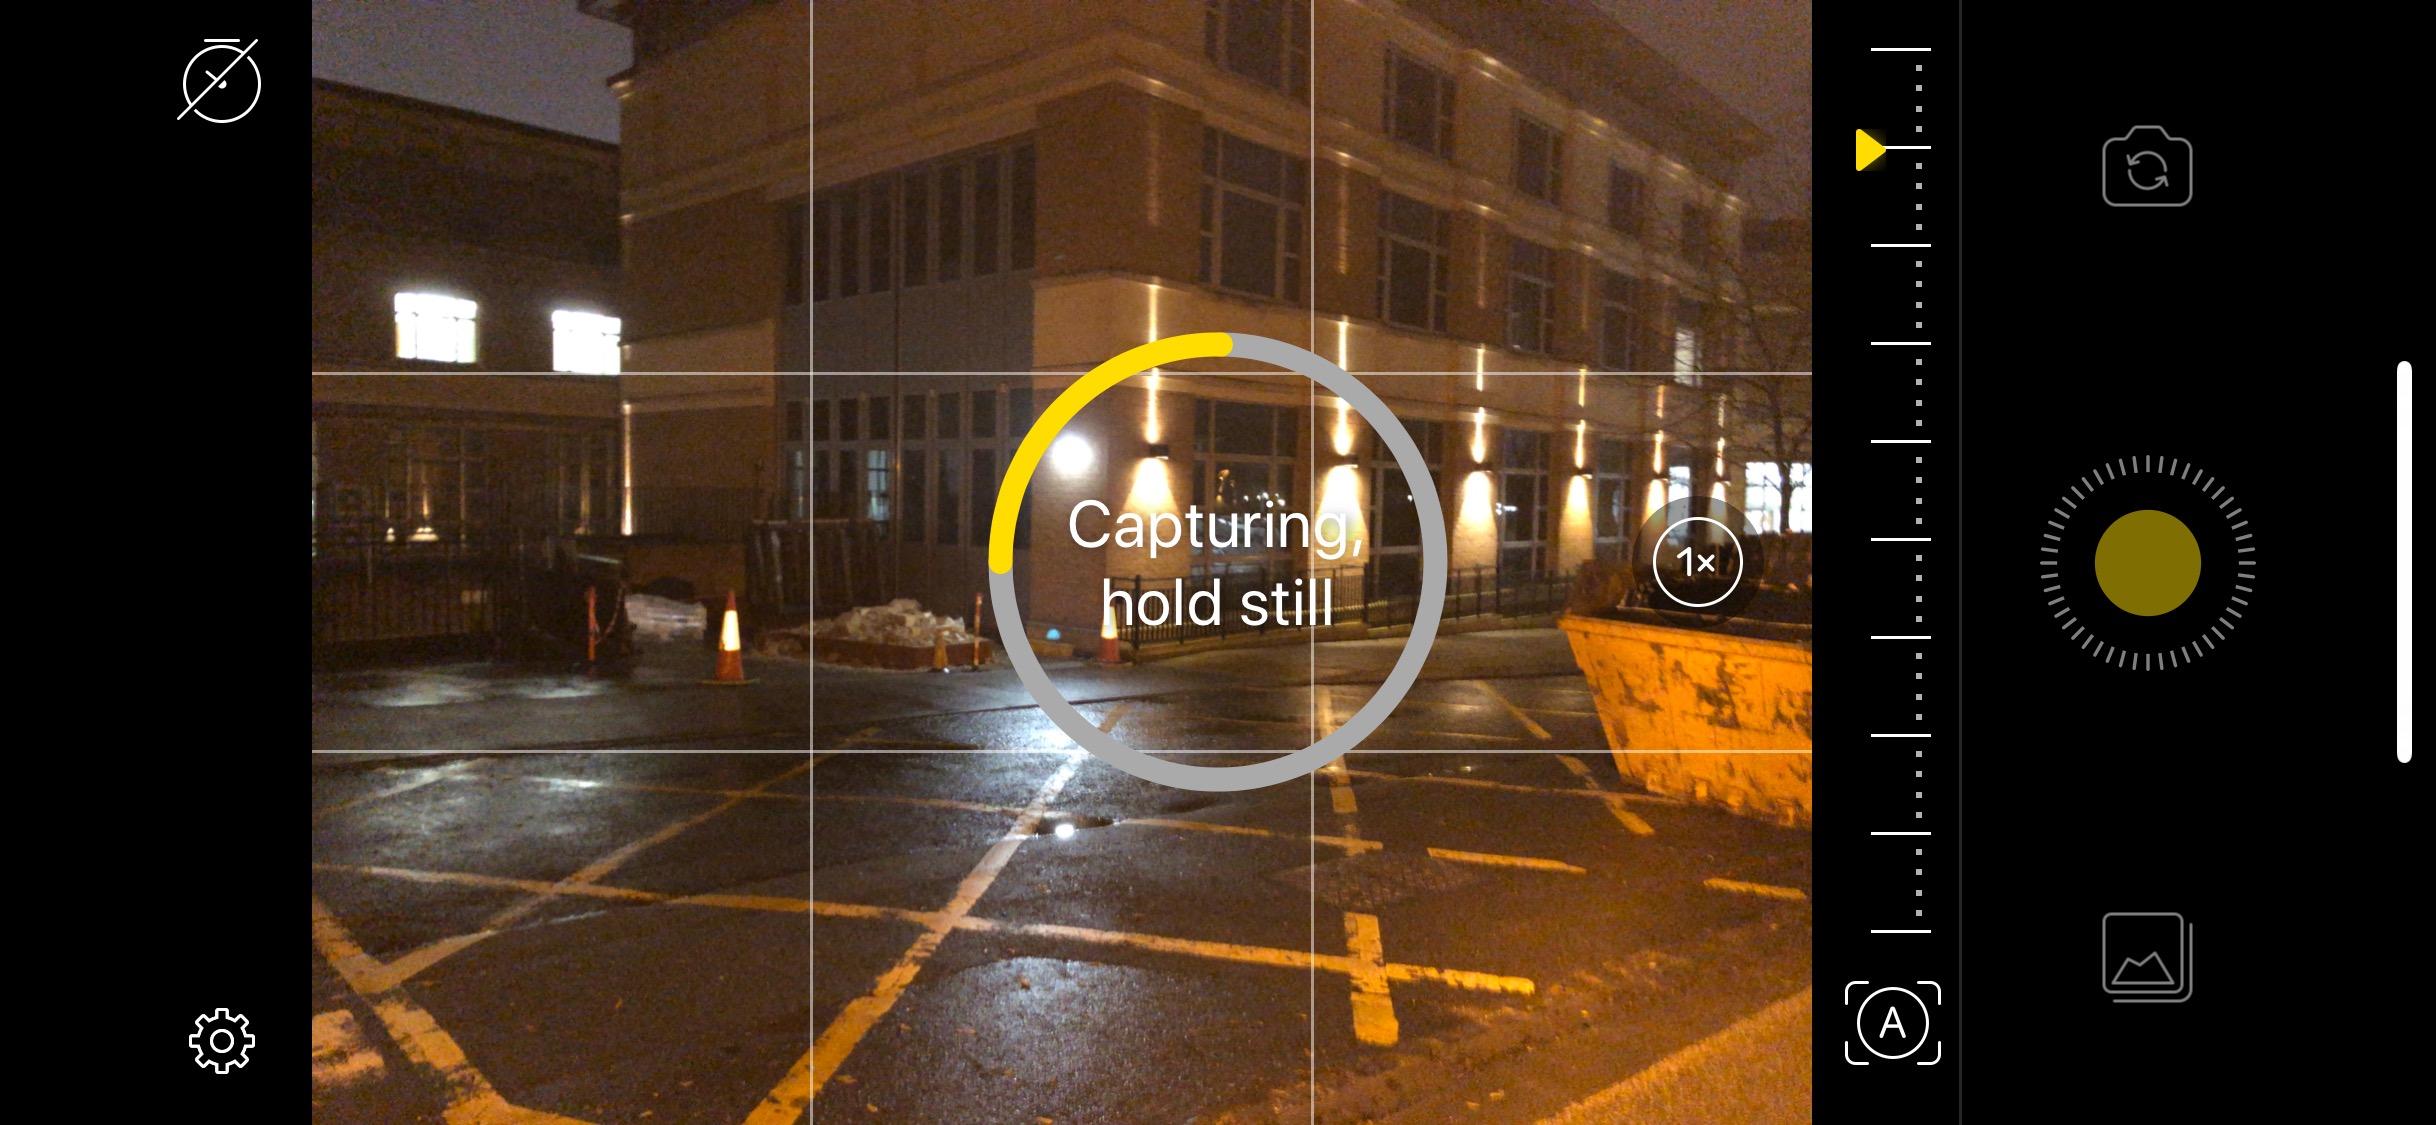
It also takes a split second longer to adjust the exposure. The app will let you know when it’s doing these things just pre and post-snap, so remember to keep still until you see the ‘Processing’ message.
Take back control
You can take control of NeuralCam’s focus by tapping the little symbol to the bottom right of the viewfinder. It reads A (for ‘Auto’) by default, but a tap will switch to M (for ‘Manual).
Once done, the gauge along the right side of the viewfinder will become active, and dragging the yellow arrow up and down will adjust the focus level. This will be reflected in the viewfinder.

Other settings
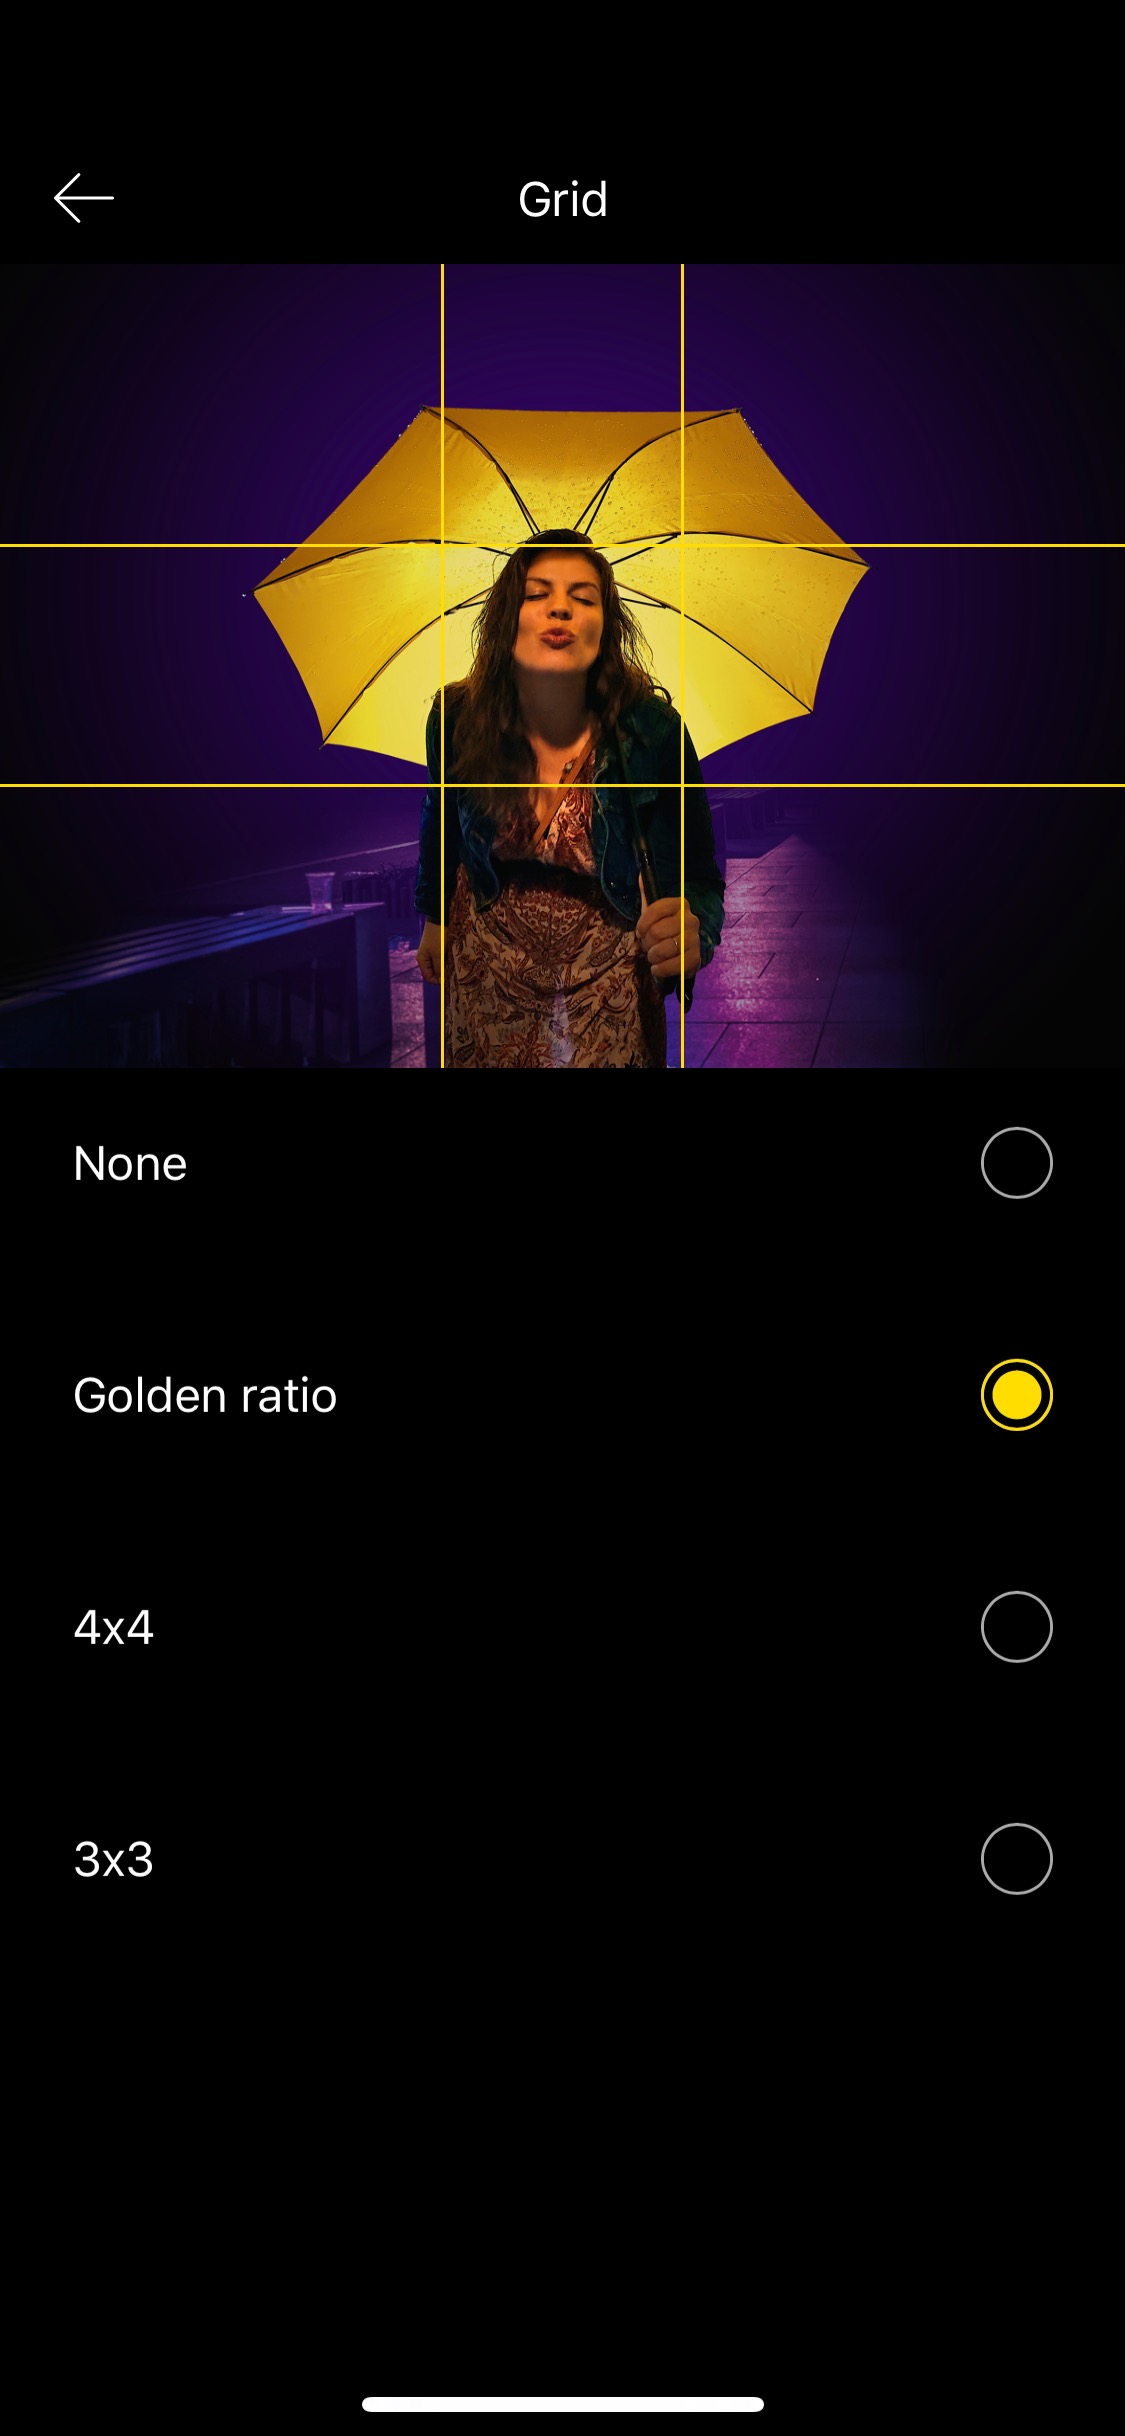
There are a couple of other settings to know about. In the top left of the NeuralCam UI you’ll find a timer control, so you can set the shooting time for 2 or 10 seconds.
Tapping the Settings icon in the bottom left corner will give you access to some Grid options for lining up that perfect shot. You’ll also find the ability to turn off the shutter sound and switch to the HEIC format, should you wish to do so.