
- How to connect a MIDI keyboard to iPhone or iPad
- Which adapter you’ll need to connect
- The best apps to start making music
Touchscreen instruments are fine, but actually playing them – especially chords – is awkward on a small screen. A MIDI keyboard fixes that instantly, and a decent one costs as little as $50.
The potential is real. Gorillaz recorded their entire 2010 album The Fall on a first-generation iPad during hotel room downtime, and the apps have only improved since. GarageBand is free and surprisingly powerful, while KORG’s synthesizer apps replicate expensive vintage hardware for a fraction of the price.
A physical keyboard makes all of it dramatically more enjoyable to play – and many controllers include drum pads too, so you can tap out a backing beat while you’re at it.
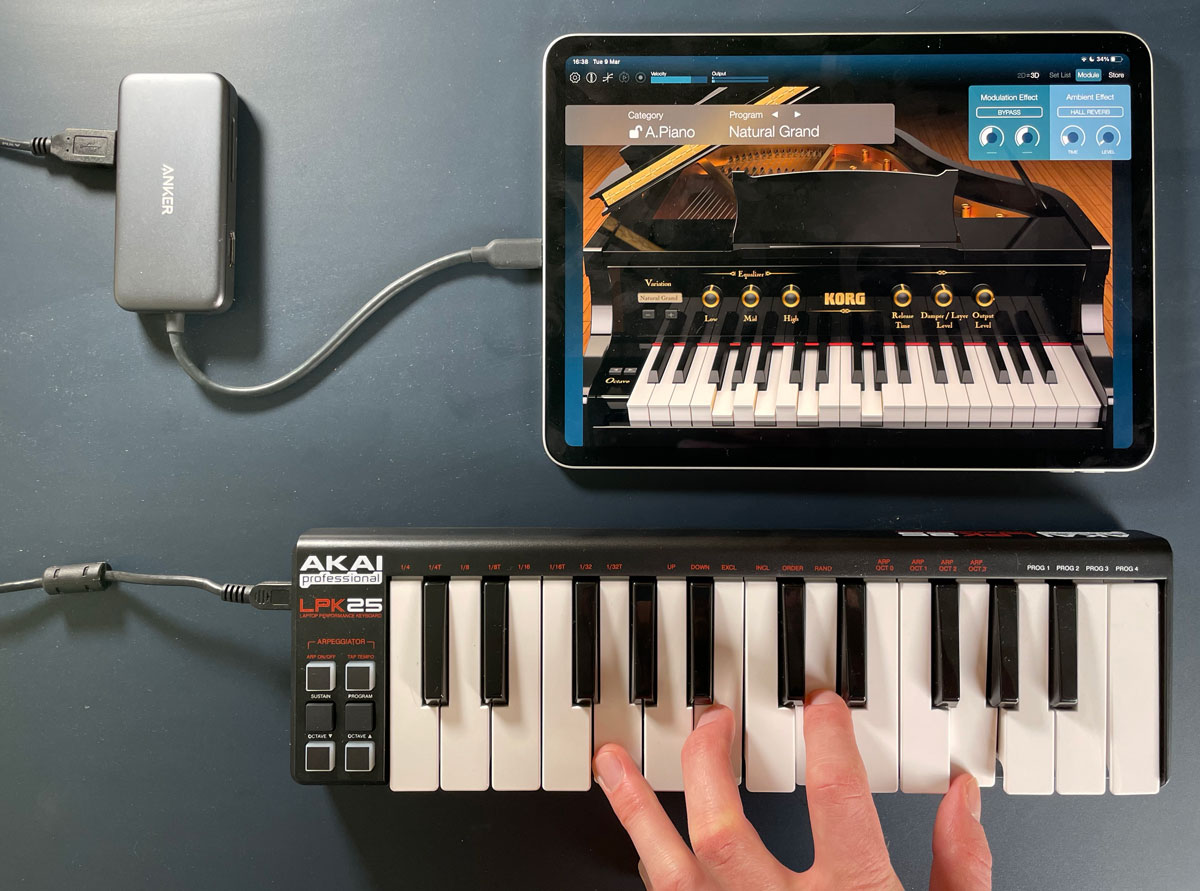
Playing the grand piano in KORG Module
What you’ll need
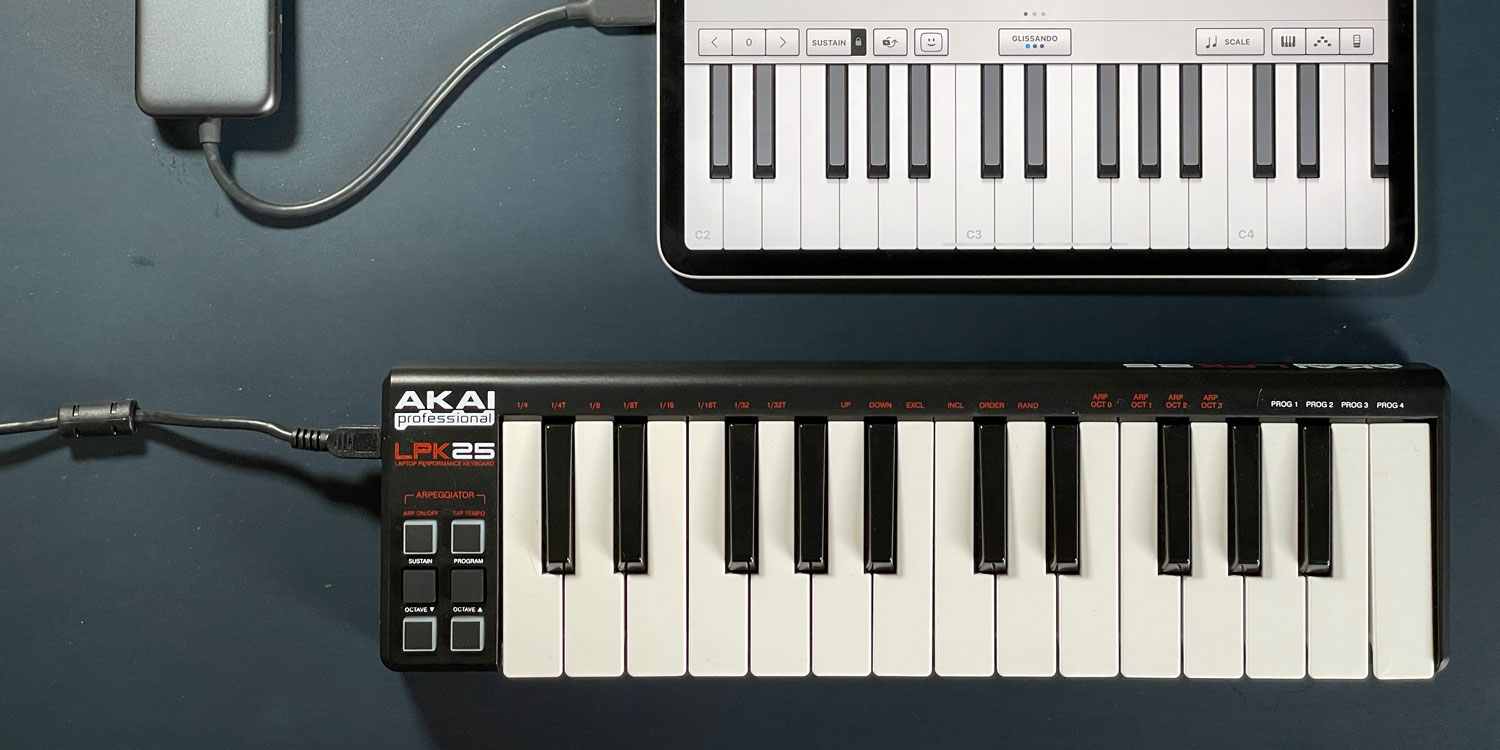
Any MIDI keyboard will do – they all work the same way with iOS. We used an AKAI LPK25 (around $50/£40) for its compact size and pressure-sensitive keys, but spend a bit more and you’ll get extra octaves, larger keys, and dedicated drum pads.
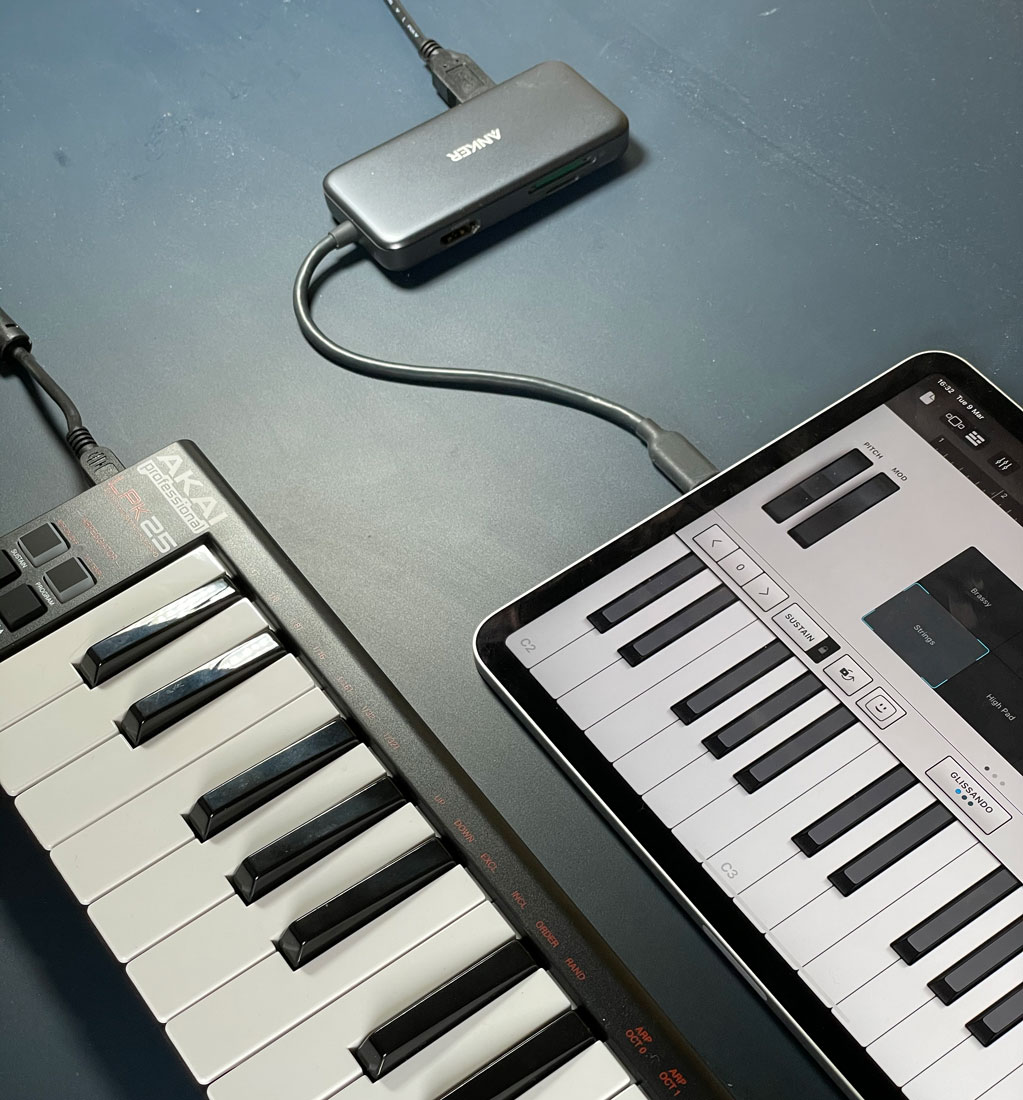
Most keyboards connect via USB, so you’ll need a small adapter. If your device has a USB-C port, pick up a USB-C to USB adapter. If it has Lightning, get Lightning to USB. Or, if you already have a USB-C multi-port adapter lying around like we did (pictured below) that will work just fine too.
Plugged into GarageBand
Connecting it
Plug the keyboard into your iPhone or iPad. That’s genuinely it – no drivers to install, no settings to fiddle with. iOS recognises the device automatically and briefly shows a connection icon in the status bar to confirm it’s worked.
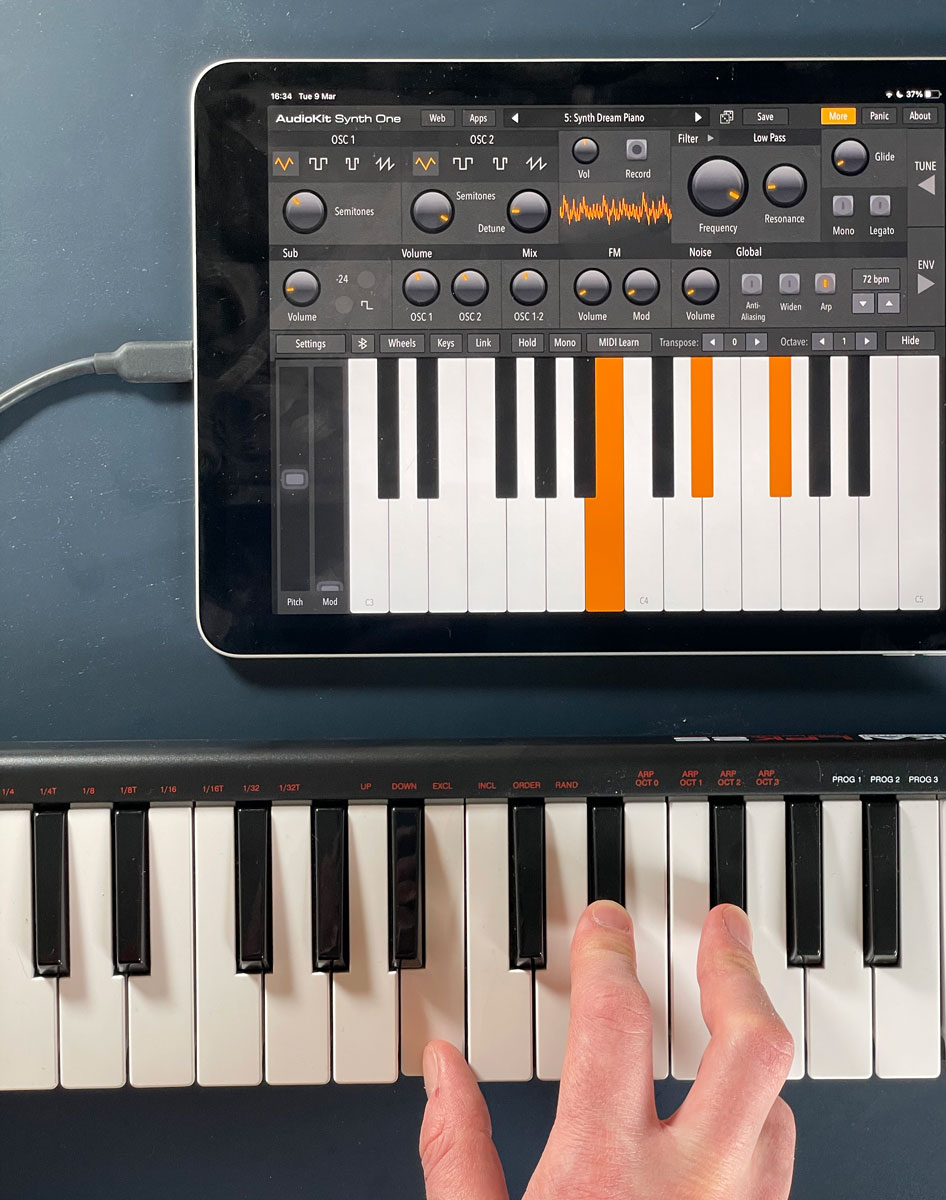
Playing chords in AudioKit Synth One
Getting started
GarageBand is the obvious first stop. Load it up, choose Alchemy Synth from the instruments menu, and browse the voices at the top of the screen – there are loads to explore. But it’s far from your only option. Search the App Store for synths, pianos, or drum kits and you’ll find most of them work with your controller straight away.
Now all that’s left to do is write a crushing synth ballad for the ages!