
Explained: why you should safeguard your browsing, and why NordVPN is the way to go
VPNs, or “virtual private networks,” may sound like something only tech-savvy security nerds would care about, but in reality VPNs are not only easy to set up, but something everyone with an internet-enabled device should be using. They provide an essential level of added security between your web browser and the wider world.
Why use a VPN?
A VPN routes all your internet activity through an encrypted tunnel between your device and the VPN service’s remote servers. Because your activity appears to be coming from a random server rather than your phone or your computer, this means your actual address, identity, and location are nigh-on impossible to ascertain.
Of course, this might sound a bit dodgy. If you’ve nothing to hide, you’ve nothing to fear, right? But there’s nothing wrong with keeping your browsing habits away from massive corporate entities that will use them for their own ends. If you don’t want the likes of Google and Facebook following you around the internet to fuel their targeted ads business, a VPN is the perfect solution.
Plus, if you’re in the habit of using free public Wi-Fi networks in coffee shops and hotels, a VPN can protect you from the nefarious types that often lurk on such networks. Especially handy if you like to access online banking or other important personal information on the go.
There are other benefits, too. Not only does a VPN make your internet browsing secure and anonymous, it can also be used to protect your data, avoid hackers and government surveillance, and even stream TV shows that are region-locked to another country.
Our favorite service
Now, plenty of VPNs exist – including a handful of free options with various limitations – but you get what you pay for. If you’re using a VPN, that means routing all your web traffic via a single company. So you need to make sure it’s somebody you trust.
After much research, NordVPN is our recommendation. It’s affordable, has a solid iOS app, and has a strict no-logs policy that means your activity is never stored anywhere.
You can subscribe through the app, but you’ll get much better rates by signing up directly from the NordVPN website. So before anything else, bag yourself a subscription. There are huge discounts if you pay for a year or more up front – the three-year plan works out to about the price of a single coffee each month.
There’s a rolling monthly plan if you’d rather test the waters before committing, plus 24/7 live support and a 30-day money back guarantee if you decide it’s not for you.
How to connect
Once you’ve signed up, download the NordVPN app using the link below and open it from your Home Screen. Enter your details to log in. (Or, press Sign Up if you skipped the last stage and wish to subscribe via Apple.)
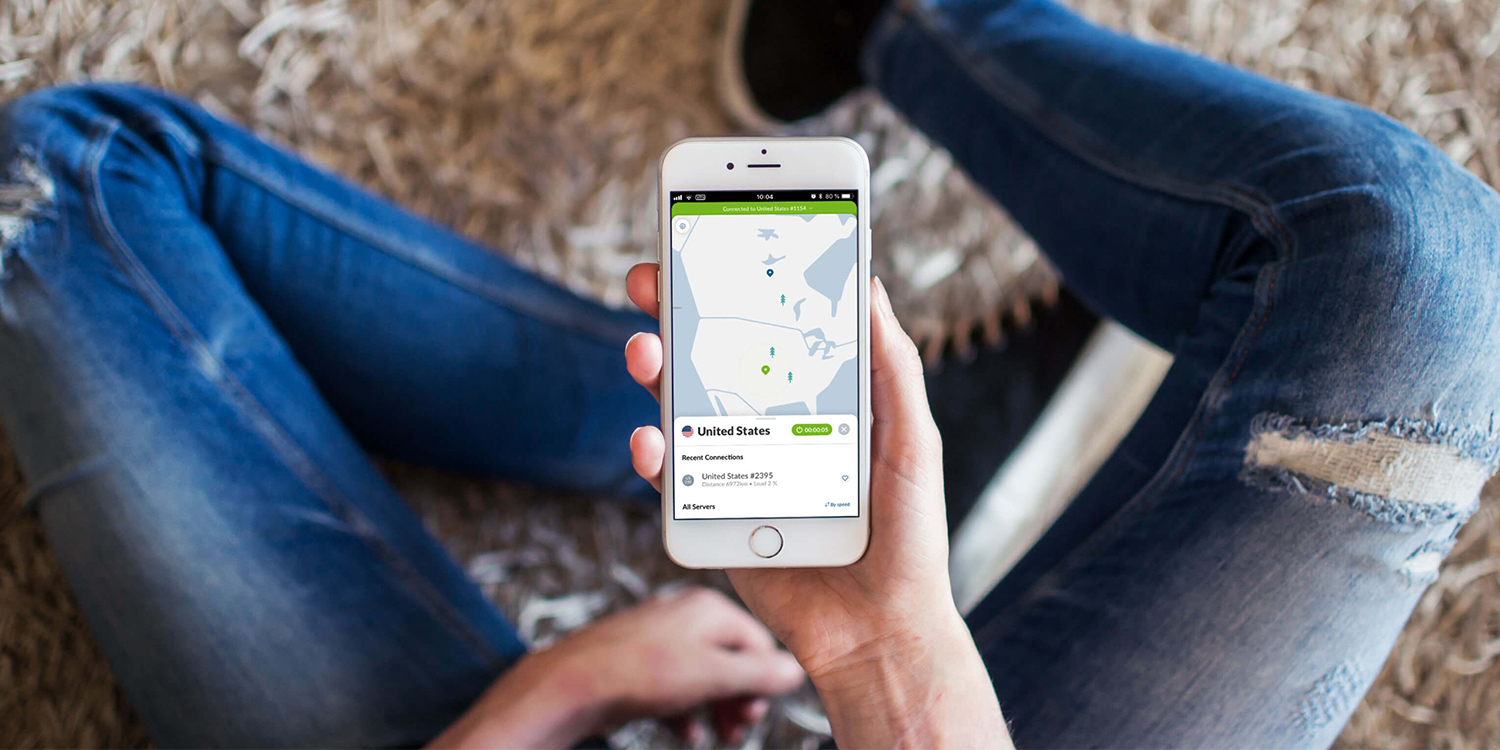
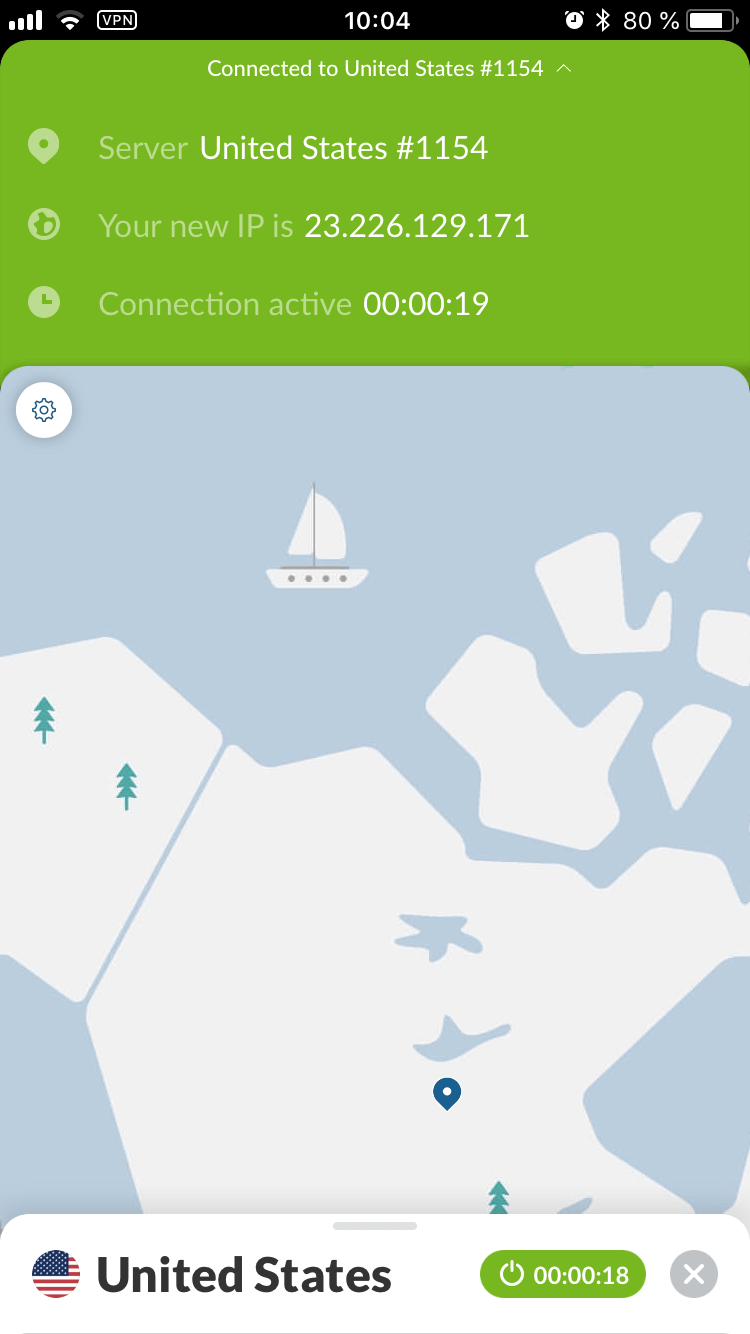
Once you’re in, connecting to the VPN is incredibly straightforward. For most use cases, simply hit Quick Connect and the app will automatically pick out the best available server for you.

If this is your first time using the app, you’ll need to hit Allow on the pop-up prompt asking you to add VPN configurations. Confirm this with your device passcode to proceed. This setting will be remembered so you don’t have to do it each time.
Wait a few seconds for the app to connect, and you’re in! You are now connected to a safe, secure, anonymous virtual private network. You can leave the app to browse the web as normal, safe in the knowledge that all web traffic – no matter which app you access the internet from – will be routed through your chosen server.
If for any reason you want to connect via a server in a specific country, you can do so from the map on NordVPN’s main screen. Swipe to navigate the map, and tap the pin on any country to see a list of its available servers.
From here, you can either press Quick Connect again to pick the fastest and most reliable server from that country, or choose one yourself from the list. You can sort by speed, name, load, and distance to help decide.
A note on privacy
Nobody wants to wade through an entire privacy policy, but NordVPN’s is easy to understand. We’ve read it all and plucked out the most important part: a watertight no-logs policy, made possible by operating under the jurisdiction of Panama.
“Our top priority is customer data security. We process only minimal user data – only as much as it is absolutely necessary to maintain our services.”
“Your activities using NordVPN Services are provided by automated technical process, are not monitored, recorded, logged, stored or passed to any third party. We do not store connection time stamps, session information, used bandwidth, traffic logs, IP addresses or other data.”
Automation is the key here, meaning no human ever sees your browsing traffic. It would be impossible for anyone at NordVPN to browse your data, even if they wanted to.
Additional details
Open NordVPN’s Settings menu using the cog icon in the top right, and you can also switch on CyberSec – a service which automatically blocks ads and malware as part of the VPN routing process.
Here, you can also tweak the Auto-Connect settings to save the effort of manually connecting every time you join a new network. You can also set your home or work Wi-Fi as a Trusted Network, which cancels the auto-connect when using those networks. Generally, the bigger threats come when connected to a public Wi-Fi network, not one you operate yourself.
Once you’ve signed up, you can (and should) get the same coverage on all your devices. NordVPN’s macOS app works in much the same way as its iOS equivalent, and you can use up to six devices with a single subscription.
That’s about it – there’s no longer any reason to browse the internet unprotected!