
Gone are the days when you needed a desktop computer to create, edit, and share documents. You don’t even need a tablet computer, because Apple’s iPhone and the comprehensive Pages app let users wrangle docs and export content right on their smartphones. (Though it works seamlessly on iPad too). There’s so much you can do with this smart app, but let’s begin with some of the basics.
The basics
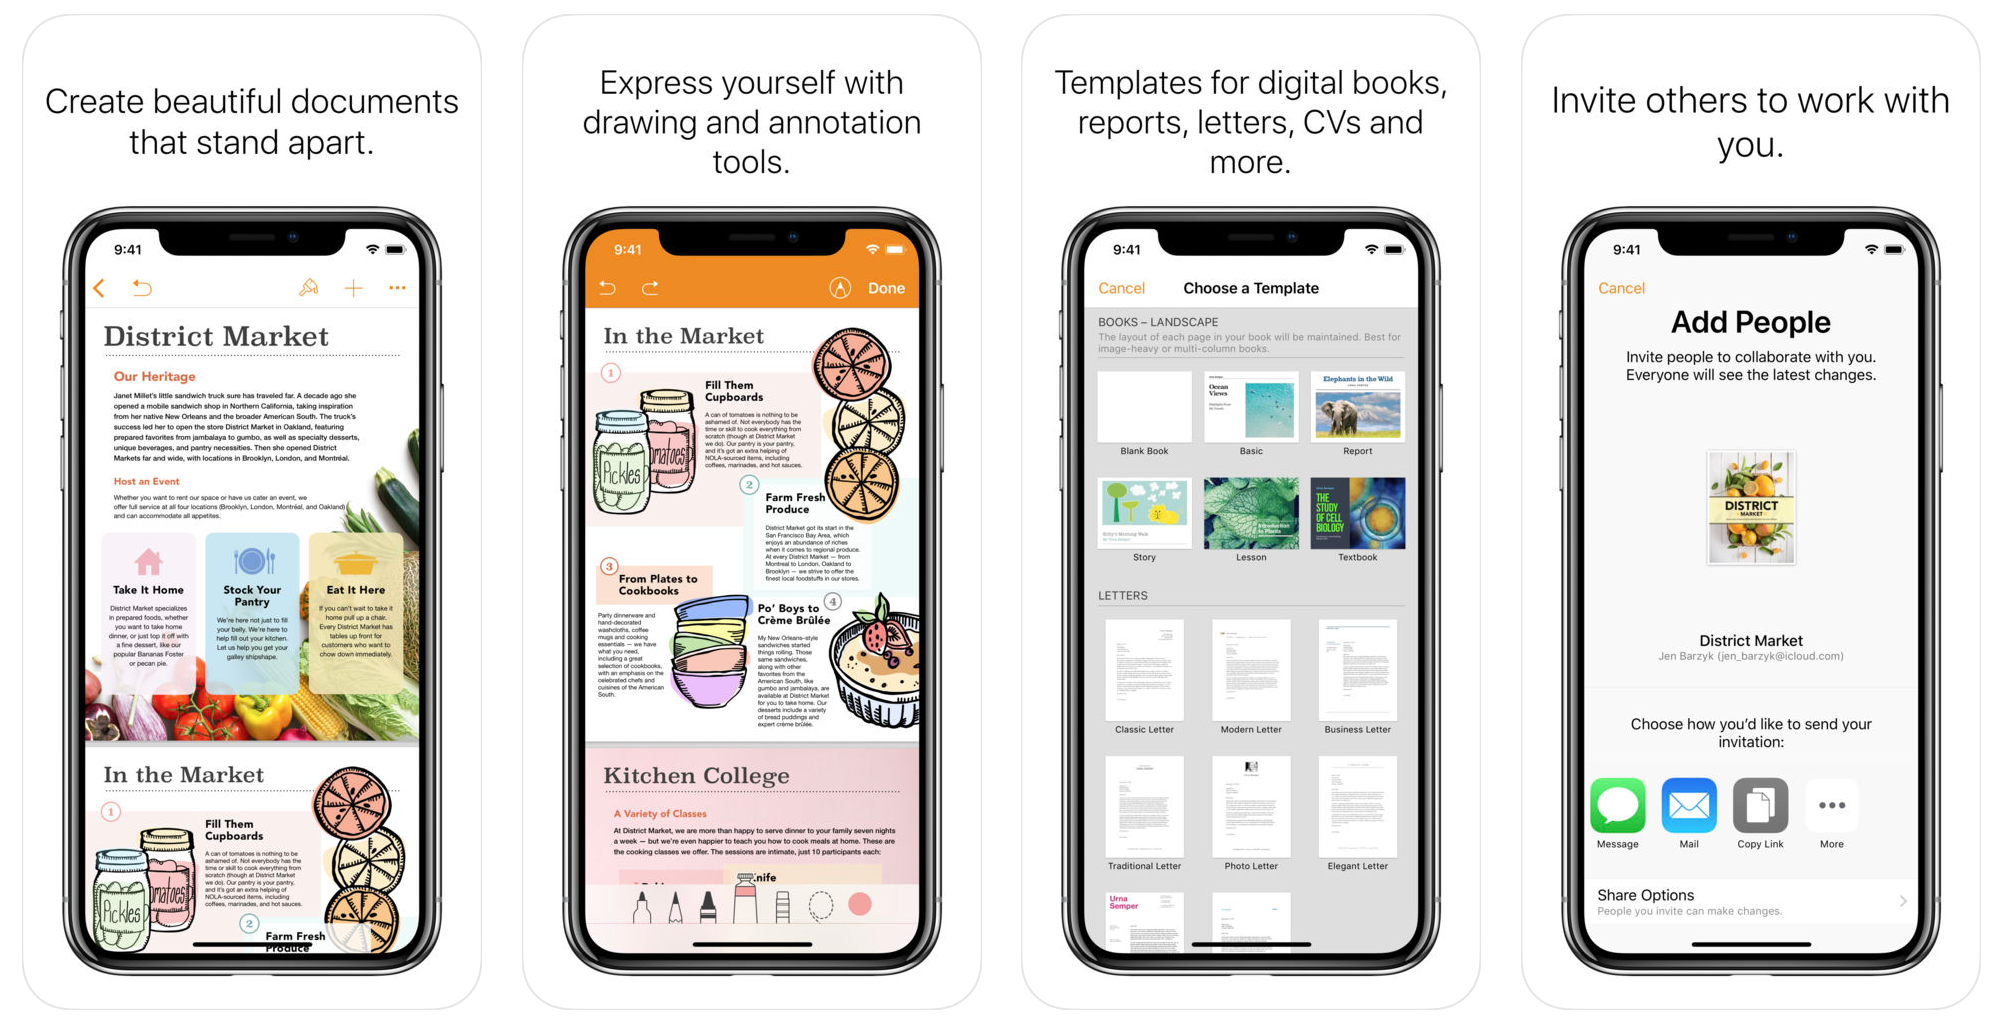
After installing Pages (which is free on the App Store), you can create a new document using the “+” button in the top-right corner of the screen. Templates are then available to choose from. These are pre-formatted Pages documents designed for specific uses — there are templates for reports, letters, and CVs. You can also launch a blank document either in portrait or landscape.

A black document in Pages, with the iOS virtual keyboard primed and ready for typing.
By default, blank documents ship with simple formatting (Helvetica Neue at size 11), but you don’t need to stick with this. Tapping the paintbrush icon at the top of the screen reveals a small menu that allows users to configure their document’s formatting.
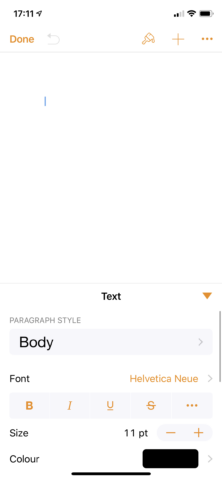
The formatting pane in Pages for iOS.
Paragraph style applies quick changes to your text size, and is useful if you want to add a title or headings to your document. Otherwise, head to Font and decide on the finer aspects of your document’s typography. Pages for iOS doesn’t have all the fonts you’ll know and love from desktop word processing apps, but there’s a decent selection on offer.
The same formatting menu lets you change the color of your font, its size, its position on the screen (left, right, center, or justify), and you can add in bullets and lists, alter the line spacing, or implement columns. All of this is possible with a couple of taps.
Collaborate with others
Pages for iOS ships with a powerful collaboration feature which allows multiple individuals to view and even edit the documents you’re working on. You can access this from the “…” icon in the top-right corner of the screen. To collaborate with others, you’ll need to send an invitation to another Pages user using Messages, Mail, or a special link.

Here, individuals can be invited using Messages or Mail, or a special collaboration link can be shared
Share Options at the bottom of this interface allows users to choose how others may interact with the document. They can either make changes themselves or have view-only access to the document. You can also choose whether you’d like to extend collaboration to anyone with the link or just to people you personally invite. Recipients can collaborate with you using either Pages for iOS, Pages on a Mac, or Pages running in a Web browser (which means Windows PC users are invited to the party).
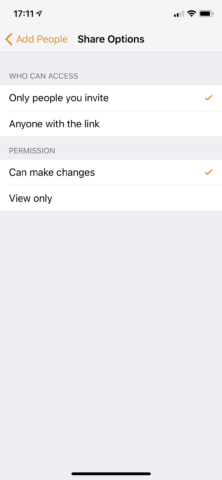
It’s also possible to set restrictions on how others can interact with your document when collaborating
Exporting
After you’ve edited a document in Pages for iOS, it’s time to export and share it. By default, documents created in Pages will be saved to your iCloud Drive account (in the Pages folder), and they’ll be accessible as documents on all of your connected devices, like iPads and Macs. But you may need to send your document out into the world of Windows, and for that, the app’s export feature is required.
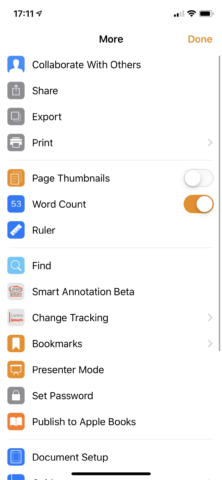
You can access Export from the same “…” menu
Tap the same “…” icon we used earlier, and then choose Export. This allows users to export their document as a PDF, as a Word document, as a rich text file (RTF), or as an ePub file for e-book publishing. If you’re sending your document to a Windows PC user, your choice is between exporting as a PDF or as a Word document, and there are pros and cons on either side. PDFs generally eliminate any formatting errors (which sometimes occur when exporting from Pages to Word). But on the other hand, Word documents can be edited by recipients, whilst PDFs generated in Pages can’t.
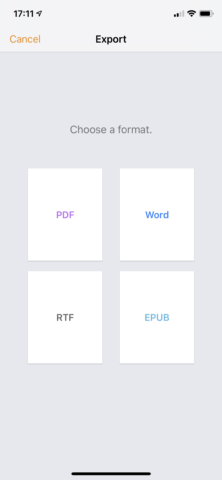
The type of file format you choose when exporting depends on how you intend to use the document.
As a general rule, if your document is the finished product, choose PDF. But if your recipient is going to need to make some changes on their PC, export your file as a Word doc.
Pages for iOS really is a fully-featured document editing app, and we’ve only scratched the surface here. If you haven’t already, grab Pages from the App Store and see what you can create in this pint-sized but powerful word processor.