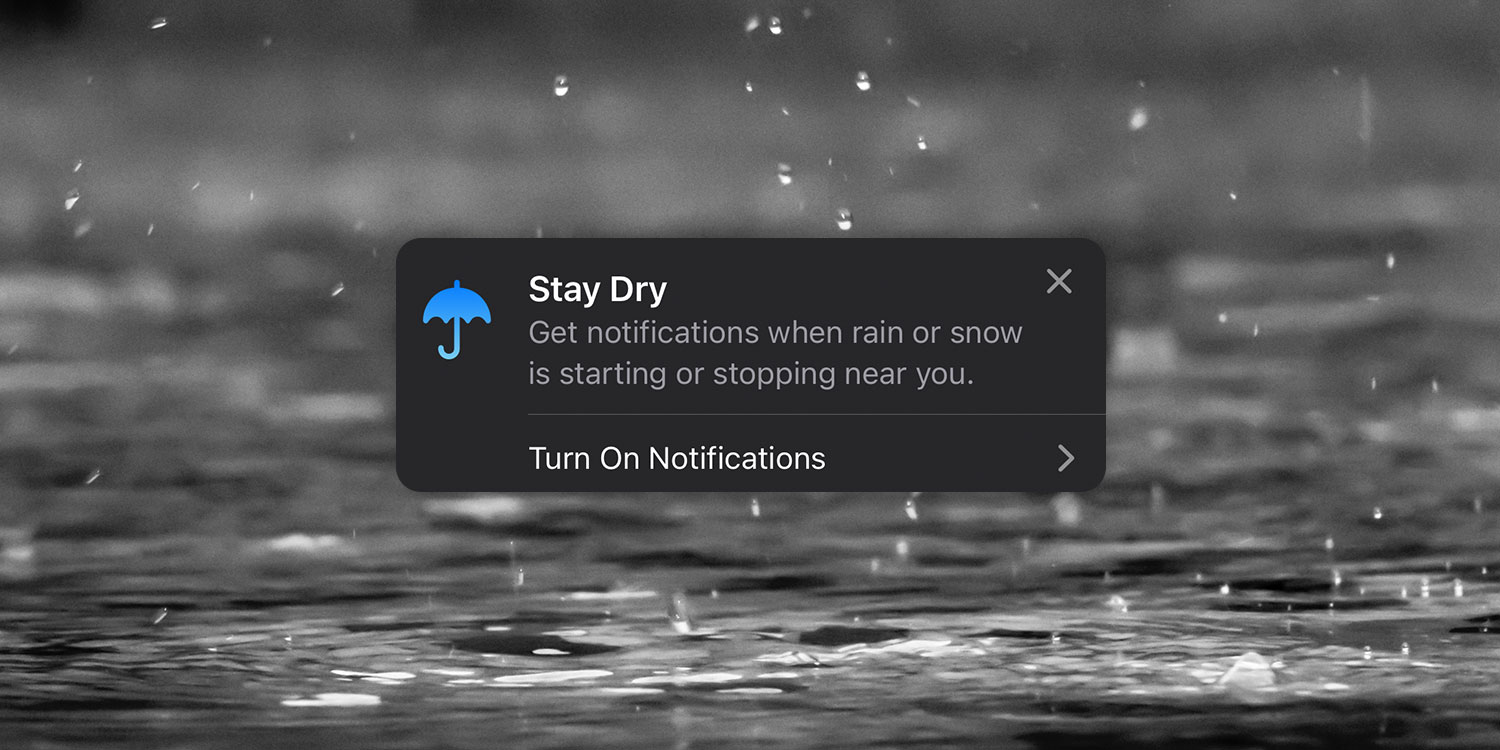

- Get notified before rain or snow starts in your area
- Track weather systems live with Apple’s interactive maps
- Explore different overlays to see what’s coming next
Apple’s Weather app has become far more powerful over the years, now offering real-time precipitation alerts and detailed weather maps to help you stay prepared. Whether you need a heads-up before it starts raining or want to track a storm system in real-time, here’s how to make the most of these features.
Take a rain check
If you want to receive notifications when it’s about to rain or snow, Apple’s precipitation alerts can give you a timely warning.
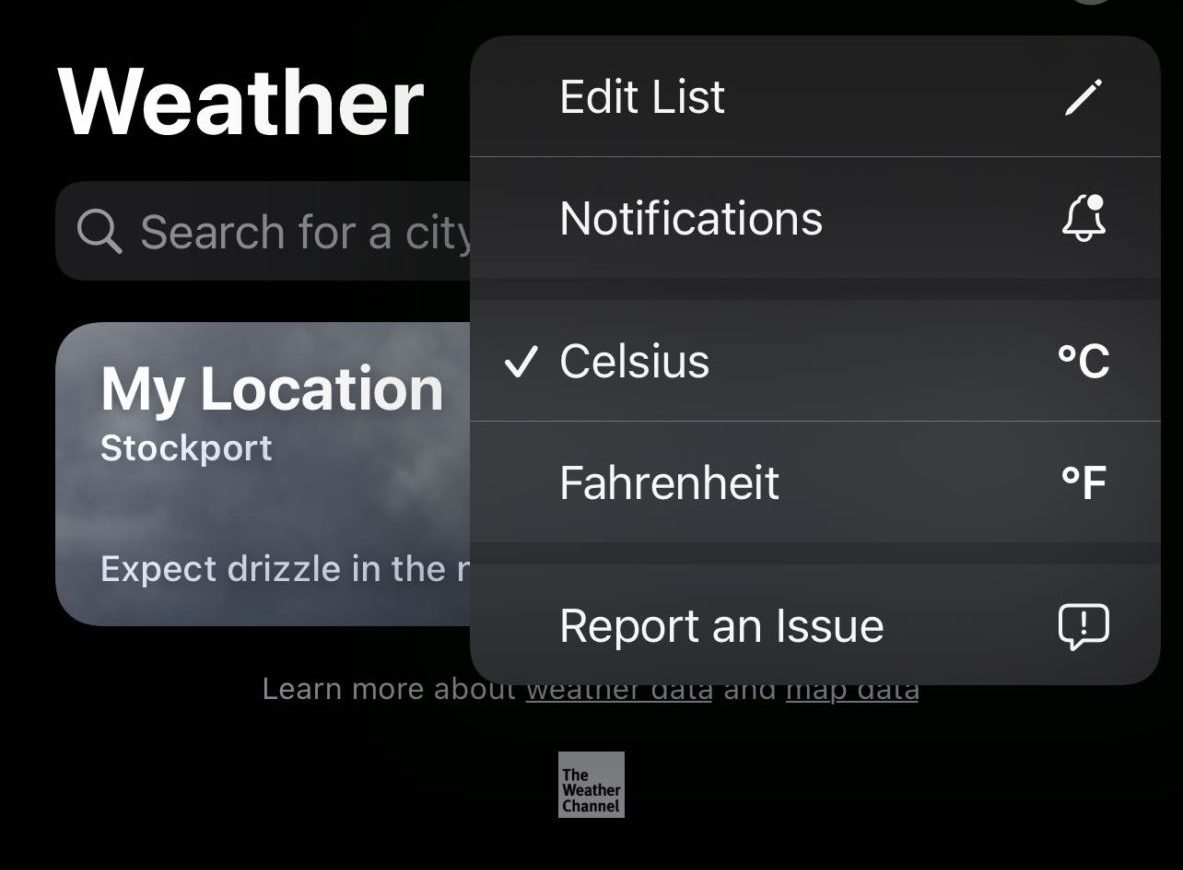
To enable them, open the Weather app and tap the bullet-point icon in the bottom-right corner. Then, tap the ellipsis (three dots) in the top-right and select Notifications. Here, you’ll see an option to turn on alerts for My Location – just toggle it on.
For these alerts to work properly, make sure Weather has permission to access your location at all times. You can check this in Settings > Privacy & Security > Location Services > Weather – be sure to set it to Always Allow. Once enabled, you’ll receive notifications whenever precipitation is imminent in your area.
Take the weather with you
The app can also provide a visual overview of rain, temperature, air quality, and wind patterns for your current location – or anywhere else in the world. To access them, select a location and tap the map icon at the bottom of the screen.
By default, the map will display the most relevant weather condition based on what’s happening in that area. You can change the overlay by tapping the layers icon in the top-right and selecting Precipitation, Temperature, Air Quality, or Wind.
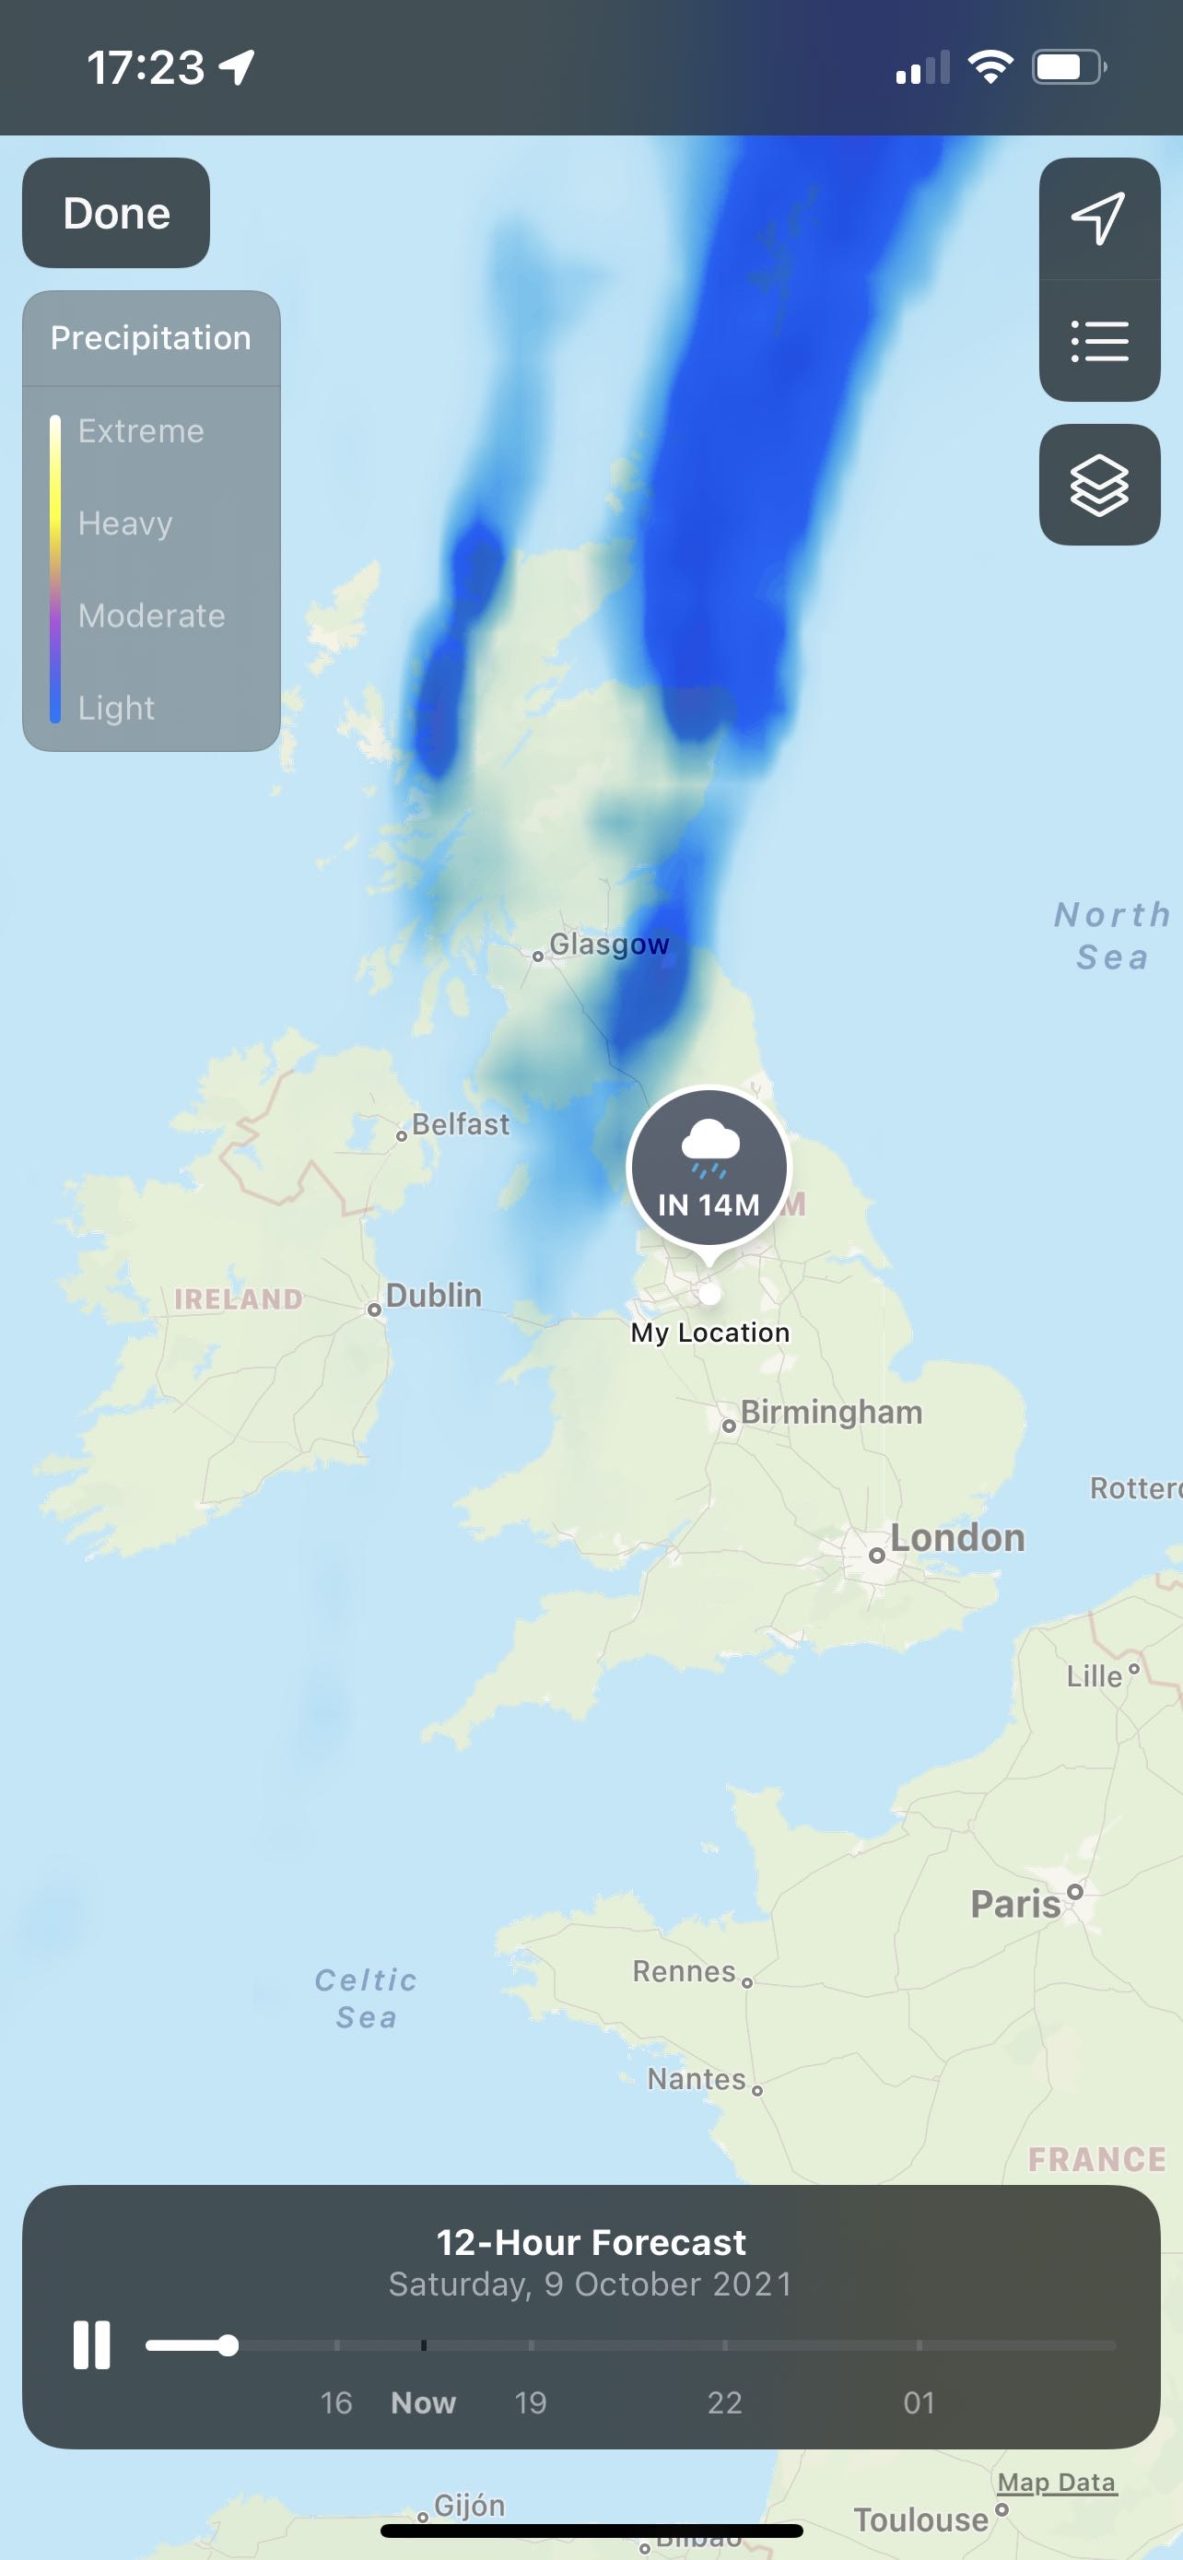
For precipitation and wind maps, you can tap the timeline slider at the bottom of the screen to see how conditions will evolve over time. If you’re viewing precipitation, you can also switch between Next-Hour Forecast and 12-Hour Forecast from the menu.
To adjust the map, drag to move around or pinch to zoom in and out. You can also tap the Favorite Locations button in the top right to quickly jump between saved locations. If you want to add a new location, simply press and hold on the map, then select Add.
That’s all there is to it – hopefully these tips will keep you ahead of the curve, and more importantly, nice and dry. Note that if you find Apple’s Weather app unreliable in your location, consider seeking out an alternative forecast provider.