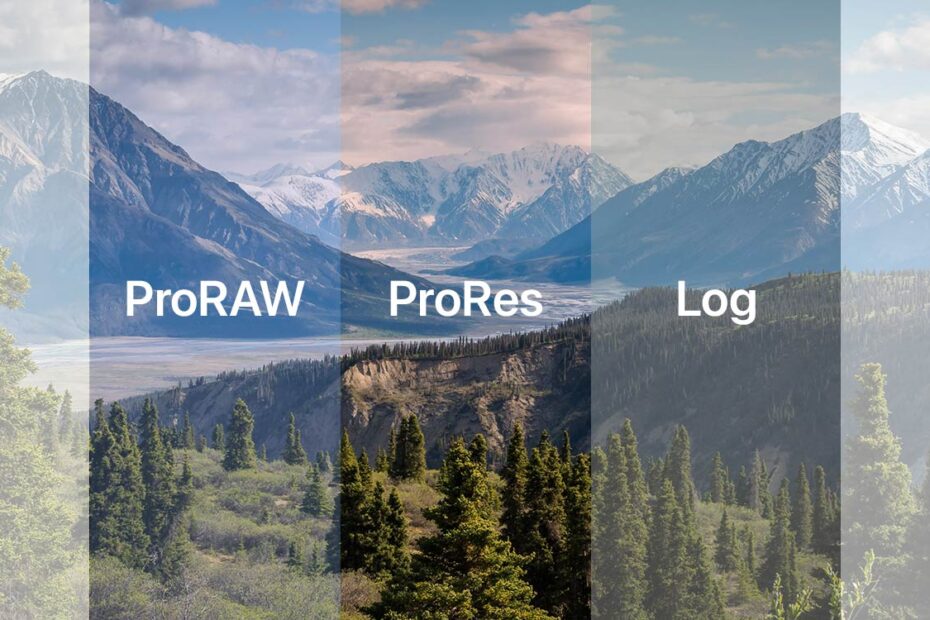

As iPhone photography and videography evolve, Apple has introduced advanced formats like ProRAW, ProRes, and Log video. These enable professionals to capture incredibly high-quality footage with nothing but an iPhone – but anyone can use these formats, not just pros.
However, the Camera app is not set up to take advantage of these provisions right out of the box. So let’s dive into what these formats are, how to use them, and why you might want to.
ProRAW
Launched shortly after the iPhone 12 Pro came to market, ProRAW combines Apple’s powerful computational photography features with the high level of detail found in the RAW files favored by pro photographers. ProRAW offers more editing control than standard JPEG or HEIF files, retaining more detail in highlights and shadows along with better noise reduction and dynamic range.
All Pro models from the iPhone 12 Pro onwards support shooting in the ProRAW format.

ProRes
ProRes is a video codec developed by Apple way back in 2007, but not used in an iPhone until relatively recently. Somewhat like ProRAW, ProRes is designed to preserve more image information than regular ‘lossy’ formats, albeit for videos rather than still images. Essentially, this will give you the highest video quality available, giving filmmakers more scope during the editing process.
All Pro models from the iPhone 13 Pro onwards support shooting in the ProRes format.
ProRes Log
Log (logarithmic) video is a pro-grade color profile now supported as part of ProRes. Log footage maximizes dynamic range by evenly distributing tonal values – extremely useful when it comes to color correction and grading. It’s ideal for advanced videographers intending to achieve a specific visual style or mood, but beware that Log footage appears flat and desaturated before editing.
At the time of writing, only the iPhone 15 Pro and Pro Max support shooting in the ProRes Log format.
Considerations
There’s a reason these superior formats aren’t enabled by default.
For starters, they take up a lot more space. Roughly 10x more, in fact! Shooting regularly with these pro-level formats will fill your iPhone’s storage up way quicker than if you leave the default methods in place. You can’t shoot Portrait shots in ProRAW, either.
Also, working with these files is far more processor-intensive. This means that the editing process won’t feel quite as snappy, and it will also hit your iPhone’s battery harder.
Another potential issue is that both of these files are less commonly supported than the default standards, meaning they might not be easily shareable with other apps or platforms.
How to enable
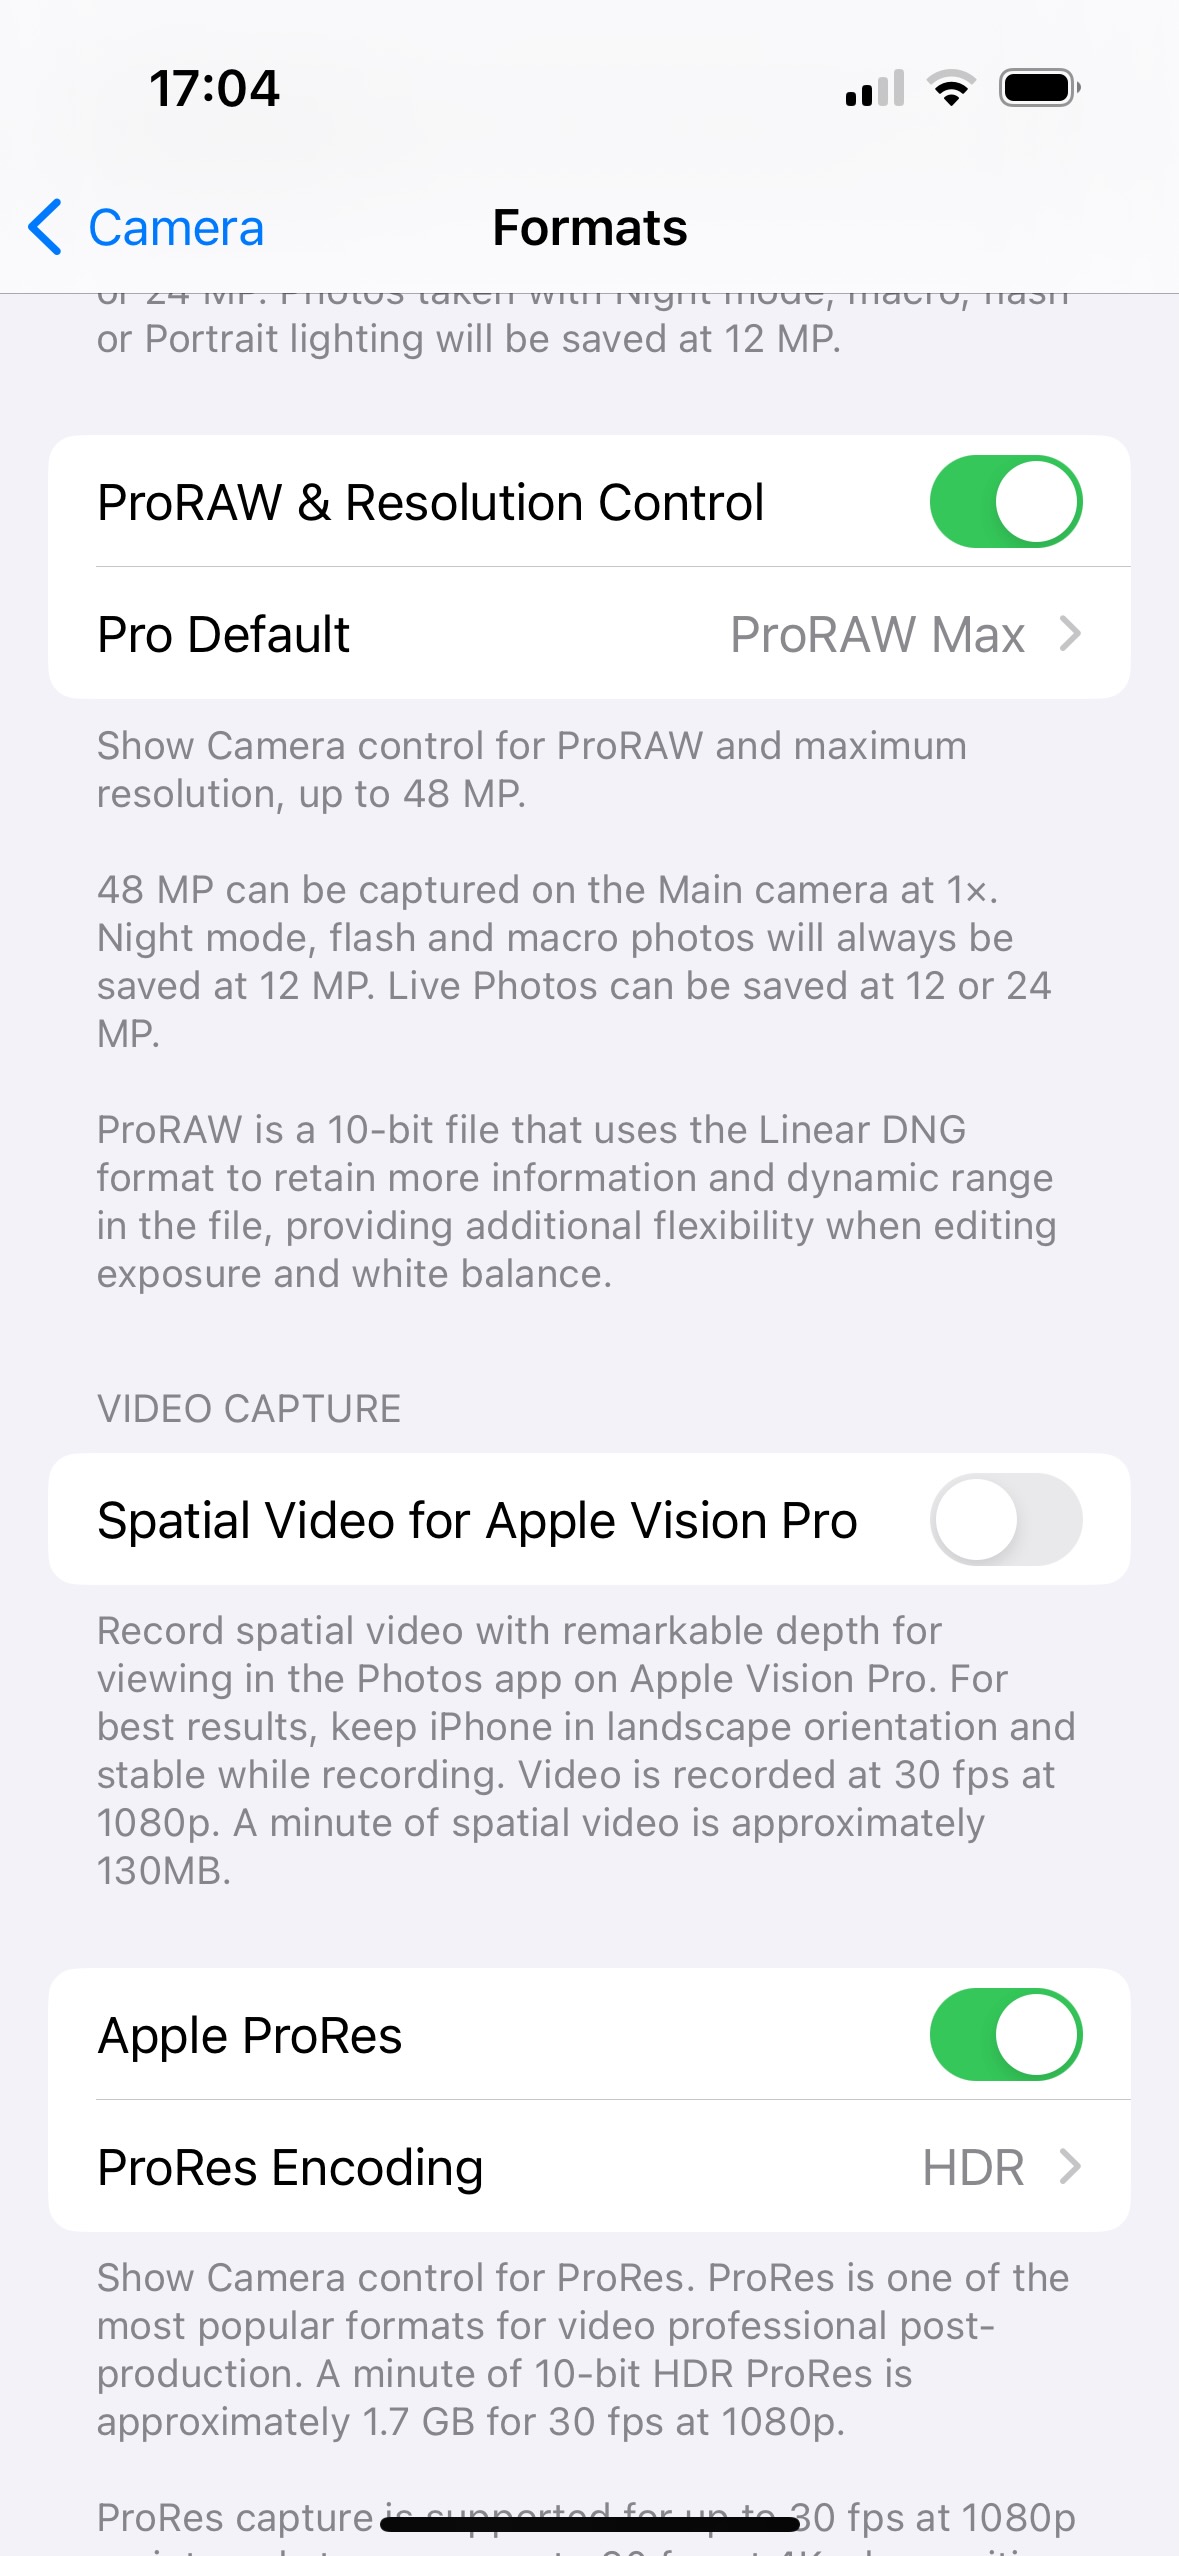
With those caveats out of the way, your first step to using these formats is to activate ProRAW and ProRes on your compatible iPhone. Do this by going to Settings > Camera > Formats and toggling both ProRAW and Apple ProRes on.
You can tinker with the precise file size and format in the new options that appear below these active toggles. With ProRAW, this includes the resolution (12MP or 48MP) on iPhone 14 Pro and iPhone 15 Pro models, while ProRES lets you switch between HDR (by default), SDR, and the pro-grade Log format we mentioned earlier.
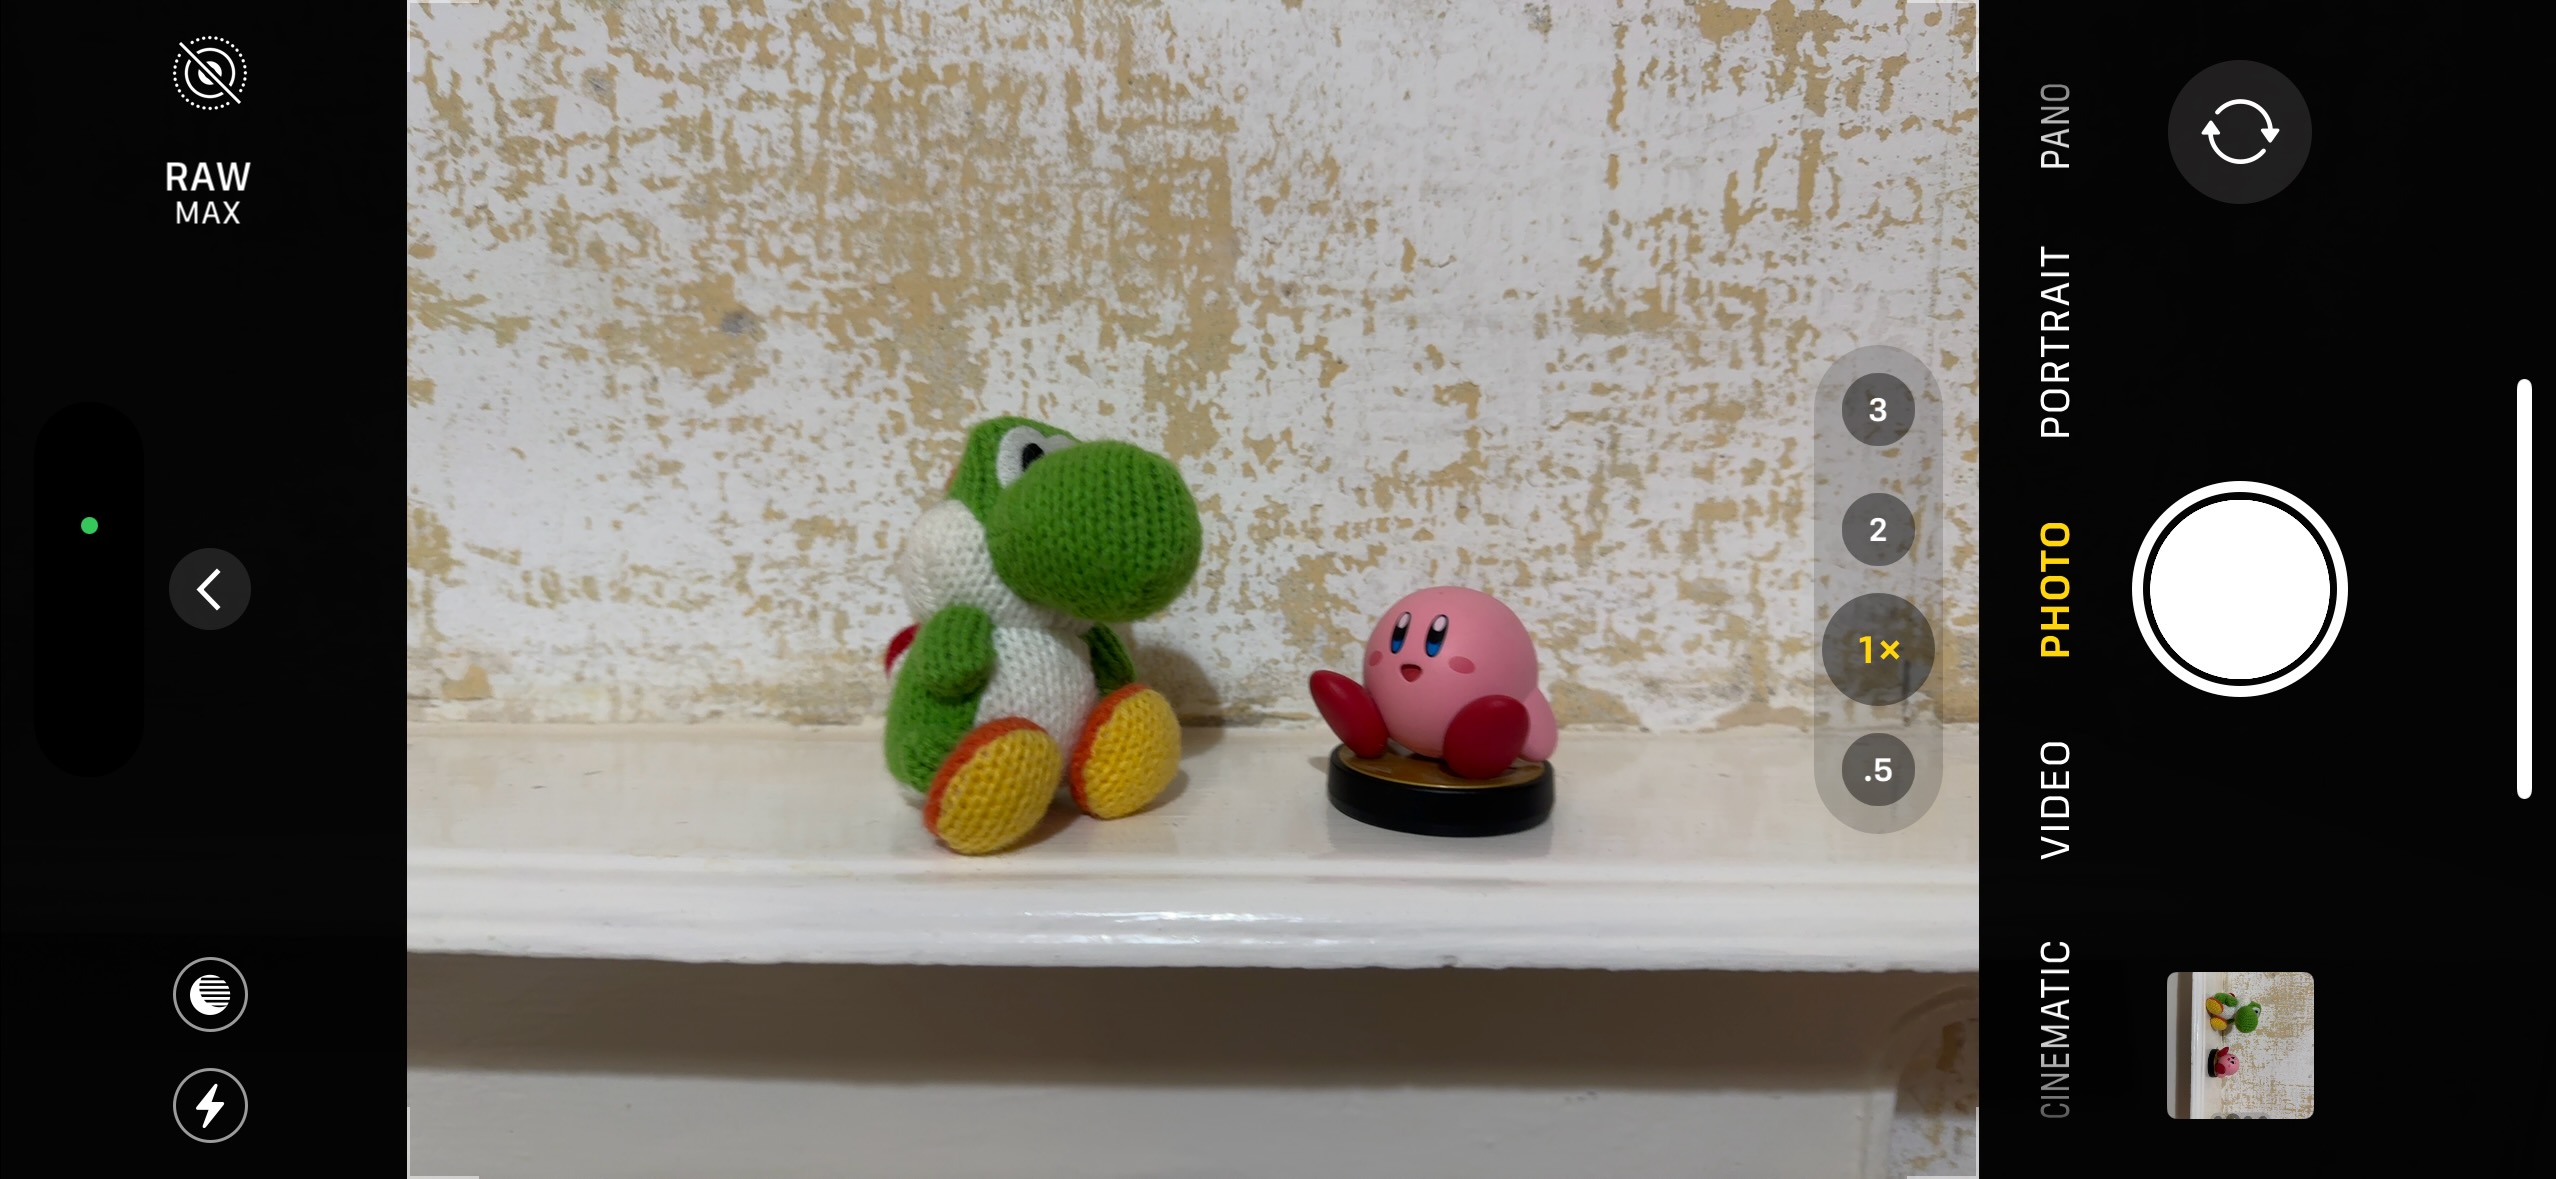
How to shoot ProRAW
Head into the camera app and you’ll now see a crossed-out RAW option in the corner of the screen. This means that ProRAW still isn’t the default shooting option.
Tap the RAW button to activate ProRAW. Now when you shoot as normal, the image will be in Apple’s hybrid format. Head into the image through the Camera preview or Photos and you’ll find the iamge labeled as a RAW file.
Tap Edit, and you’ll find that while the editing options are identical, there’s stacks more visual information to play with. This means that there’s more scope to adjust things like exposure, highlights and shadows than in a non-RAW image.
Take the file into a more advanced editing suite and you’ll notice the difference even more.
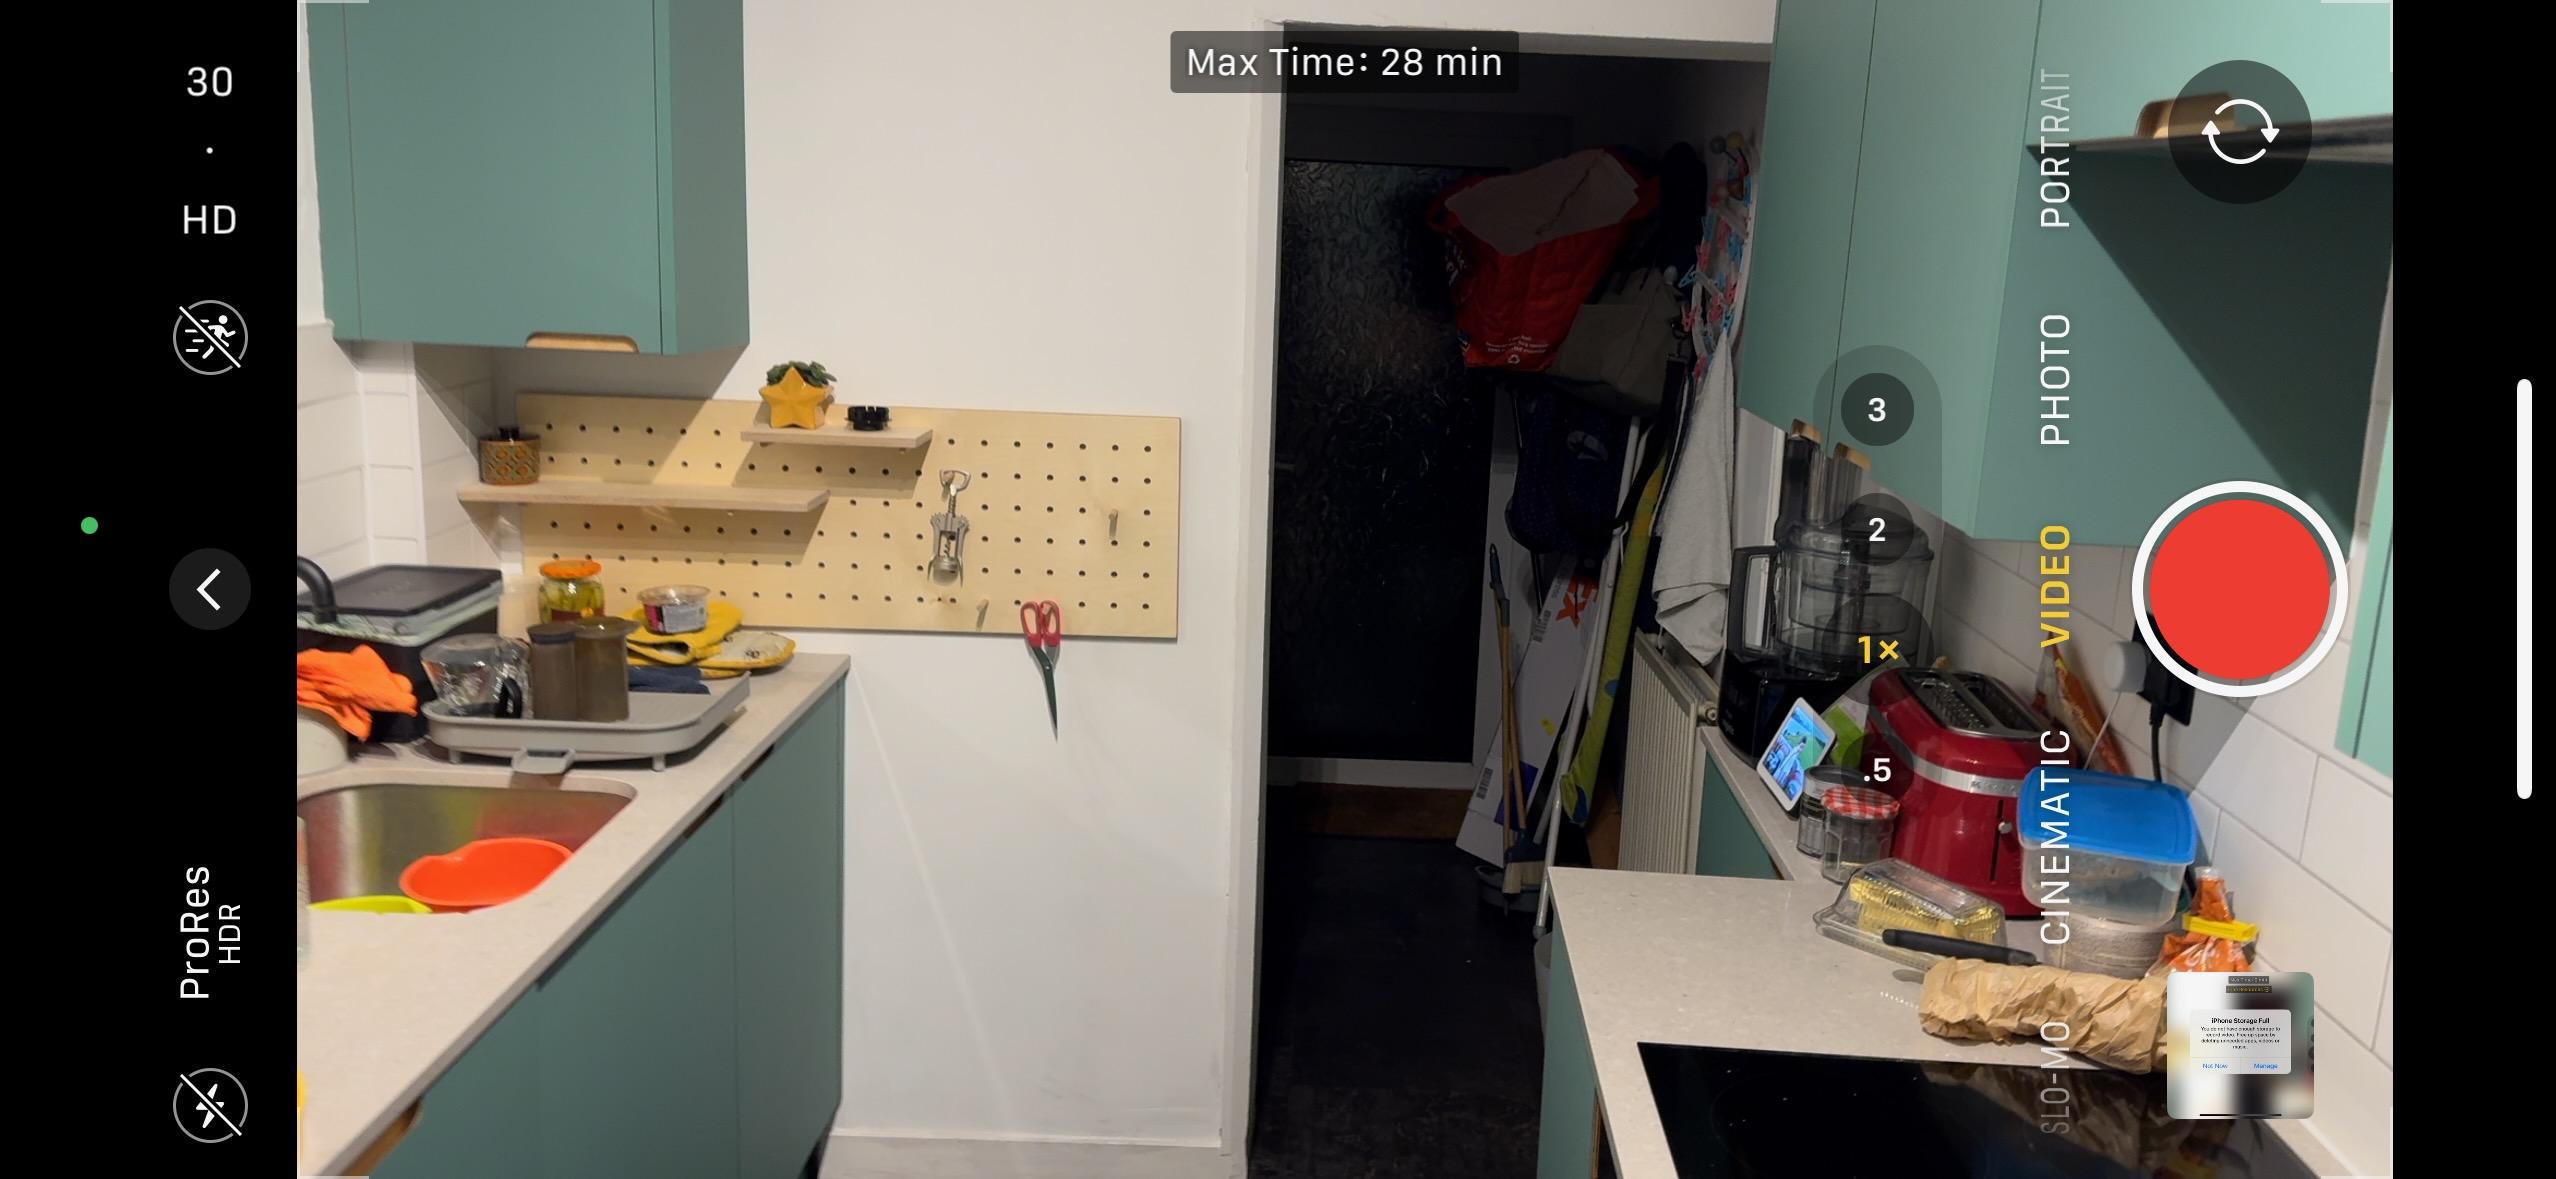
How to shoot ProRes
Head into the Camera app and slide across to the Video recording setting. You’ll note that there’s a new crossed-out ProRes option in the corner of the Camera UI.
Tap this ProRes button to switch over to Apple’s format. If you selected it earlier, you’ll automatically capture ProRes Log.
Your iPhone will take a little spell to calculate how much space there is available, then list your maximum ProRes recording time at the top of the Camera UI. You may need to free up some space.
Again, ProRes doesn’t unlock any new options at the editing phase, but you will notice that your videos are now packed with far more visual information, making them more flexible in the edit.