Plenty of apps let you schedule an email to be sent at a later time, not the least of which is Apple’s default Mail app. Unfortunately, the same provision hasn’t been made with text messages.
There is a way to carry out text message scheduling using Shortcuts, but it’s not the quickest or most intuitive way to go about it, and it has some big limitations. We’d recommend going with a specialist third-party app for the job instead.
Just follow these guidelines and become a text message-scheduling master. You need never forget those birthday messages or client holiday notifications again.
Download Carrier Messaging
First up, install the boringly titled but really very useful Carrier Messaging app from the App Store. It’s free for basic use, though you’ll need to pay a one-off fee of $10.99/£9.99 if you want unlimited message scheduling and dictation.
Open the app and scroll right through the introductory blurb, granting Notifications and Contacts permission at the third screen. You should eventually be presented with the main screen.
Create a message
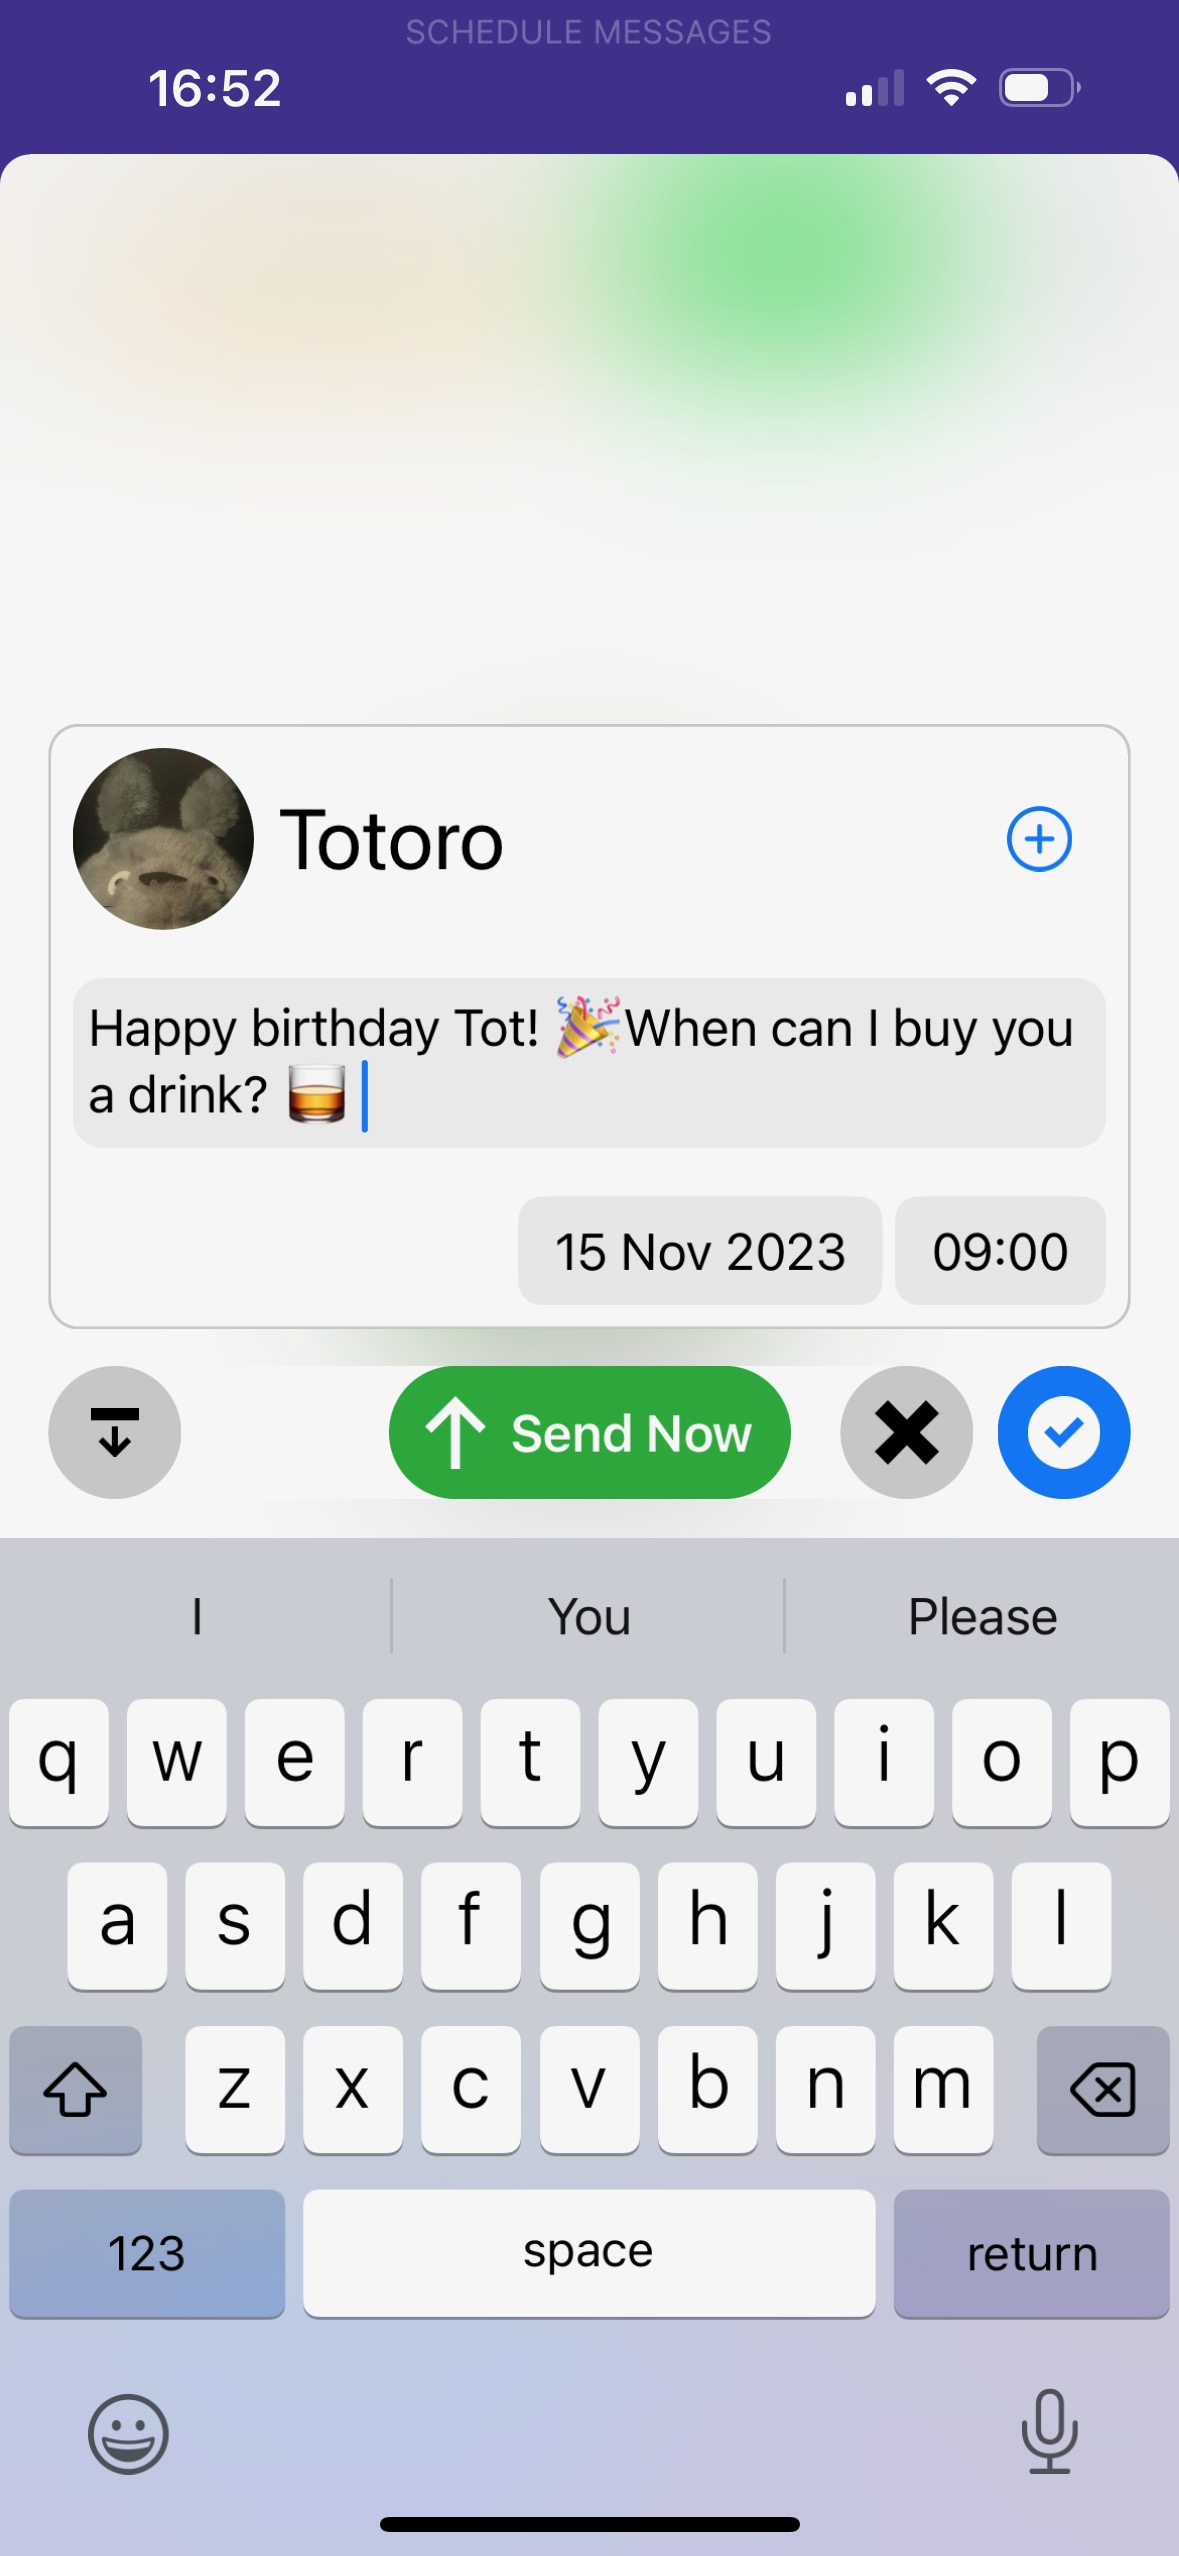
Tap the blue New message button in the bottom left corner of the screen. Now select a contact, tapping the + icon from the ensuing message screen if you want to add further contacts.
Now type the message you want to send, making sure to keep in mind that it’ll be sent (and thus received) at some point in the future.
Schedule your message
You can send the message straight away by hitting the Send Now button, but that’s not what we’re here for.
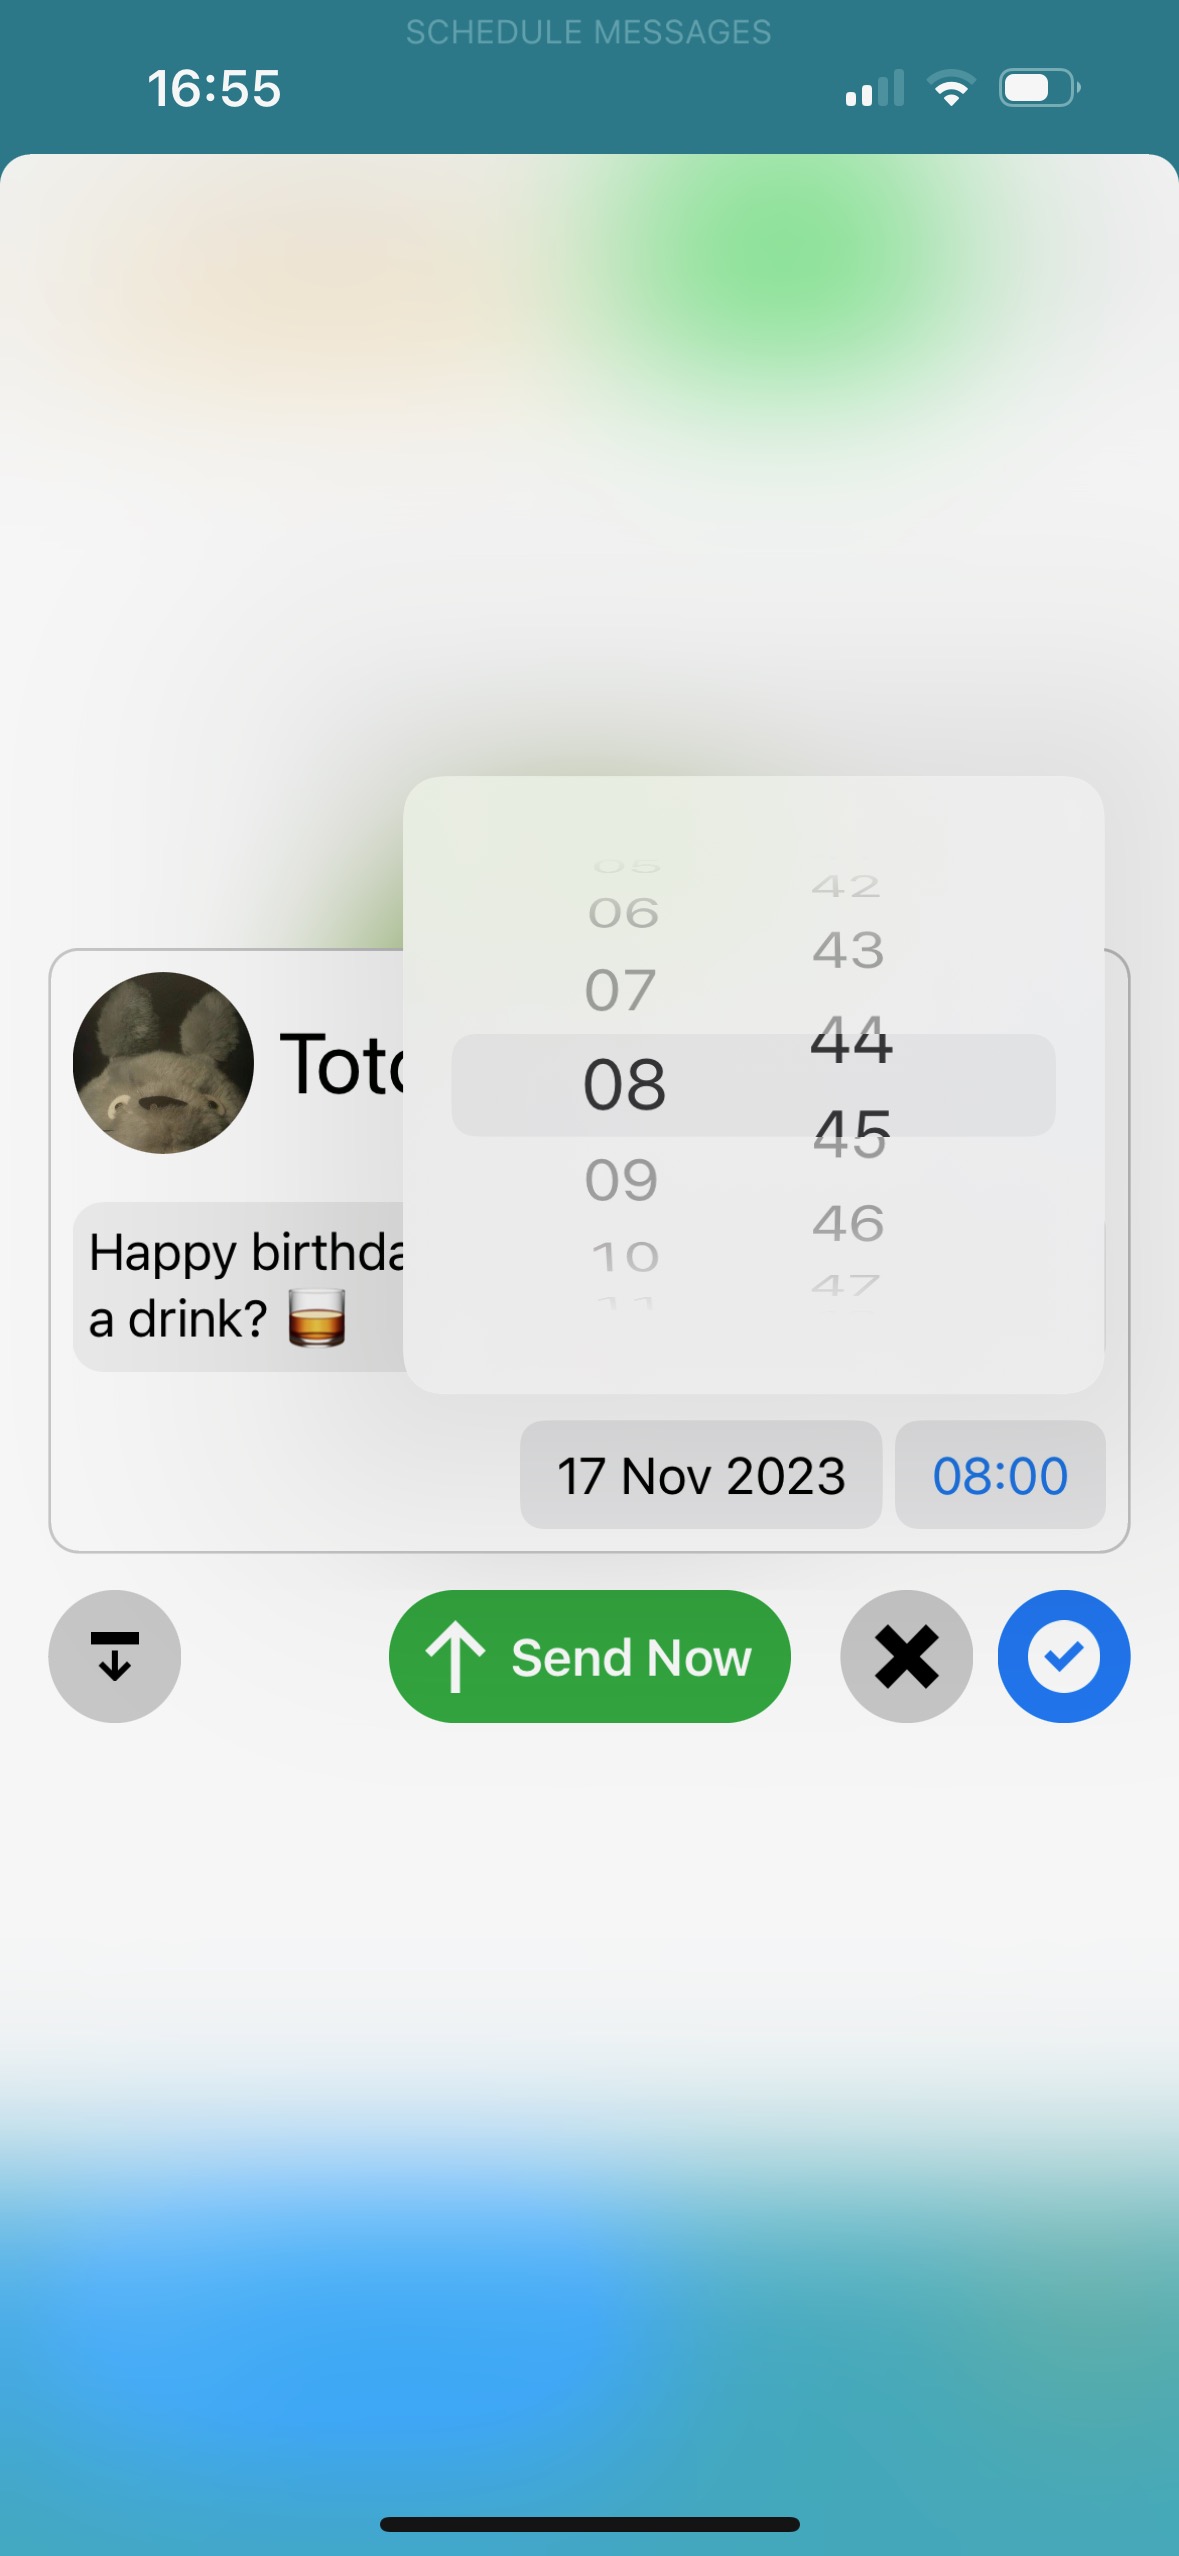
By default, Carrier Messaging will send the message the following morning at 9am. You can adjust this by tapping the date and time buttons. Once adjusted, tap the buttons again to close the pop-up menus.
Now tap the blue tick button on the right-hand side to schedule the message for sending.
Note that you can hop back into the message from the main screen at any time before the scheduled time and either edit or delete it (via the red bin icon) altogether.
Set up groups
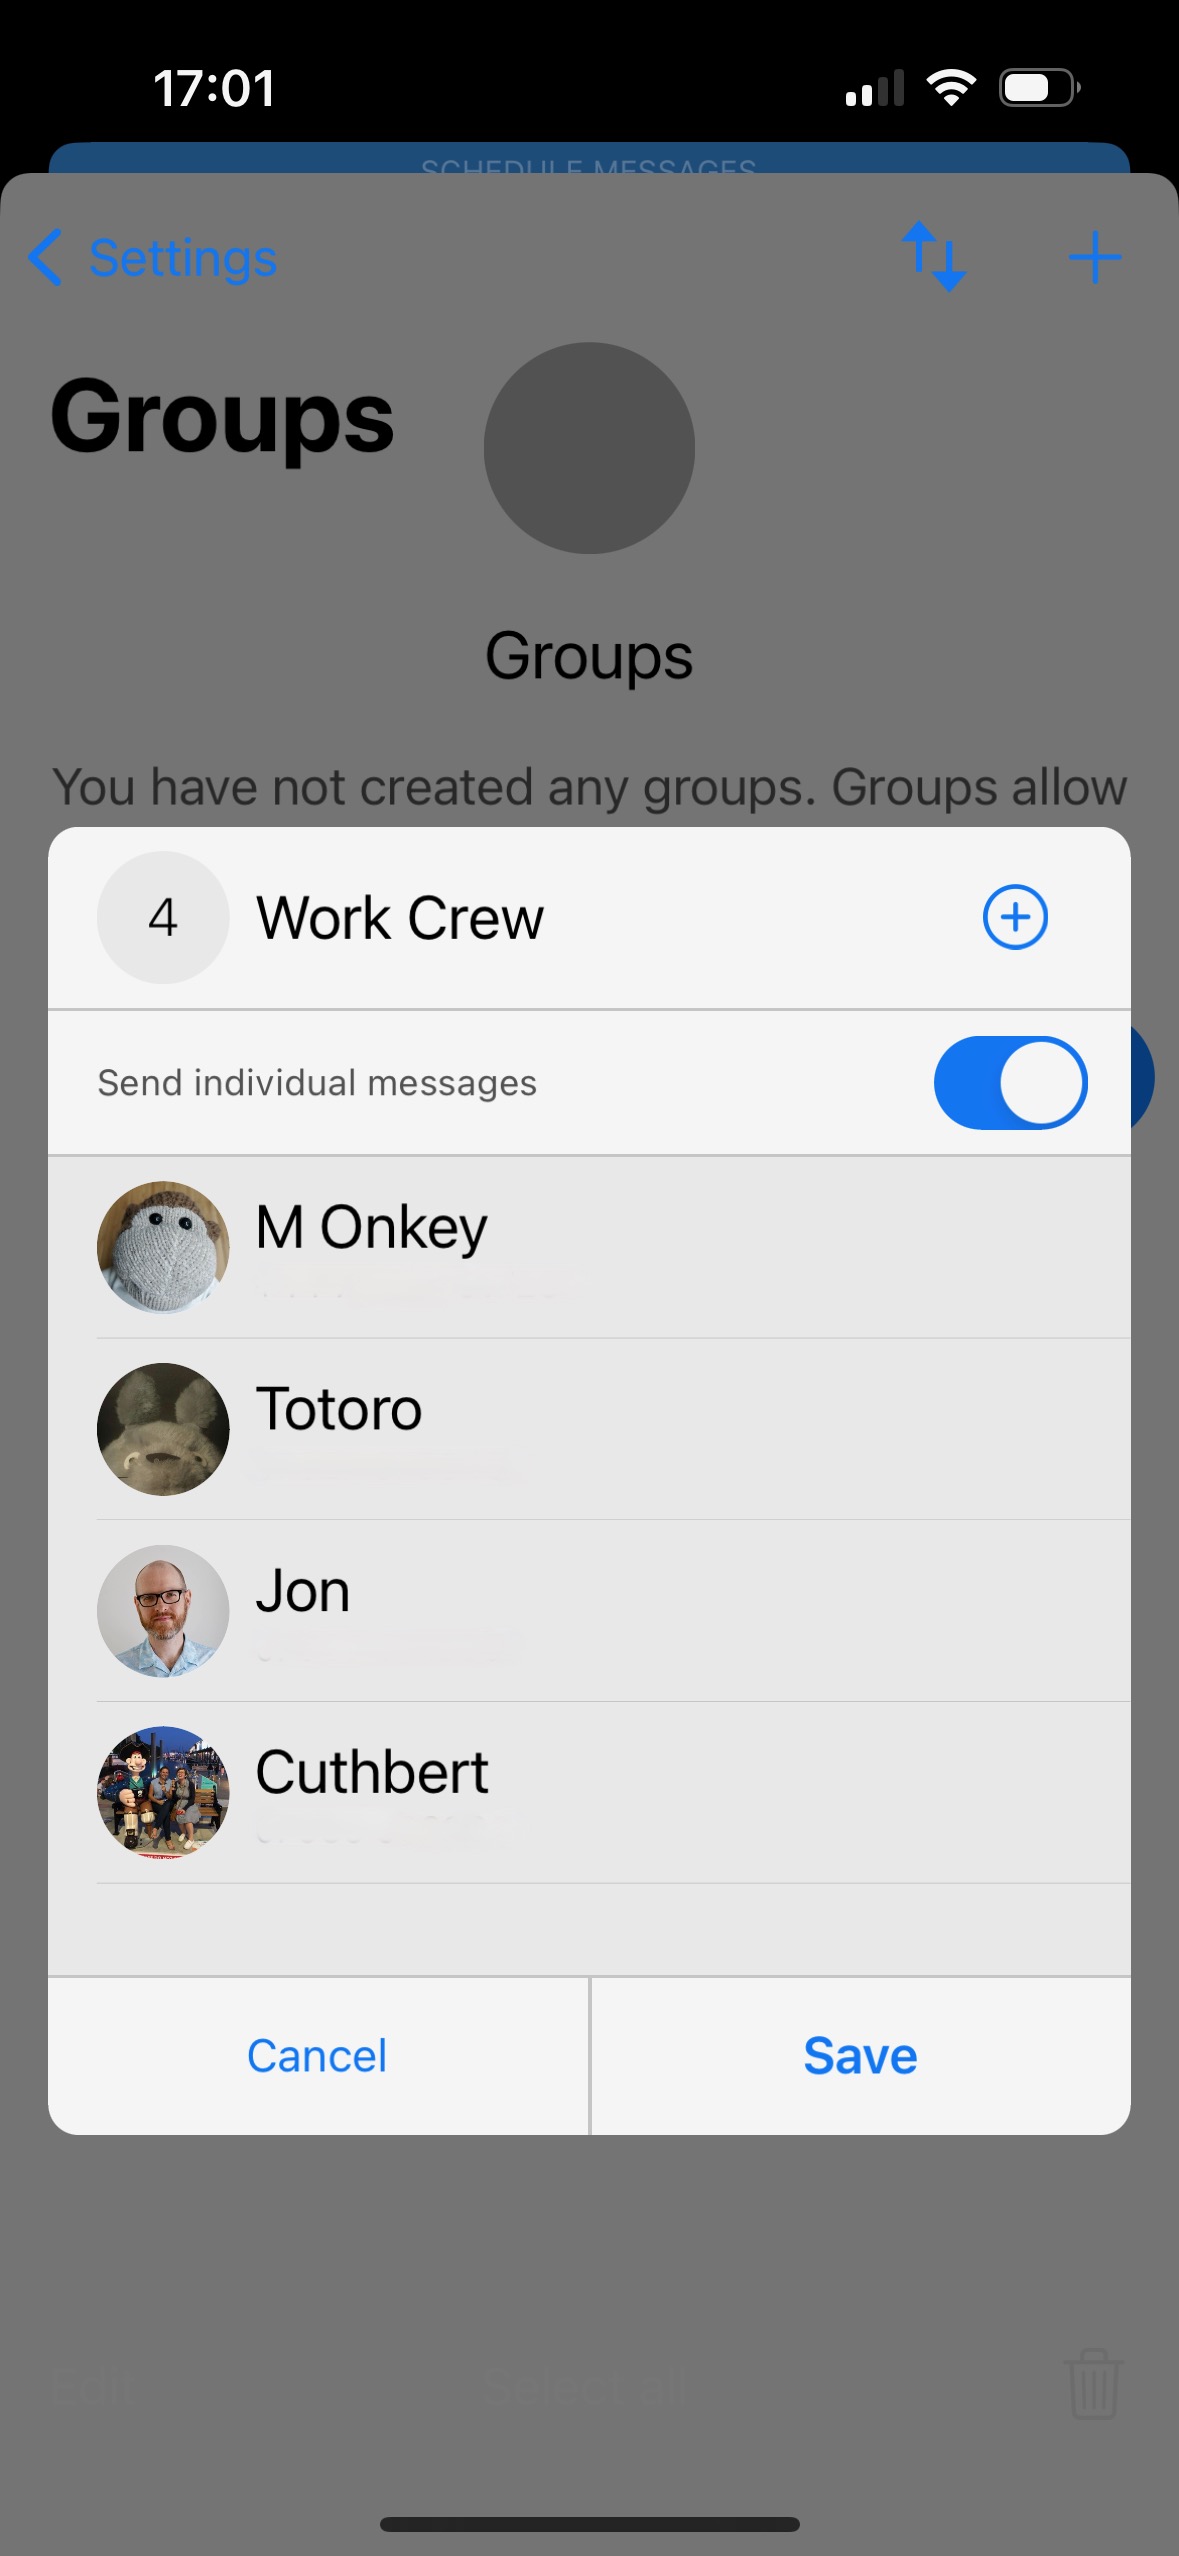
Another useful feature of Carrier Messaging that you should know about is setting up groups. Tap the Settings icon from the main screen, then tap Groups and Create group.
Name the group, then tap the + icon to add all of the contacts that you’d like to include – all of your colleagues, for example, or the rest of your Monday night sports team.
Tap the toggle button if you’d like to send scheduled messages individually rather than in a big group chat. Save the group, and it’ll be there whenever you want to set up a quick one-off scheduled message to a bunch of people at once.