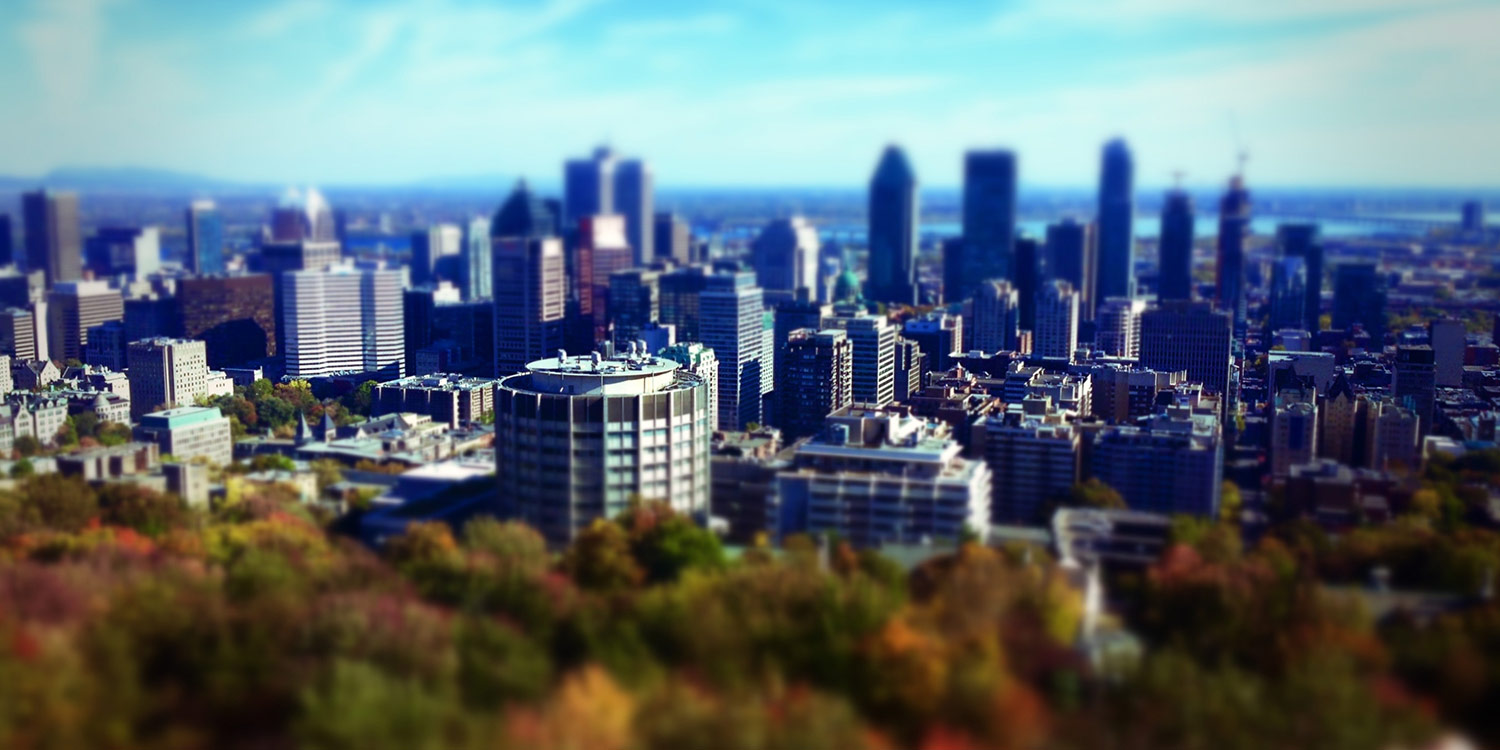

Tilt shift photography can be really impressive – by manipulating the depth-of-field in an image you’re shooting, it’s possible to make items in a photo really jump out the frame and look pretty convincingly bigger or smaller than their actual size. It’s often used to for “miniature simulation” as seen in the image below to make a huge landscape look like a bunch of toy figurines.
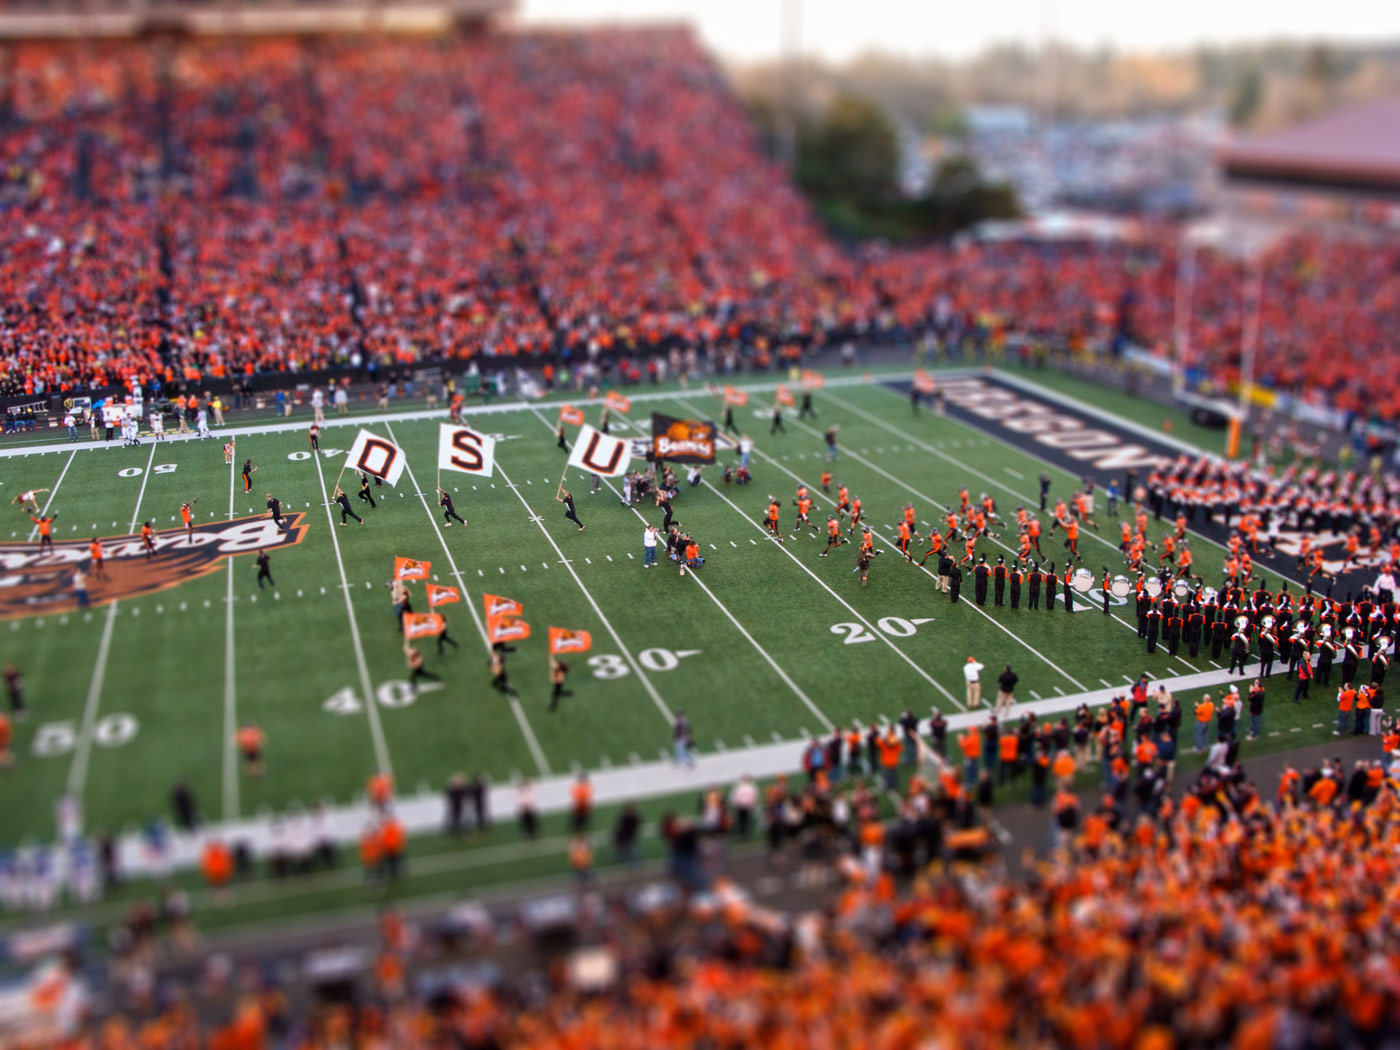
Photo courtesy Greg Keene / Wikipedia
It’s not only possible to create tilt shift photographs on your iPhone – it’s also pretty simple, too, thanks to an app called Blur Background Photo Effects (formerly Tilt Shift Blur).
Download the app – it’s free to use, but requires a one-off IAP to remove watermarks. Then, choose an item to photograph. When shooting a tilt image, it’s wise to do so in a well-lit environment, and ideally from above. This helps create the depth-of-field needed for an effective photograph.

Tilt shift photography.
In Tilt Shift Blur, you’ll notice that the app has a circular frame in the middle of its viewfinder. This is the focal range – position your item so it’s within this circle, and thus in focus. If you want to expand or reduce this range, simply pinch on the circle to make it bigger or smaller.
You might need to play around with the angle, lighting, or focal range to get the perfect image. Usefully, Tilt Shift Blur will give you a preview of your tilt shift photograph, so you can check the results and re-shoot if needed.

Tweak the focus range.
From here, it’s a simple case of polishing your image – the app usefully lets you add filters (including noir, sepia, and even comic book effects), a frame, and includes easy sharing to Instagram, WhatsApp, or the Messages app. The share icon in the bottom-right also lets you send your tilt-shifted creation to a whole range of connected apps and services.
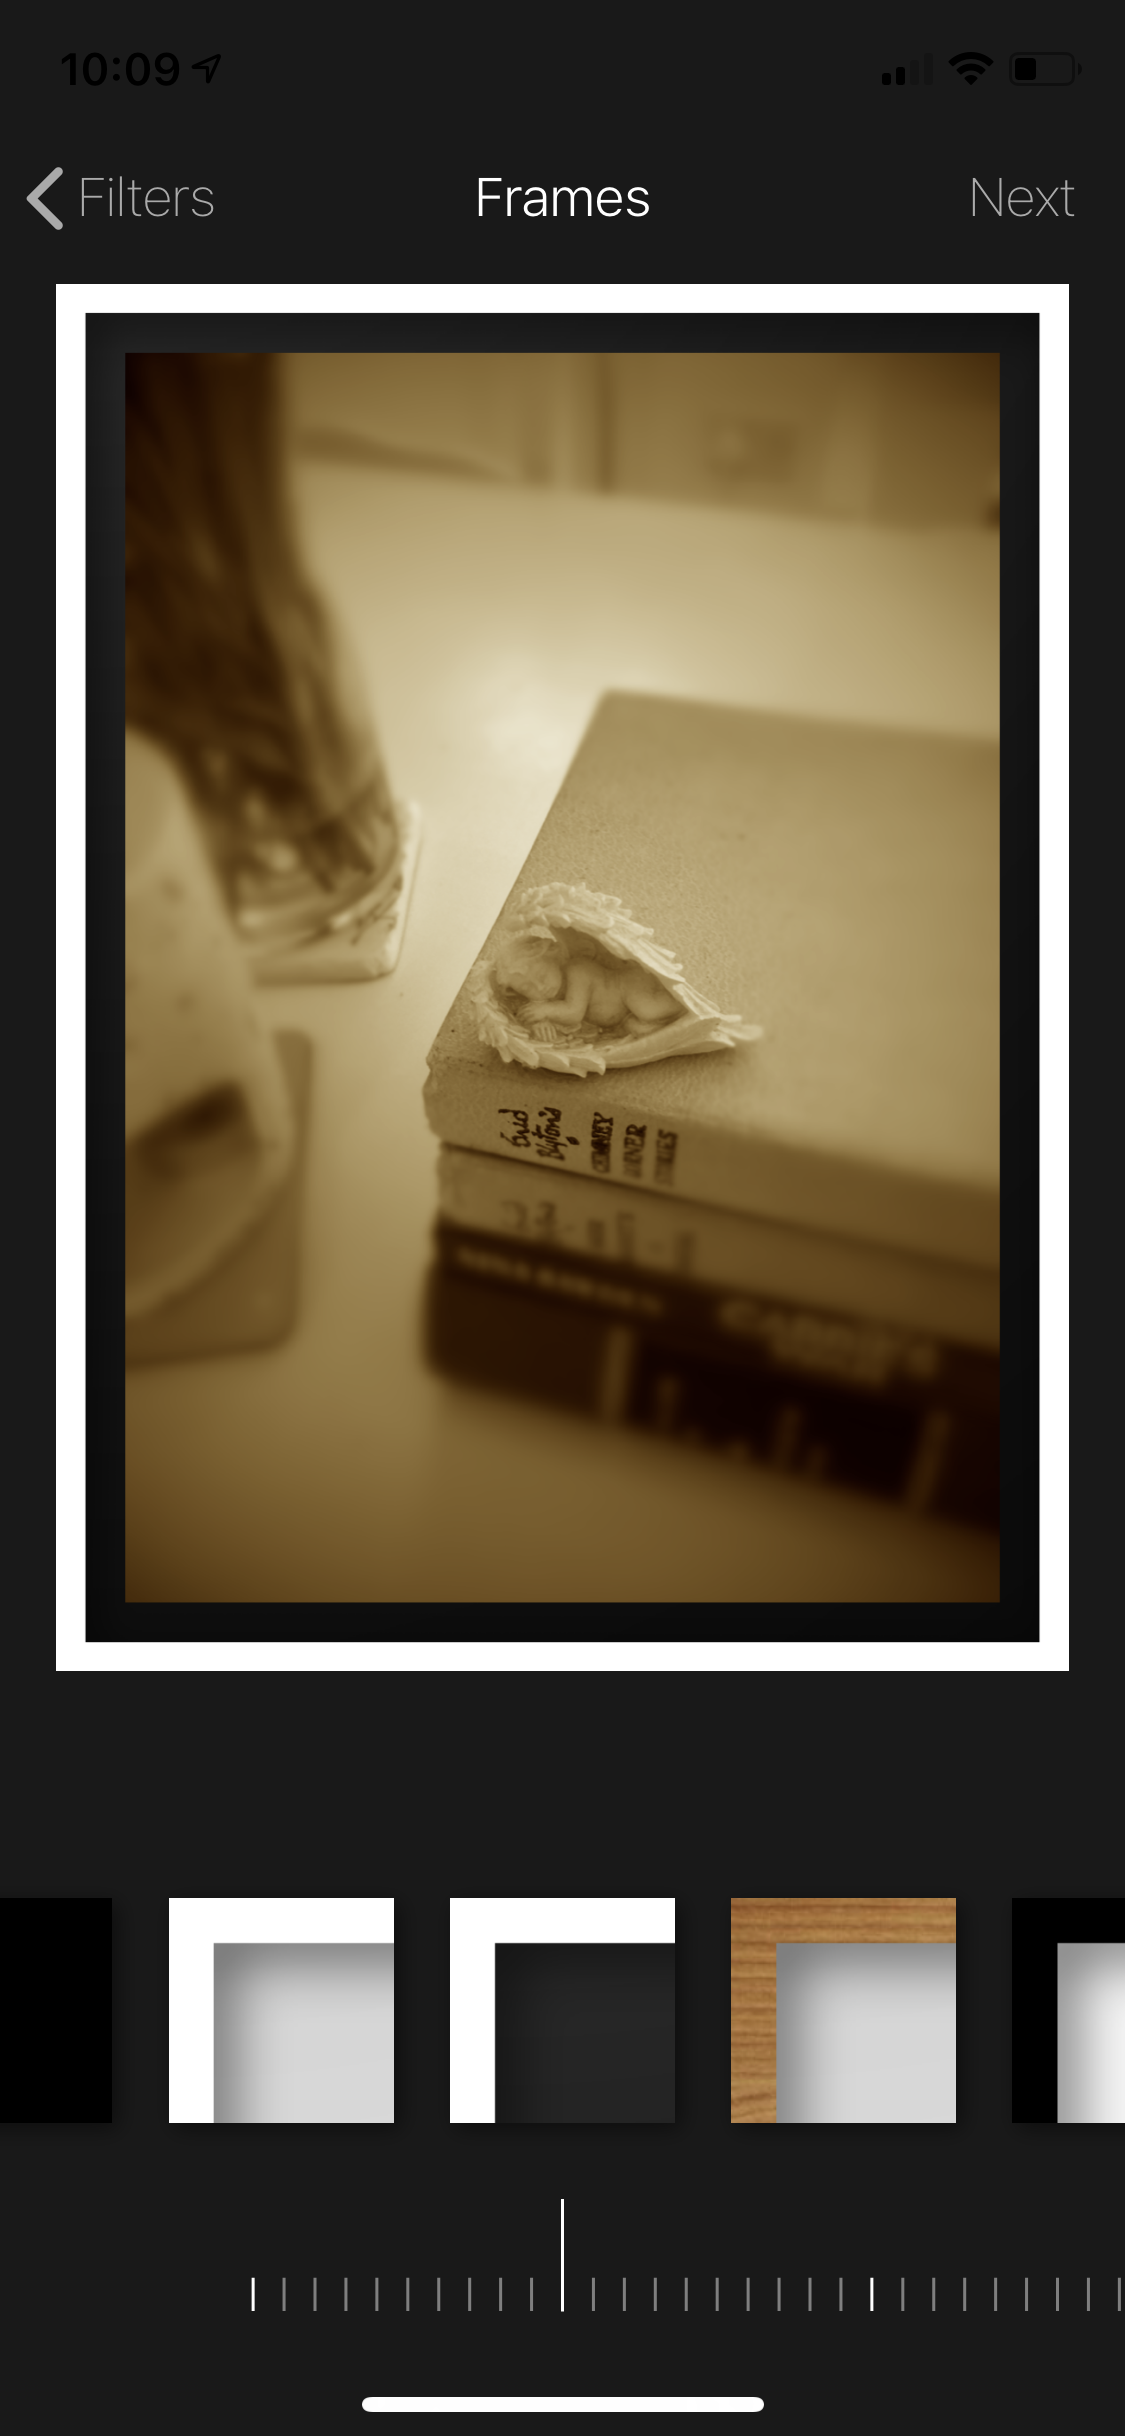
Add a frame.