

Apple Pay is Apple’s digital wallet system that lets you make payments using your device. The service is compatible with the iPhone 6 and later.
Setting up Apple Pay is easy. Simply open the Settings app and tap Wallet & Apple Pay. Then tap Add Card and follow the instructions to set up your credit or debit card.
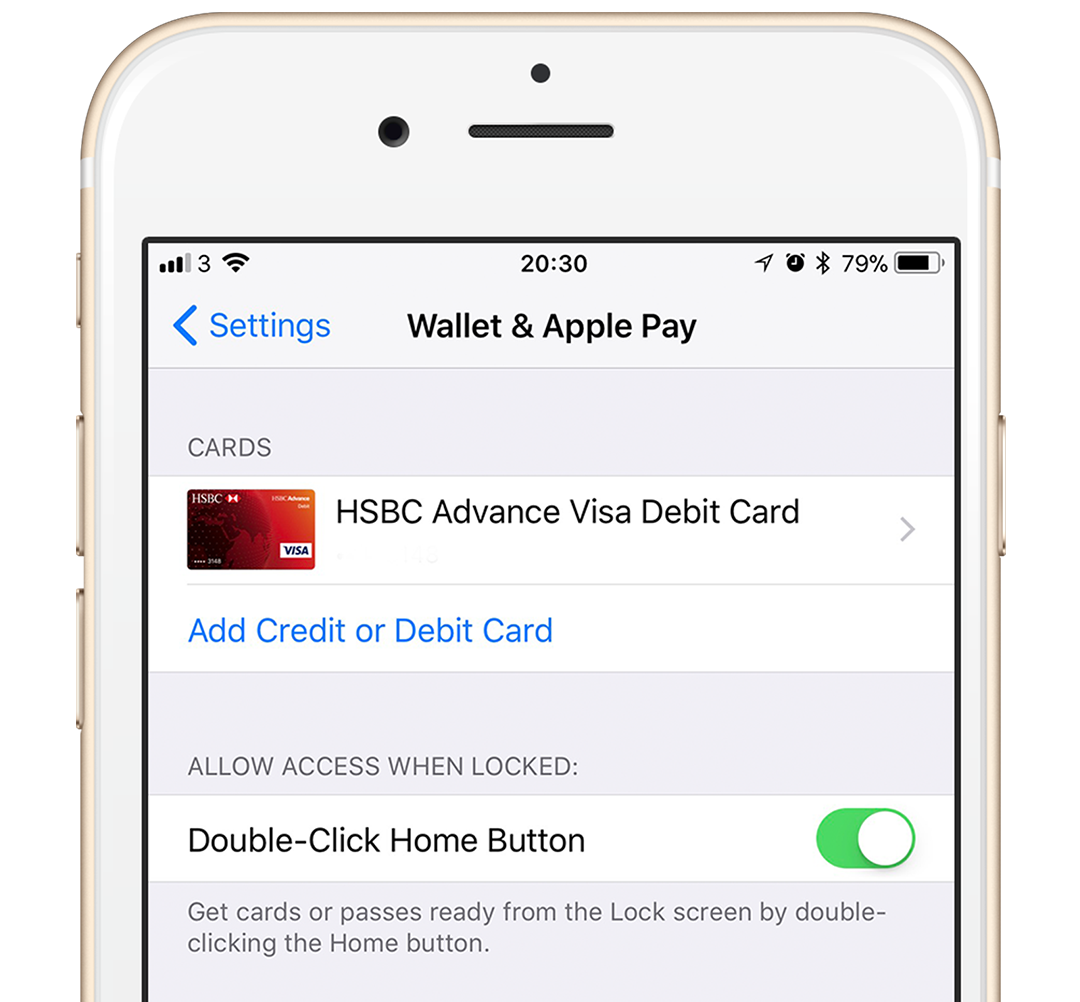
To make payments at compatible contactless payment terminals, first launch Apple Pay with a double-tap of the Home button (or the Side button on newer devices).
Scan your fingerprint or your face, depending on the device you’re using, and then hold your iPhone up to the terminal. Your device will buzz gently and confirm the successful payment on screen.
Pay your contacts
Building on its Apple Pay functionality, Apple has added an easy way to pay other iOS users through the Messages app if iMessage is enabled.
Note: this feature is not available in all regions.
To pay another Apple Pay user, open the Messages app, open an existing conversation, or start a new one and add a contact.
Slide a finger along the iMessage app icons to activate the App Drawer. Here, you’ll notice the Apple Pay icon along the bottom of the screen. Tap it and set the amount you’d like to pay. The amount will then appear in the message field. Tap the send arrow to send the payment. You’ll need to confirm with your fingerprint or passcode, but once you do it’ll send the money straight to the other person.
If you receive a request for money, tap the message, and then either accept or reject the payment.
You can also request a payment. When entering the amount, the option to request sits right next to the Pay button.