You may wish to keep some of your notes private from anyone that may have access to your phone. Adding this extra layer of security is simple.
Lock your notes
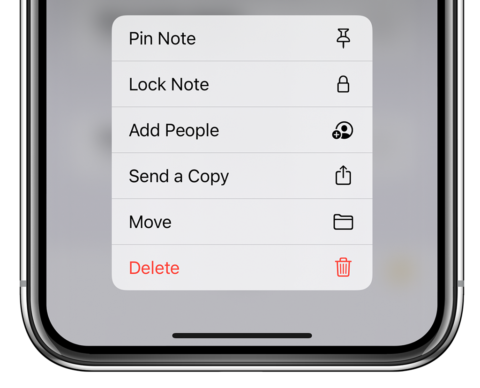
Head to the main screen which displays your list of notes. Long-press on a note to reveal a pop-up menu, and choose Lock Note.
Here, you’ll be prompted to enter a password. There’s also an option to open the note using biometrics – Touch ID or Face ID.
If you want to, you can choose a Notes-specific password. But the easier option in most instances to instead lock notes with your device passcode and even Face ID. You’ll be prompted to switch to this method the first time you try to lock a note in iOS 16 or above. They’ll be accessible on all your iCloud devices by using that specific device’s authentication method, and end-to-end encrypted for privacy.
When you unlock a note, it’ll stay unlocked until you lock your device so you don’t have to keep authenticating. However, if you’d like to re-lock it sooner you can tap the Lock Now button that appears at the bottom of the Notes app.
Pin your notes
It’s possible to pin important notes to the top of folders, so they’re always accessible even when you add subsequent notes.
To pin a note, long press on it and tap Pin Note. Alternatively, open the actions menu within the note itself and select Pin. The same processes will enable you to unpin a pinned note.
Organizing notes
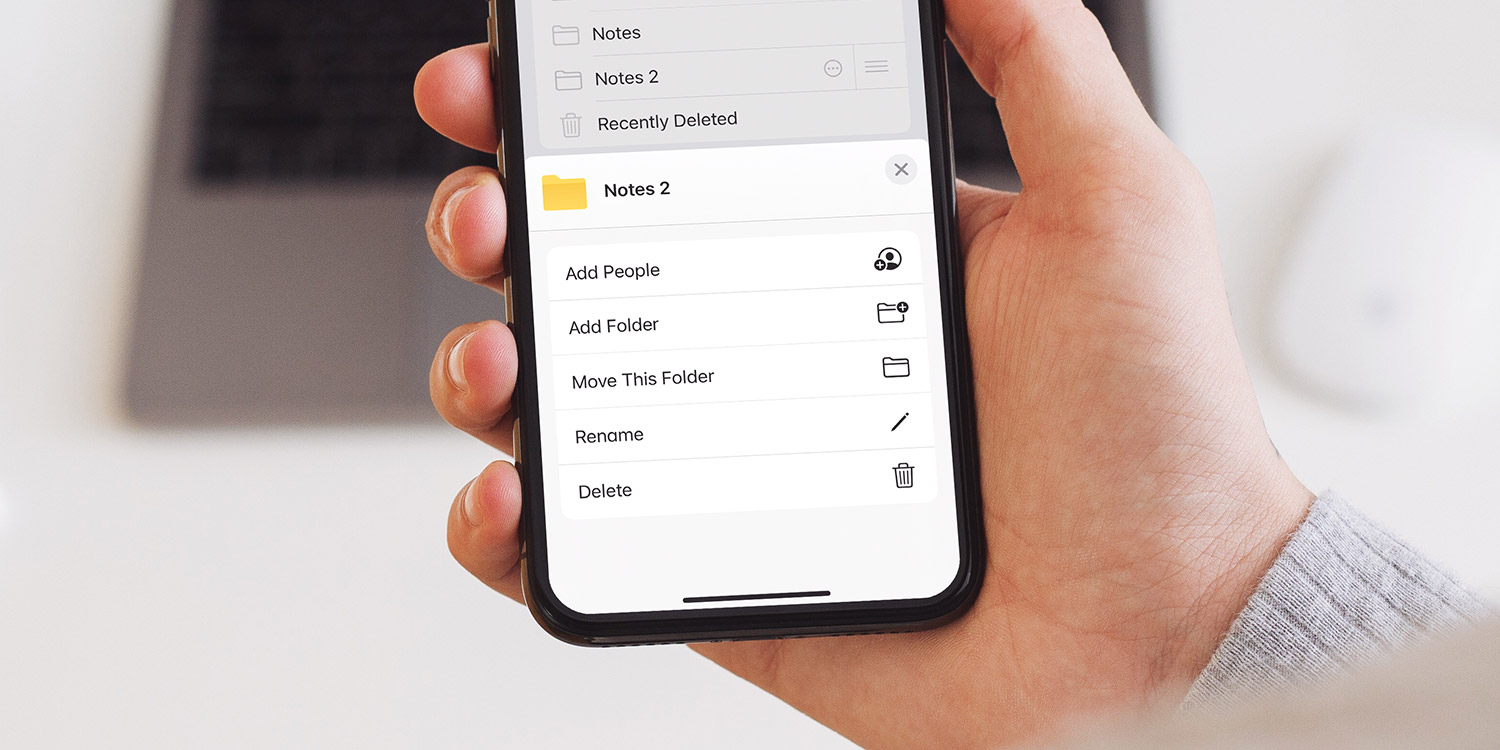
You can also organize your notes into separate folders. To do this, tap … which appears in the top right of the screen, choose Select Notes, then select each note you wish to place in a folder.
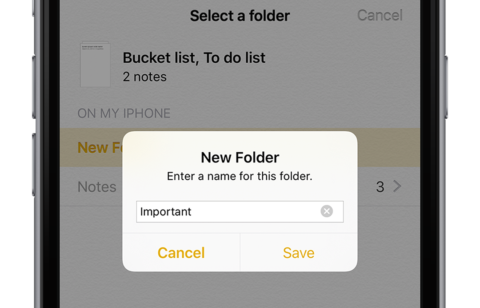
Now tap Move in the bottom left corner, choose or create a folder, and the note will be moved.


