Get more from the camera app on your iPhone with these top five tips.
1. Press Volume
When using the Camera app, tapping the shutter icon on the screen to take a photo can cause you to shake and lose the focus. Instead, press either of the Volume buttons on the side of your iPhone to capture your shot.
This lets you hold the phone like a normal camera, which gives you more stability to take a better picture.
2. Open from lock screen
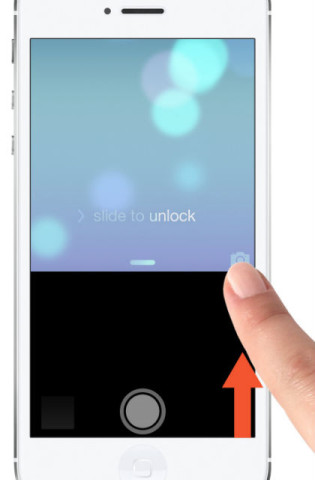
If your Phone is locked, there is a shortcut to quickly open the Camera app straight away. Juat slide the camera icon in the bottom right corner up until the Camera app appears.
As an added security feature, if you had a passcode lock enabled at the time the Camera app was opened in this way, the user wouldn’t be able to look through your Camera Roll and see your entire photo history
3. Live filters
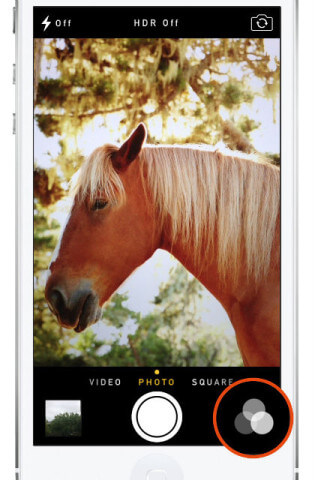
If you have the iPhone 4S or later, you can add a filter during the act of taking a picture. In either the Photo or Square mode, tap the icon with three grey circles overlapping to view the nine options. Tap on one to enable it and take your shot.
While a filter is enabled the icon becomes illuminated, so if your shots look different, tap this and change the filter back to None.
4. Enable grid
To aid with framing your image, it’s a good idea to turn on the Grid. To do so, open the Settings app, select Photos & Camera, then turn on the Grid option.
This superimposes a set of lines that splits the screen into nine sections, so you can adhere to the ‘rule of thirds’ (line your subjects up on these lines to make a more appealing image). Don’t worry about using the grid, it won’t show up on your captured photos.
5. Change modes
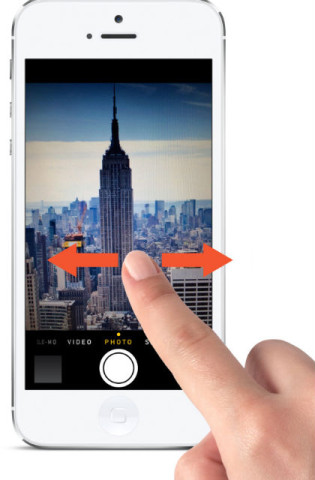
While using the Camera app you can tell what mode you’re in by looking at the illuminated word at the bottom of the screen. To switch between your camera modes you might think to tap the other visible words at the bottom but this is incorrect. Instead swipe across the view from either right-to-left or left-to-right.


