If you record plenty of video you can edit it before sharing, or even just trim a little to save some space on your iPad.
Open the Photos app and choose the Videos album from the side-pane. Tap on the thumbnail you wish to edit. As it fills the whole screen you’ll see the familiar play button in the middle, alongside the thumbnail bar across the bottom of the screen. To make changes to the video, tap the Edit button in the top right of the display.
It’s possible to edit videos using the same editing tools used for images. You’ll recognize the familiar buttons — Adjust, Filters, and Crop — and you can control aspects like Brightness and Contrast using the same slider. However, if you tap the Trim icon (which looks like a camcorder), it’s possible to trim your video, too.
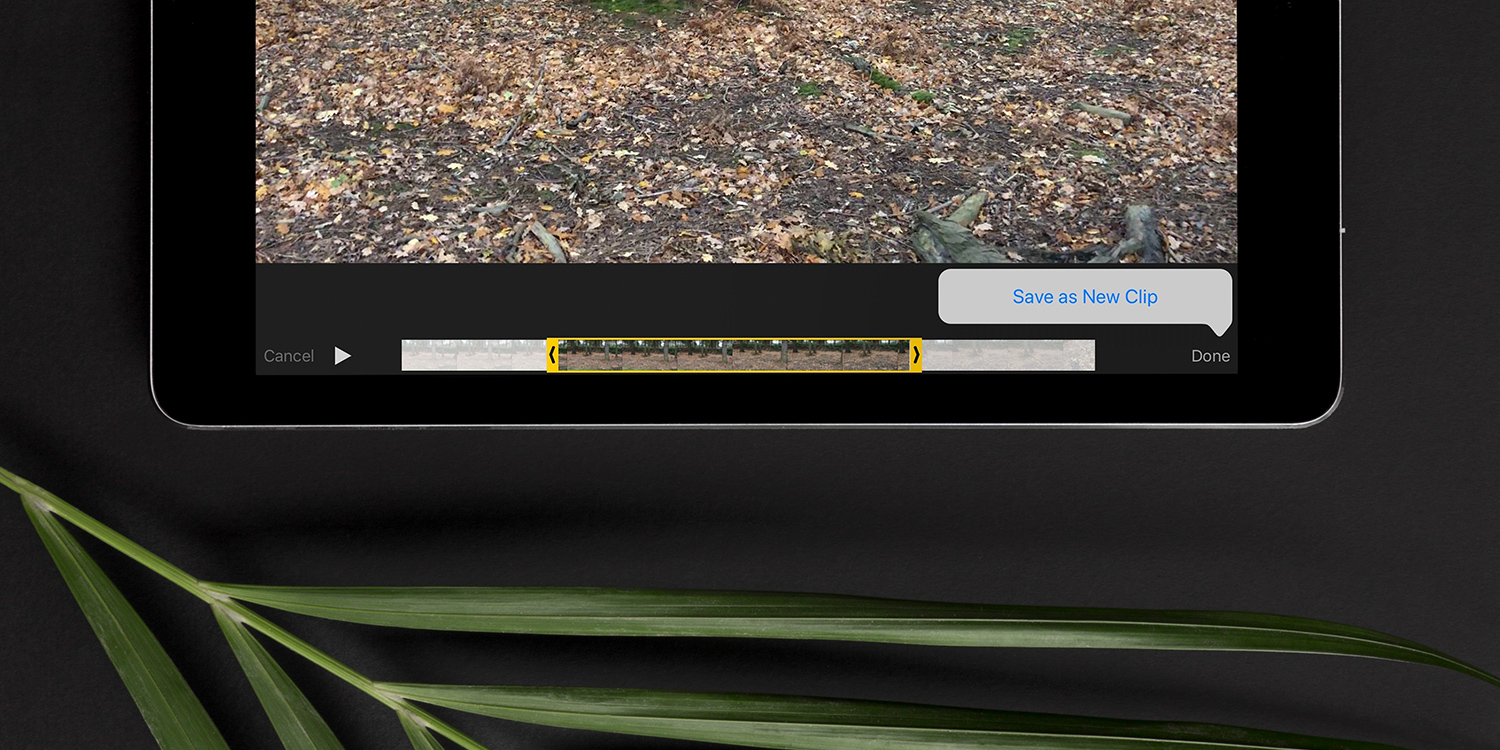
At either end there are black markers with white arrows – dragging them will turn these markers yellow, and pulling them inwards will trim the video. Tap and hold one and move it towards the middle of the scrubbing bar.
Once the section has been isolated, tap Done in the bottom toolbar. You’ll then be given the option to either Trim Original or Save as New Clip. The latter will make a copy of the video, allowing you to keep the original clip if you’re not ready to delete it yet, whereas the former will overwrite the original.

